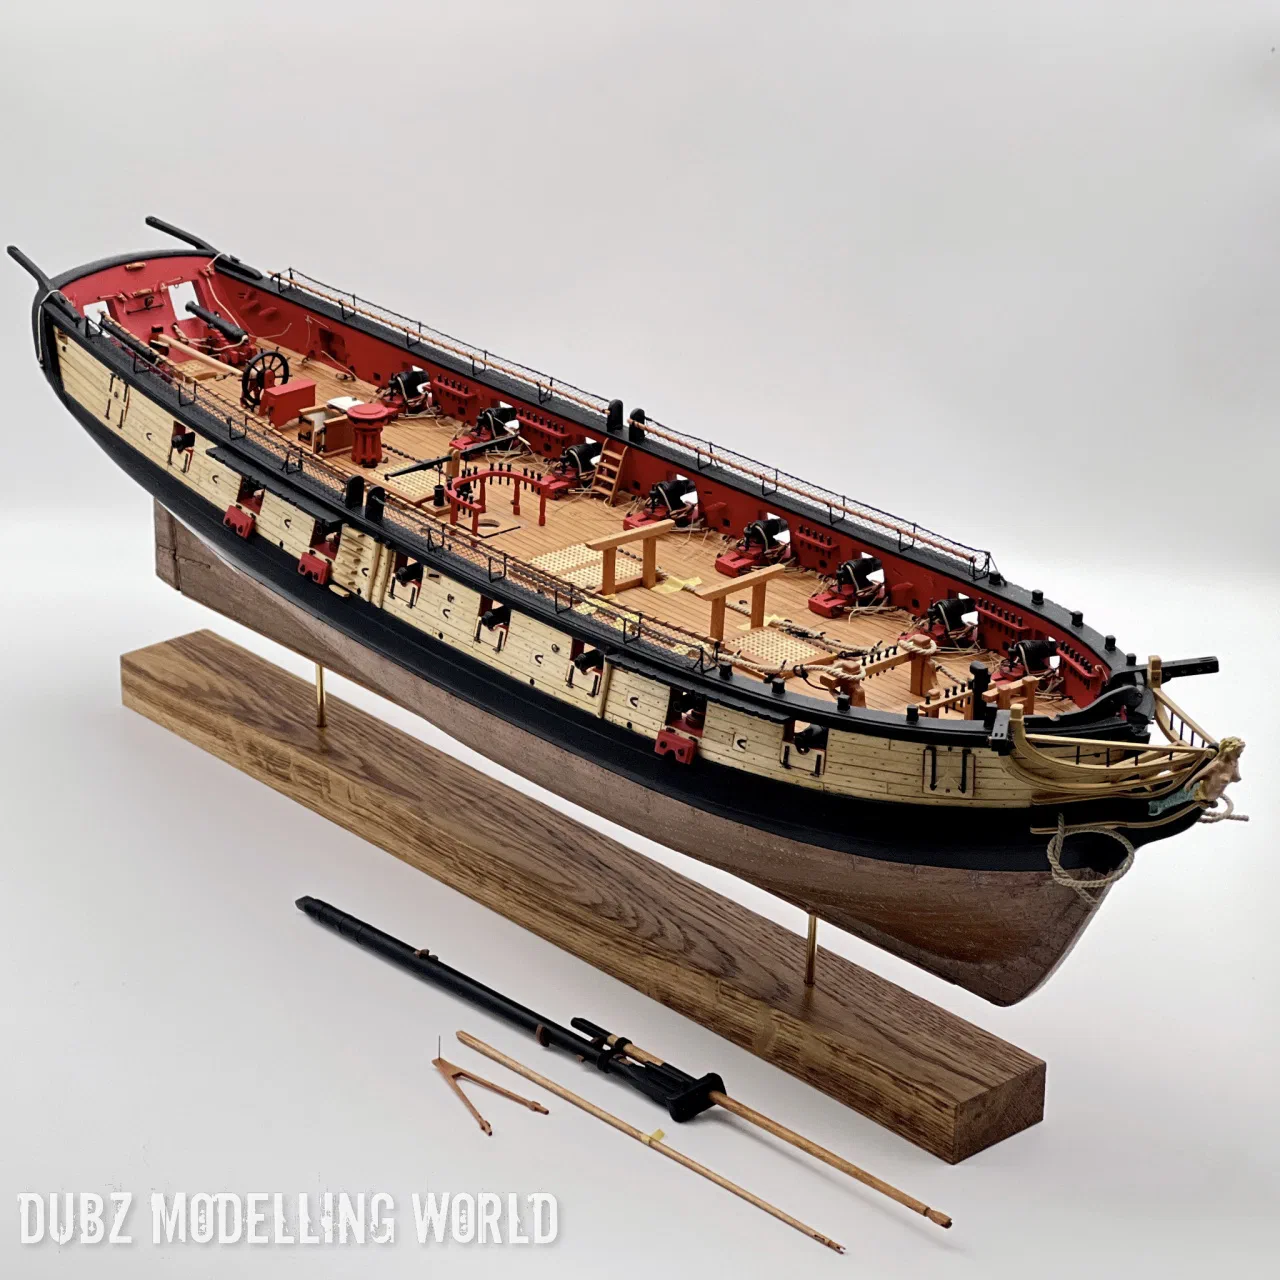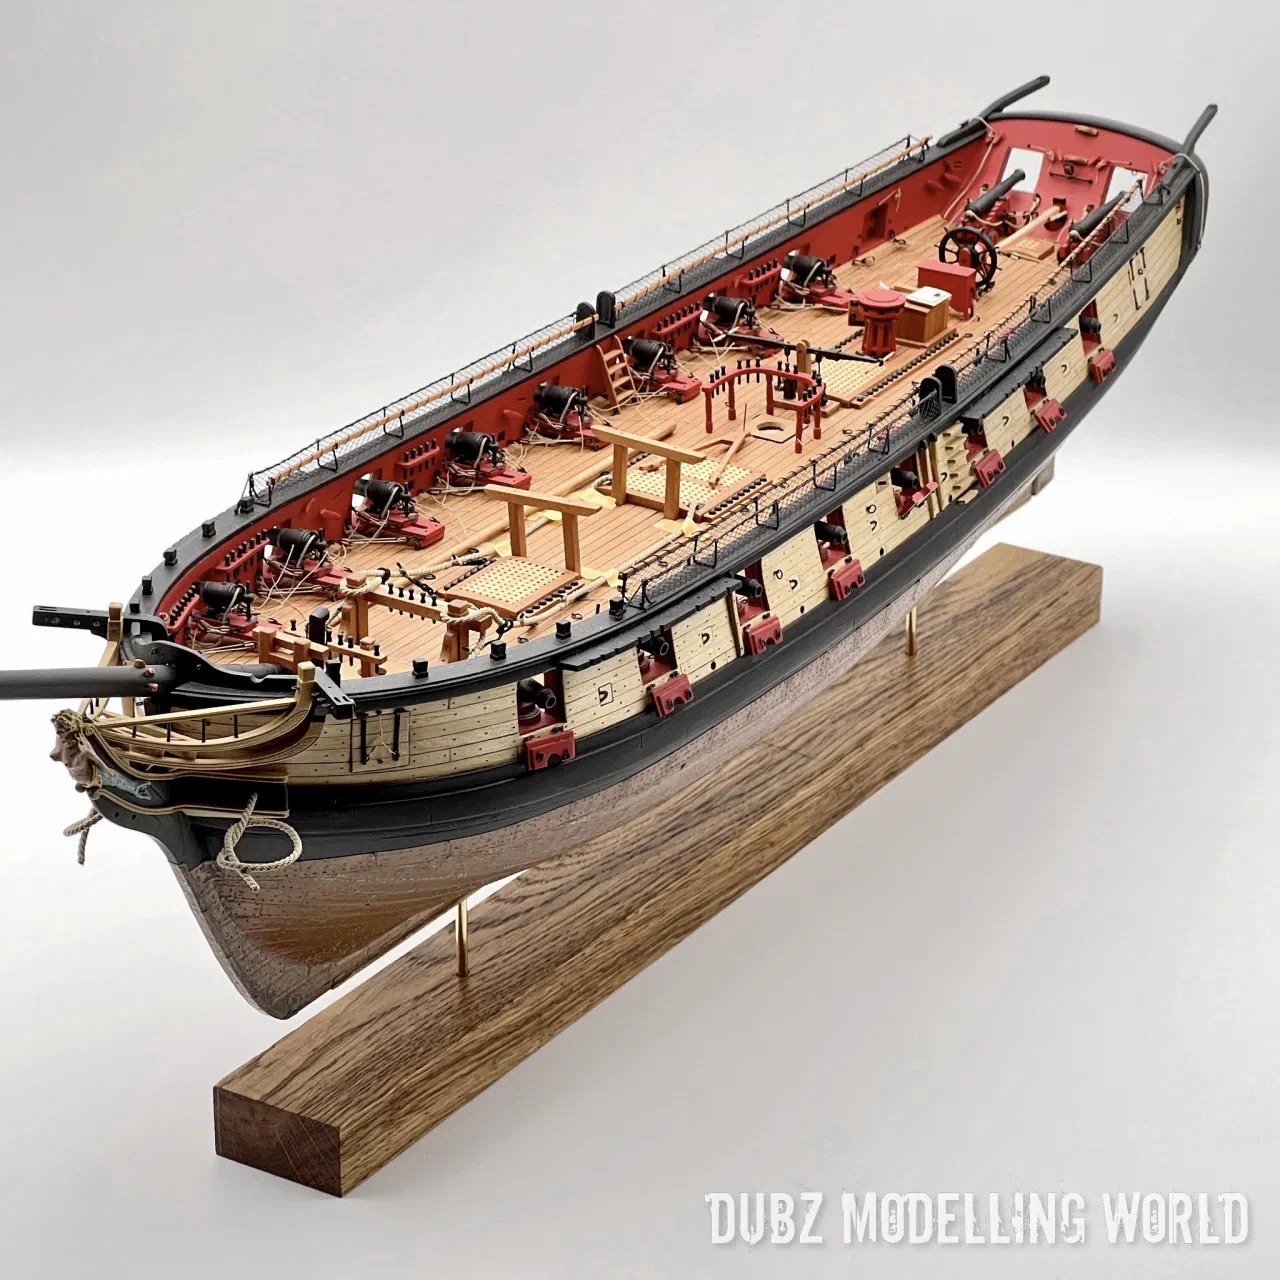
History
The Syren was a brig built for the United States Navy at Philadelphia by Nathaniel Hutton and launched on 6 August 1803. She measured about 240 tons, roughly 94 ft 3 in on deck with a beam of 27 ft 9 in, had a crew of 120 and was armed with sixteen 24-pounder carronades. She was commissioned in September 1803 under Lieutenant Charles Stewart.
She left Philadelphia at the end of August 1803 and reached Gibraltar on 1 October. From there she carried presents and money via Leghorn to the Dey of Algiers before joining the squadron at Syracuse in January 1804 – right into the First Barbary War. The frigate Philadelphia had run aground off Tripoli and been captured, and Commodore Preble ordered her destroyed. On 3 February 1804 Syren and the ketch Intrepid sailed from Syracuse; a gale kept them off Tripoli for days, and on the night of 16 February Intrepid, disguised as a Maltese merchantman, slipped into the harbour, her crew boarded Philadelphia, set her on fire and escaped under the fire of nearly a hundred Tripolitan guns. Syren had accompanied her to Tripoli and returned to Syracuse on 19 February.
In the following months Syren captured the Pasha’s armed brig Transfer, which joined the squadron as Scourge, and took part in the attacks on Tripoli in August and September 1804. After the peace of 1805 she stayed in the Mediterranean for almost another year, returned home in 1806, carried dispatches to France in 1809 and was renamed Siren in 1810. Few records survive of her service in the War of 1812. On 12 July 1814 the British 74-gun ship of the line HMS Medway caught her after an eleven-hour chase, during which the brig threw overboard her guns, anchors, cables, boats and spare spars in a vain attempt to escape.
The kit and the plan
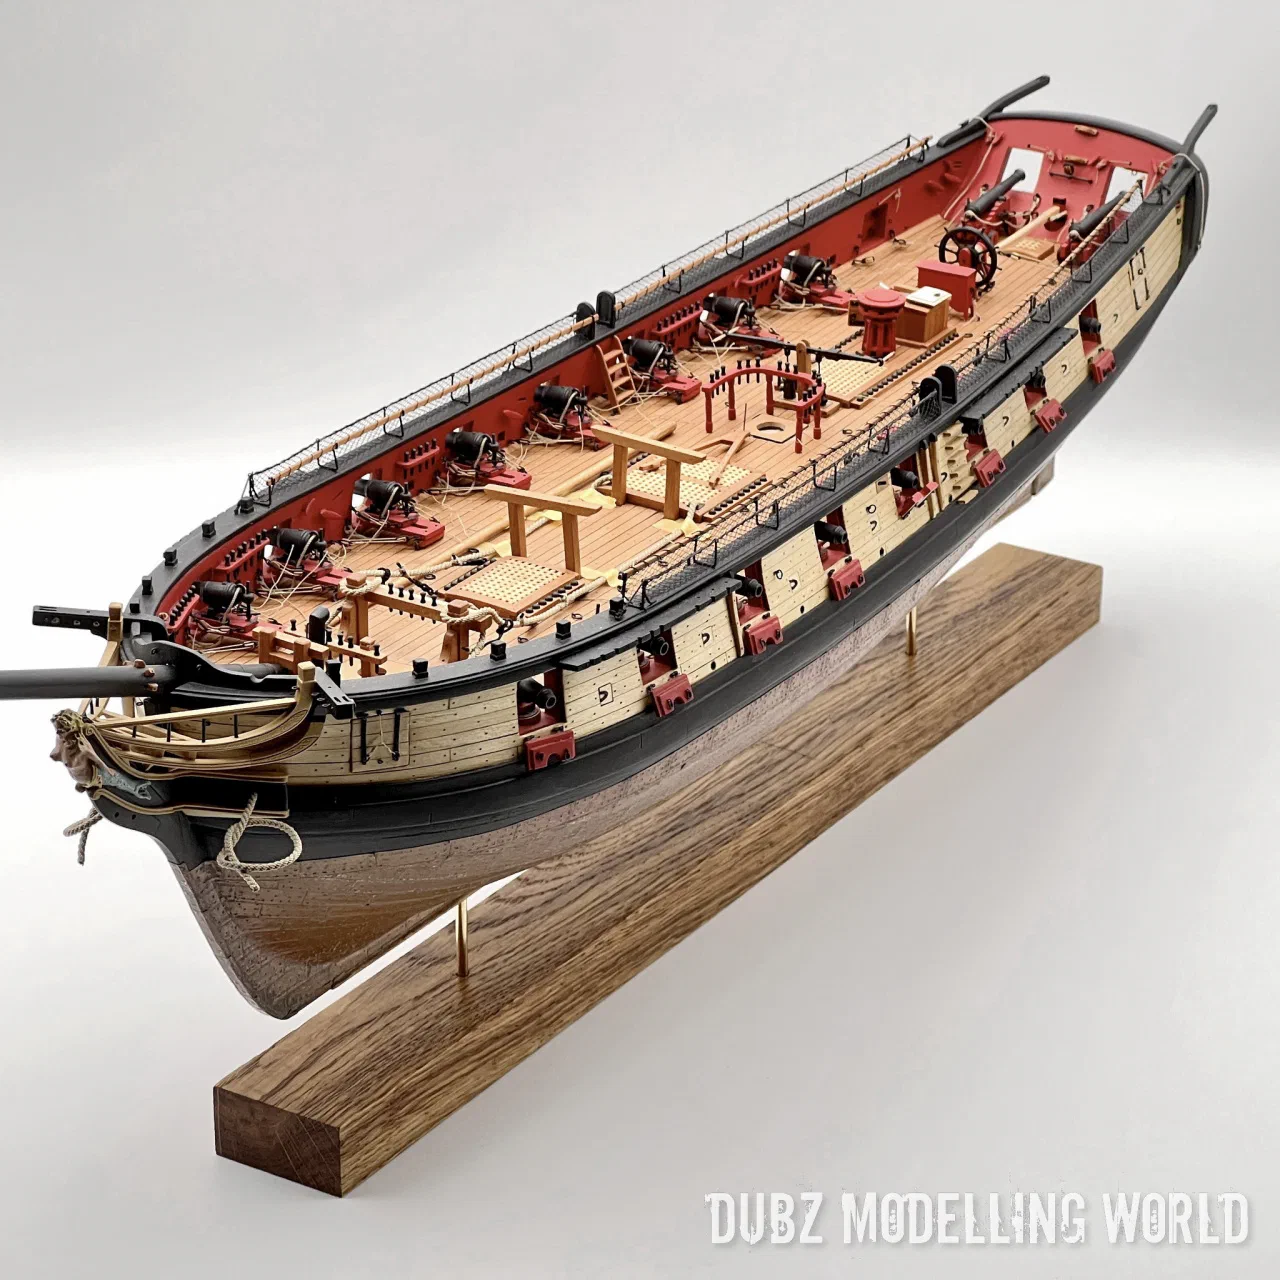
The Model Shipways Syren is a kit built in chapters: every stage is described step by step, with excellent plans. Where my build departs from the instructions, it usually follows the plans – or my own ideas about what I wanted to see on the model. Many parts I replaced with my own versions in pear and boxwood, and the guns are based on Caldercraft castings. The build ran from March 2013 to 2016; in 2020 I reposted the whole log in the forum, and in 2022 the hull got a proper stand for photographs.
The first chapter is the keel and the knee of the head – and next to the Sherbourne on the workbench, the size of the brig became obvious.
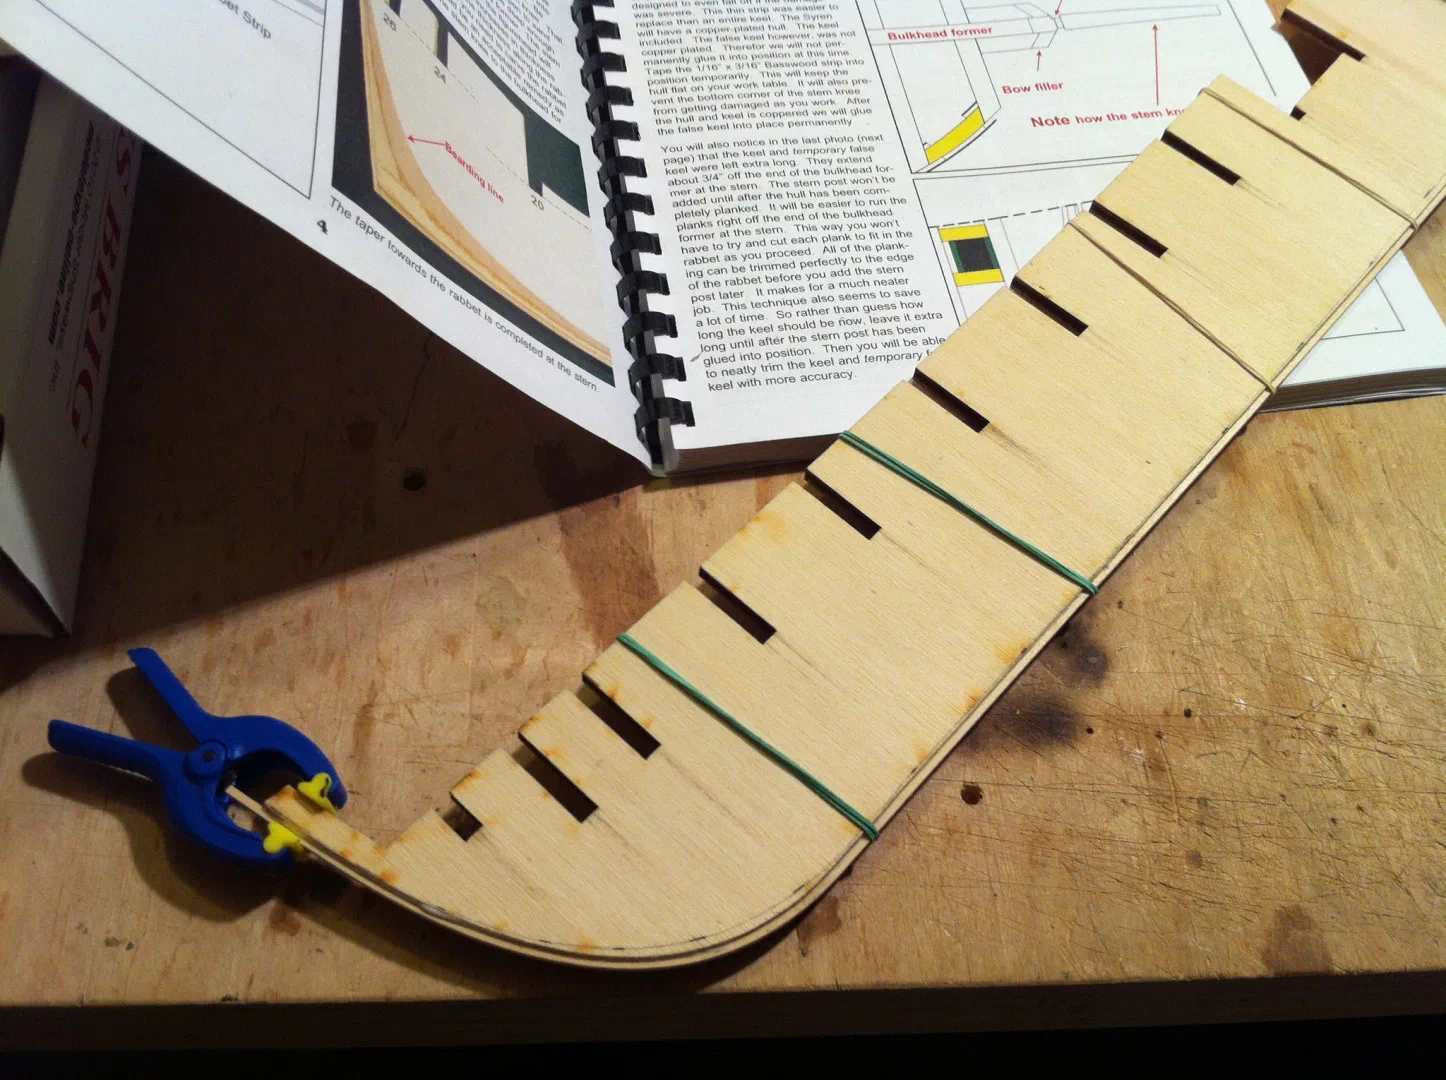
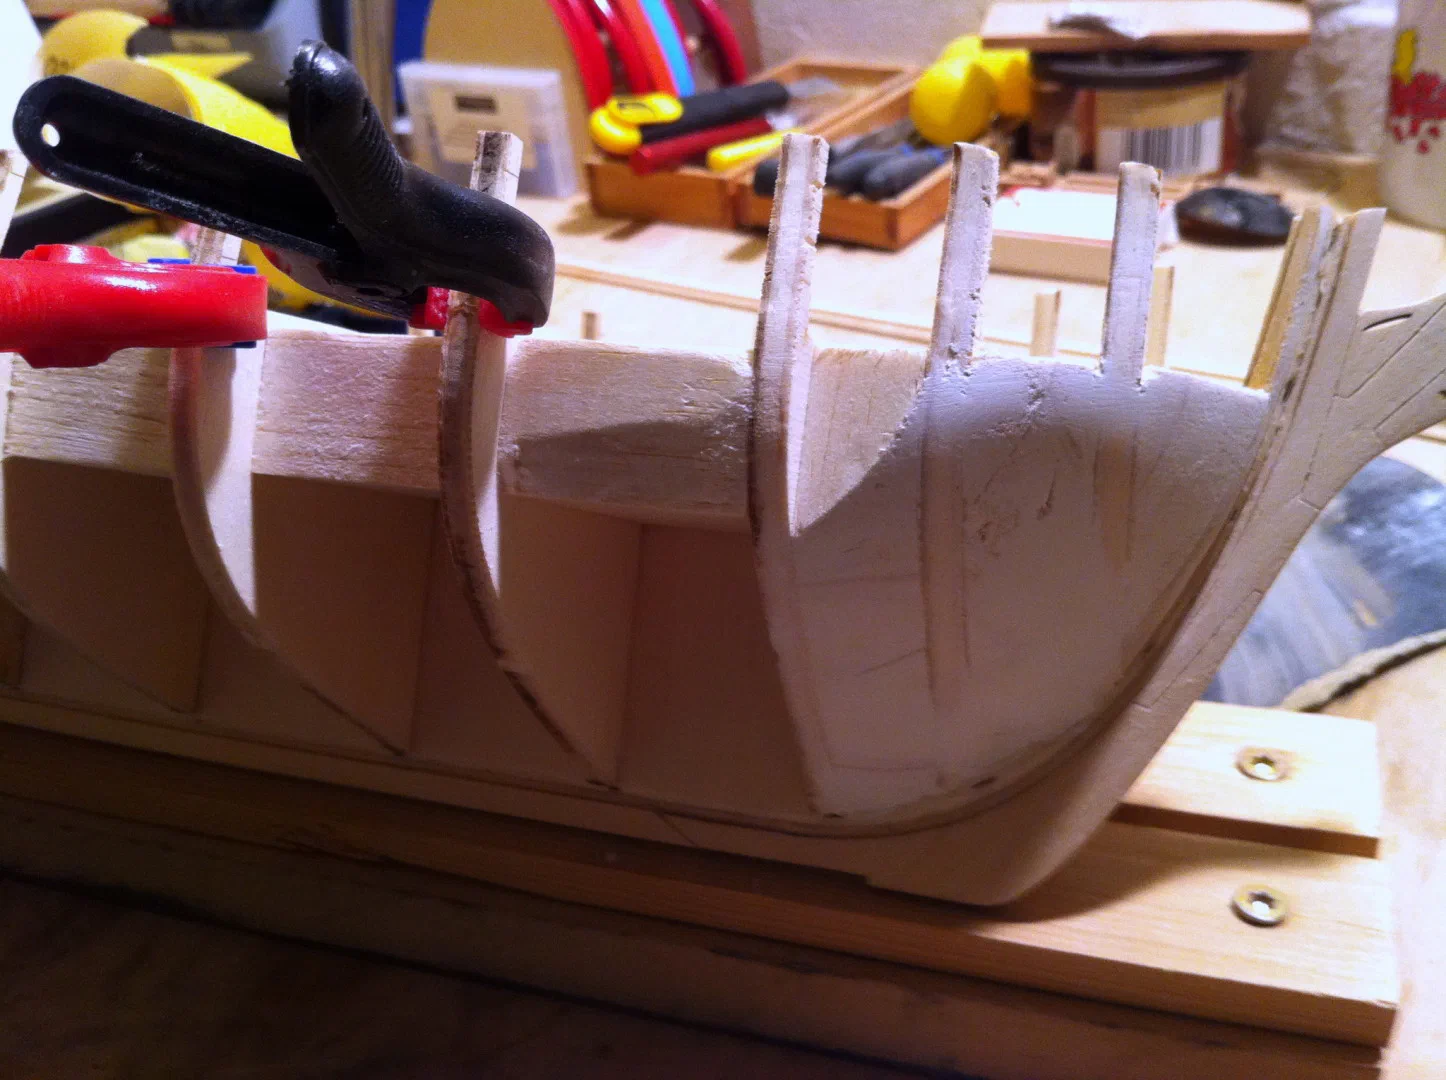
Bulkheads and filler blocks
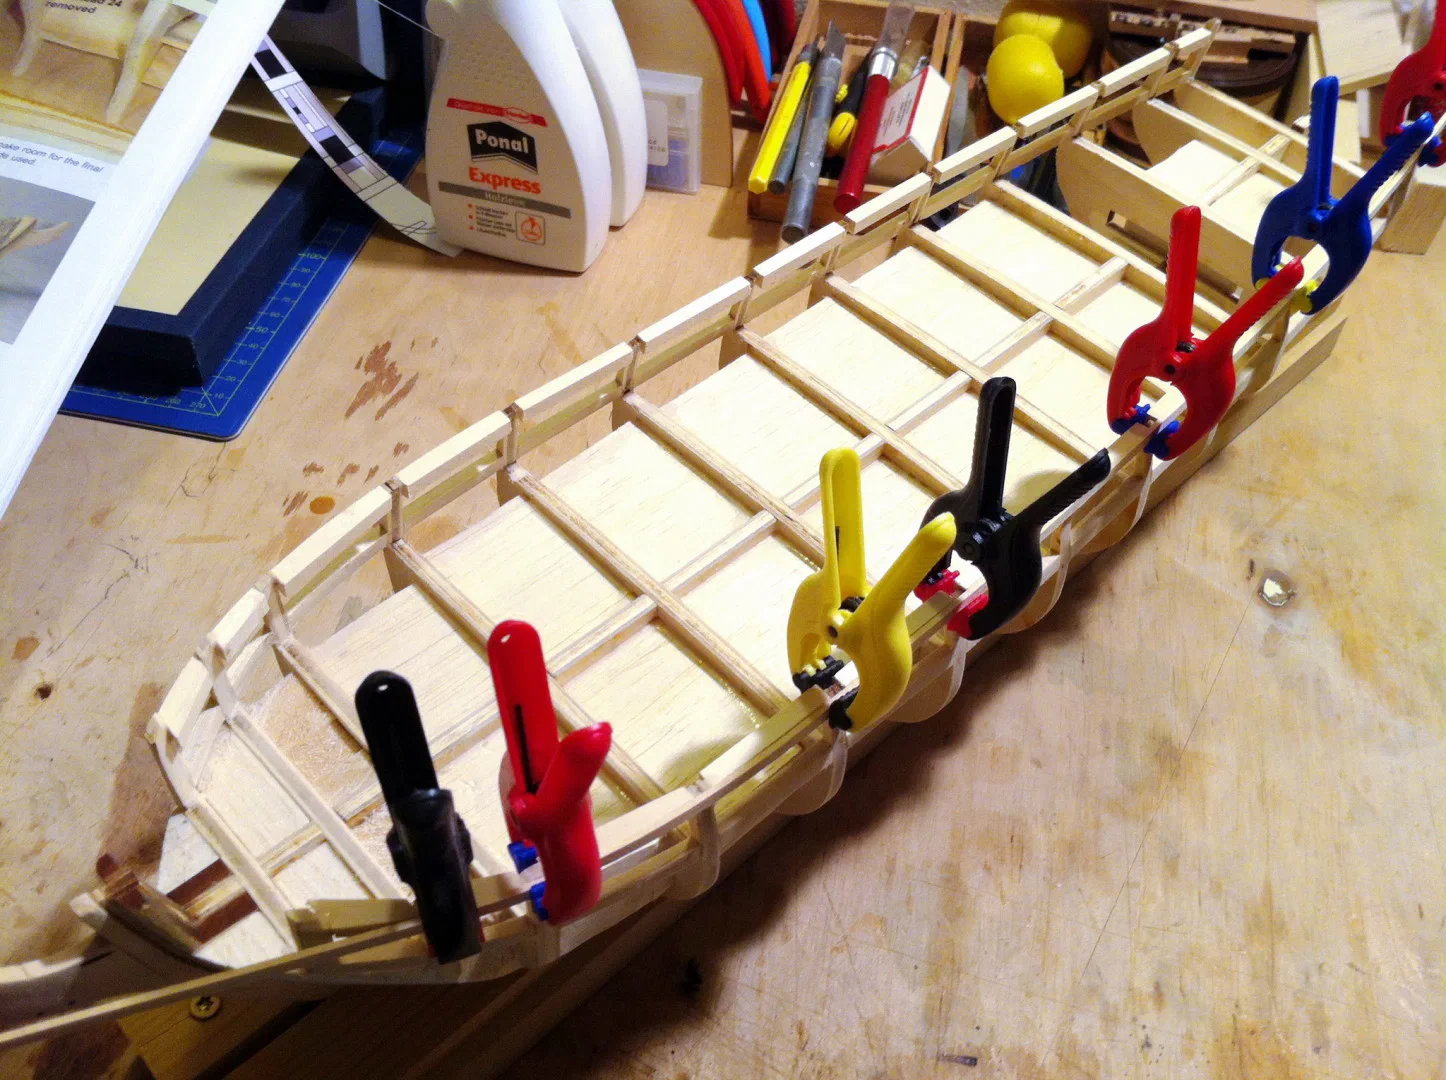
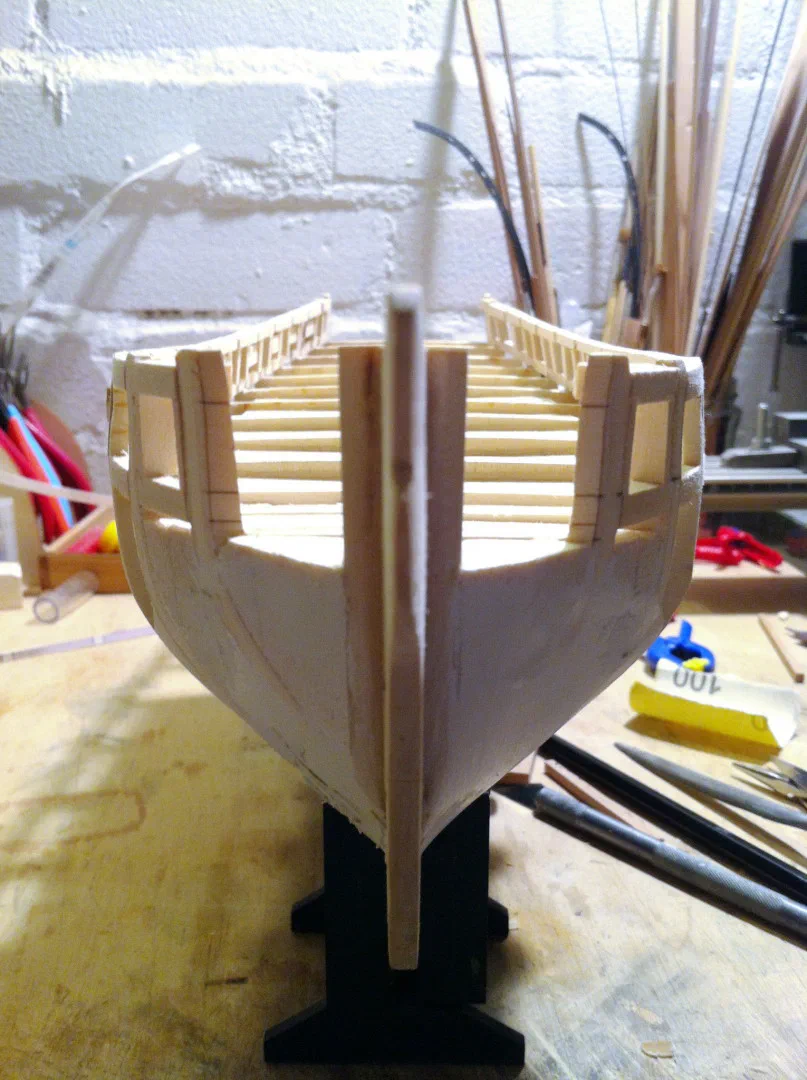
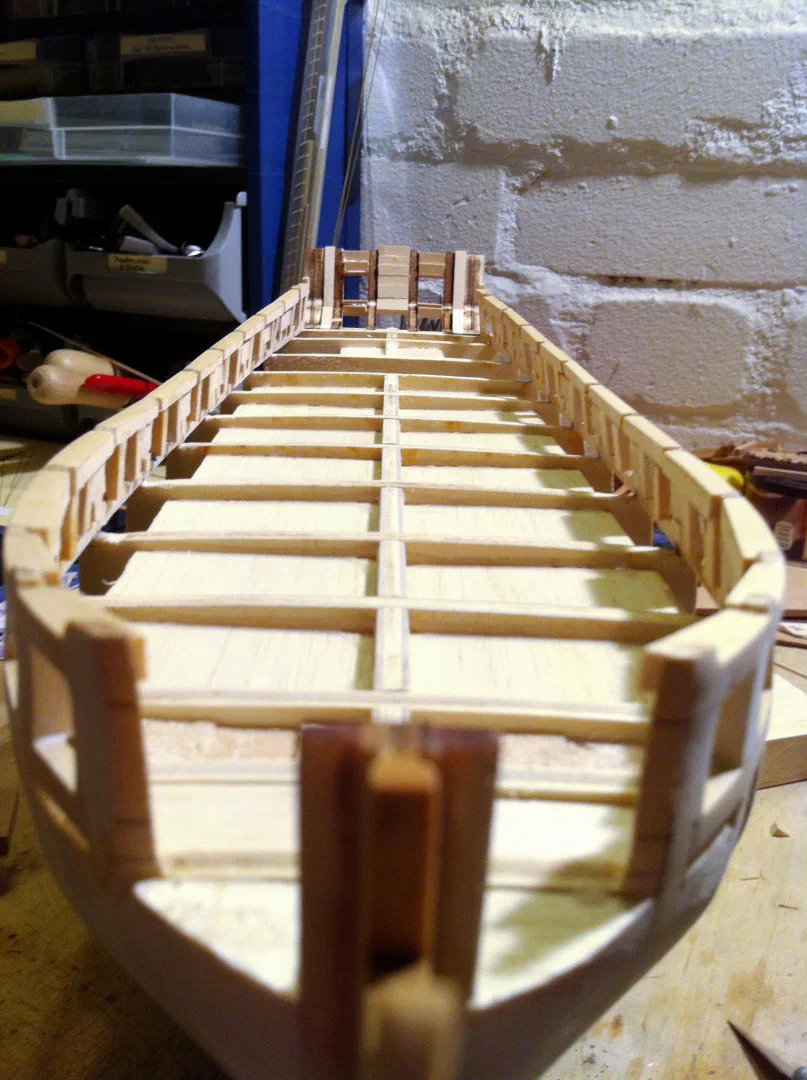
The bulkheads were set and the gaps at the bow and stern filled with filler blocks, then the whole frame was faired. The bulwark frames are fragile and tend to break, especially where the laser has burnt a little too hot. In hindsight I should have run the filler blocks up to the deck – it would have made several later steps much easier.
Gun ports and sweep ports
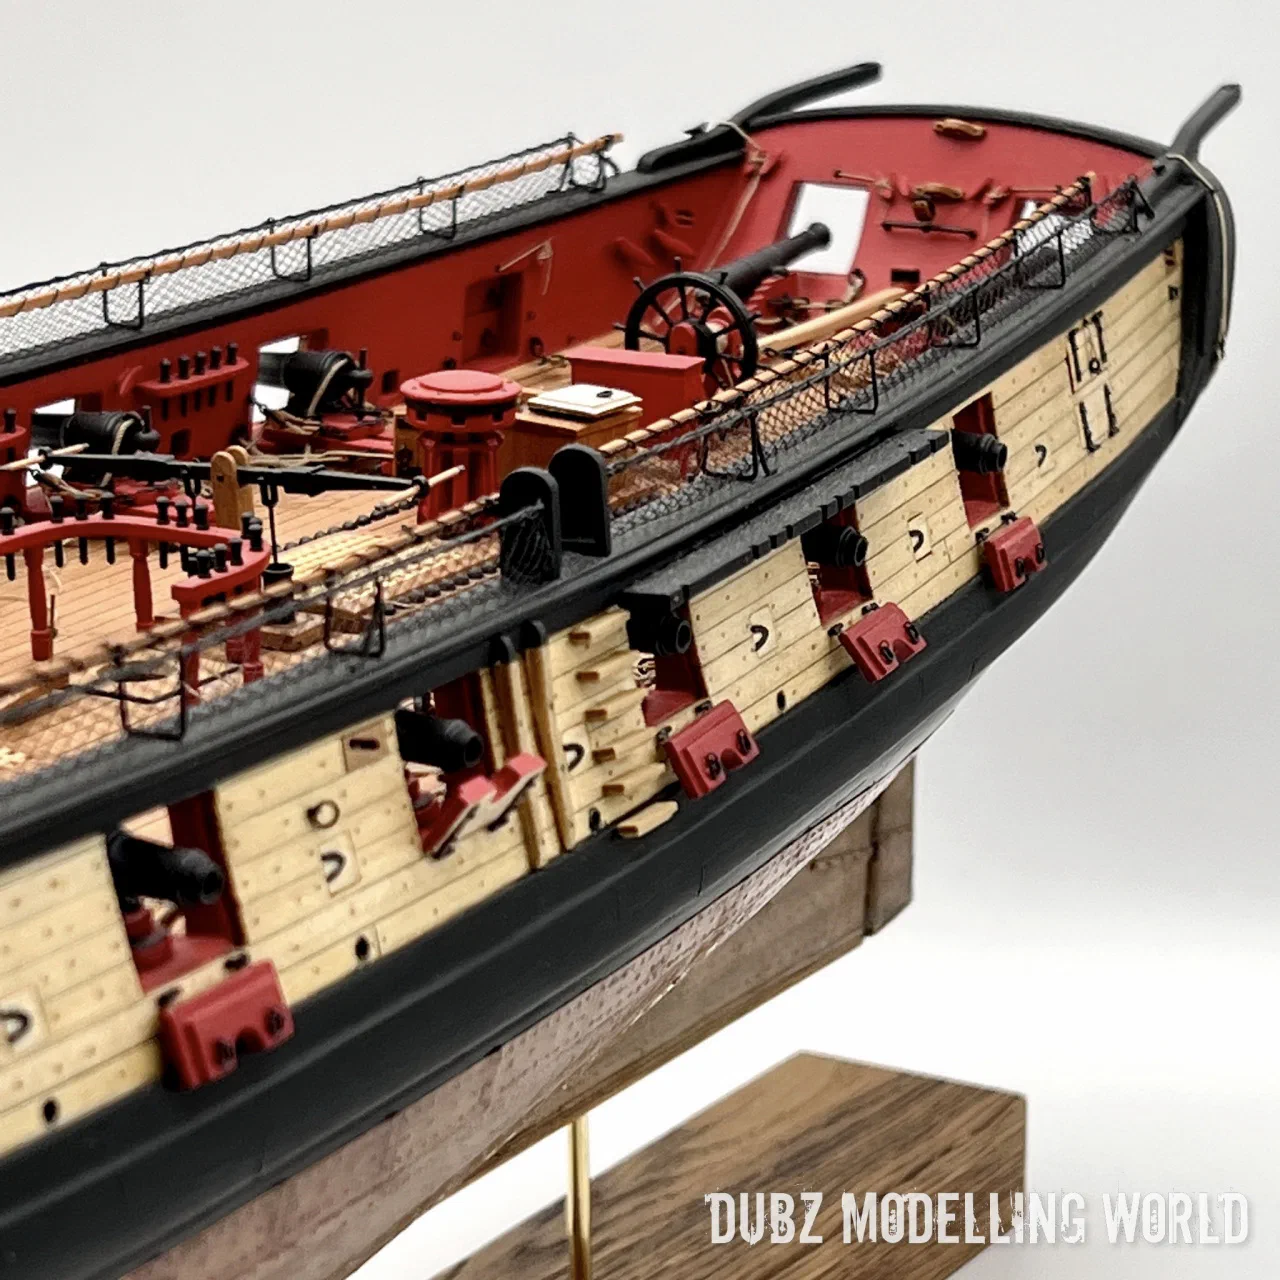
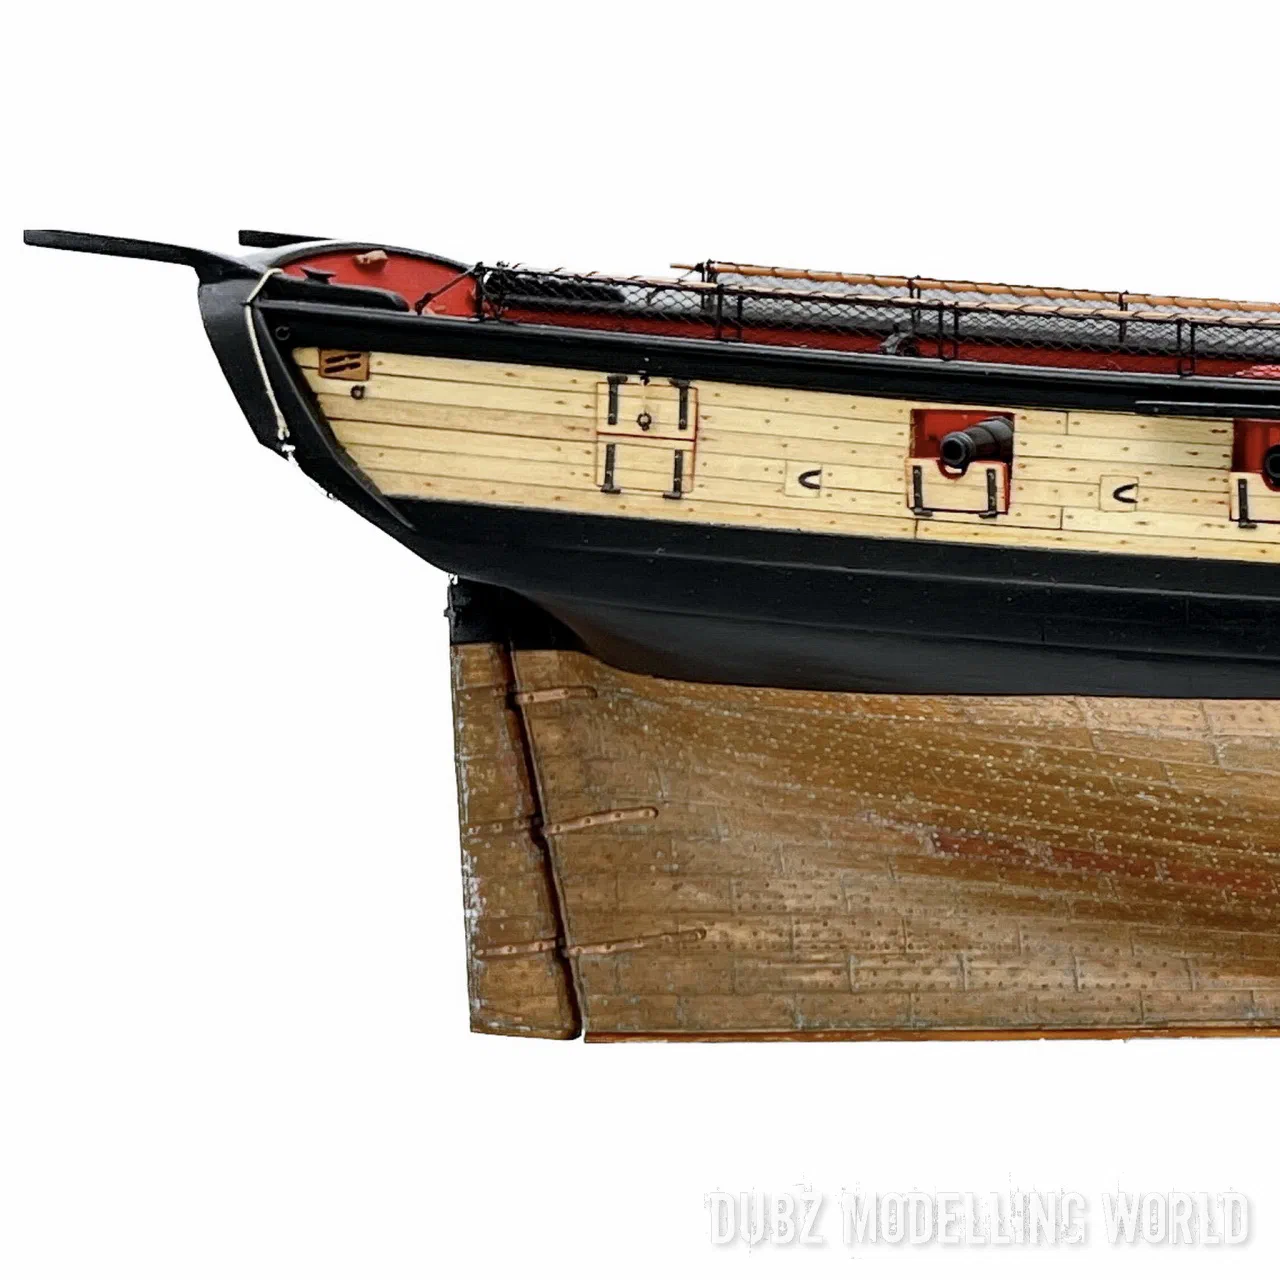
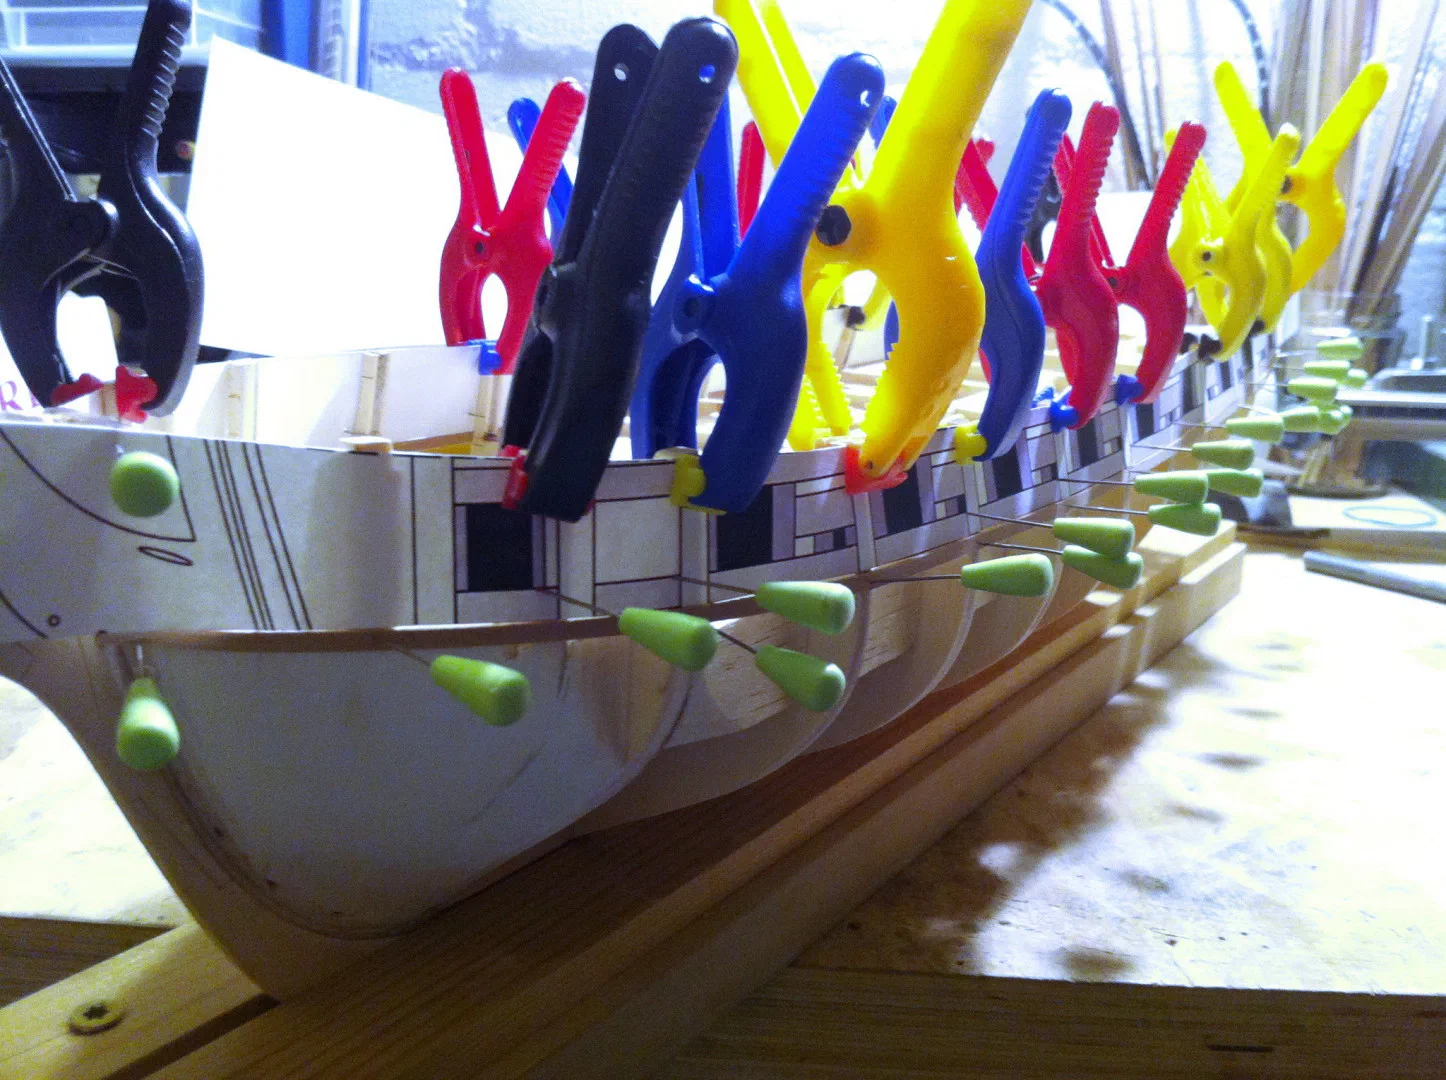
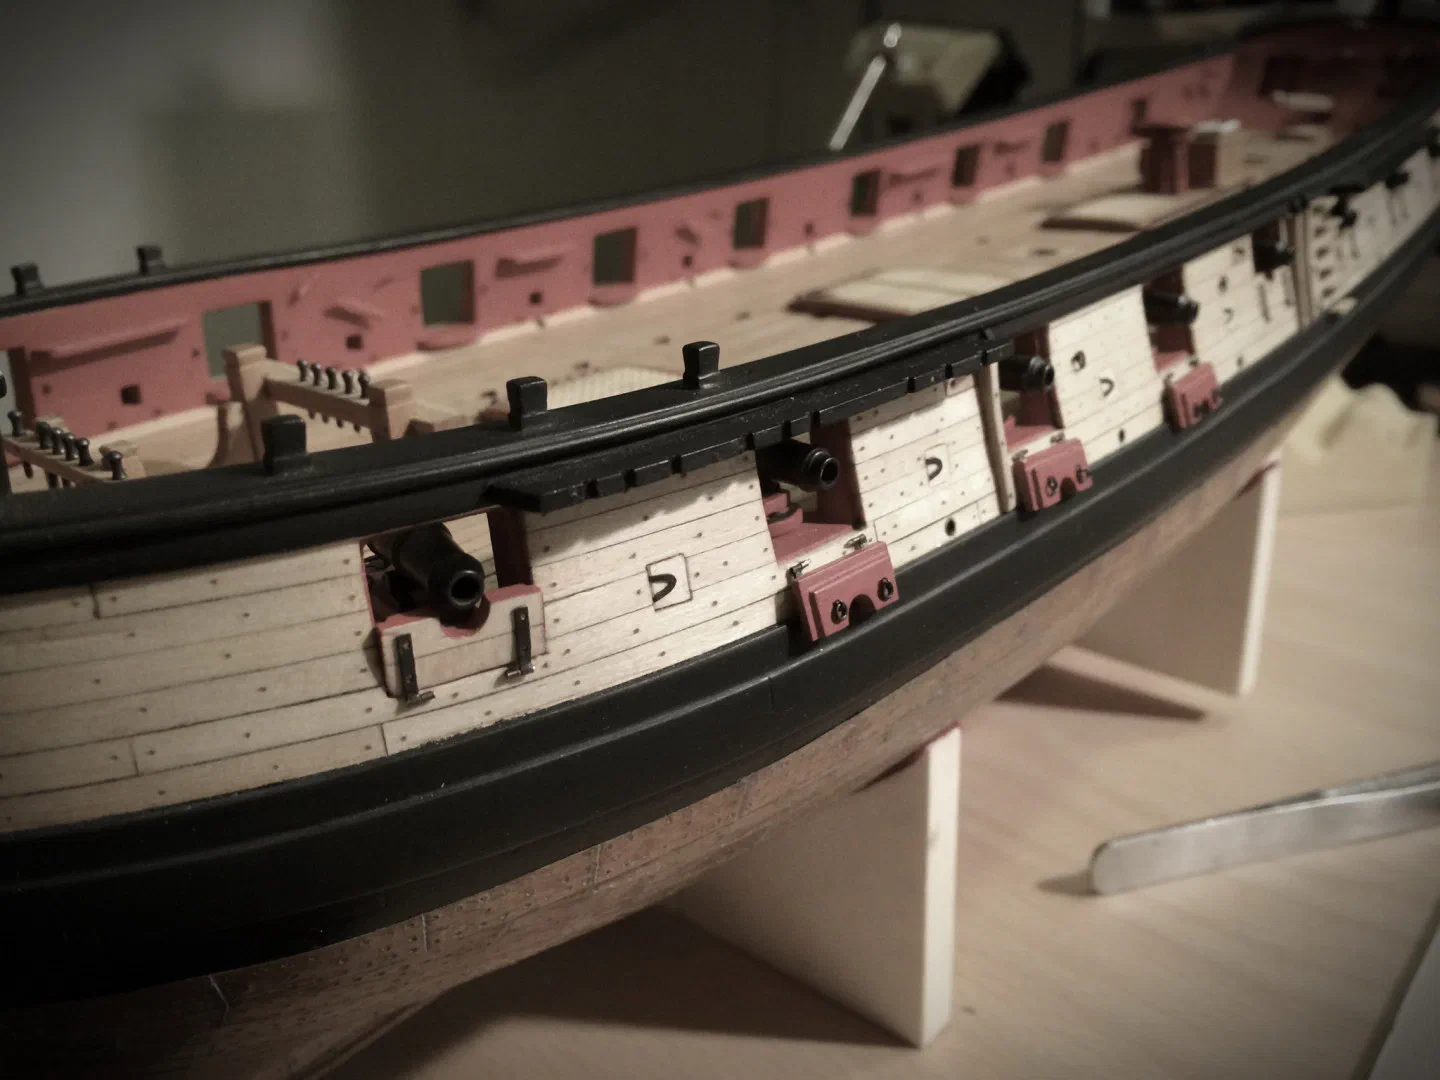
Chapter 3 defines the gun ports. With a paper template, a temporary batten and a lot of pins I looked for a smooth line that matched the laser marks, then built the gun port sills, making sure they sat level. For the lintels I made a small tool that copied the exact line of the sills. After that came the frames for the gun ports and for the sweep ports between them.
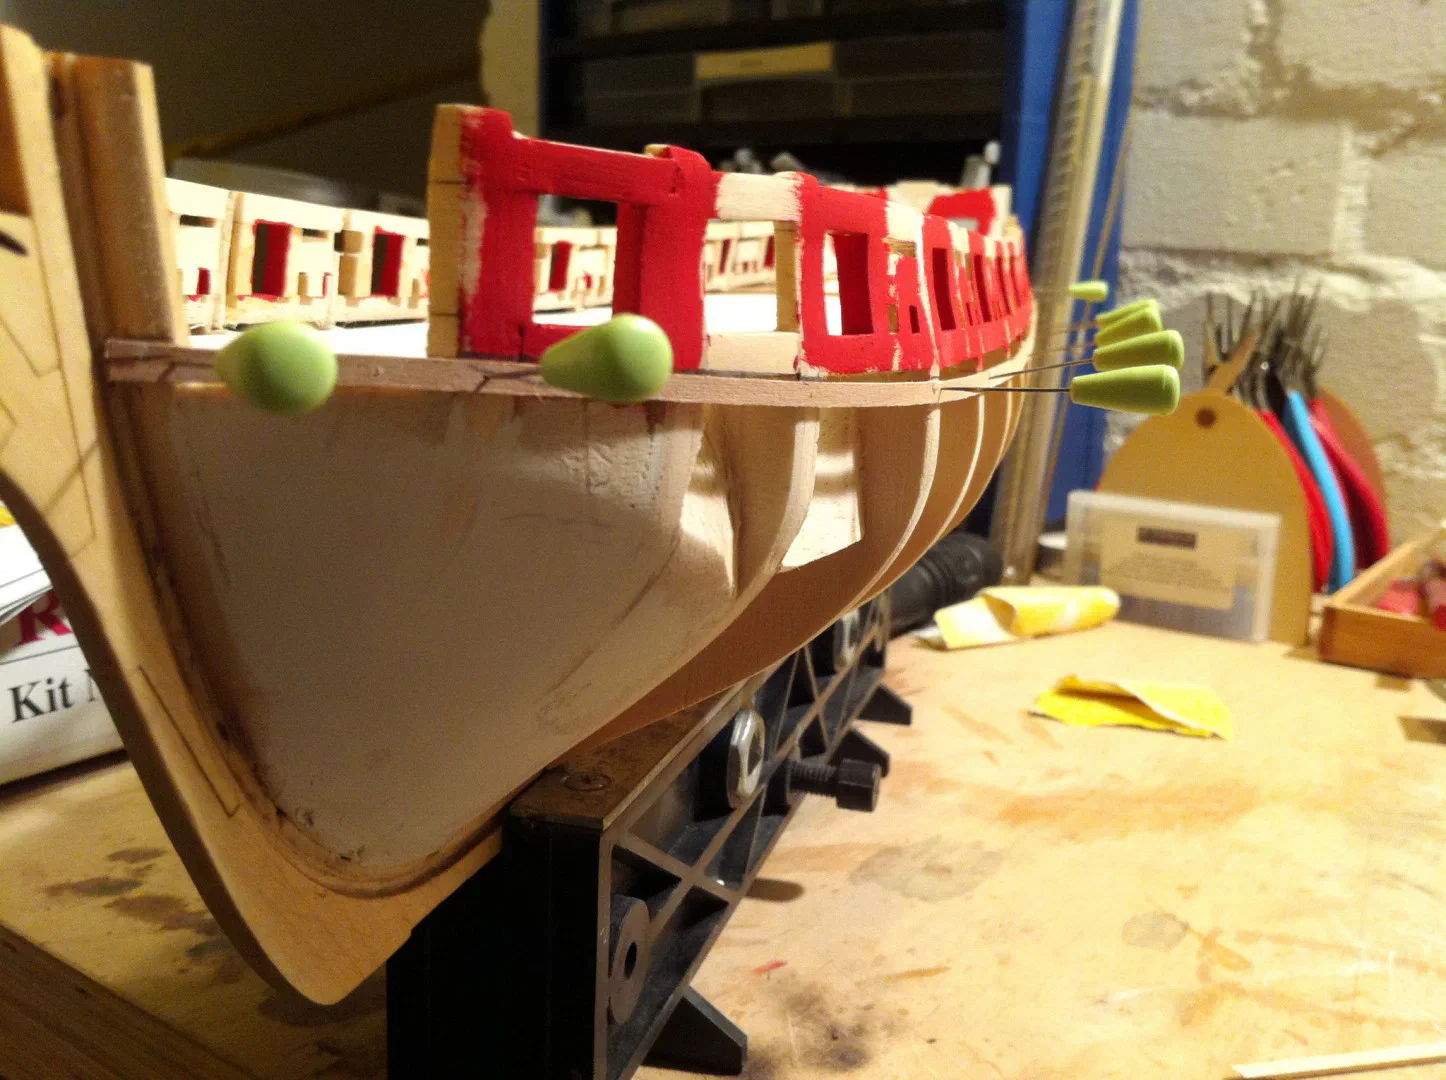
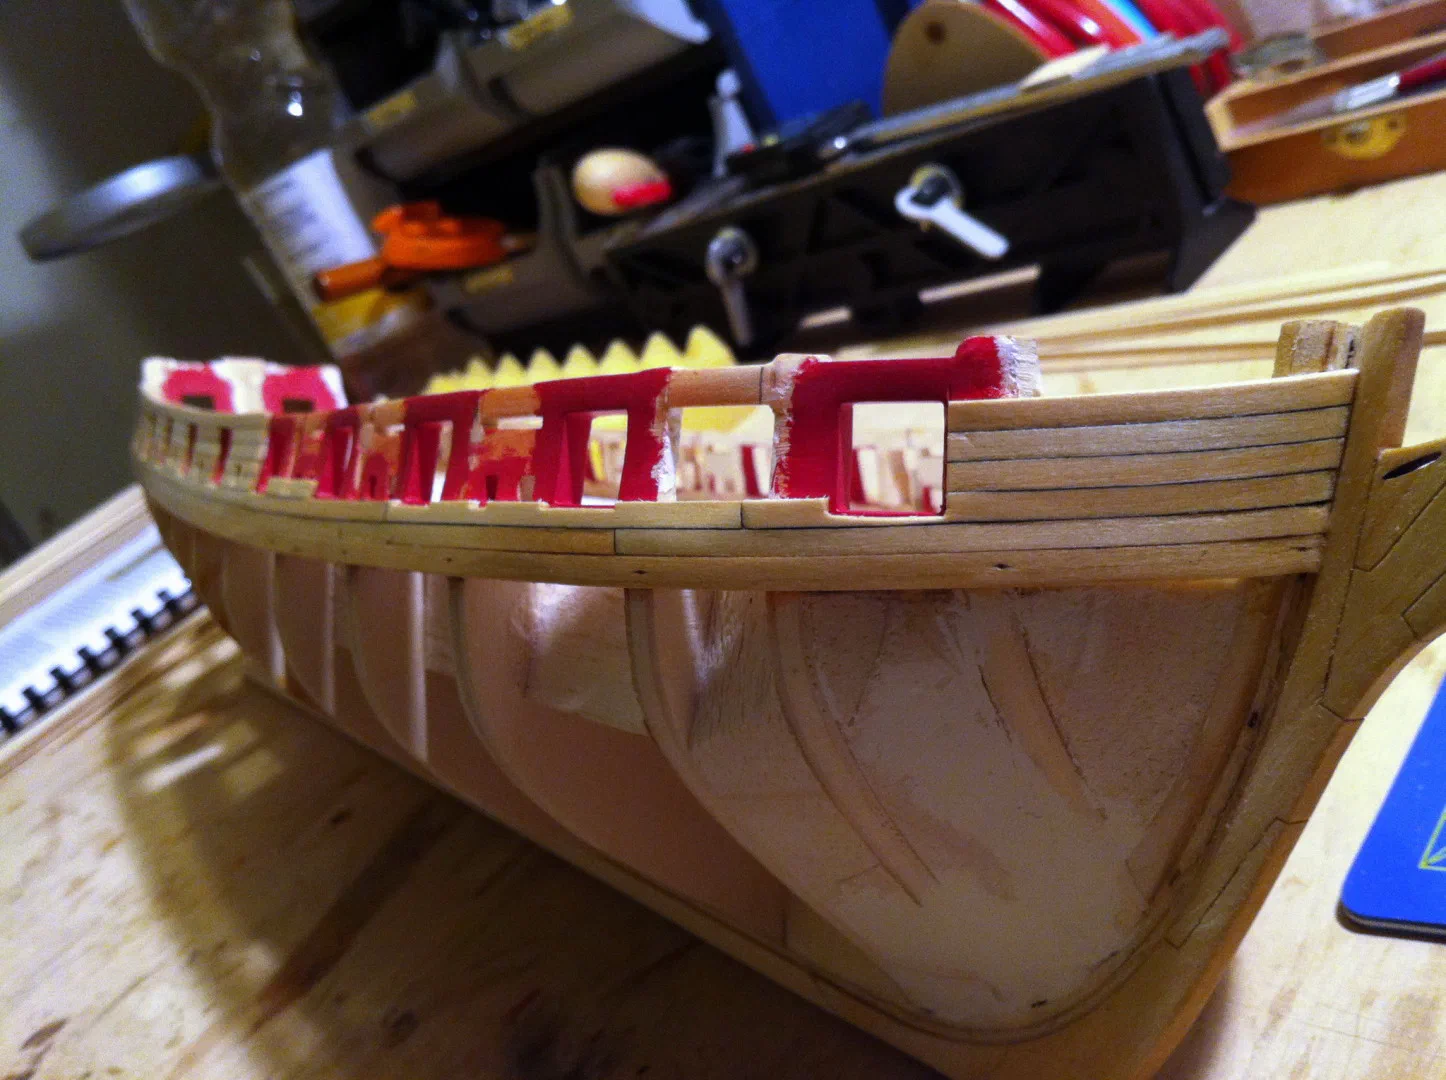
Before colouring the ports I filled every little gap – I do not like gaps there – and spent a long time on the small inward bump of the bulwarks at the bow, sanding until the lines looked homogeneous.
The stern
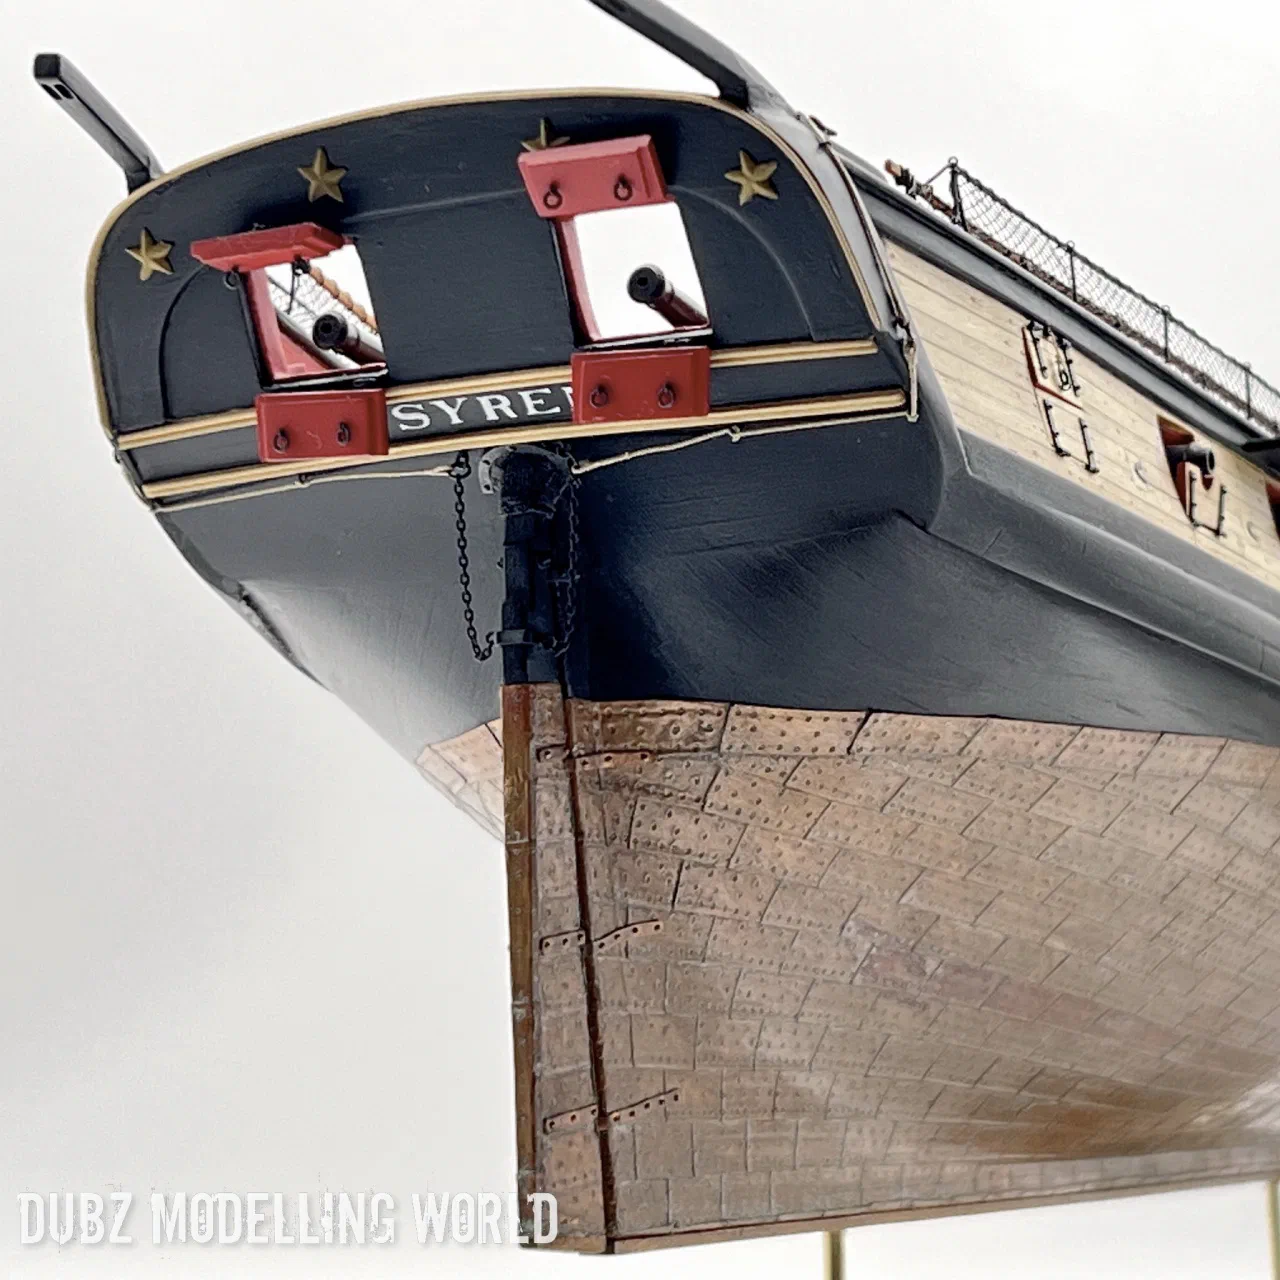
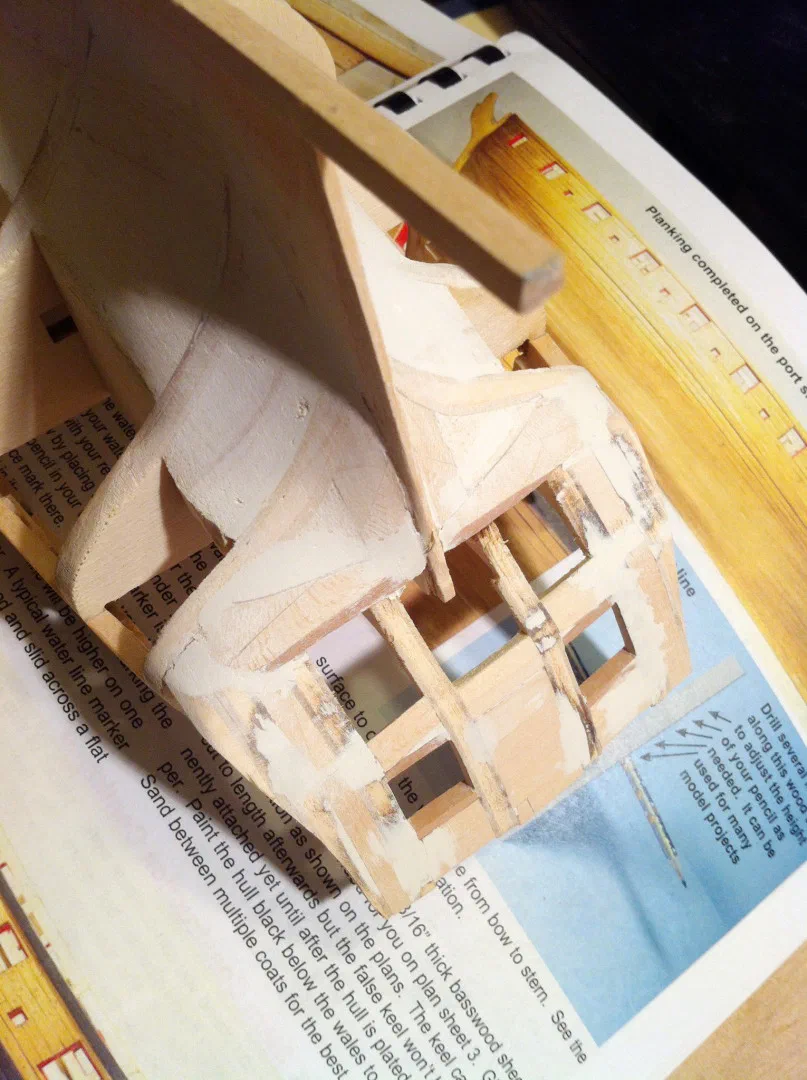
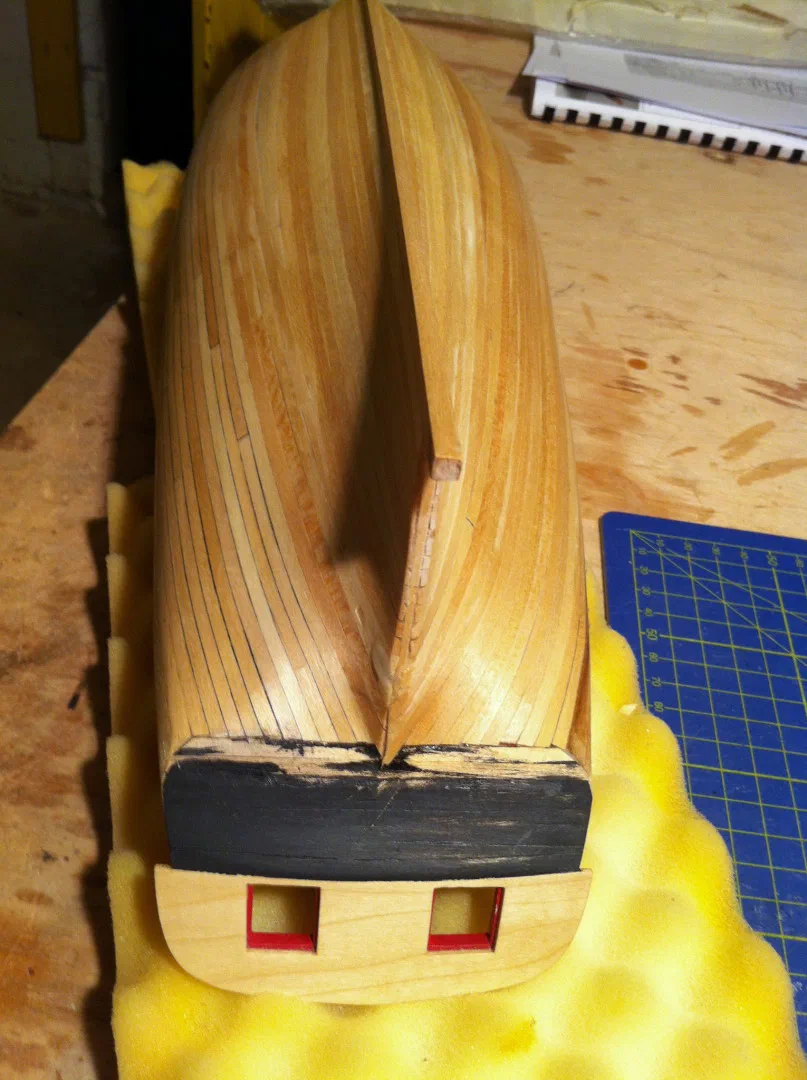
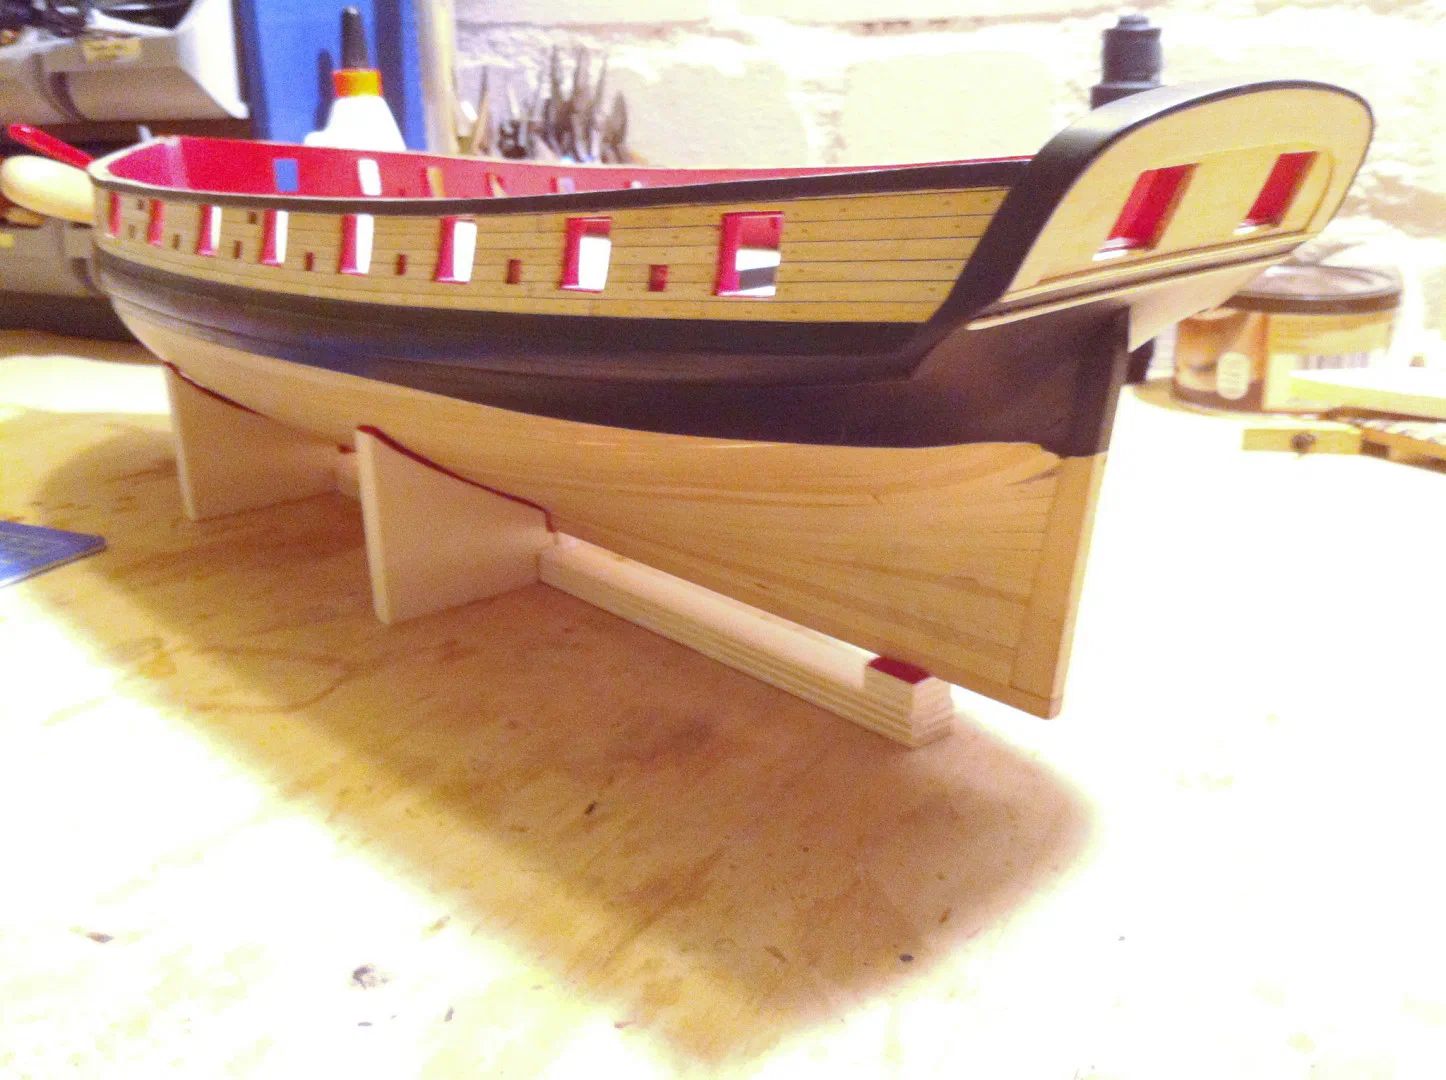
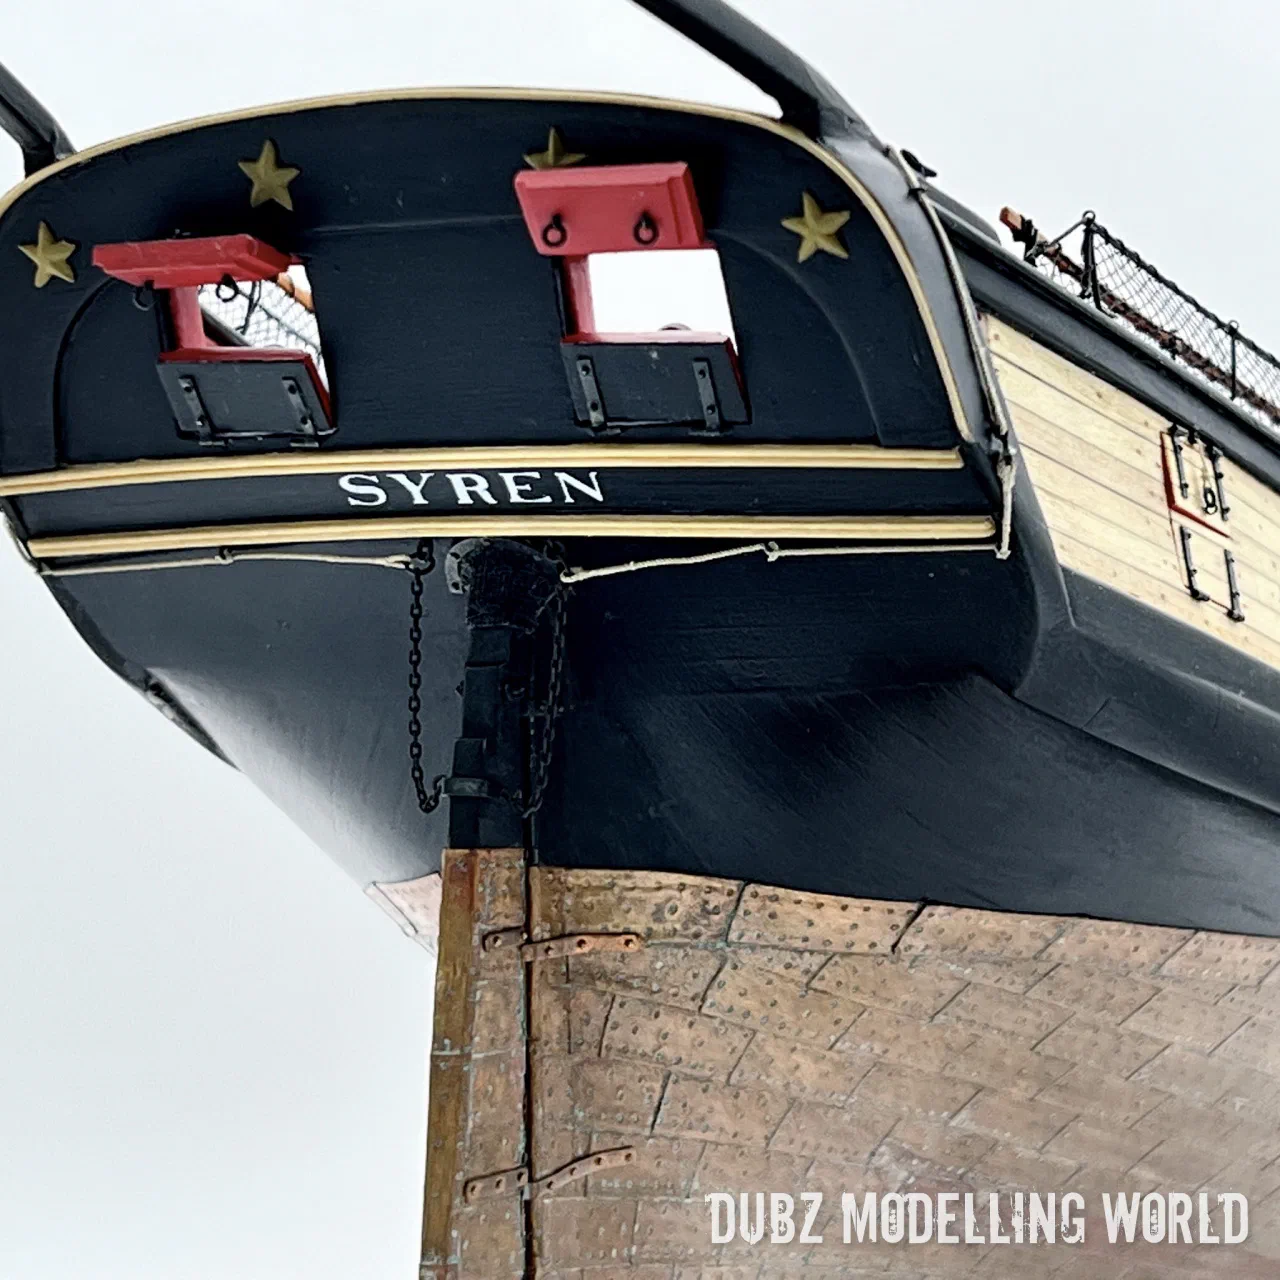
At the stern I deliberately followed the plans rather than the instructions: the stern ports do not sit on a straight line as perfect squares but follow the sheer of the deck, which makes them slightly trapezoidal. The sides of the stern were roughed out with a rotary tool and finished by hand along the shape of the hull, and filler pieces went in below the counter.
Planking the hull
Planking the outer hull was the most frustrating part of the whole build. My strips varied noticeably in width, and I only found out after I had trusted them: the measuring stick I had made from seven glued strips gave me the wrong position for the upper wale, and all the planks I had laid so far came off again. I then sorted the strips by size, made a new measuring stick and started over. The starboard side came out acceptable, the port side needed a second start – and to this day the two sides are not exactly the same.
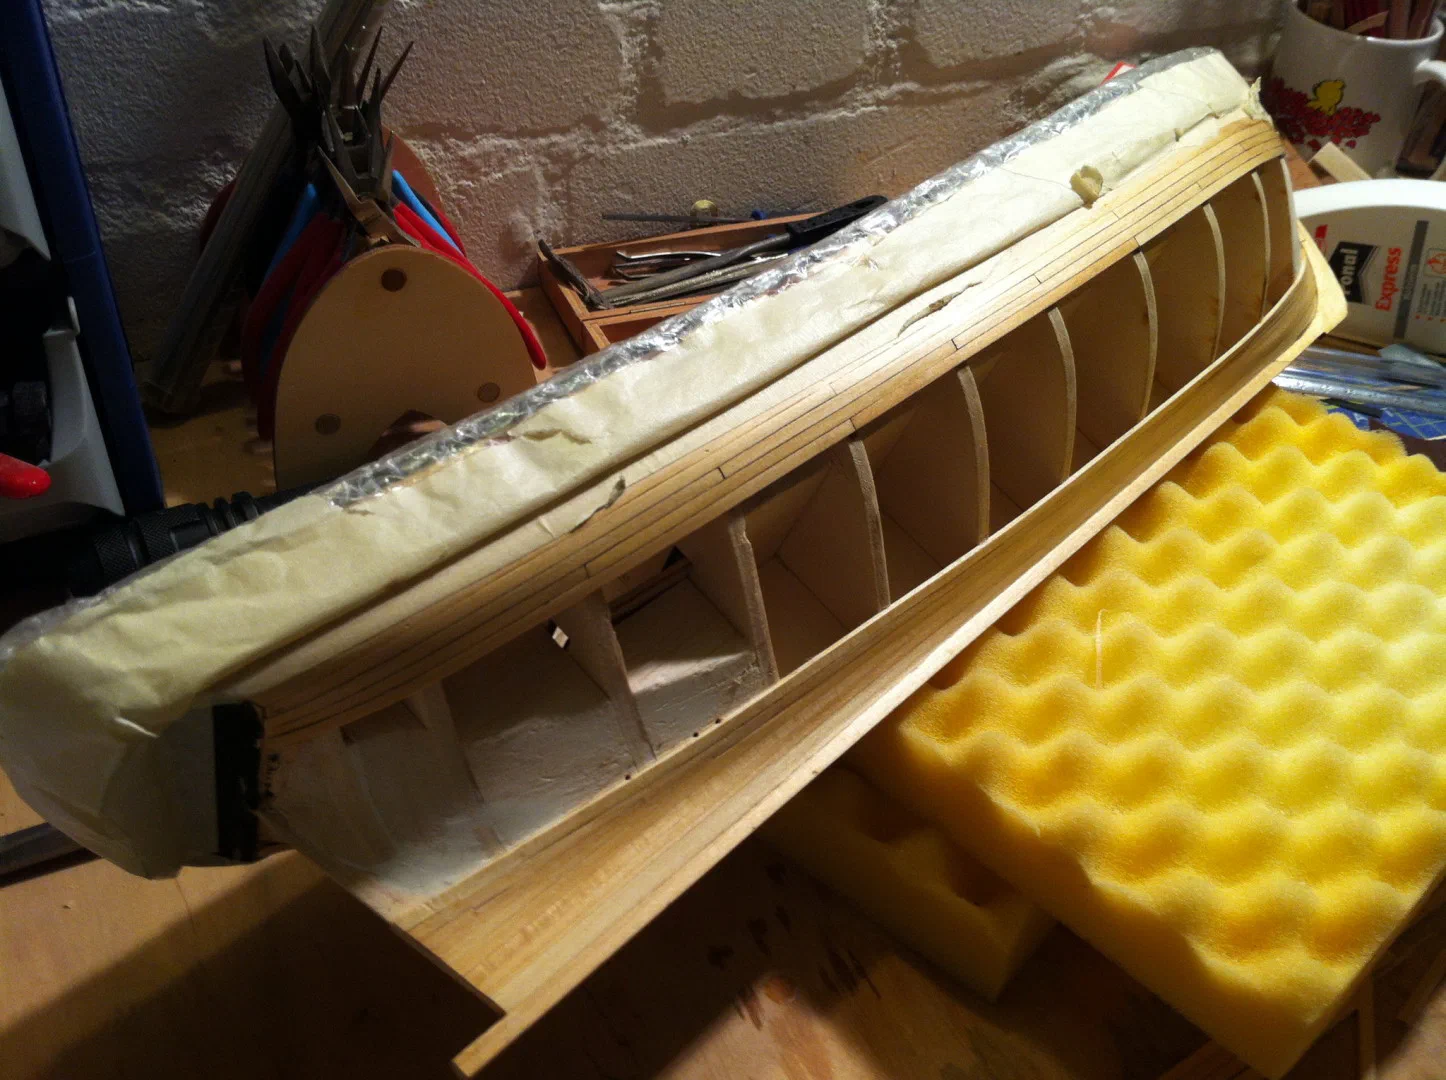
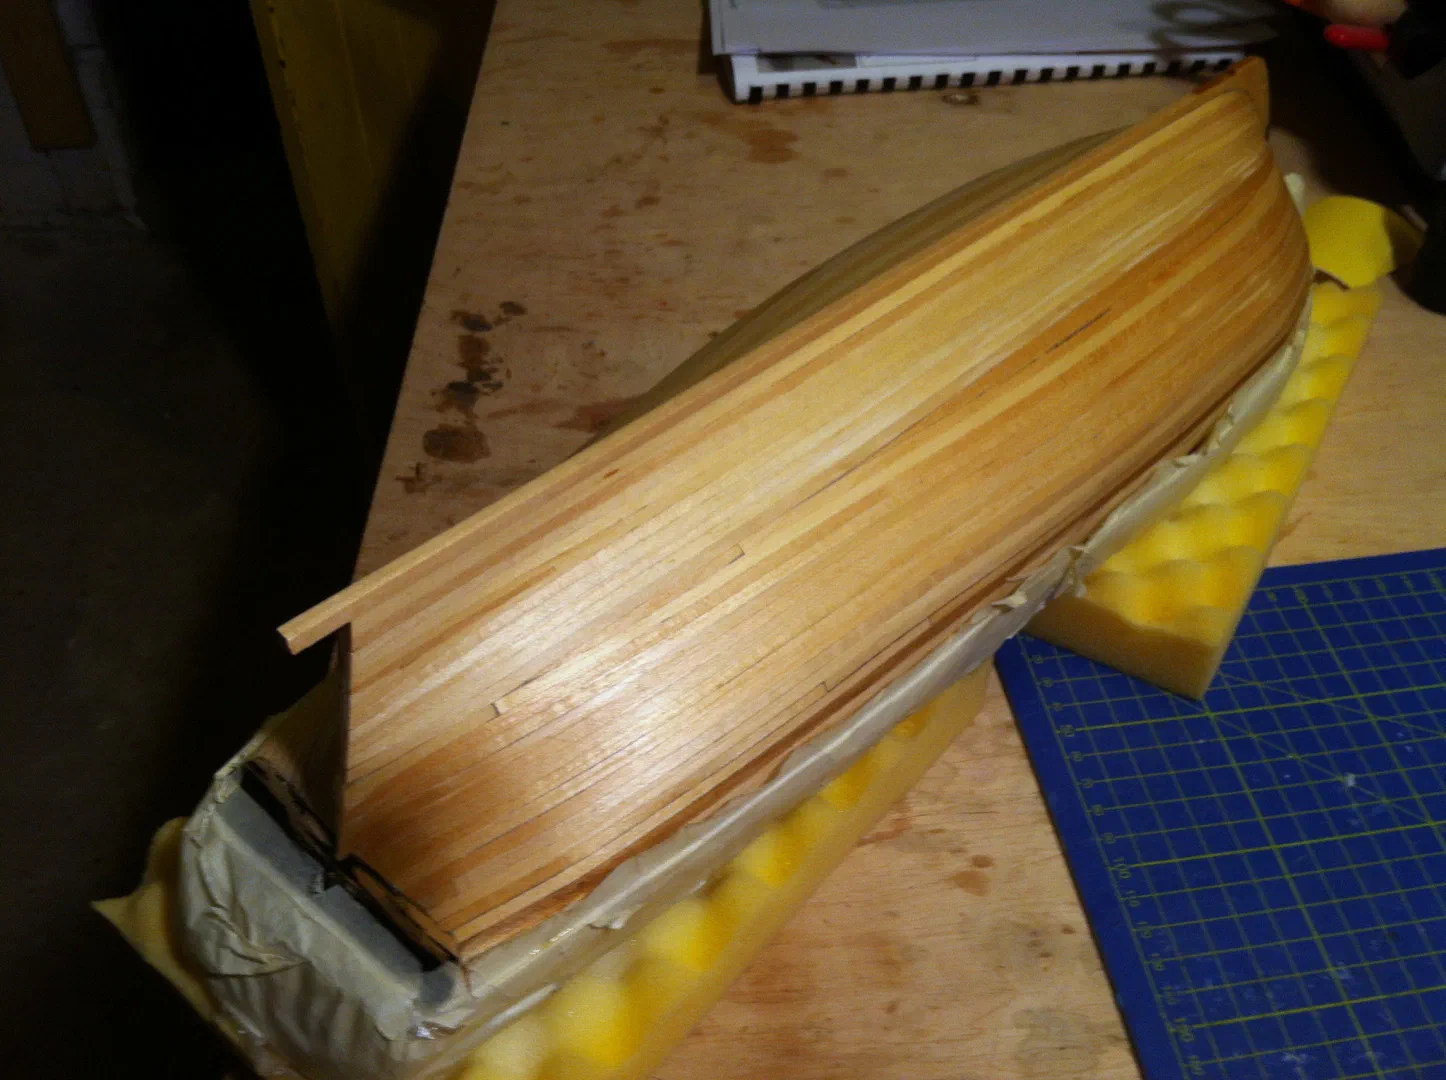
Since the lower hull was going to be coppered and painted, the result was fine for its purpose. It took a lot of sanding.
Wales, paint and treenails
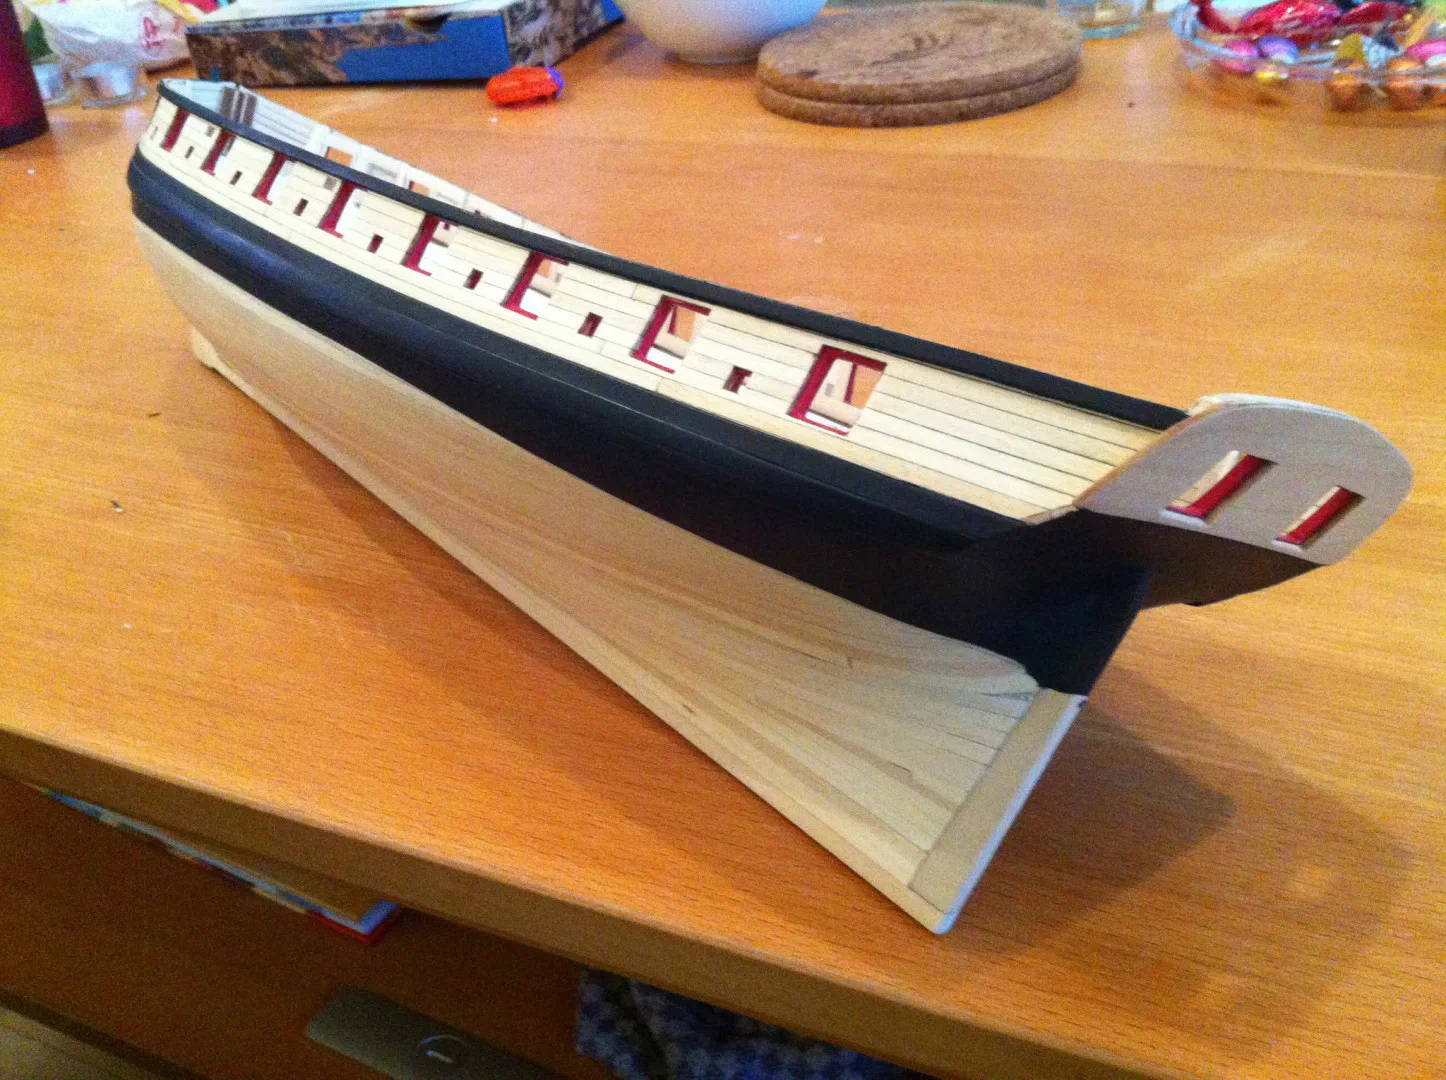
The three strakes of the wales were laid with a temporary batten as a guide: first the middle strake, glued with a combination of CA at bow and stern and ordinary wood glue in between, then the batten came off and the lower strake followed, and so on. One strip was missing from my kit, so I replaced it with pear. The seams were marked with a small cut, the edges rounded and the whole wale sanded.
The hull down to the waterline was painted with Humbrol through Tamiya masking tape – three coats. After the first coat I waited a day and sanded lightly with 600 paper, after the second I polished with a cotton cloth, and after the third, four hours later, a final polish gave a slight shine to the matt paint.
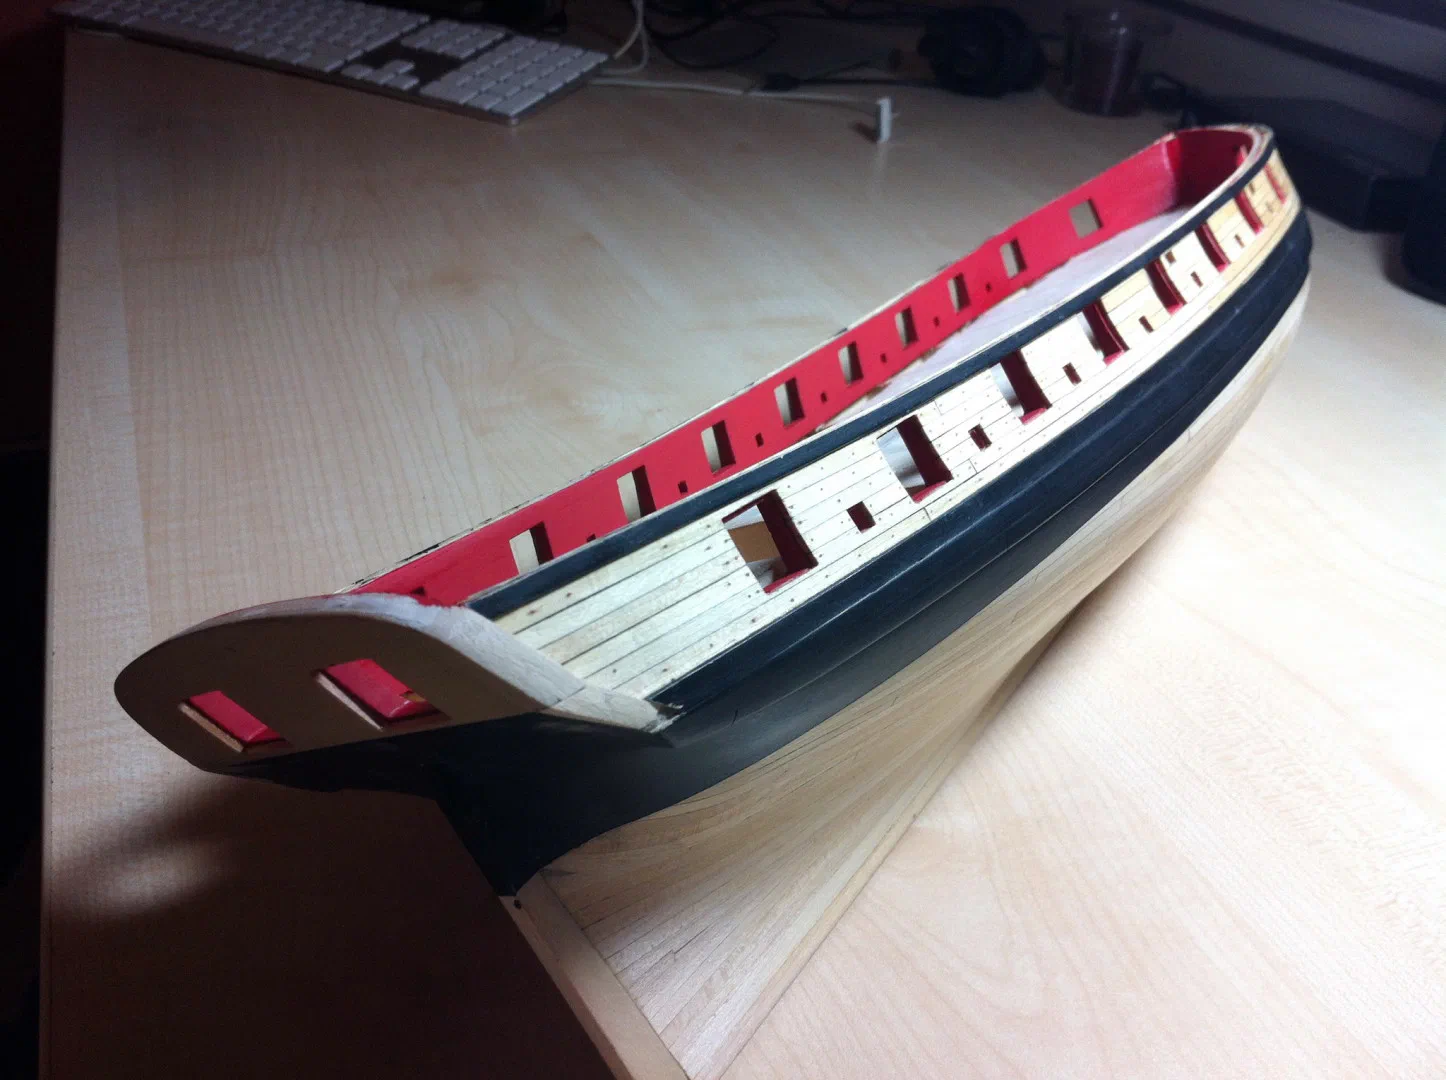
For the treenails I printed my nail pattern on a transparent sheet, marked the holes, drilled them and filled them with wax. On the starboard side I marked with an awl – a mistake with this soft wood, because it pressed the fibres and the wax spread beyond the holes. On the port side I used a needle, with a much better result.
Inboard planking and cap rails
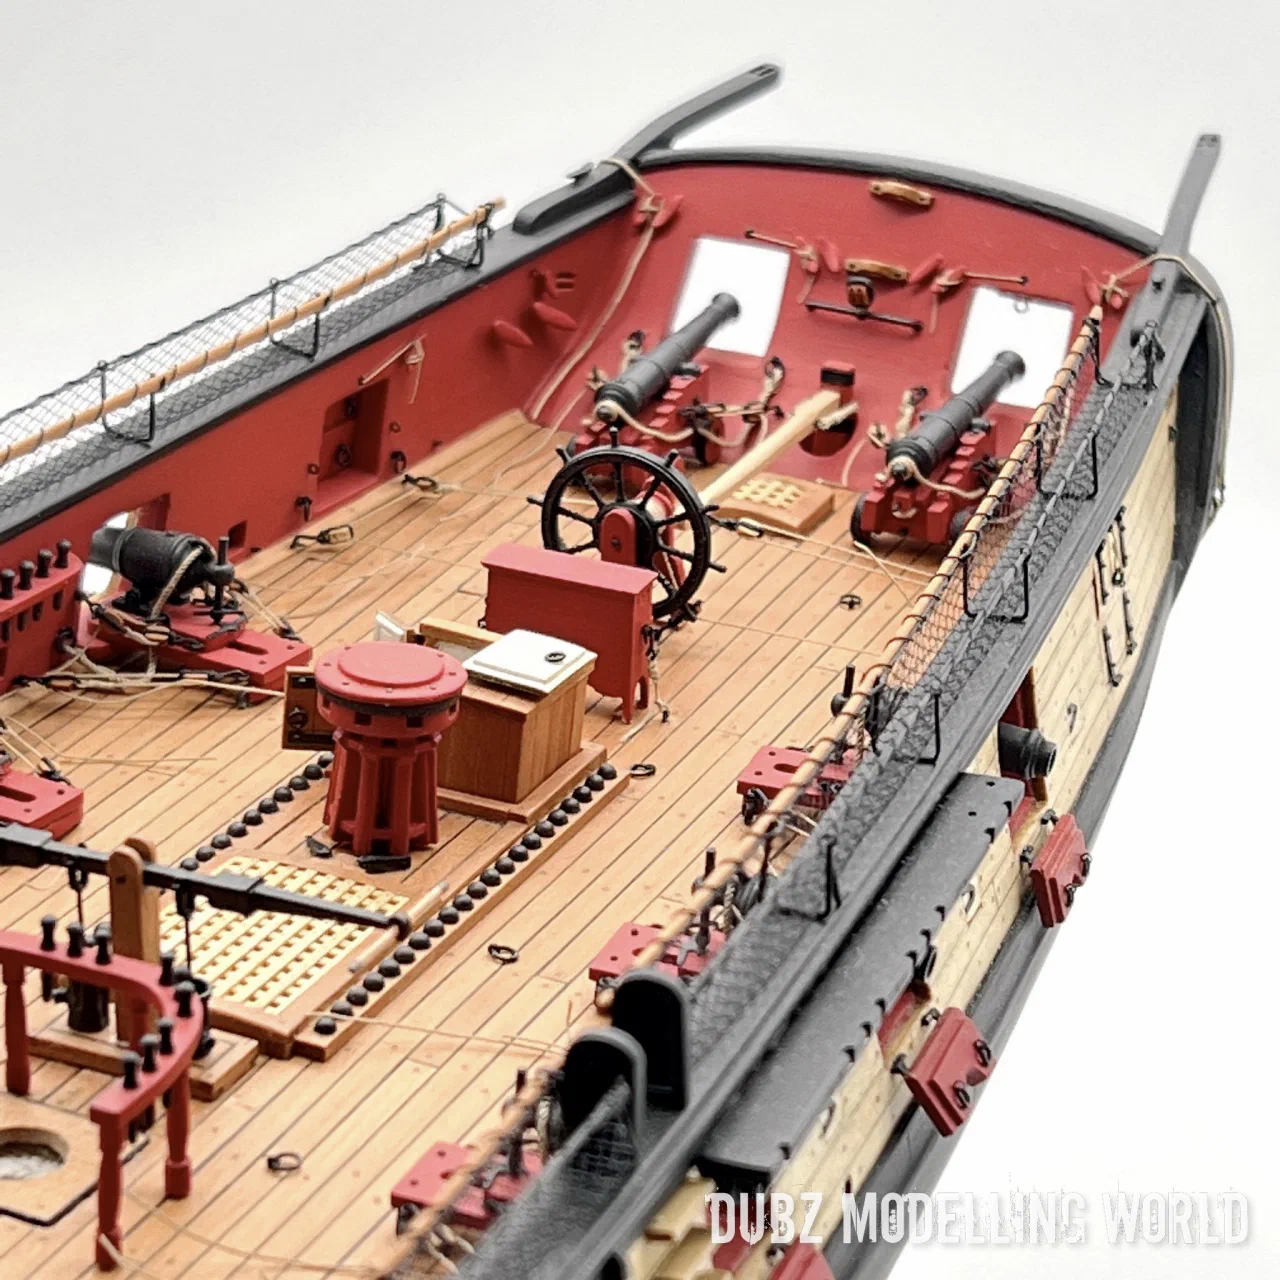
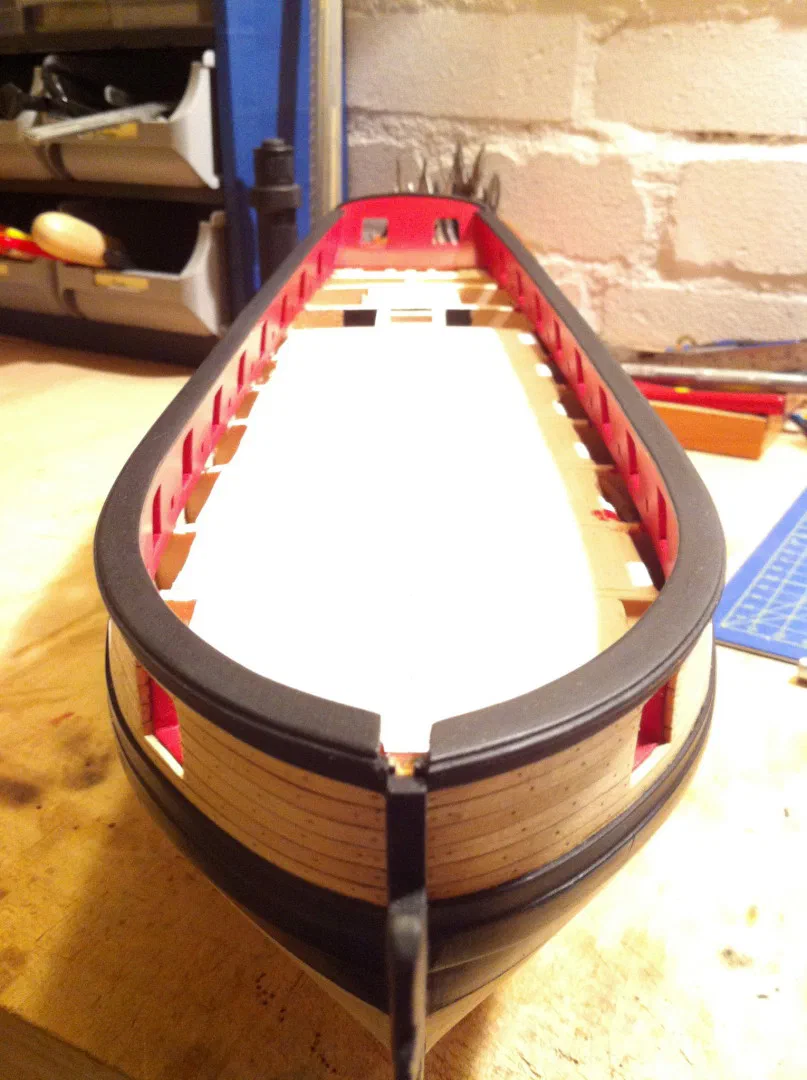
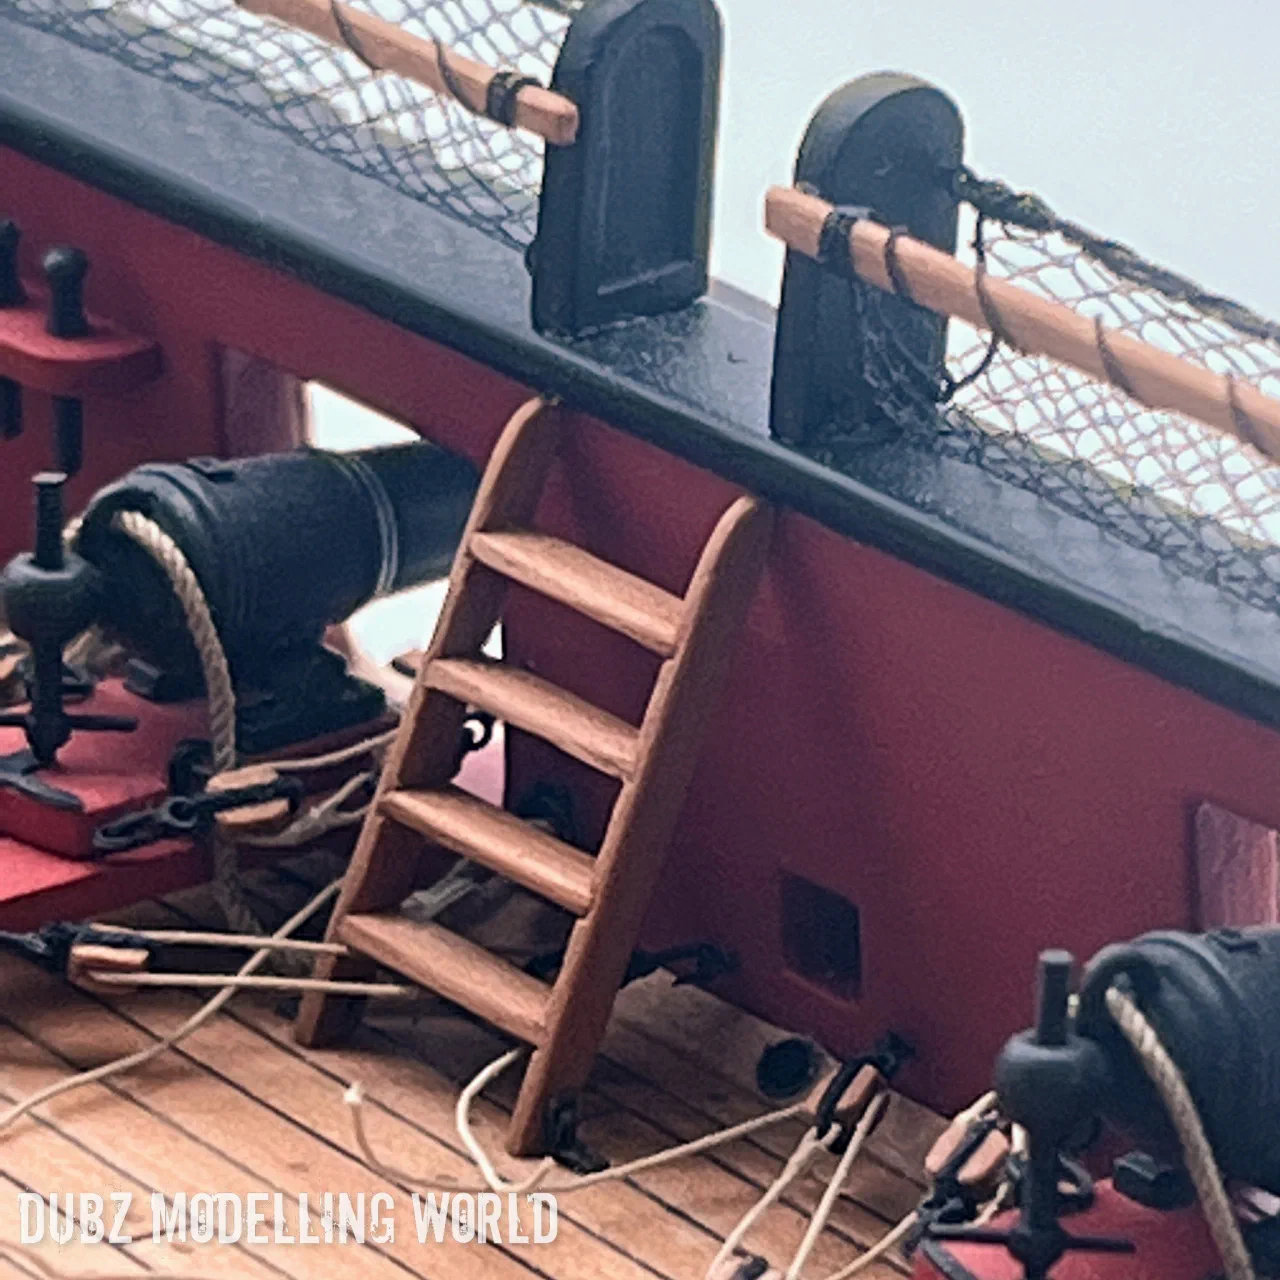
Chapter 7 brought the inboard planking. I glued in some filler at the bow to get a clean curve there, then filed and sanded the gun ports and painted the inboard red. Lesson learned: even light clamps leave dents in soft wood, so protect every surface you clamp.
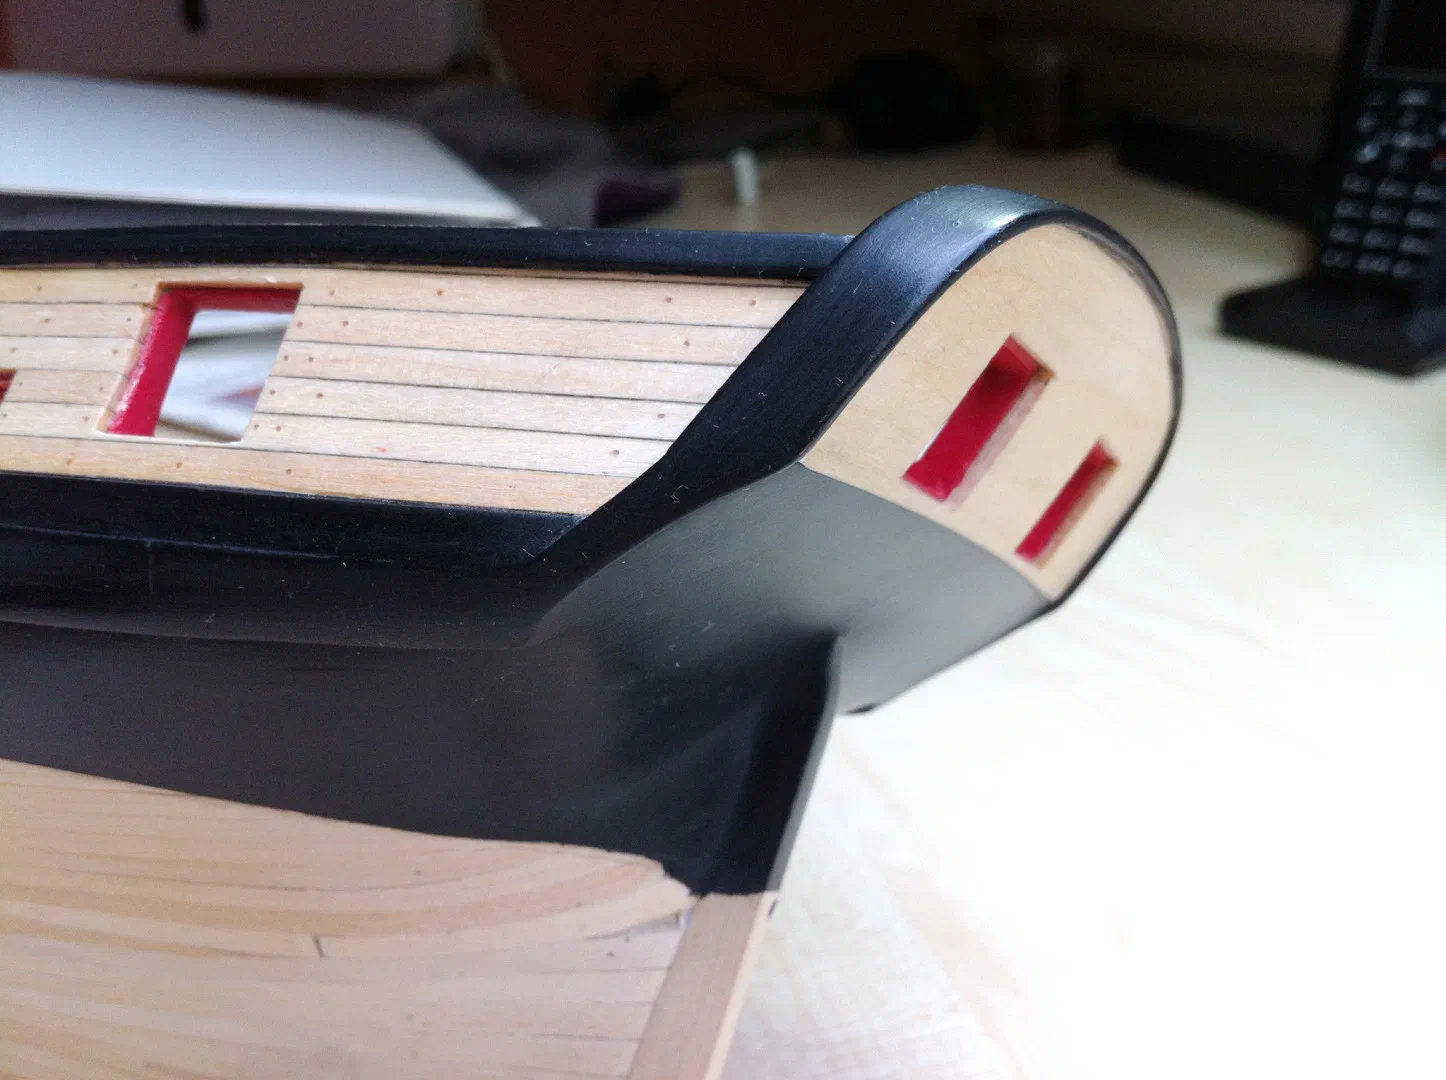
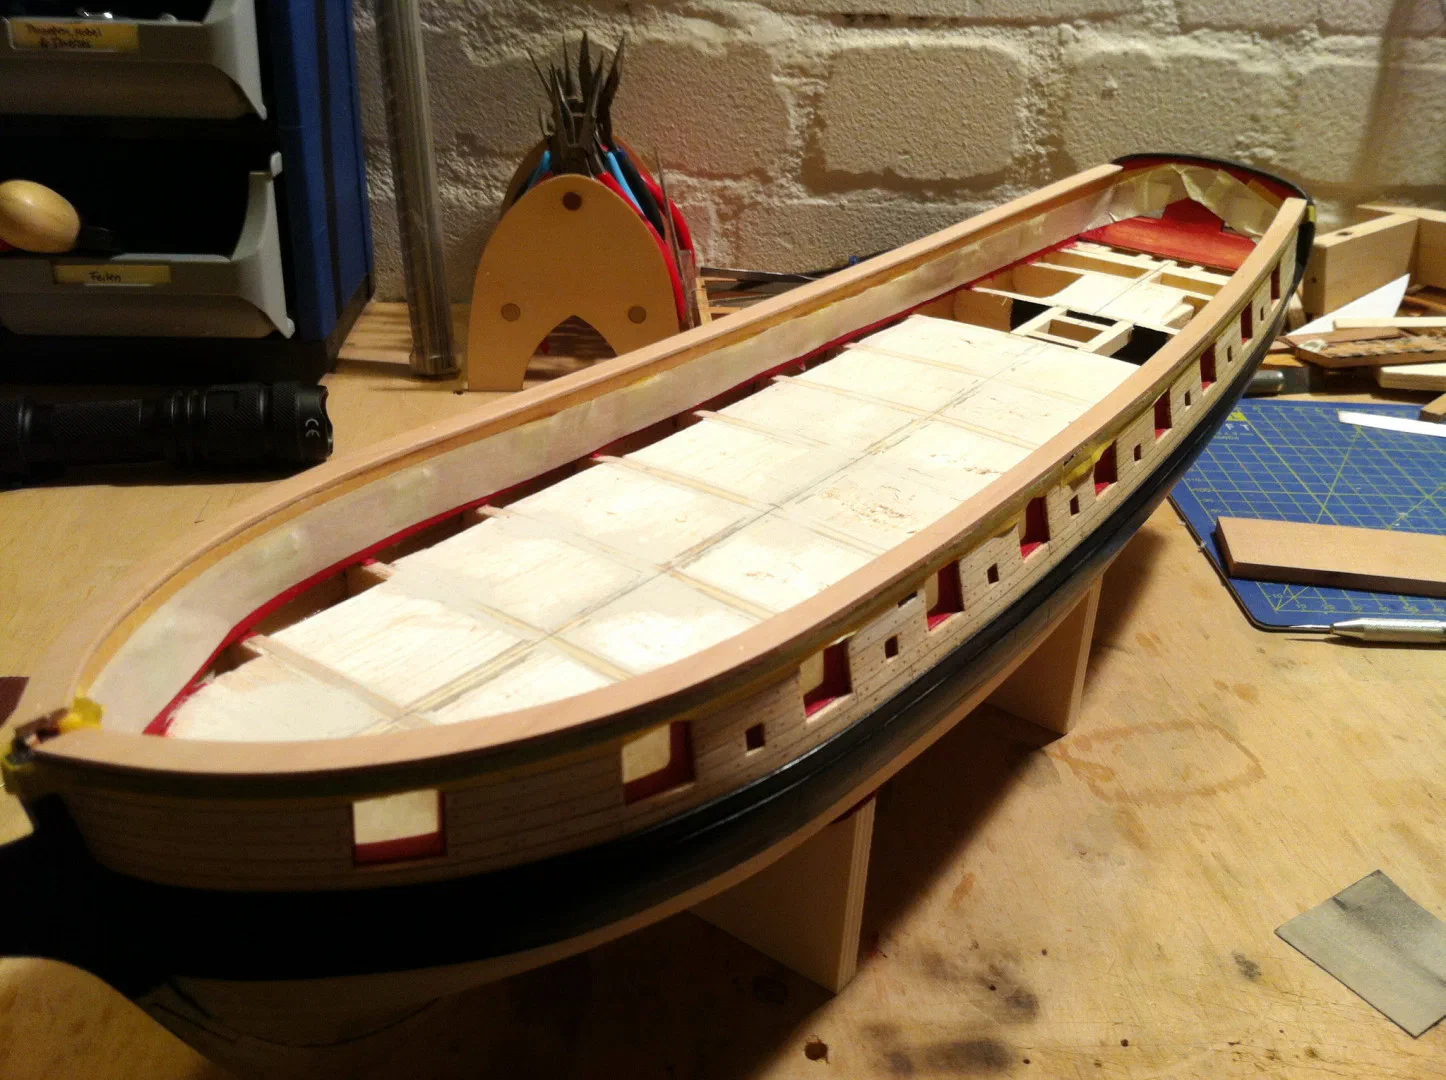
The cap rail of the stern was a challenge, because I wanted its top to follow the run of the hull. A strip of an unknown, very easily bendable wood from my collection made it possible: easy to bend, hard to cut and to sand, but it gives a beautifully smooth surface. For the cap rails along the sides the kit strips were not wide enough for me, so I made them from pear sheet. I traced the profile onto cardboard, transferred it to the pear with a compass, cut it with the scroll saw, and divided the rail into several pieces, as on the real ship. Small brass pins fixed the position before gluing, so that nothing could slip. The moulding strip below it is pear as well.
Coppering
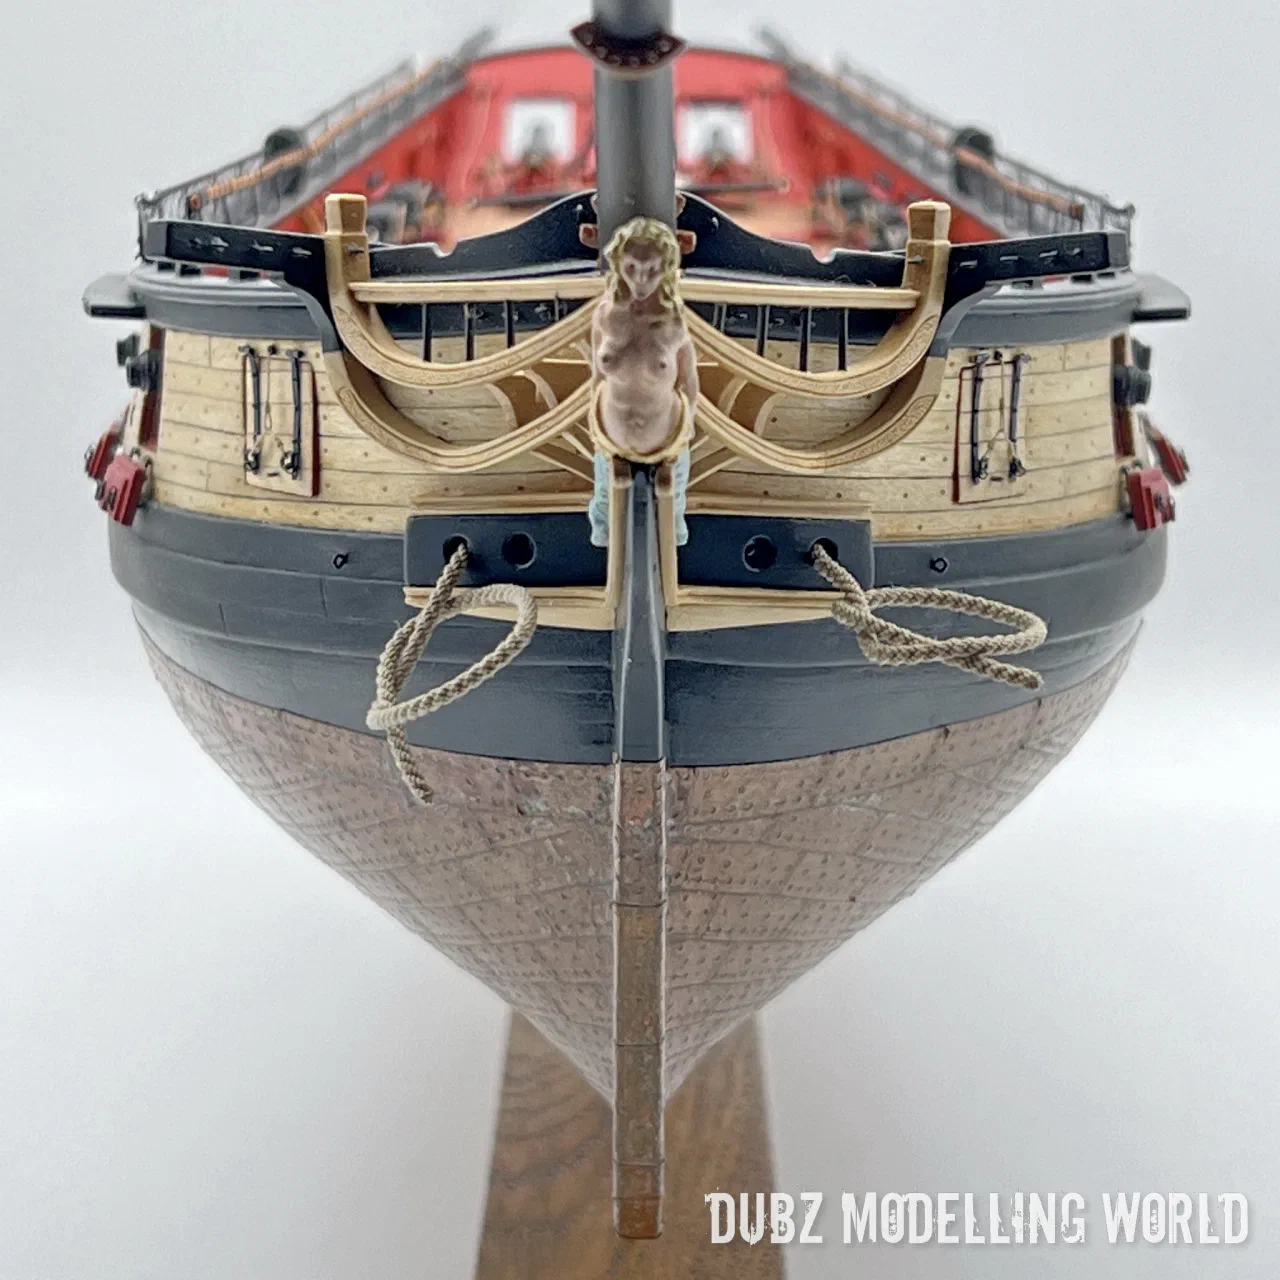
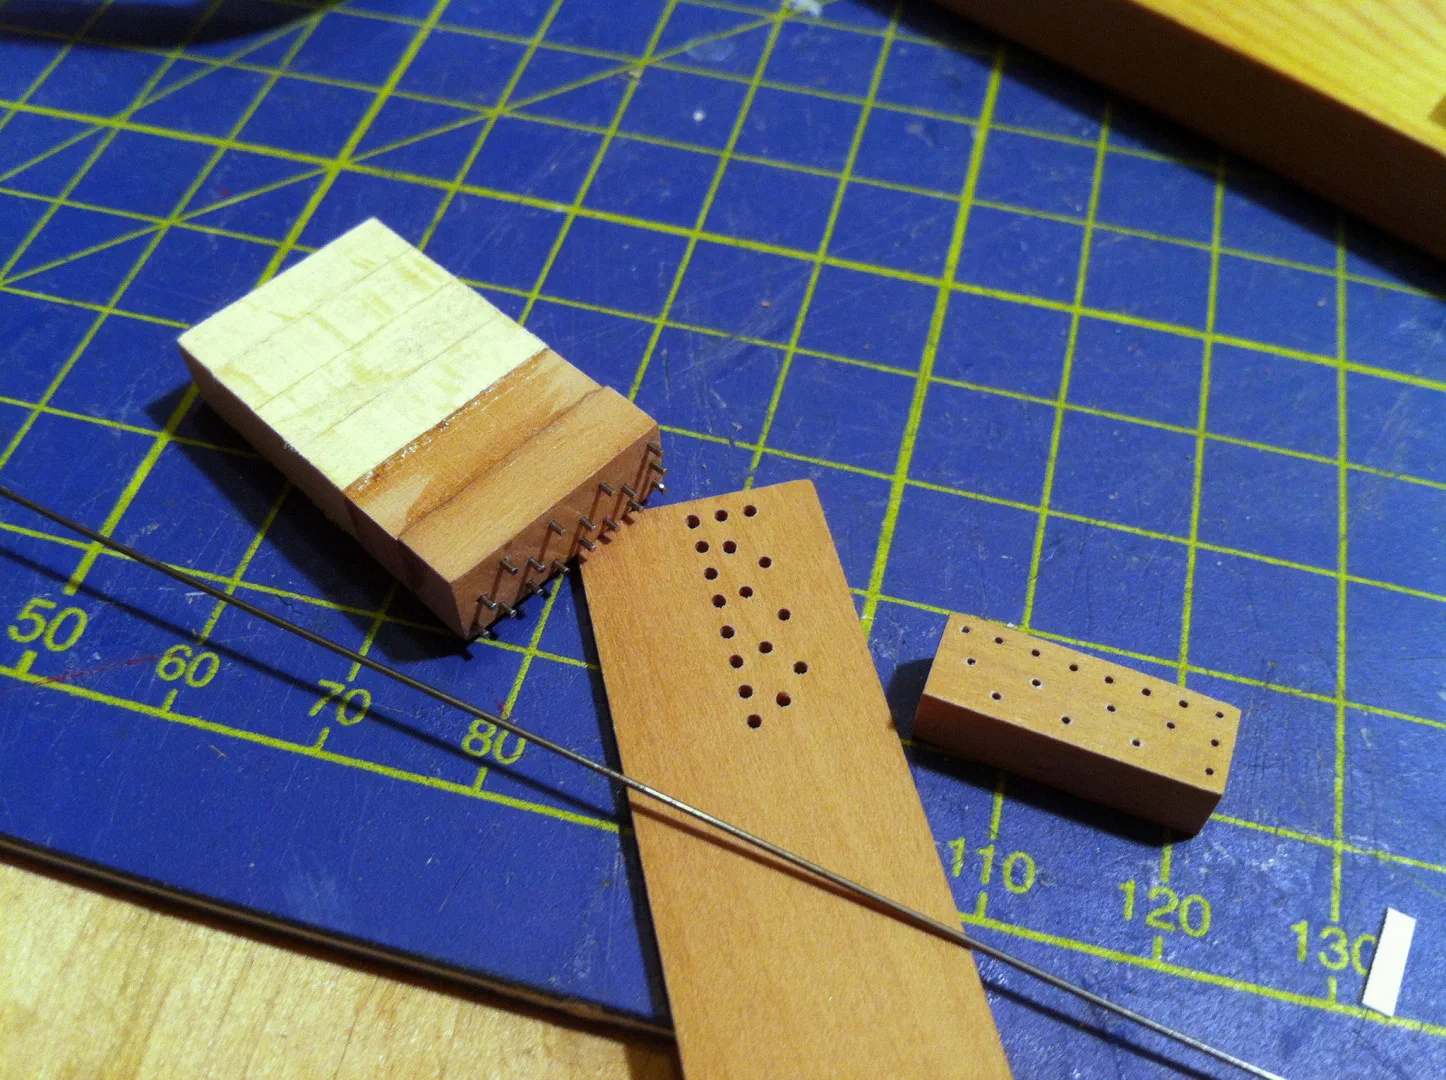
For the copper plates I made my own nail stamps: 0.5 mm steel wire set at exactly the same distances, the heads filed perfectly round. A real plate has around a hundred nails along its edges and in a pattern inside. Because the plates overlap, most rows only show the nails at their lower edge – but the last row at the waterline has no plate above it, so it needed a third stamp with nails along the top edge as well. That stamp also served for the plates at the stem and stern post.
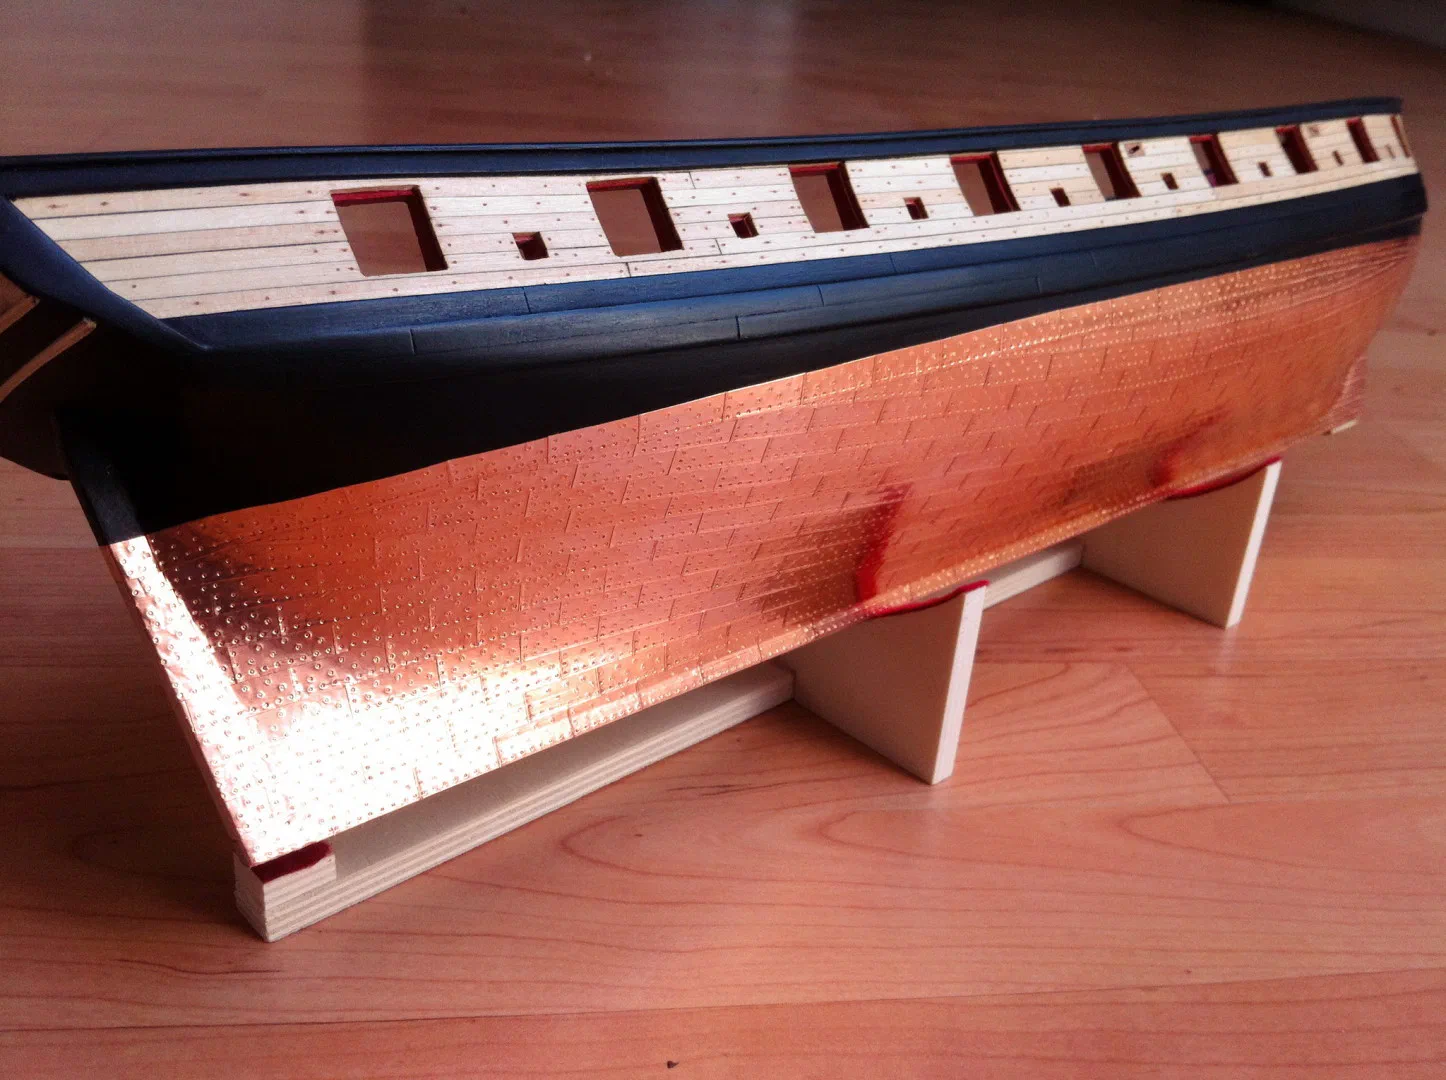
Coppering turned out to be almost meditative. The plates are self-adhesive copper tape, cut in a jig and stamped. To get a constant pattern I sometimes used slightly larger plates. For the last row I marked the waterline with 6 mm Tamiya tape – almost exactly the height of one plate – and cut the plates along it. I coppered between keel and false keel as well: the sheathing protected against fouling and shipworm, and a gap there would have been a weak point.
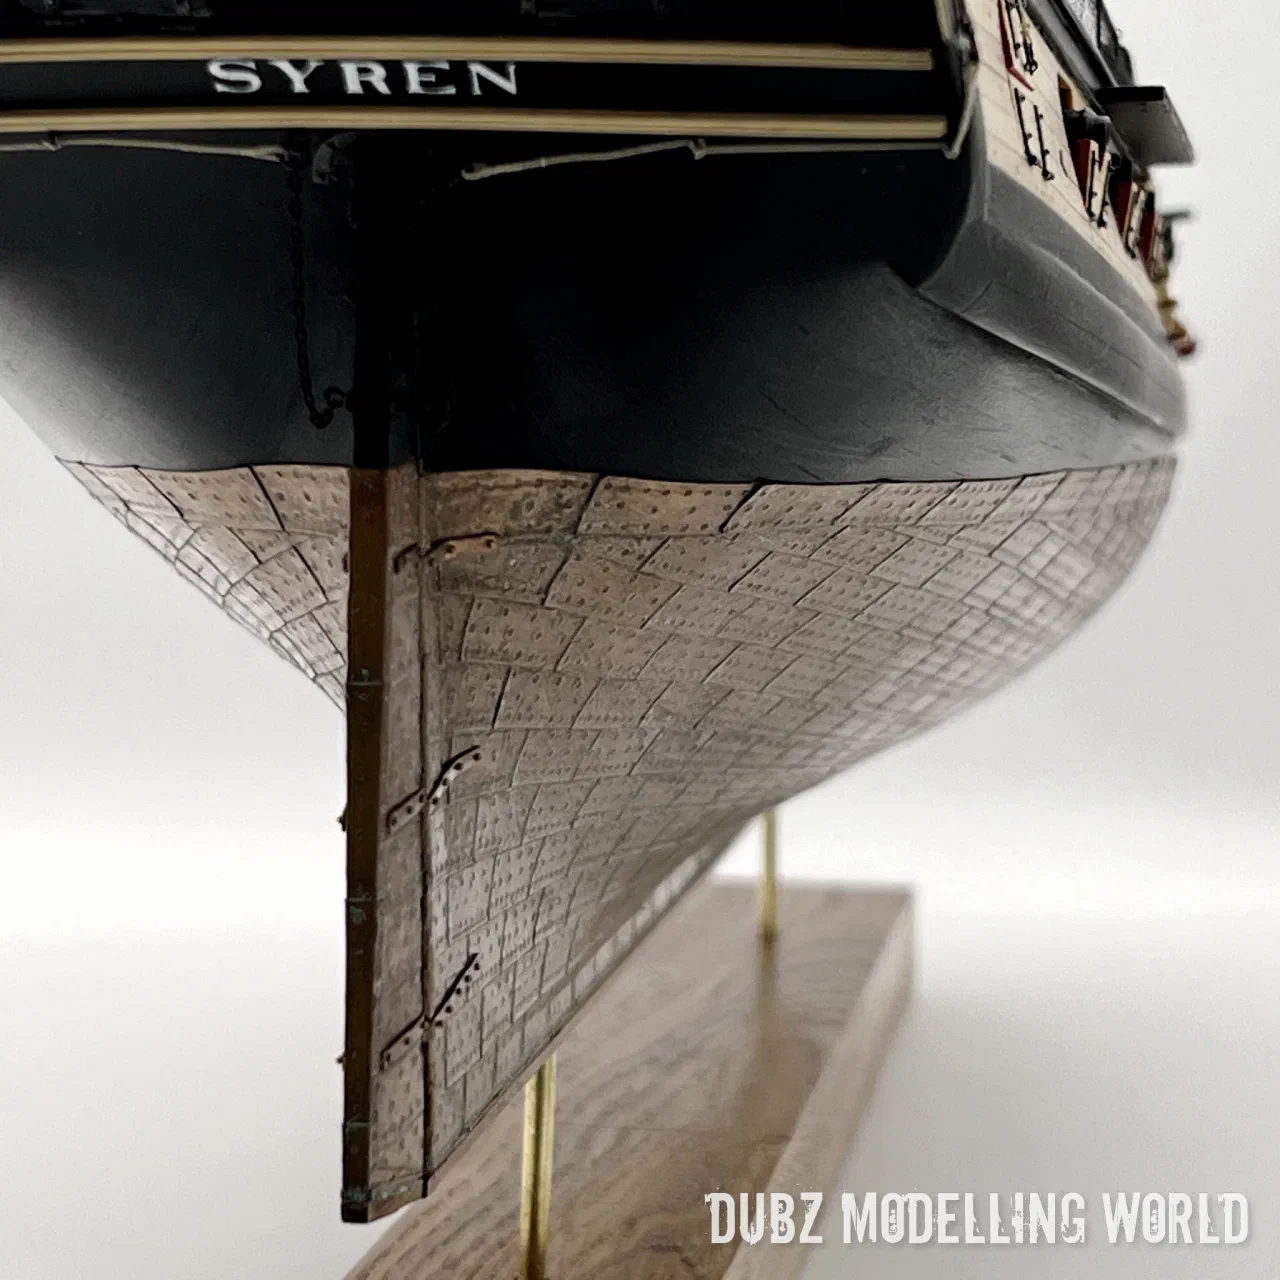
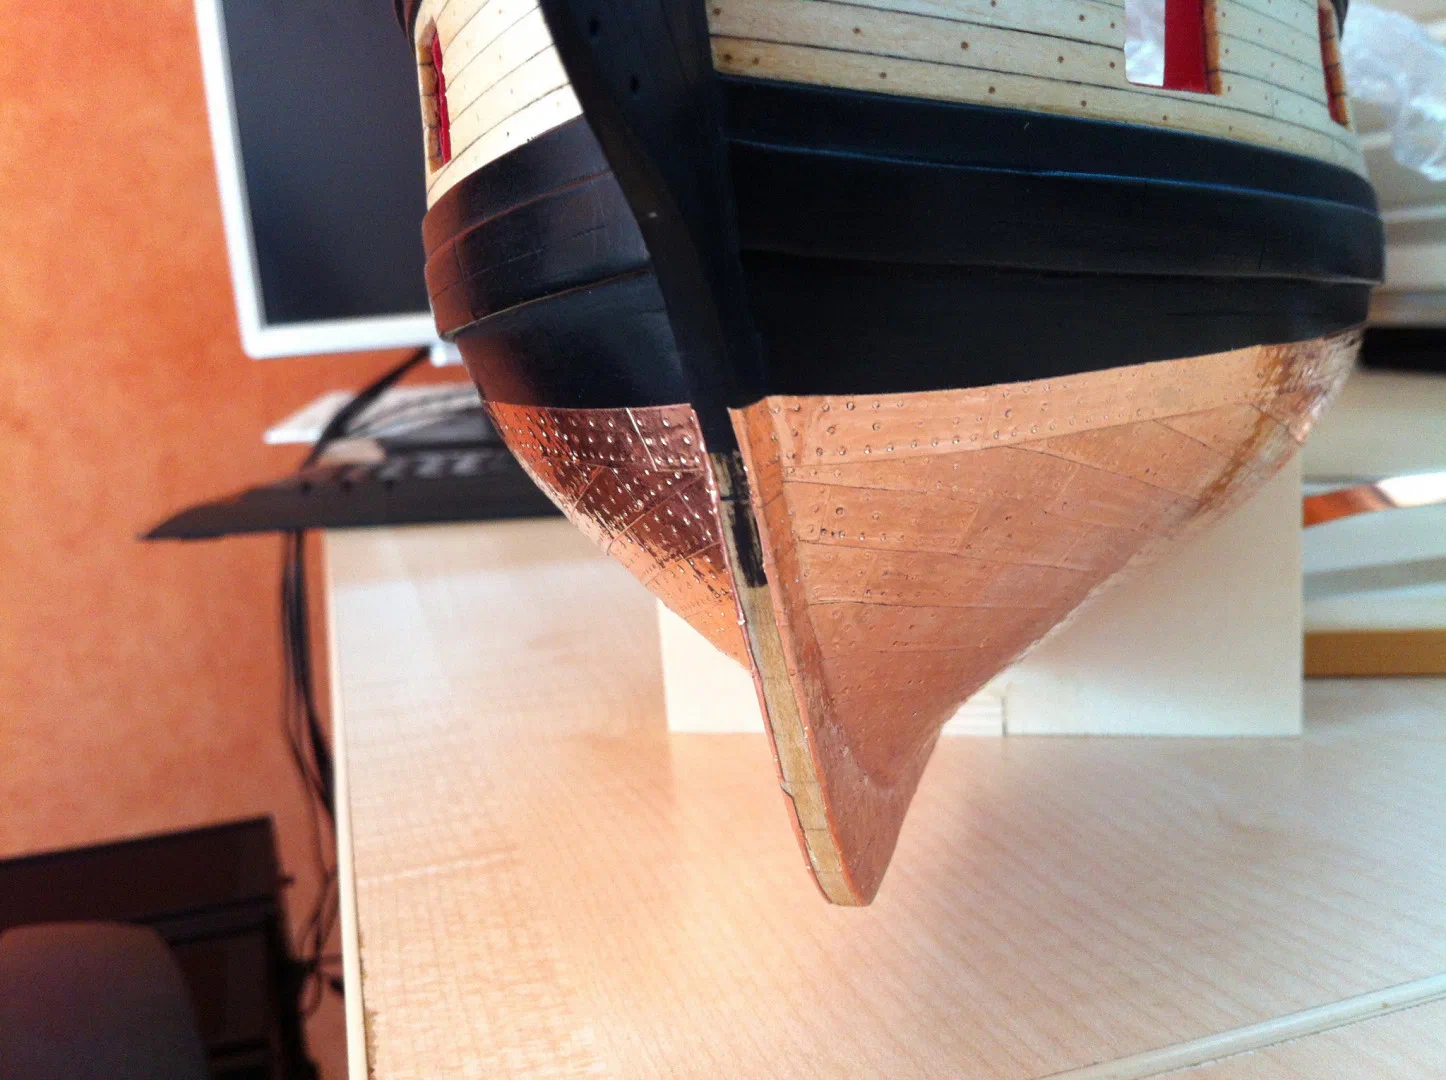
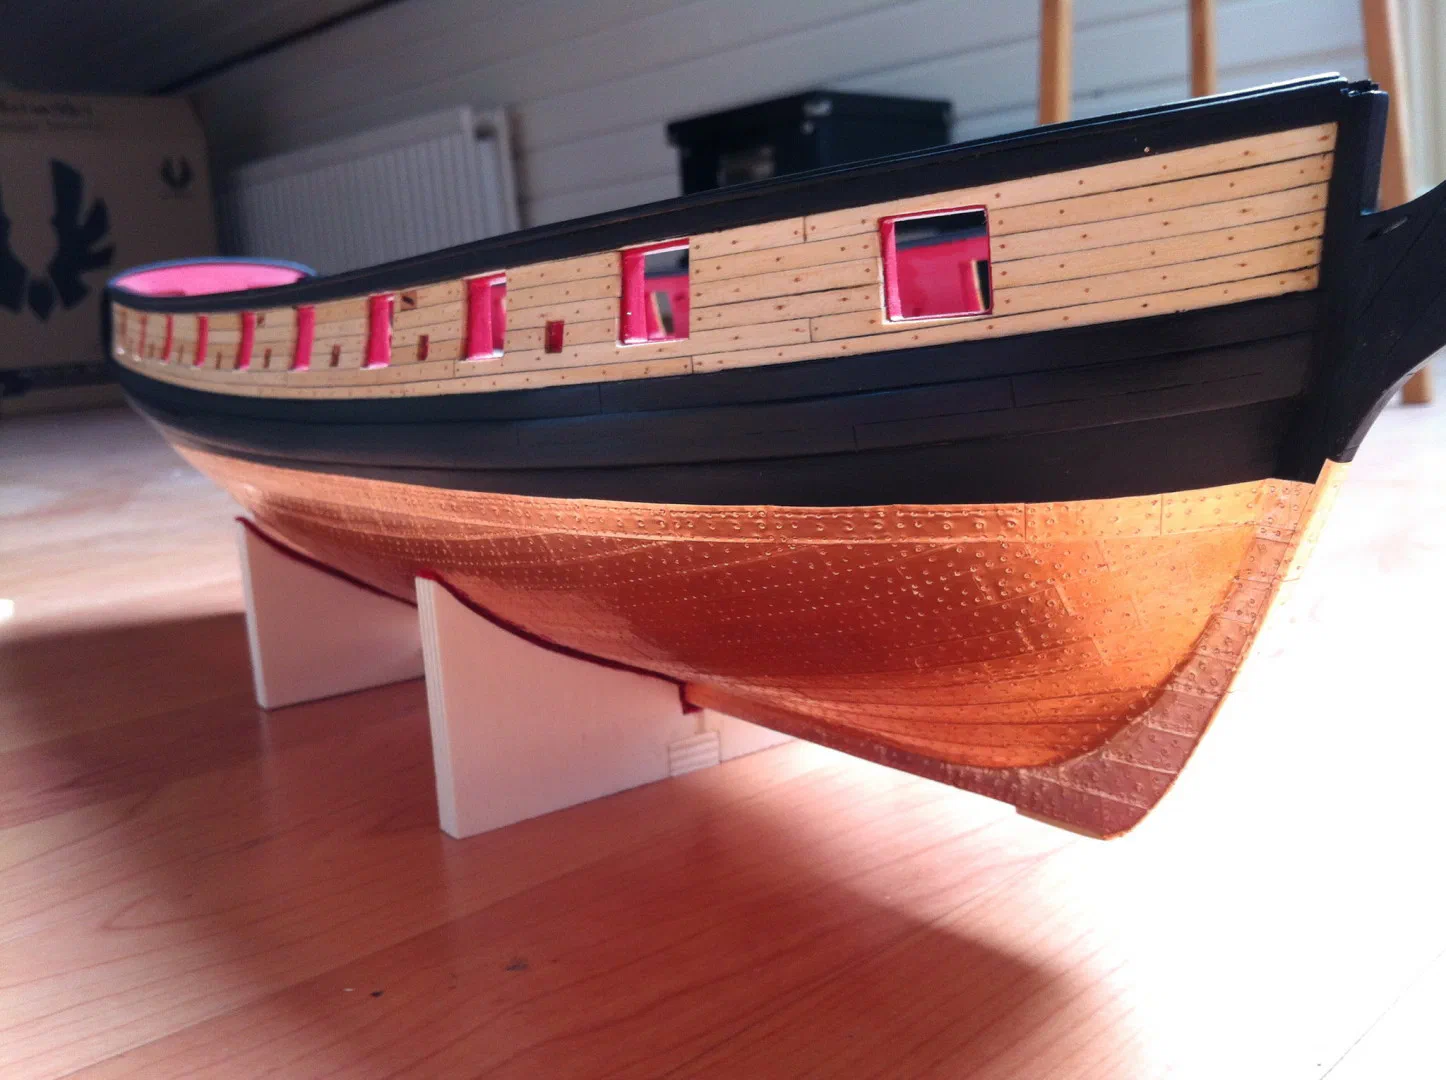
On the port side the waterline came out wrong – and since even my girlfriend noticed it, it had to be corrected. Fingerprints came off with acetone, and later I found that a mixture of vinegar and salt removes them even better – and gives the copper a beautiful patina, which I later sealed with Zapon varnish.
Carronades
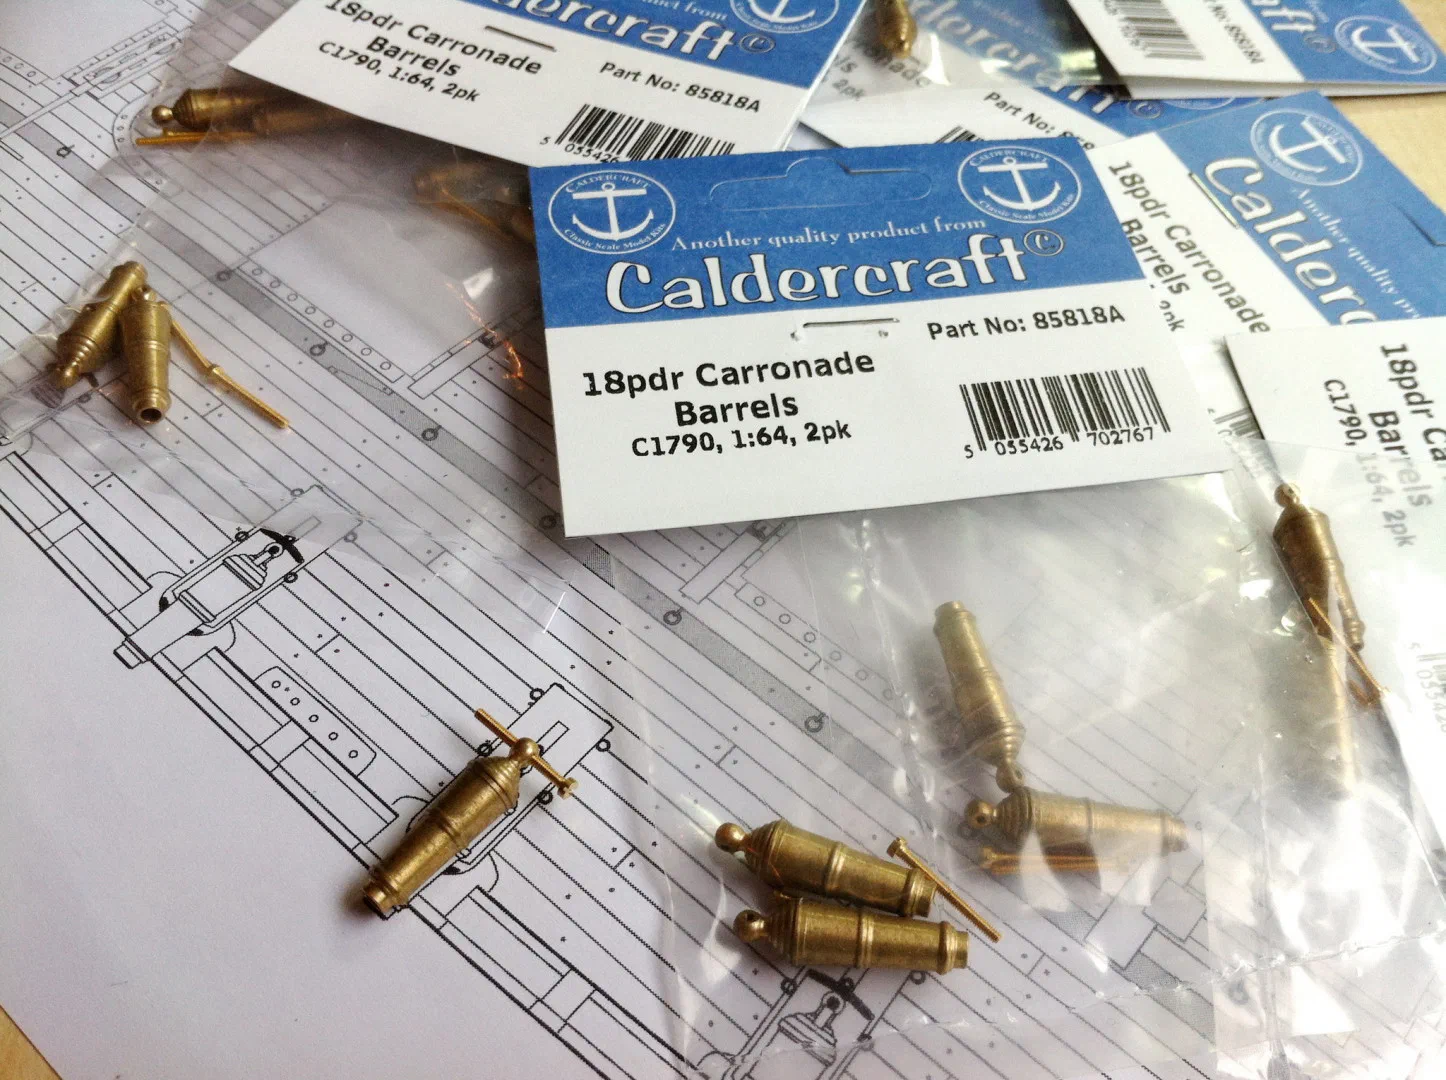
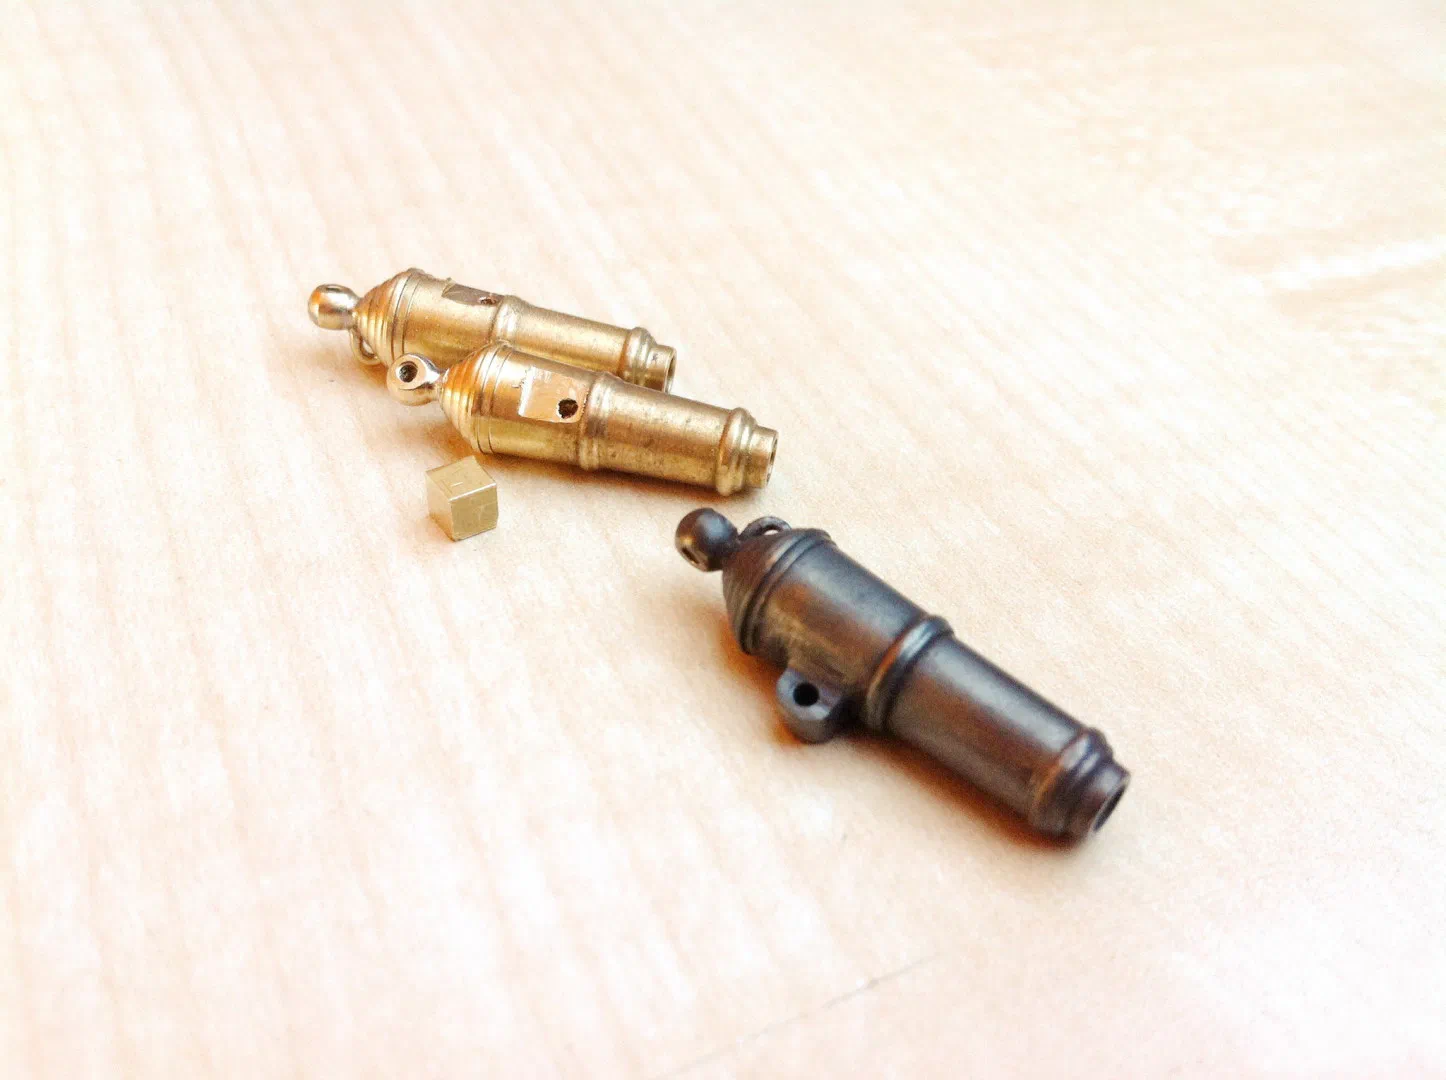
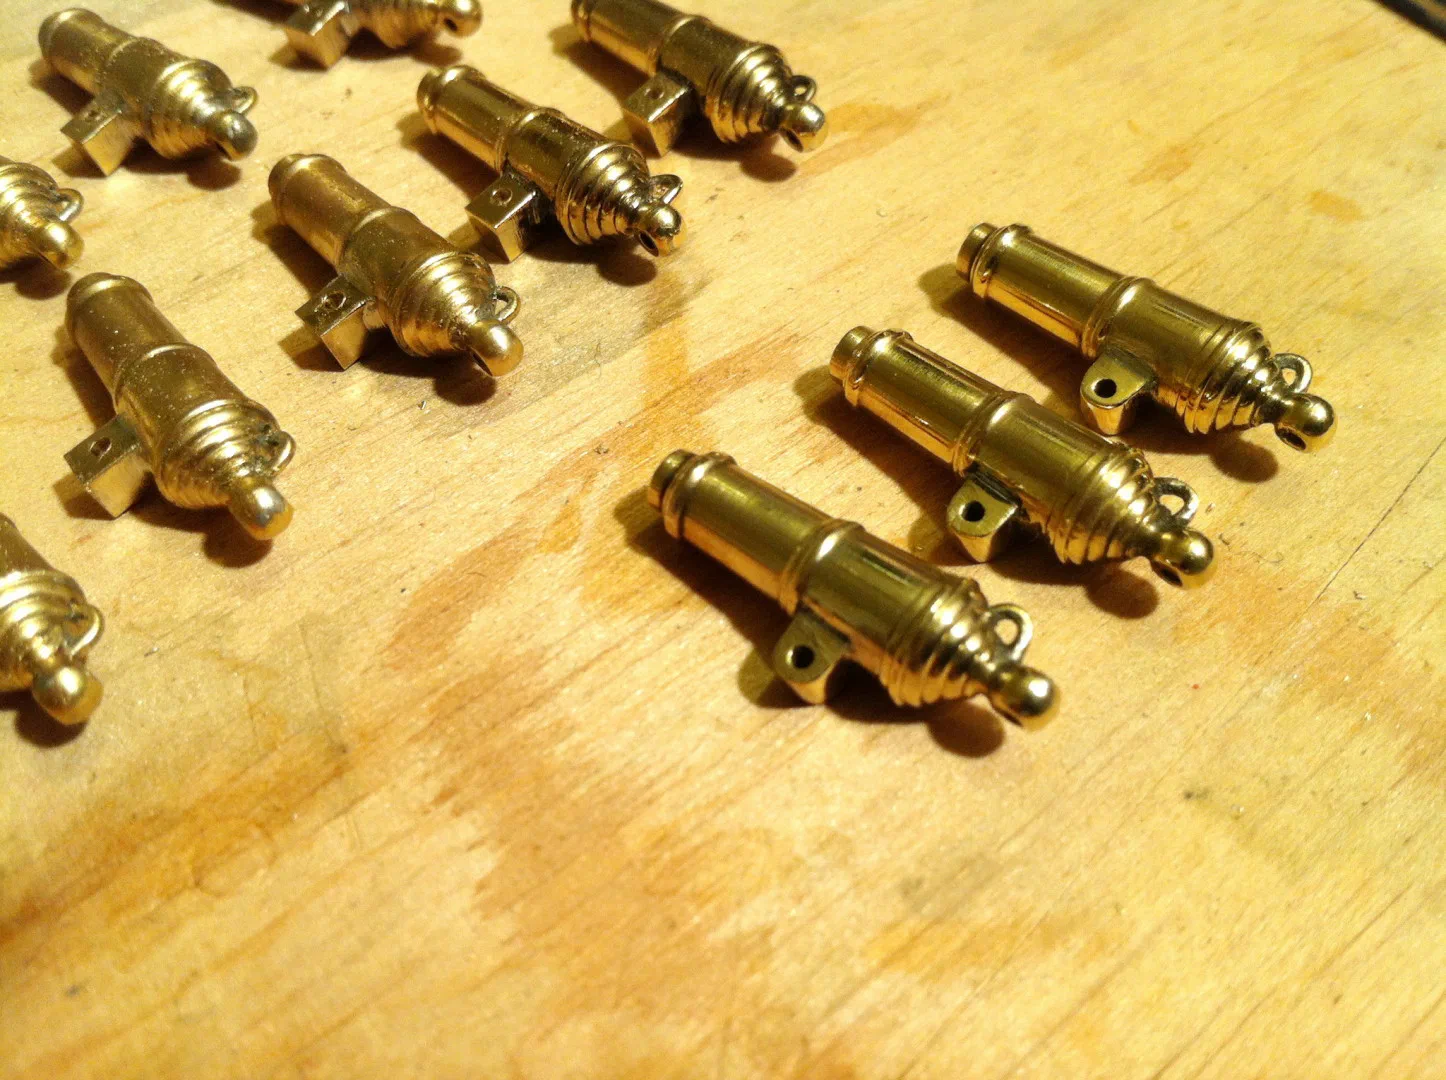
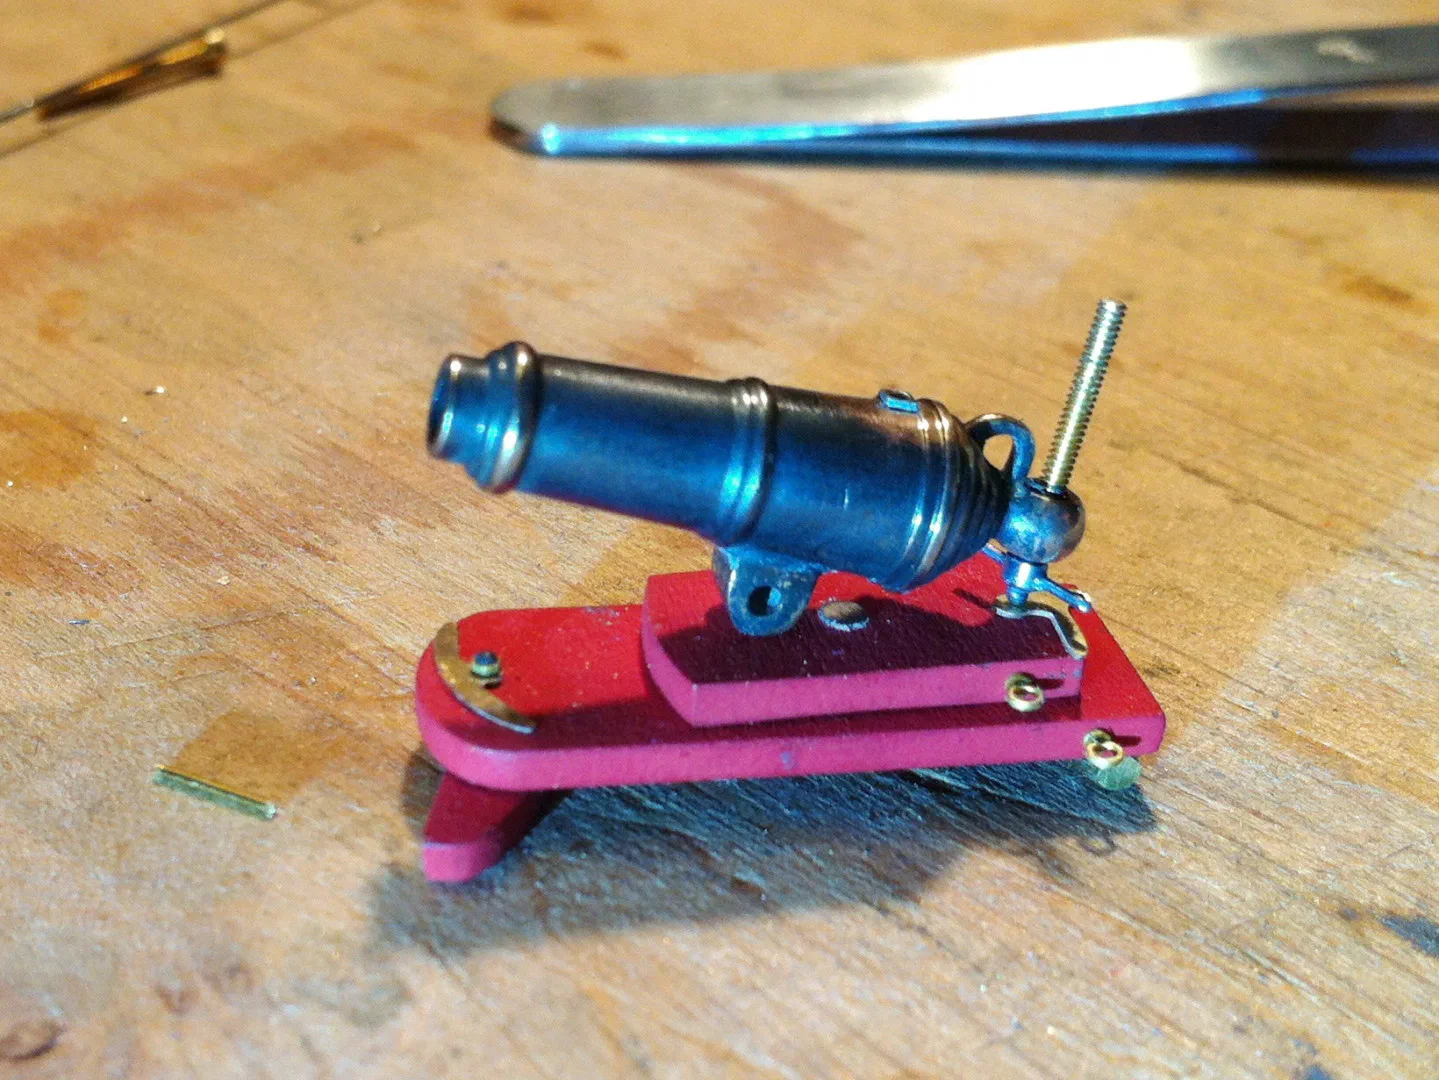
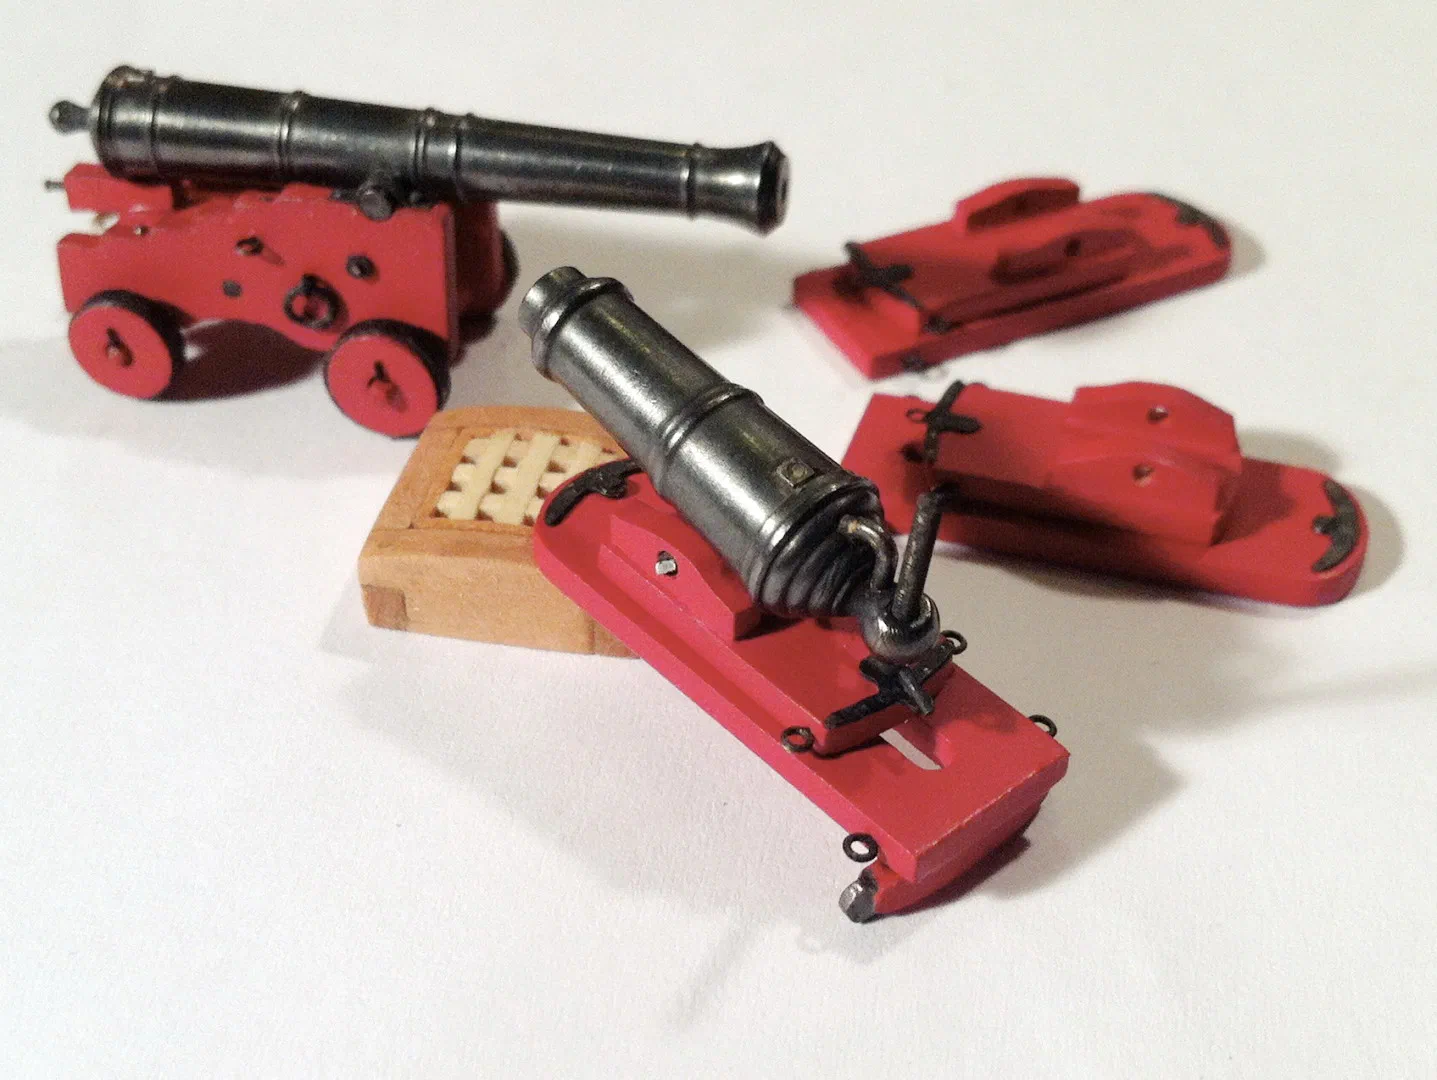
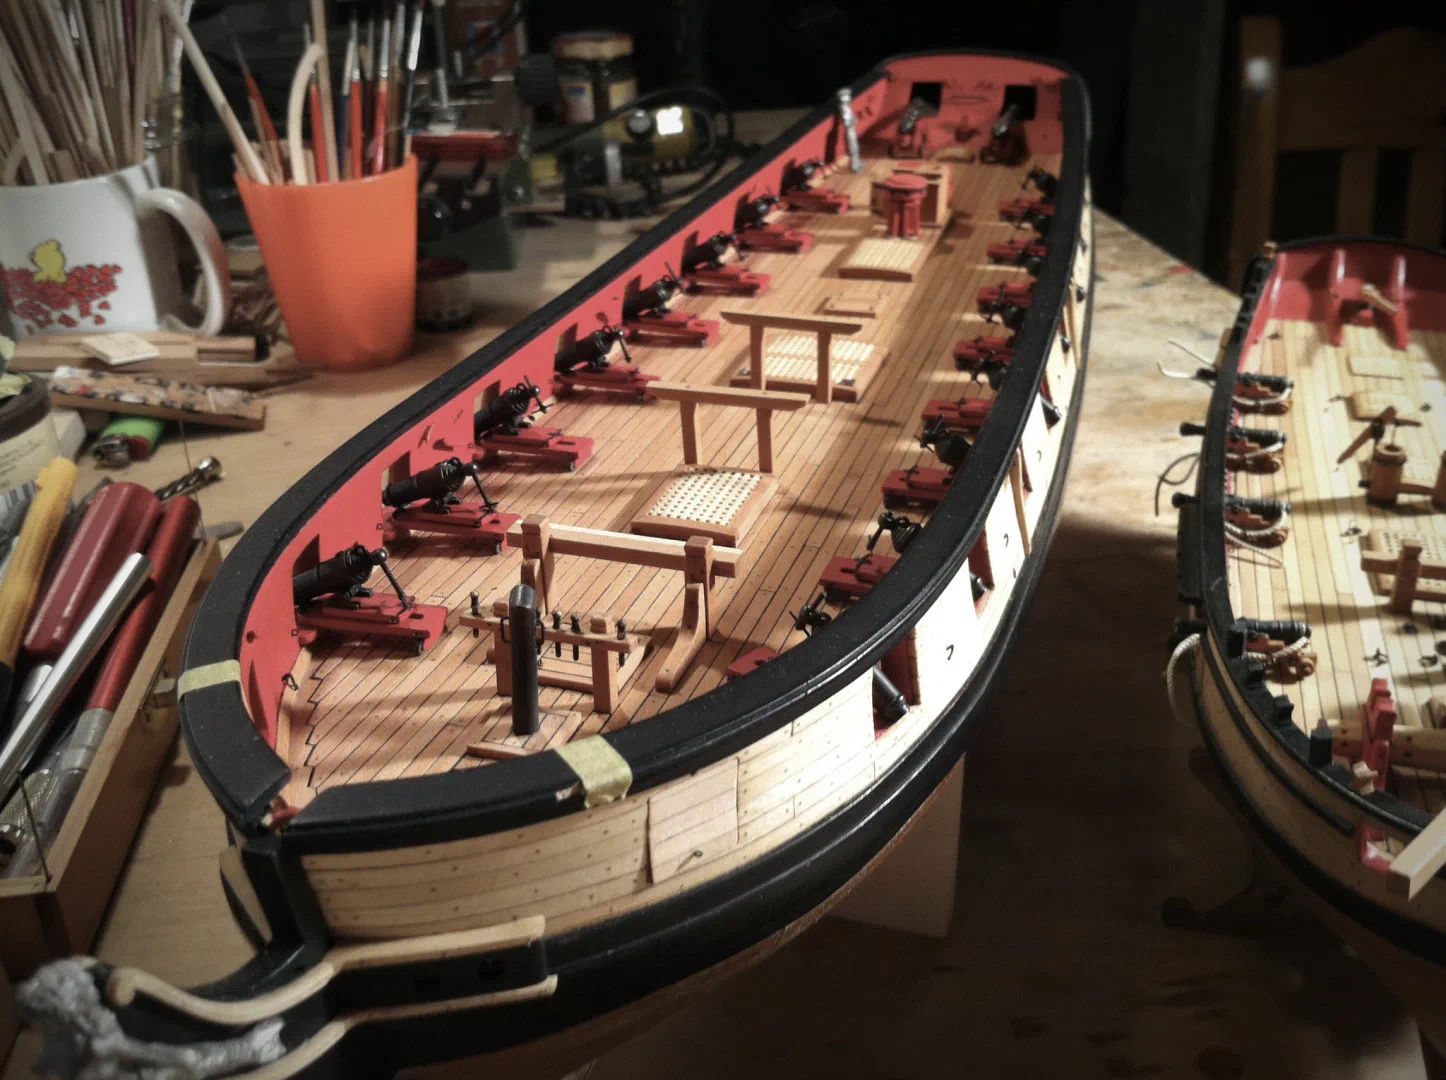
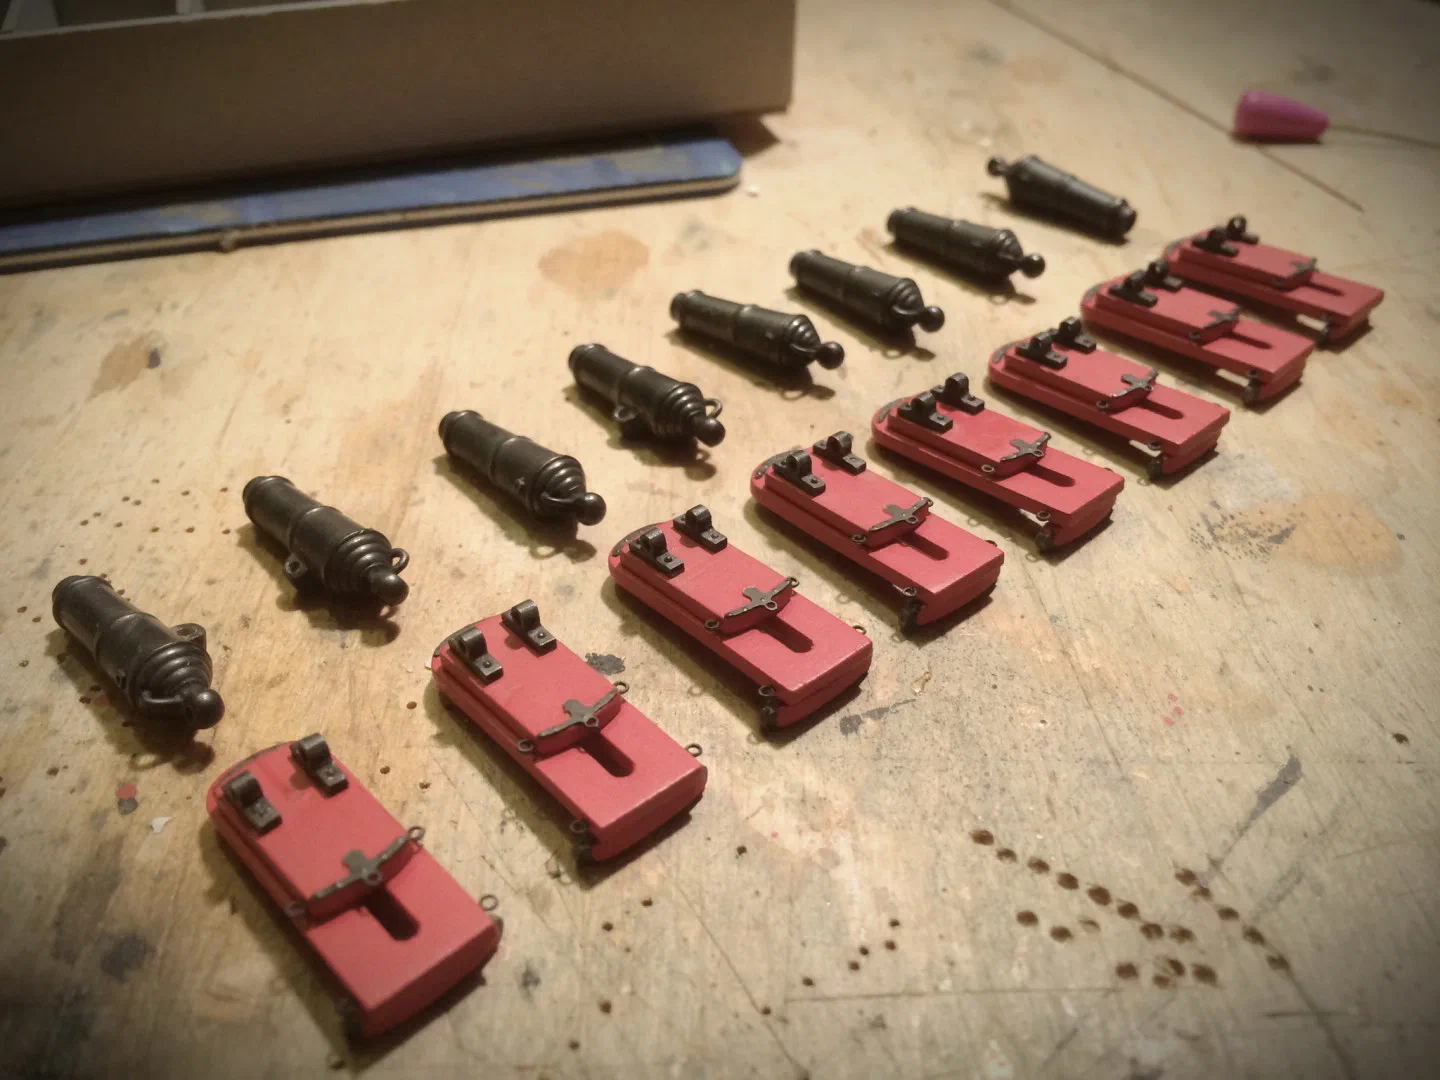
The kit’s cast guns were not what I wanted, so I based the armament on Caldercraft: their 18-pounder carronades fit perfectly as 24-pounders for the Syren. Each one was modified: the lug milled flat and a soldered brass piece added, the breech line ring soldered on, the vent hole shown, the slot ends rounded. For the elevating screw I soldered 1 mm nuts onto a thinner threaded rod, rounded them in the drill, drilled tiny holes and soldered on the handle. The Verlinden “Nuts & Washers” photo-etch set was a great help for all the bolt heads.
The deck in pear
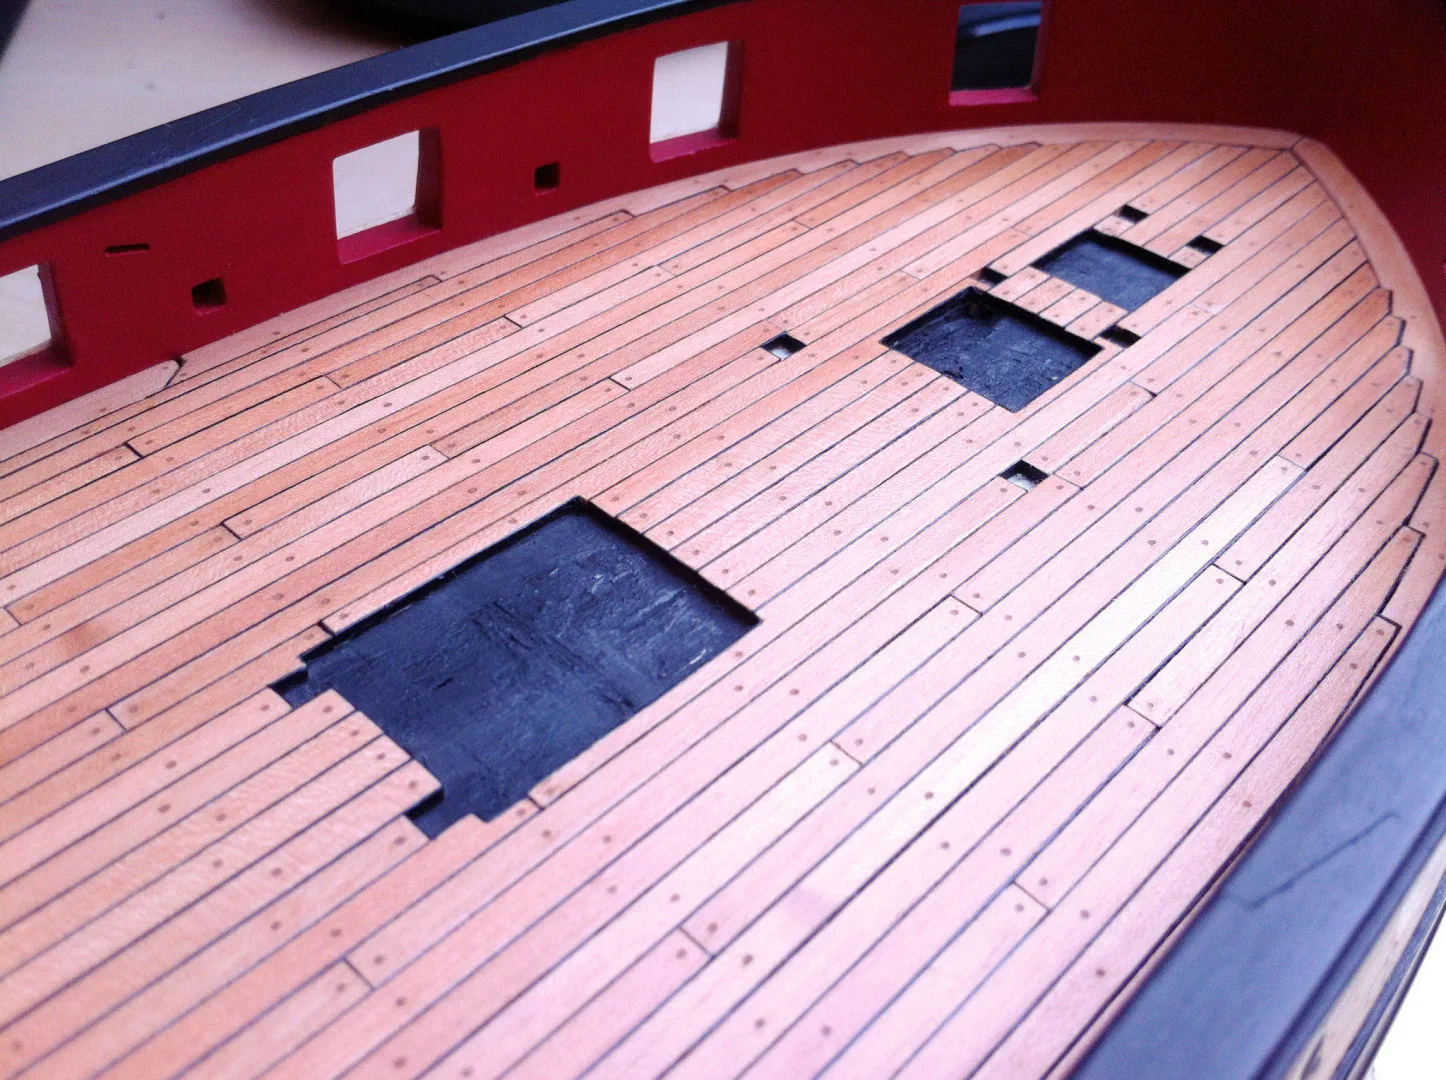
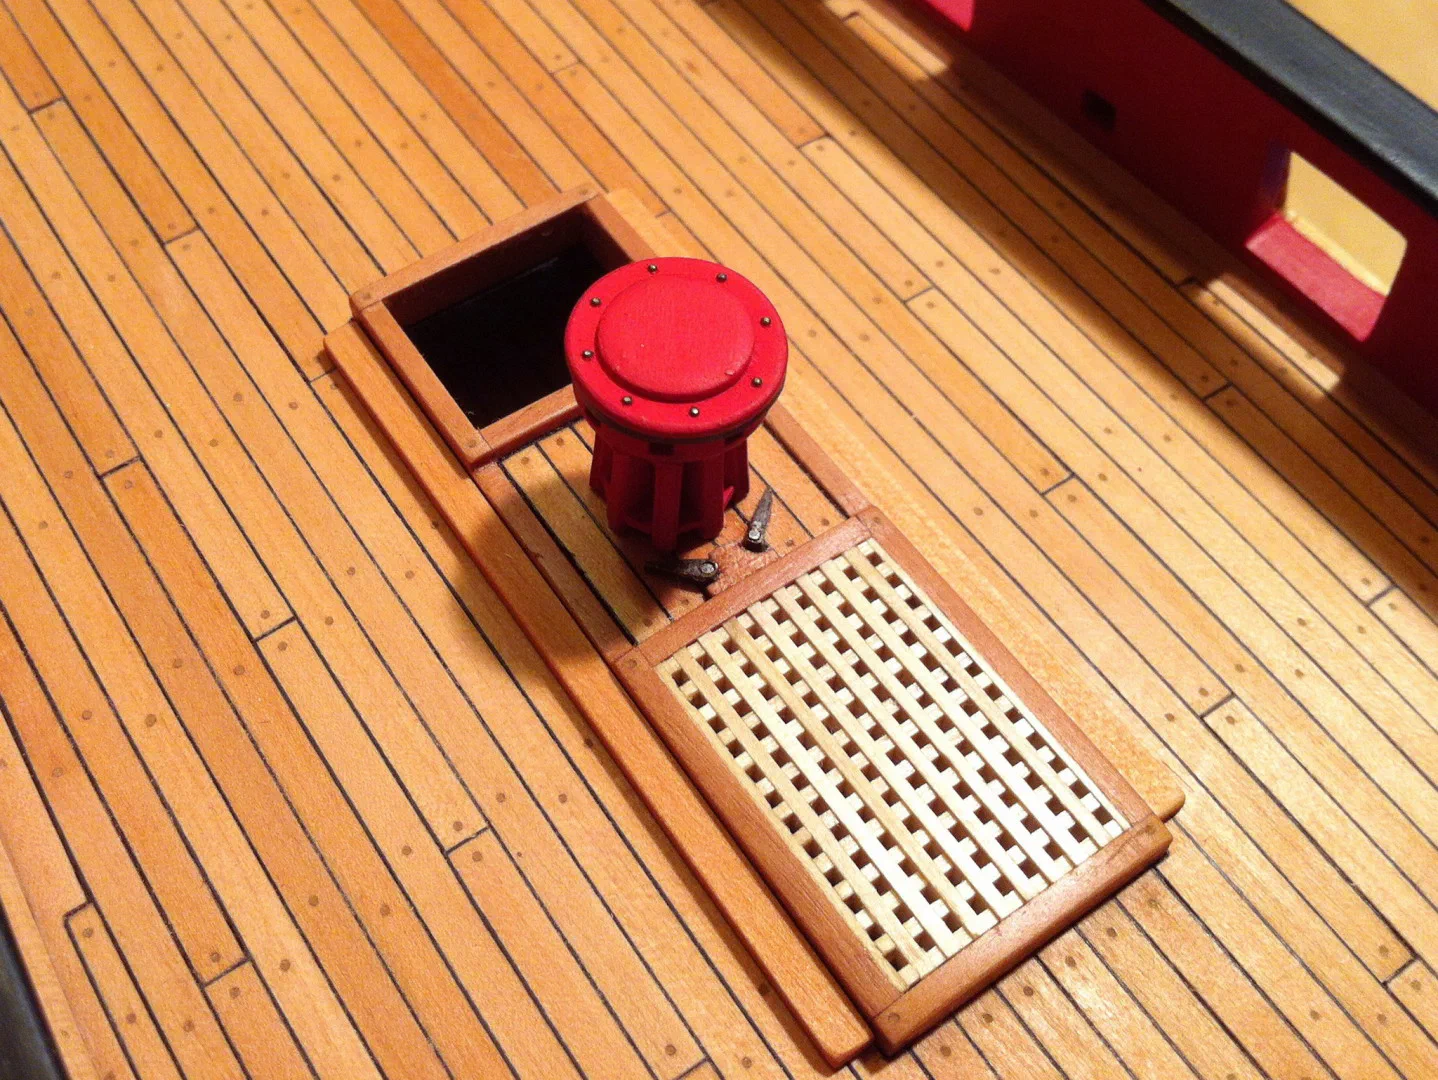
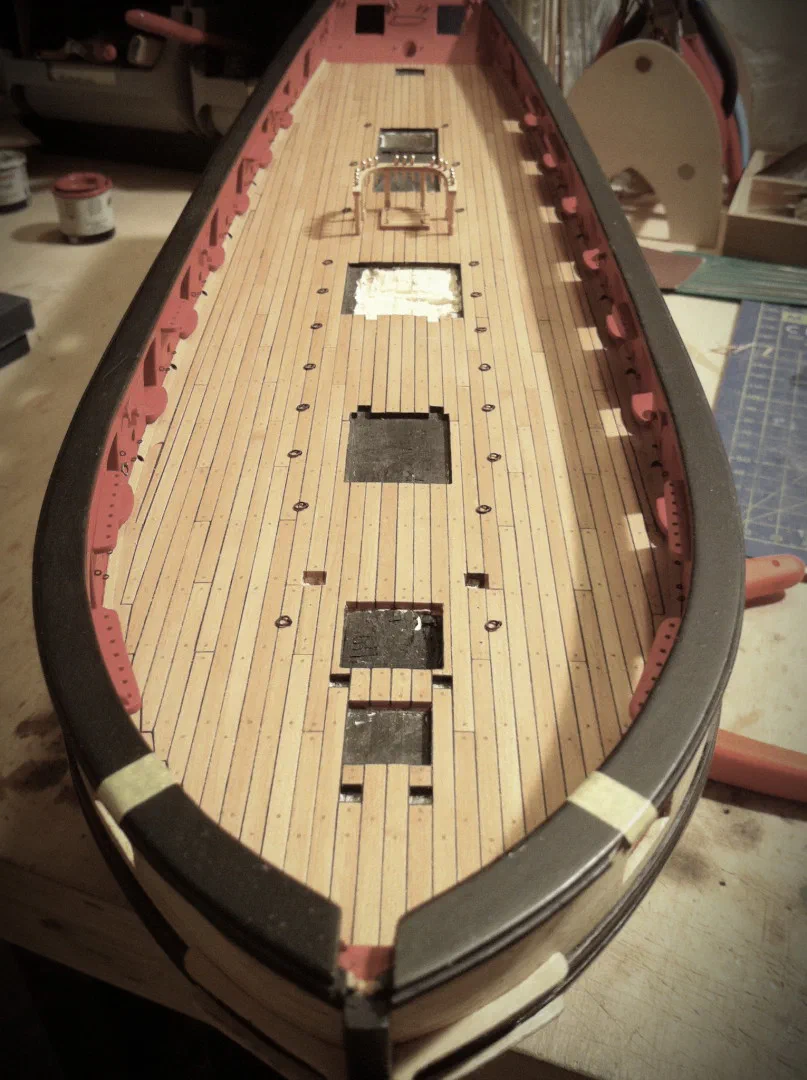
I built the deck from pear, with black paper as caulking and treenails of wood filler, all finished with Danish oil. The planking scheme is a four-butt shift with a plank length of 6.08 m and a width of 20 cm – 3.125 mm at 1:64. The deck was not built as a solid surface with the fittings glued on top: I wanted to show the caulking between the planks and the fittings too. First came the waterway, then many planks laid out dry to find the centre line, then – eyes closed – gluing.
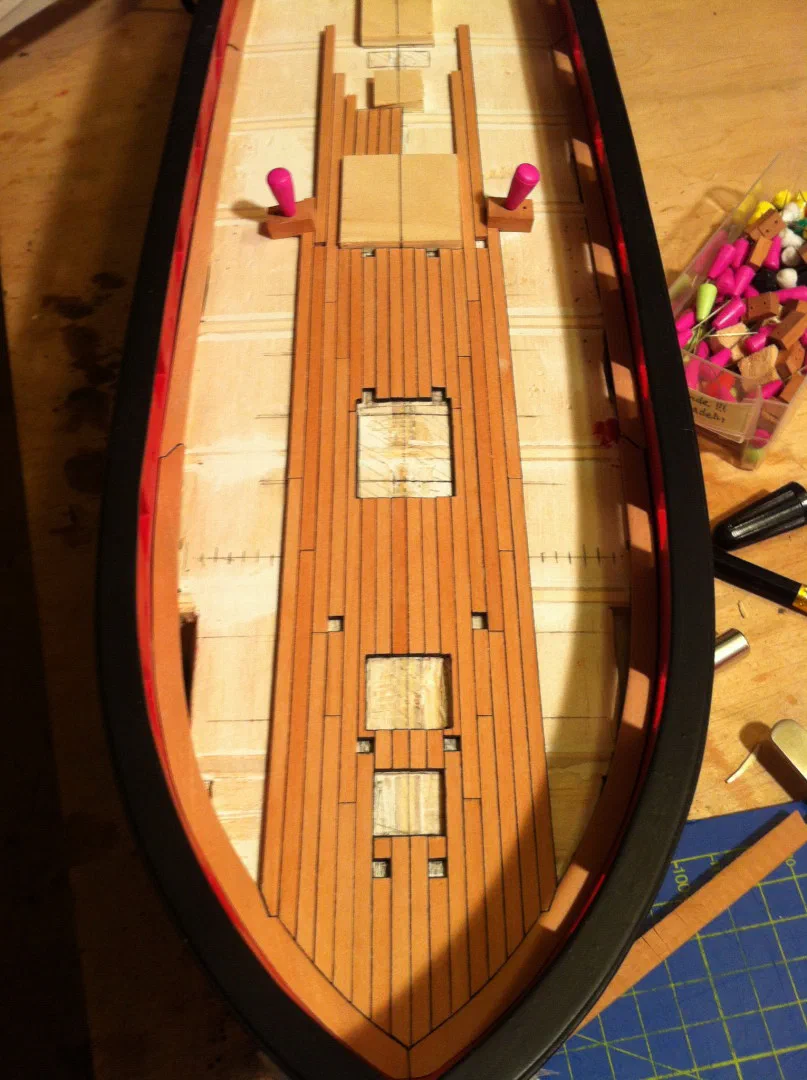
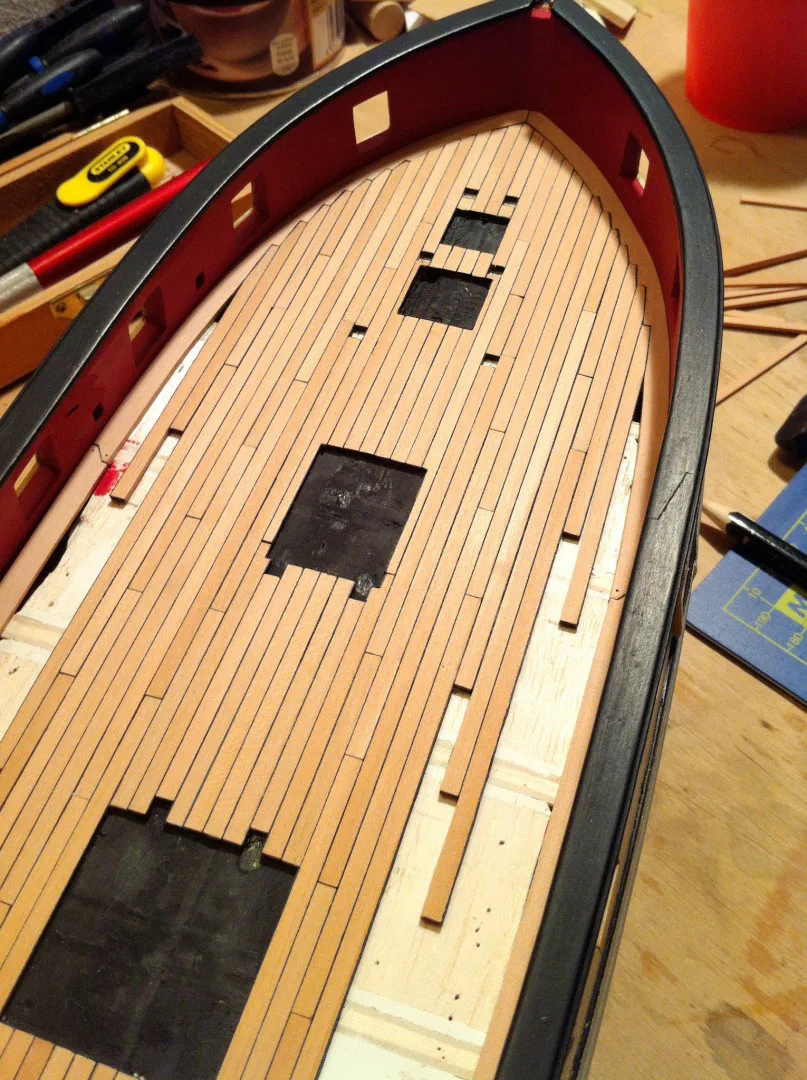
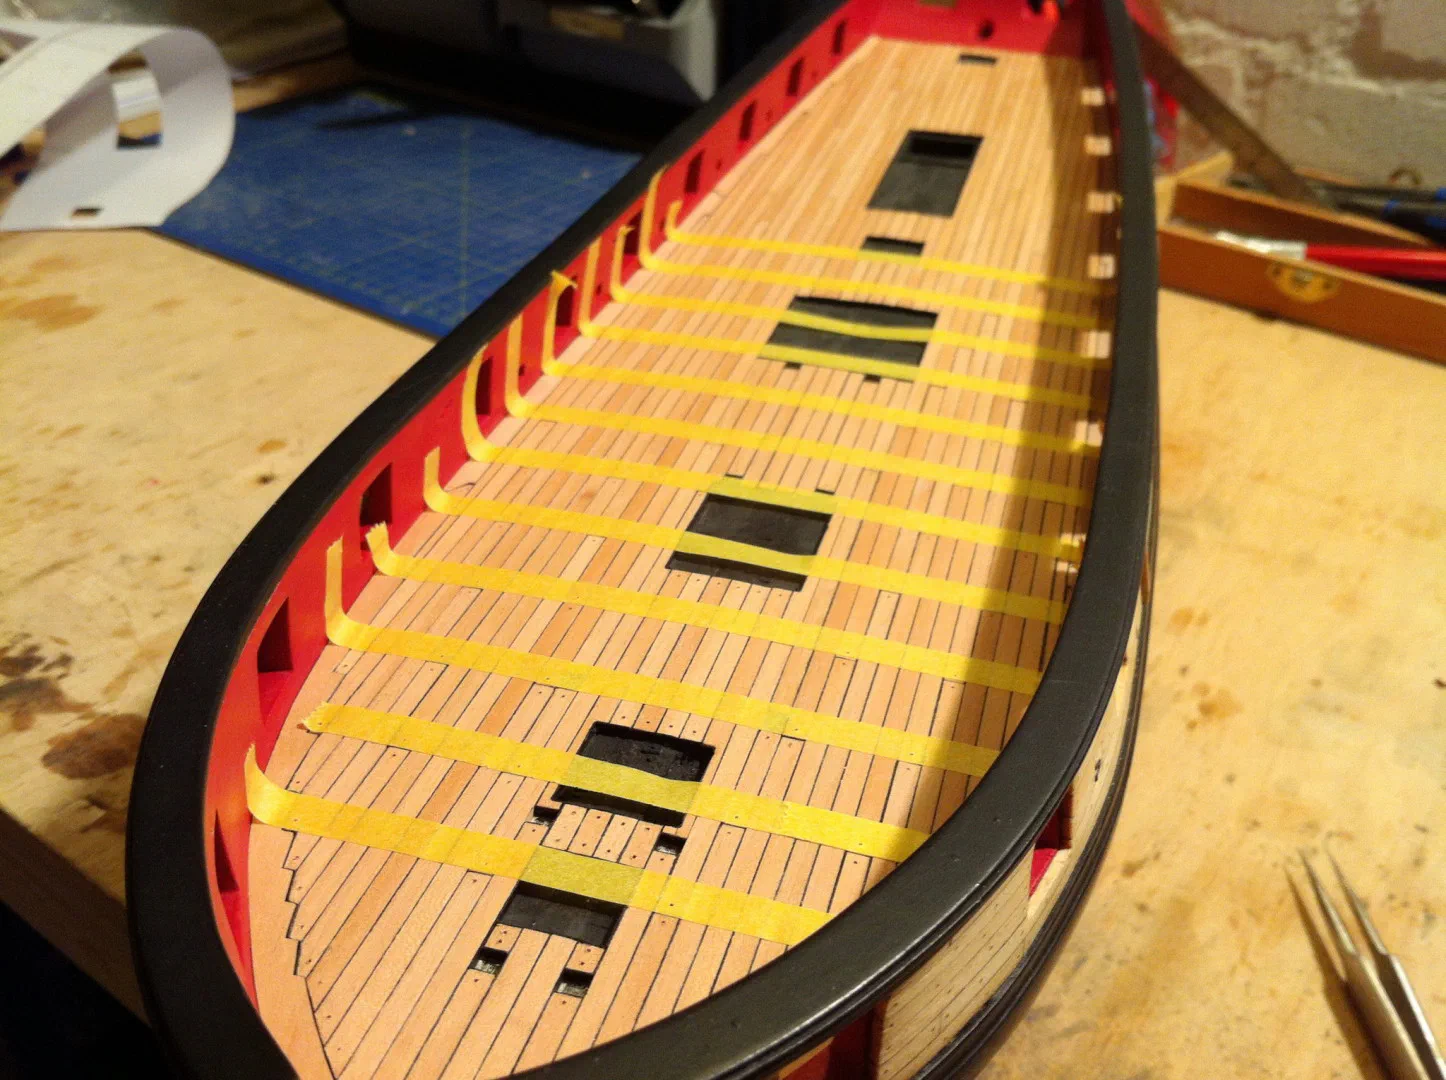
The treenails are not difficult, only patient work. I marked every hole freehand with a needle, starting at the butts, which give the spacing, and used masking tape to find the run over the imaginary deck beams. Before filling, every hole was pinned again with a needle to round it. The deck got Danish oil before the filler went in – that makes it easier to wipe off the excess – and after another coat of oil the filler darkened. For applying and removing the filler a tool from our favourite doctor, the dentist, proved perfect. The deck is darker than on a real ship, but that is how I like it.
Measure, measure, measure
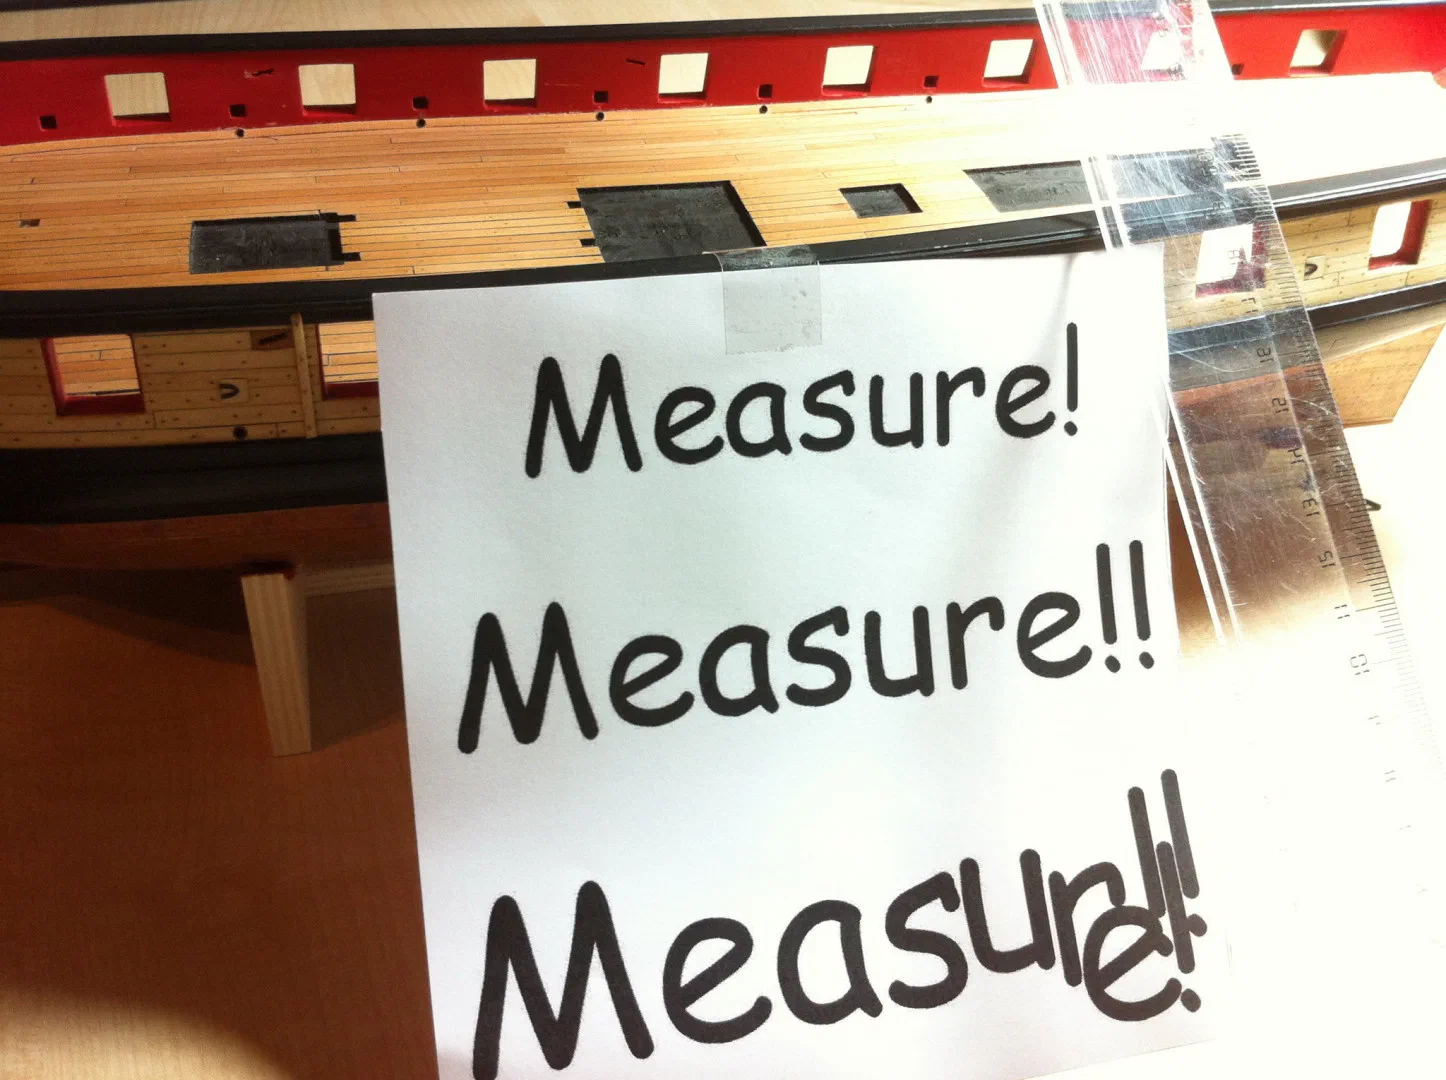
One of the most important rules in modelling is measuring. One of the rules I regularly forget is – measuring. While building the waterway I noticed that the gun ports on starboard and port side were not at the same height. Time to improvise again.
Deck fittings
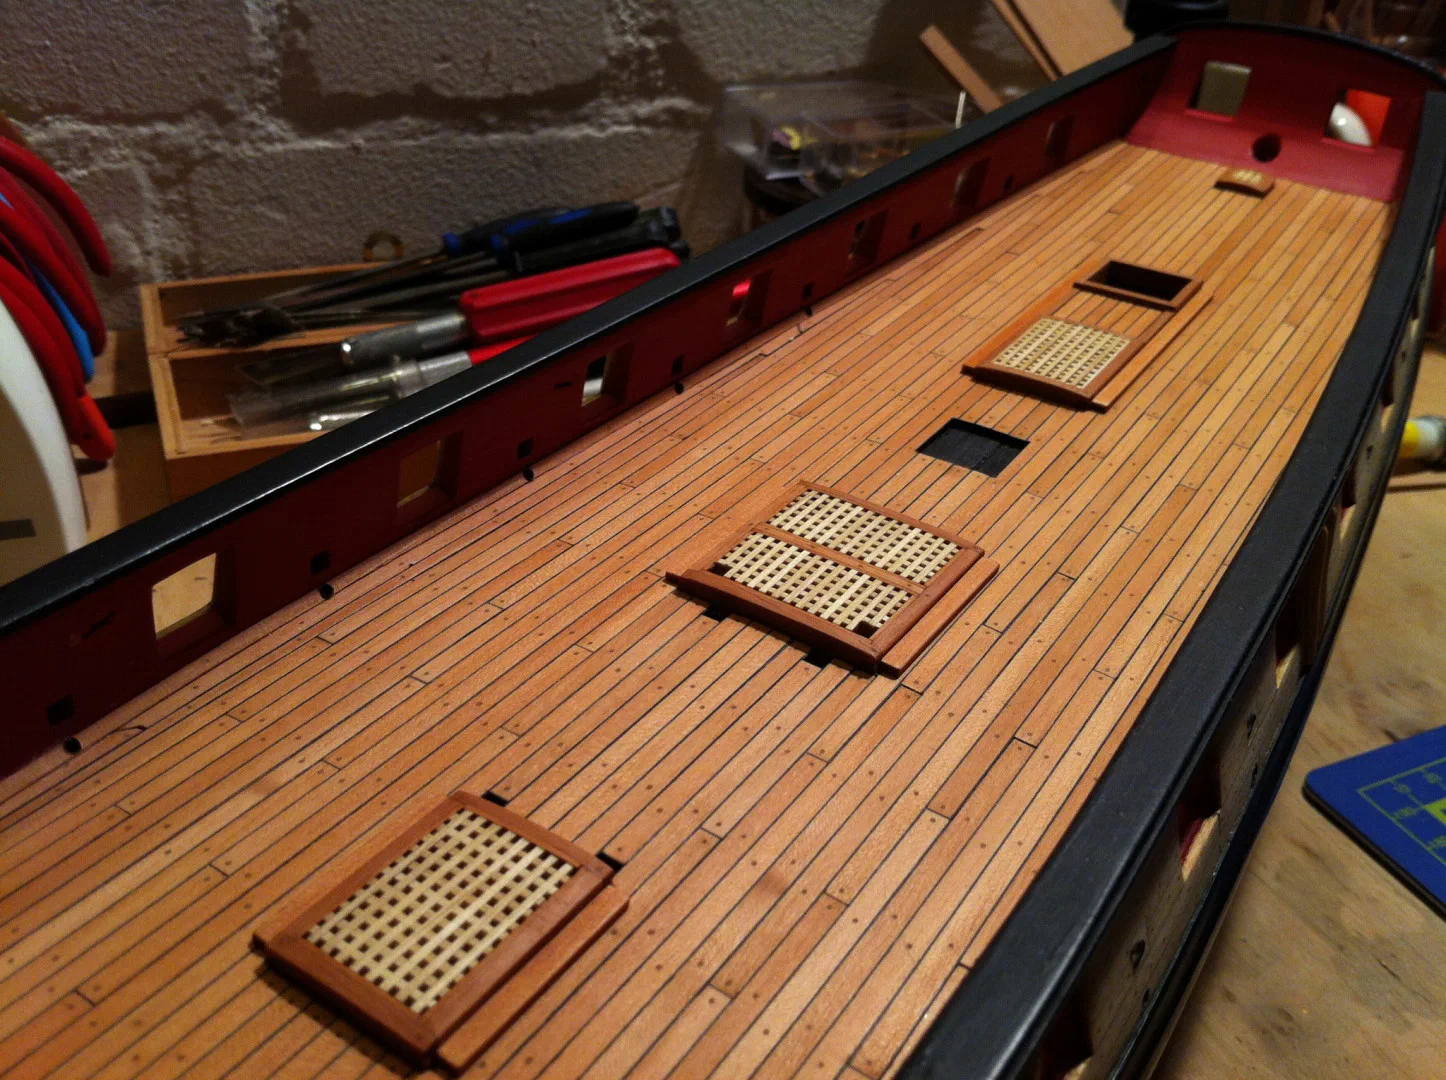
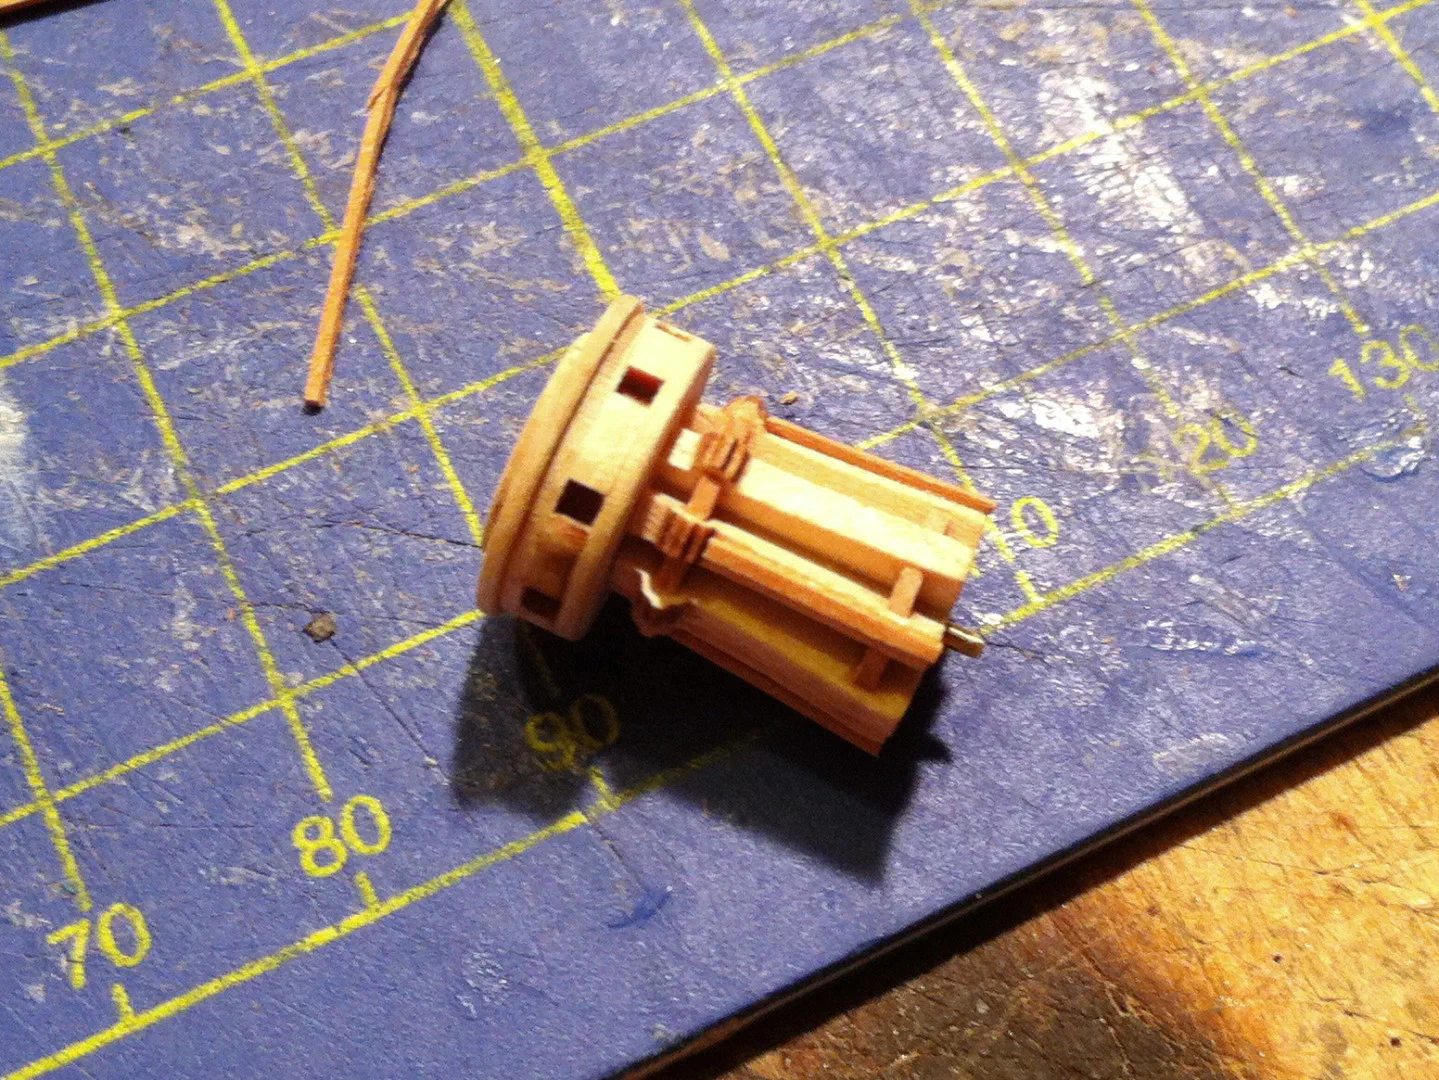
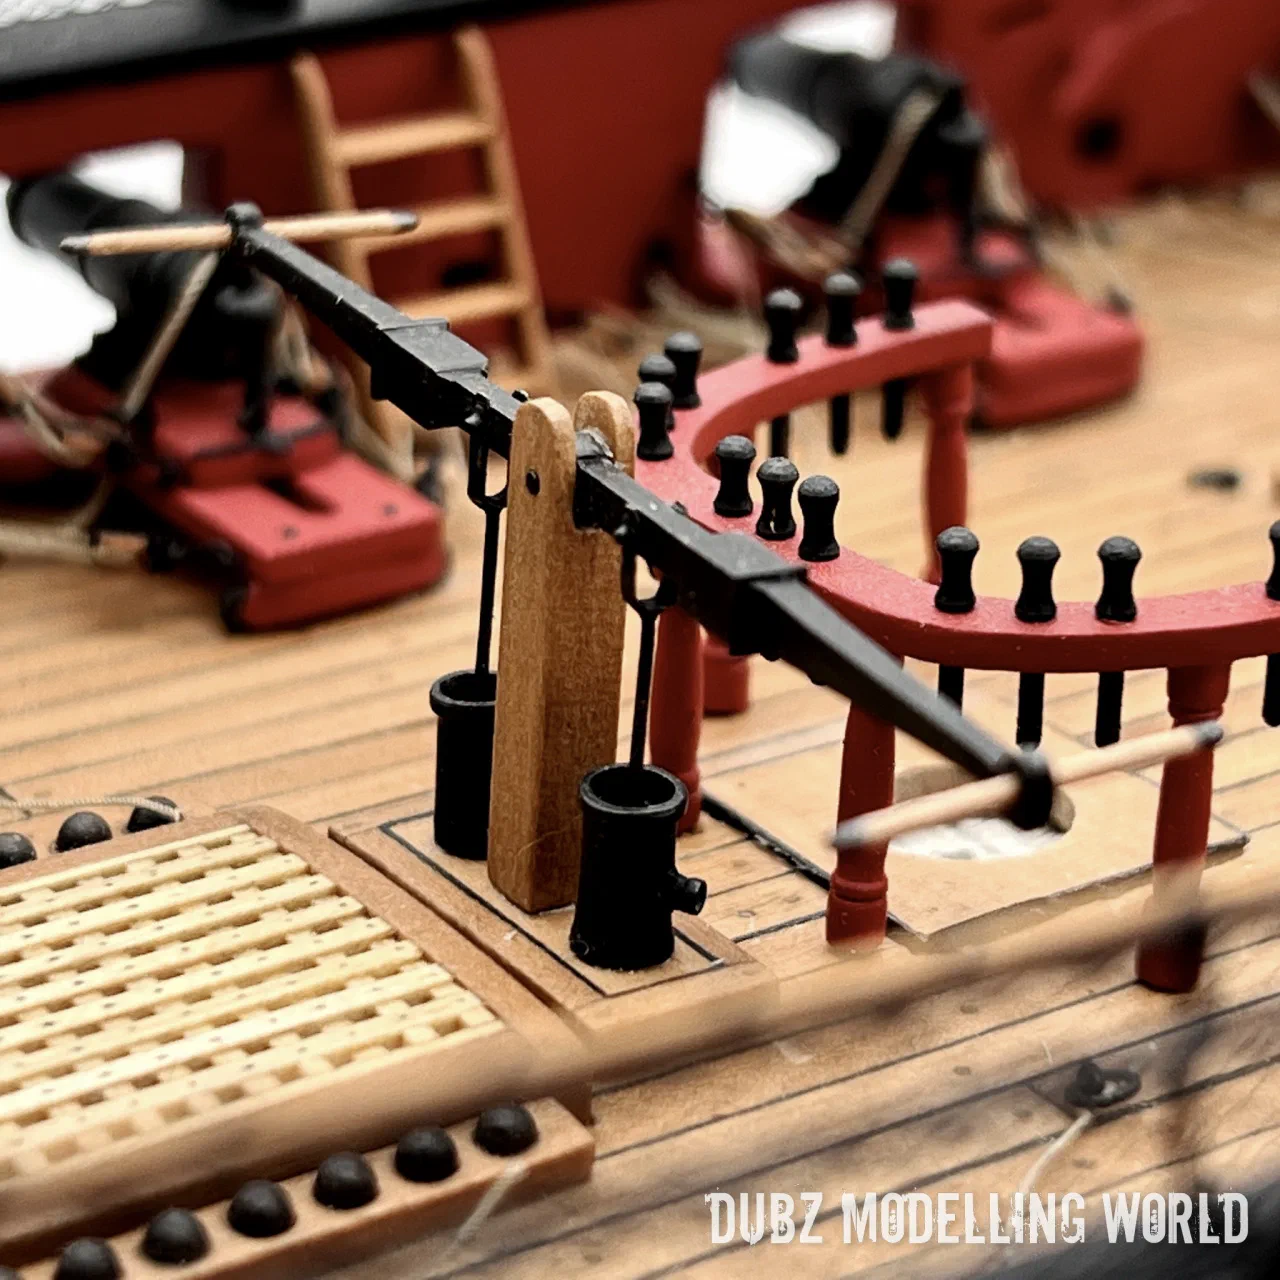
Then the deck began to fill up – the more relaxing part of the build. The gratings were a task of their own, especially getting them centred; I wanted them rounded on top. The capstan got a few extra details, followed by the binnacle and the companionway, whose door rings had to be soldered at a size that is almost too small to handle.
Long guns
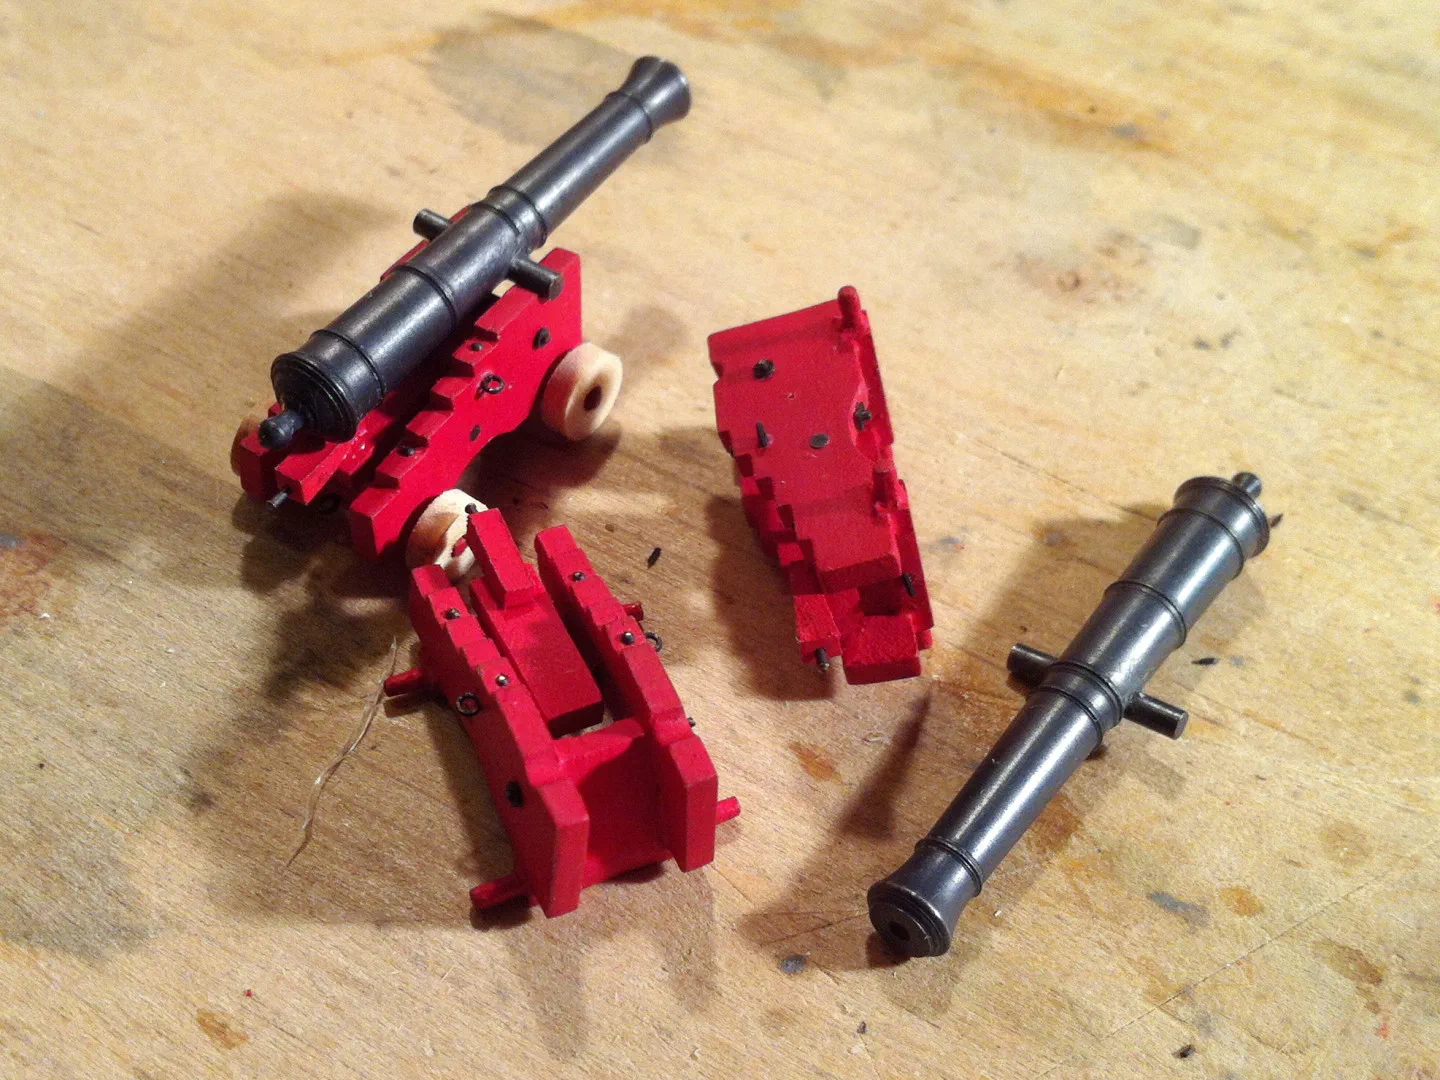
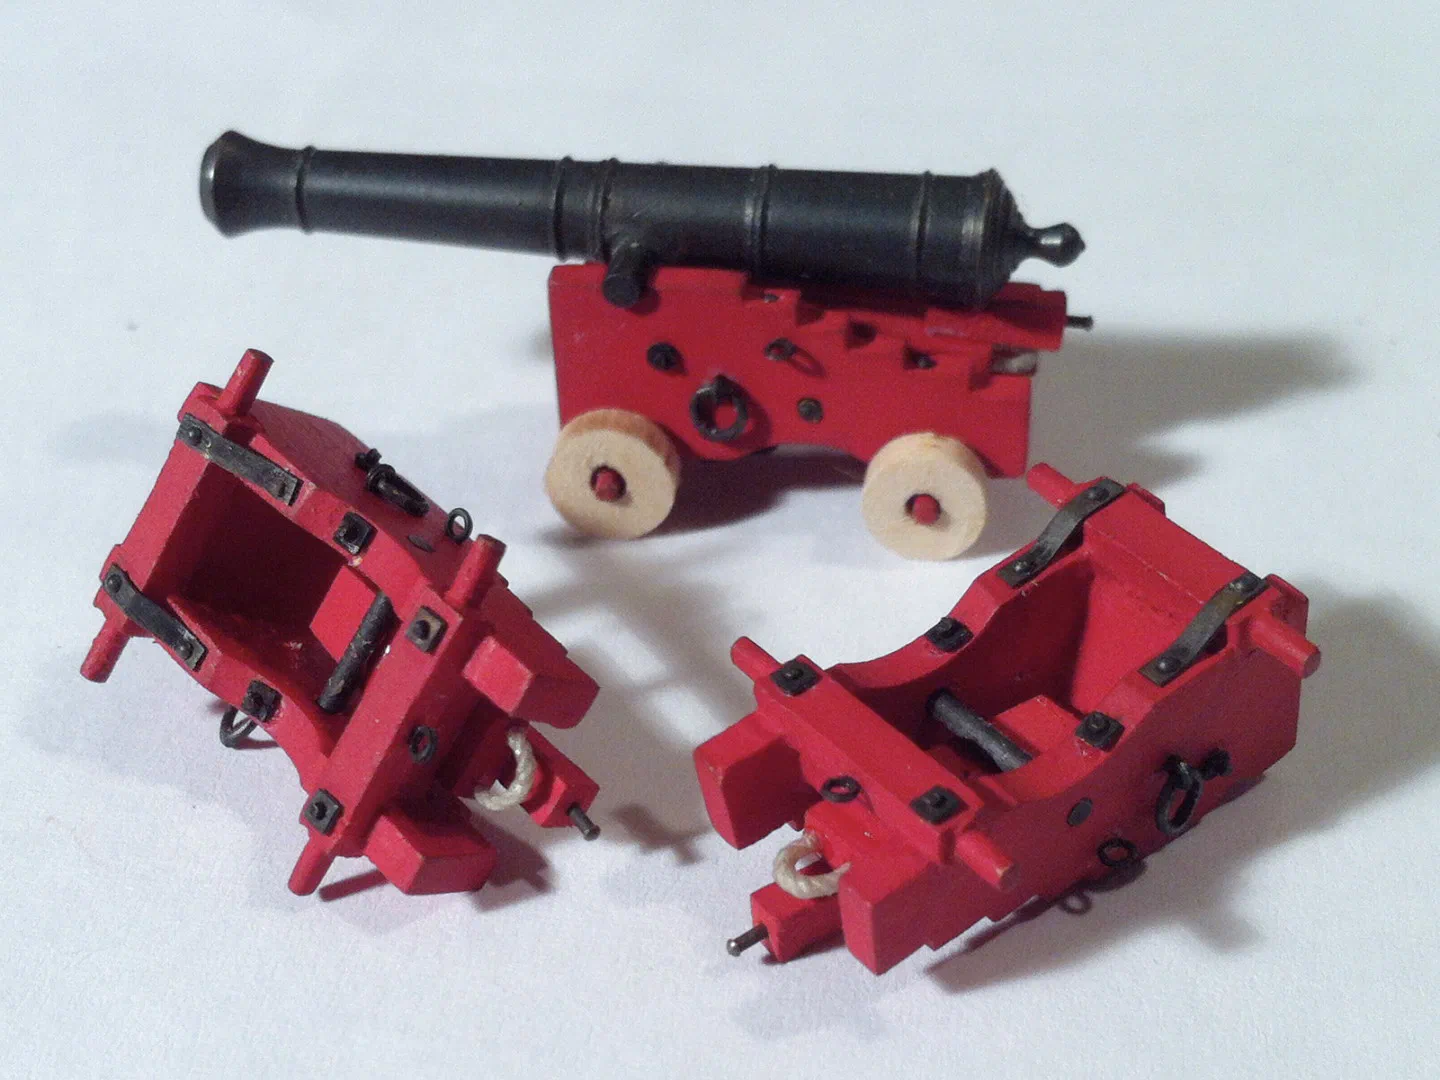
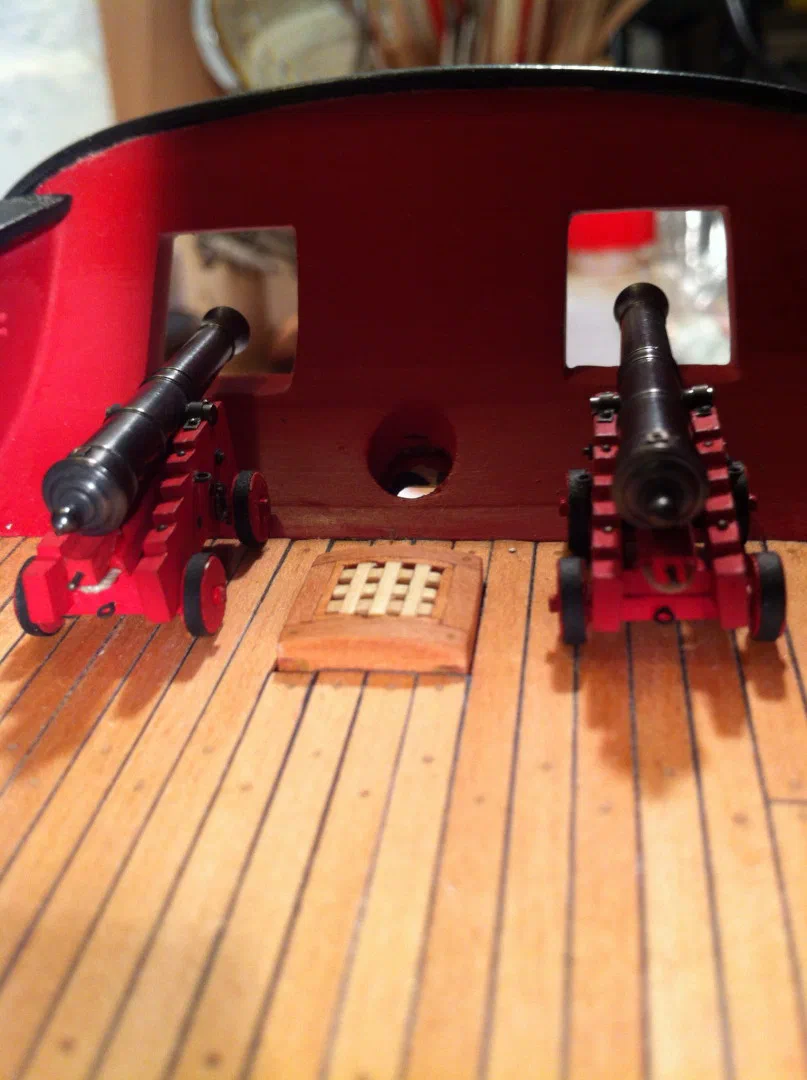
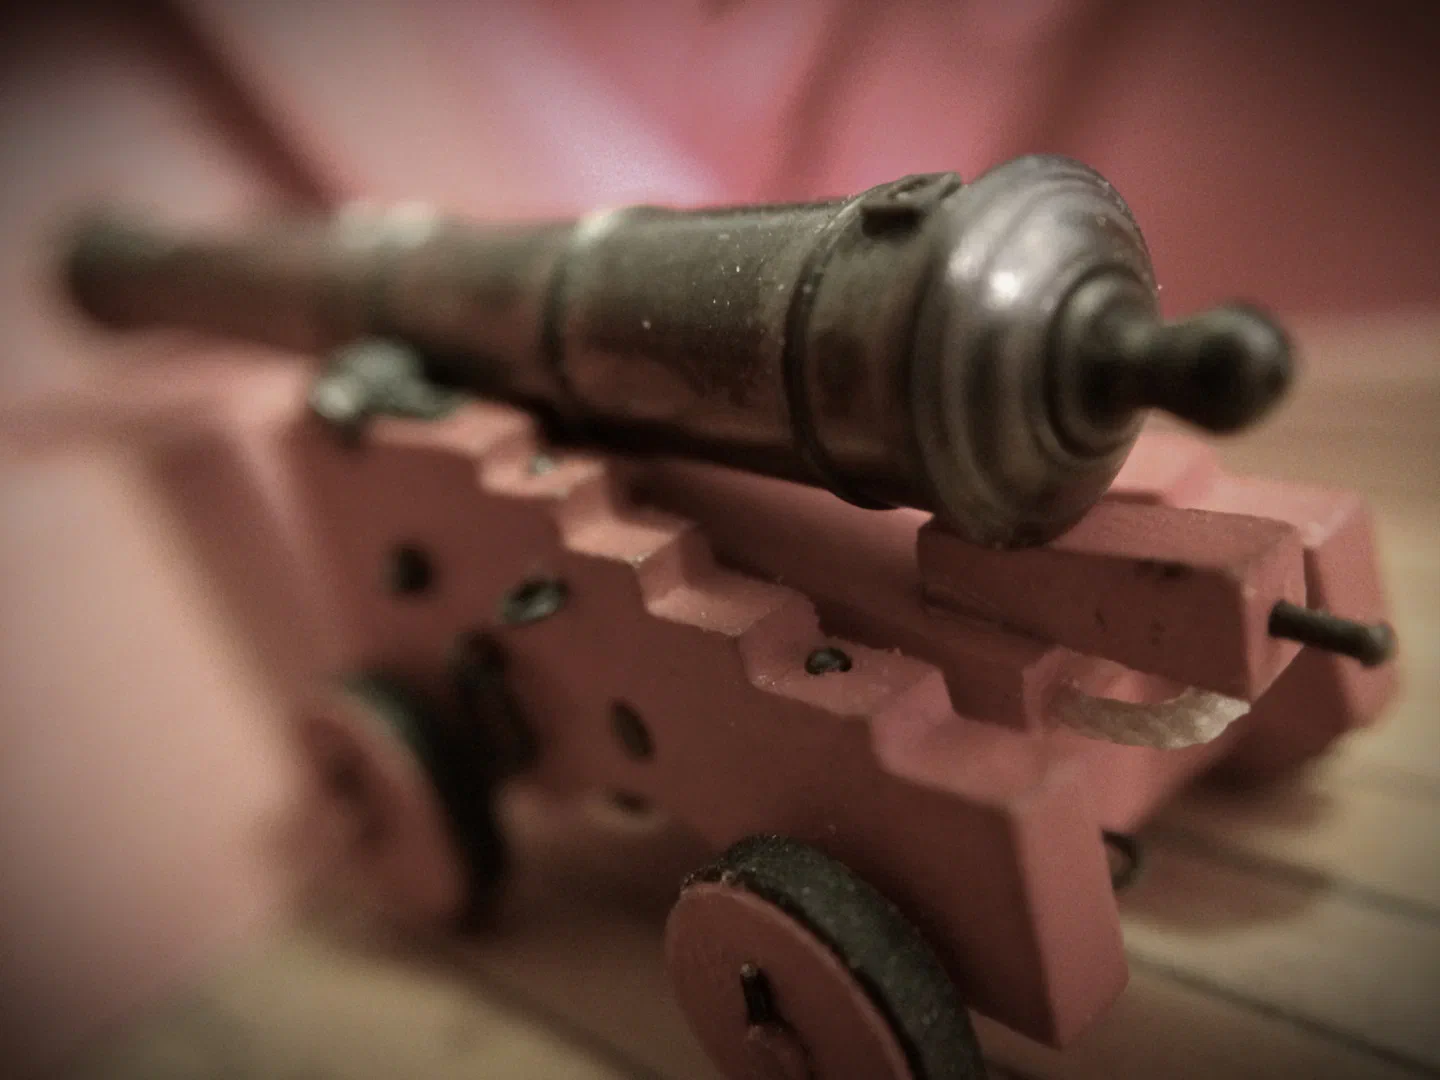
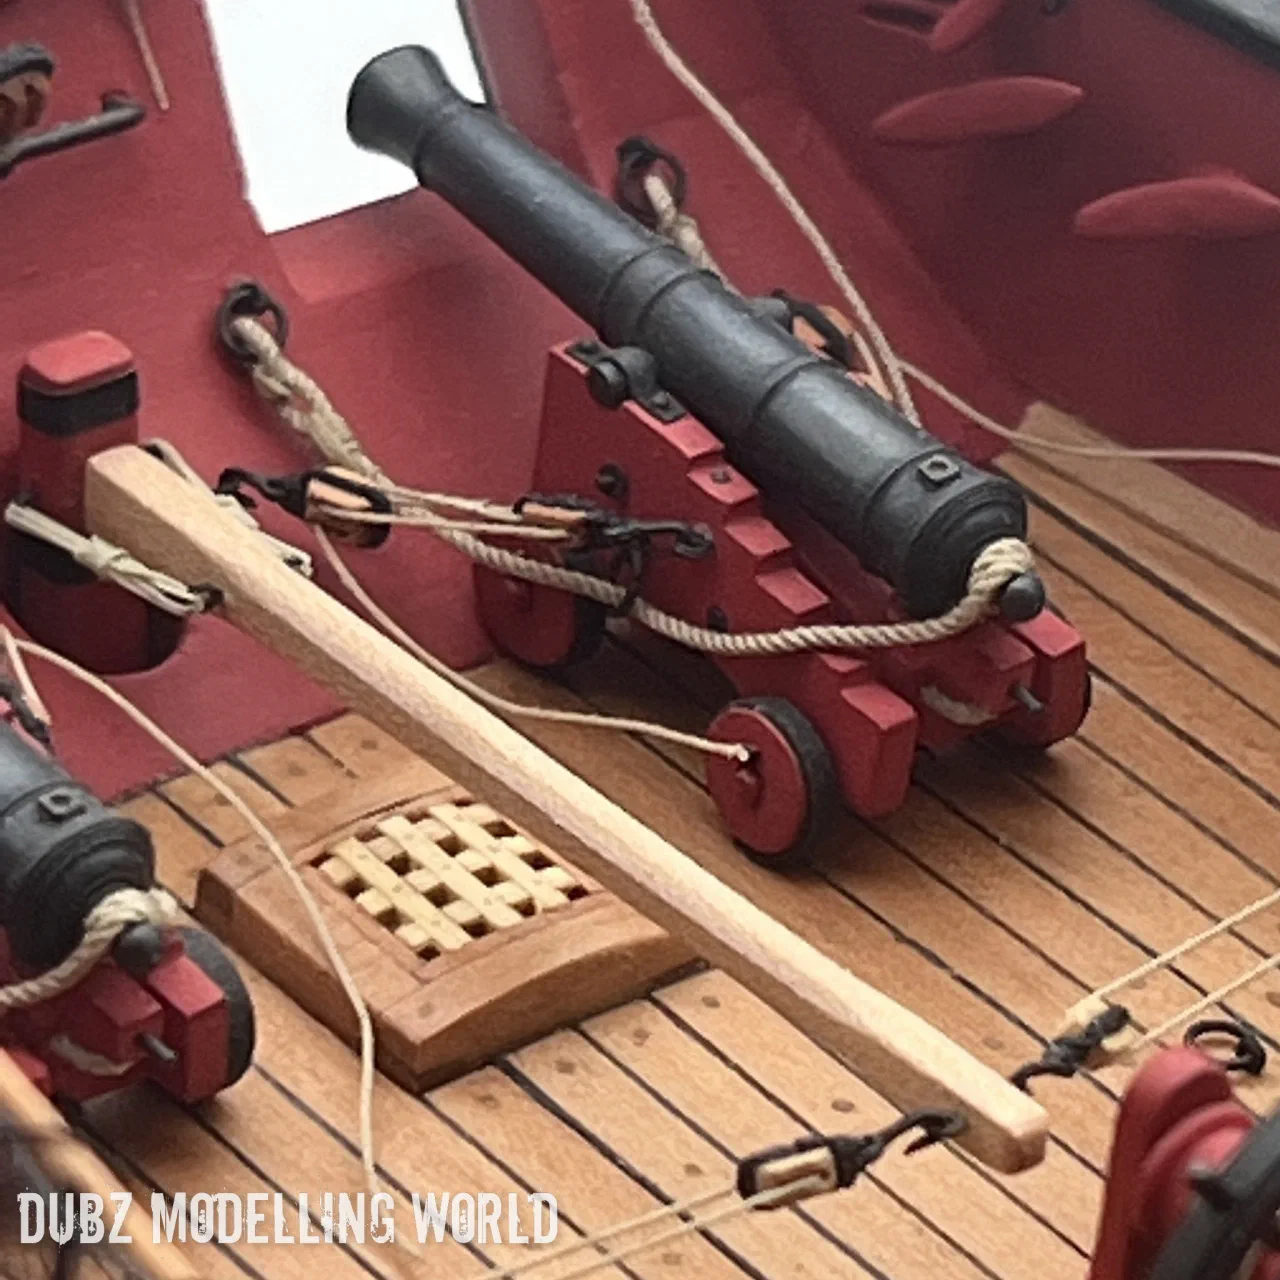
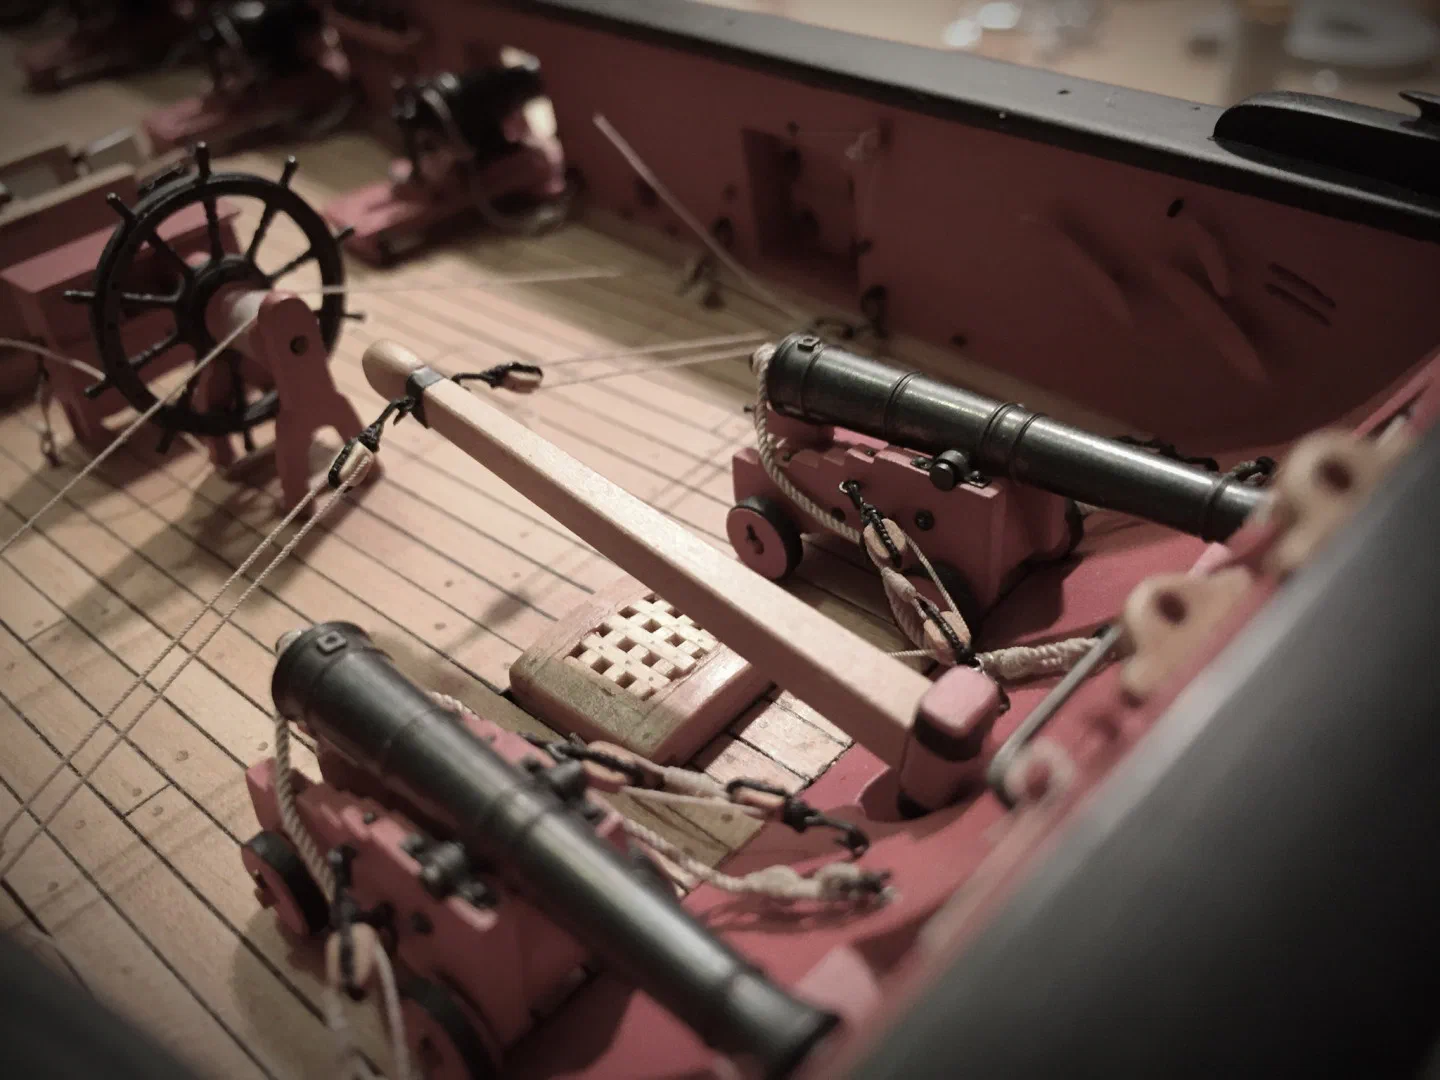
The two long guns are Caldercraft as well, and detailing their carriages at this scale is one of the tasks I really enjoy: axletree stays nobody will ever see, the gun tackle loops, the rope for the stool bed, capsquares, and wheels with a black ring of cardboard – the best I can do in 1:64. Bolts through the trucks were simply too small to drill, but the pins had to be there.
Rudder, scuppers and the stern
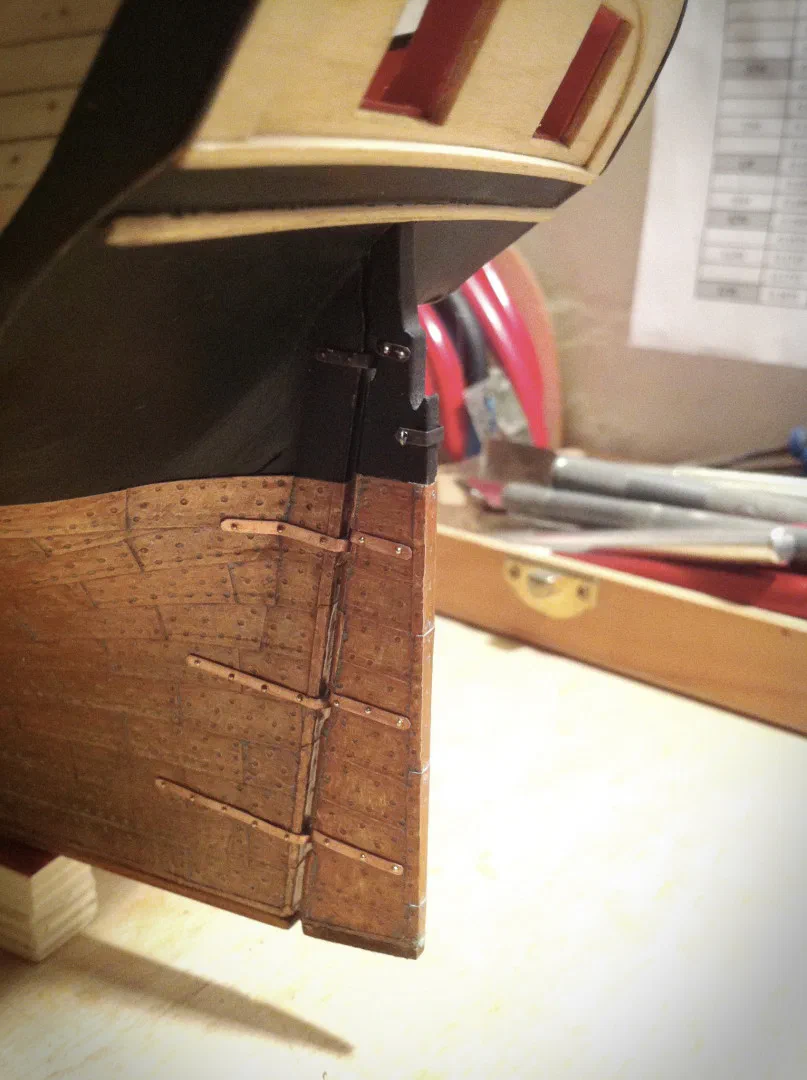
The rudder had to be rebuilt once because I had forgotten that it tapers from top to bottom. The freshly coppered rudder next to the hull showed nicely how much patina the vinegar-and-salt treatment gives. The ten scuppers are 2 mm brass tube, opened with a file and blackened, and the double sheave at the stern – which looks like nothing – took hours.
Bitts, pumps, wheel and channels
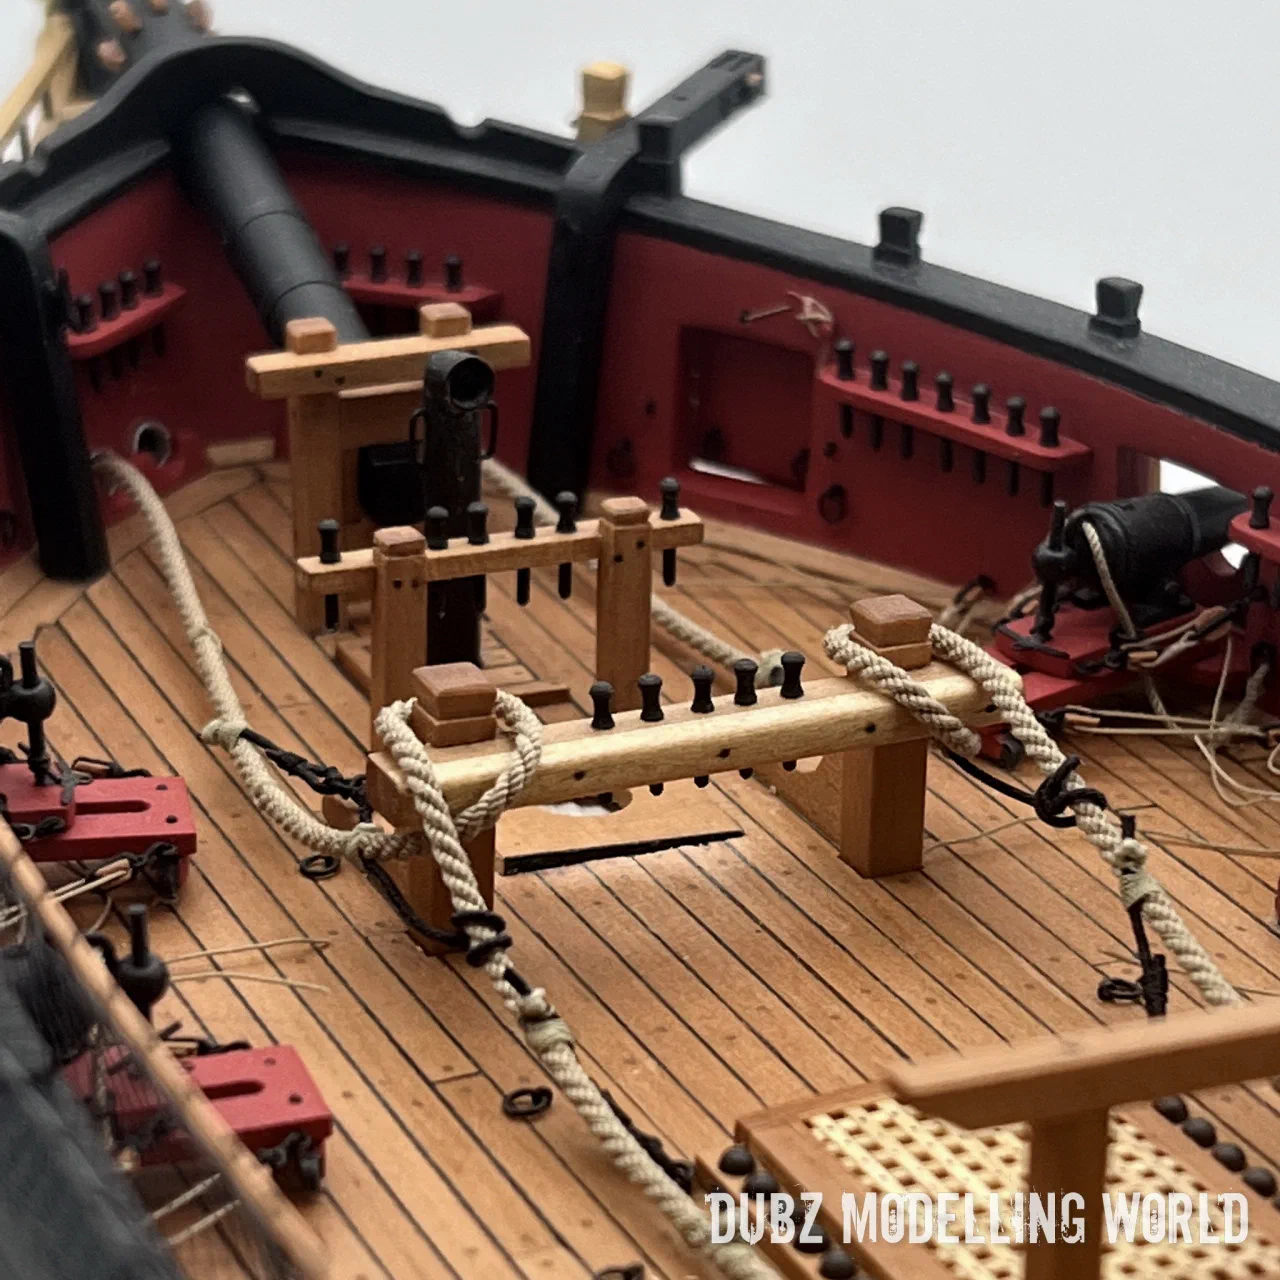
The gallows bitts and the riding bitts are made of pear; the riding bitts I made more massive than on the plans, especially the knees. The shot racks were built twice – the second time with bigger shot, closer together. The ship’s wheel and tiller are my own, the pumps succeeded at the second attempt, and the main fife rail, the pin rails and the channels followed. Most parts stayed unglued for a long time: I like to collect the finished parts and only glue them when all preparation and repainting is done.

The stern davits were rebuilt in pear because the laser-cut ones were not high enough, and the bridle port lids got working hinges made from micro tube and 0.45 mm wire – an experiment that decided the fate of all the other lids.
Bowsprit and jibboom
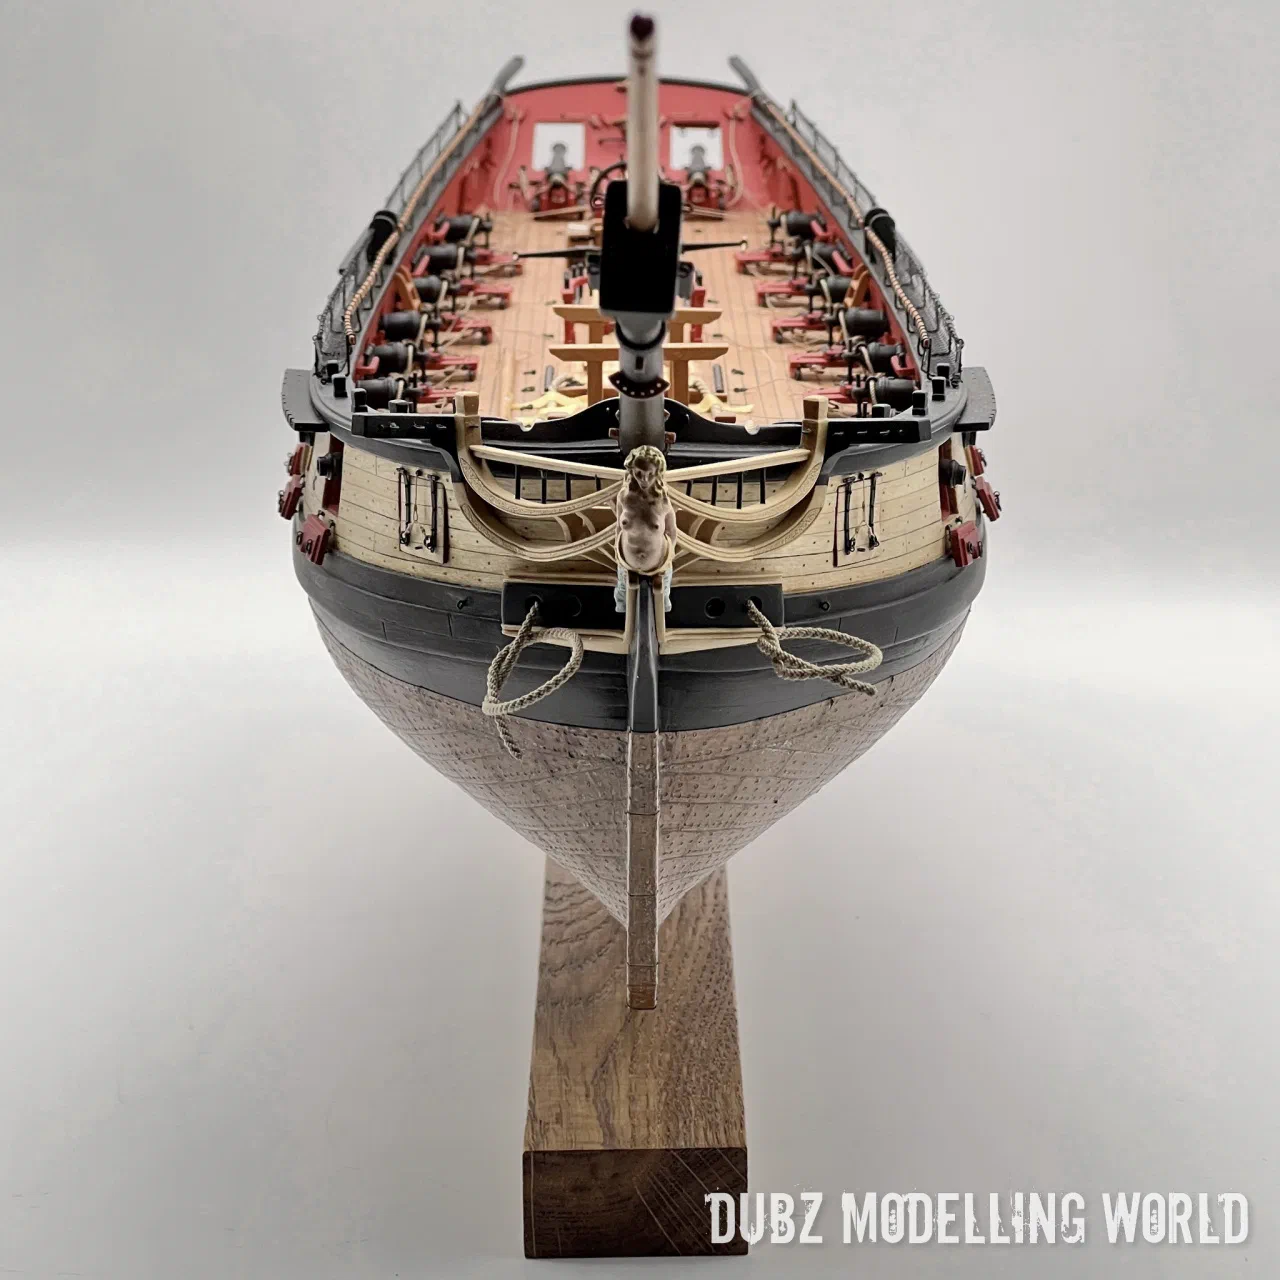
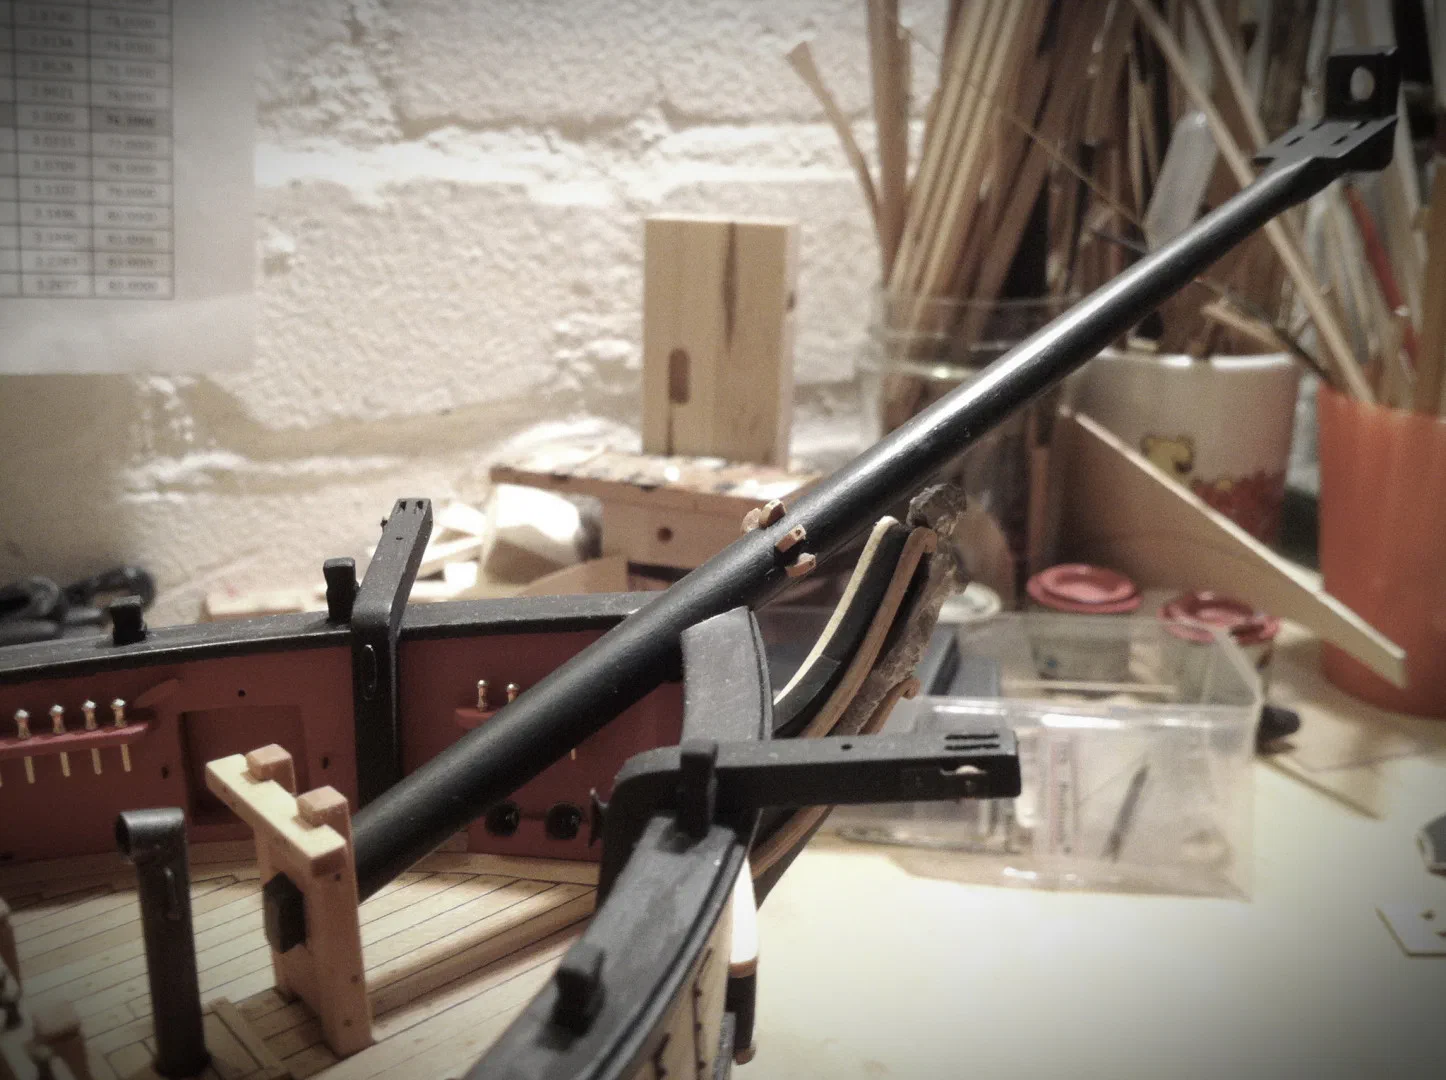
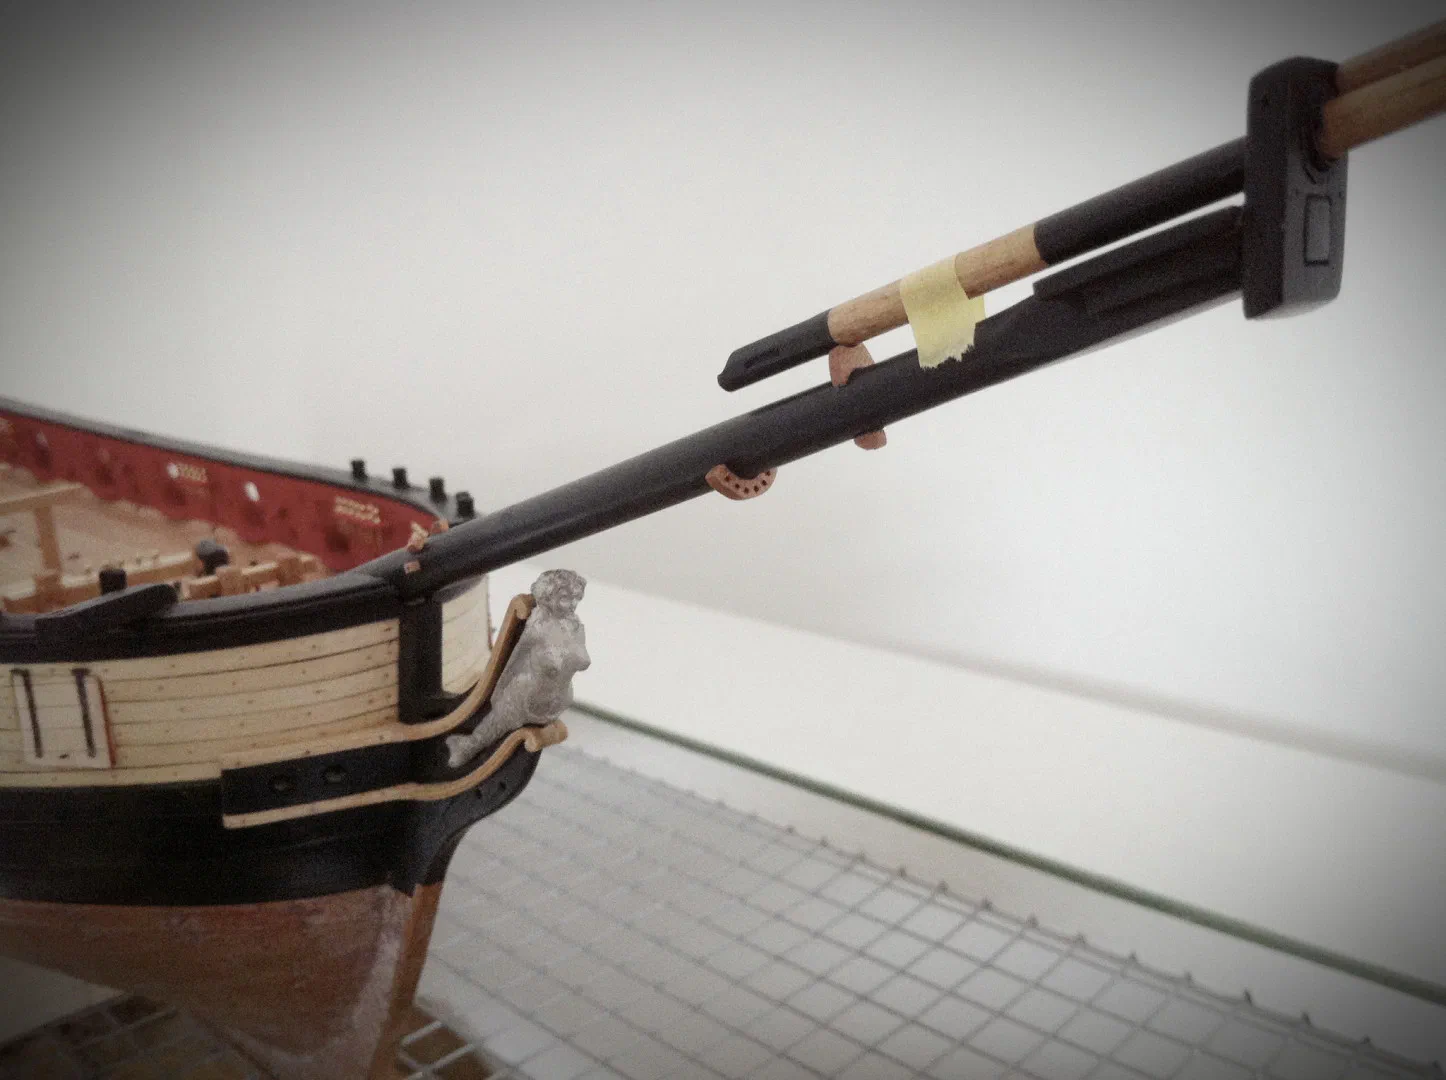
The bowsprit needed two attempts: the first was too small, because I had measured something round that had to be square. The second time I made the square for the bees first and then sanded the dowel, a thicker one than the instructions suggest. Then came the bees and their seats, the gammon chocks – for every good one, five broke while drilling – a leather imitation at the cap, the jibboom and flying jibboom, the fairlead, the saddle for the spritsail yard sling, the iron bands and the dolphin striker. The bowsprit bitt had to be rebuilt much higher to get the right angle.

Head rails and cheeks
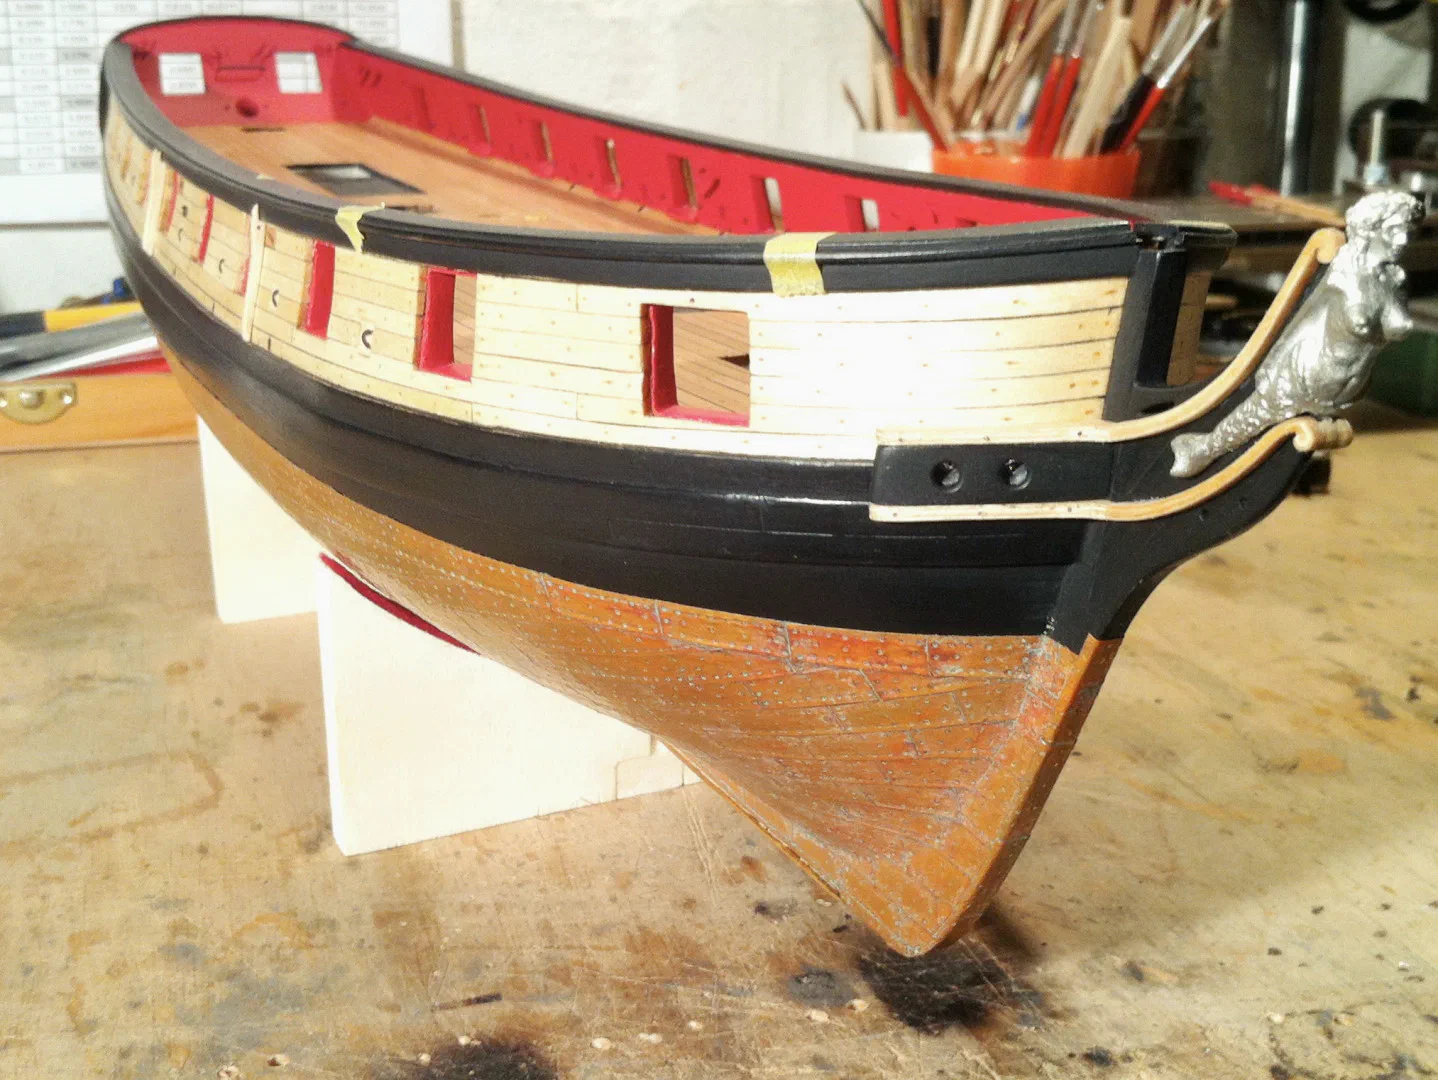
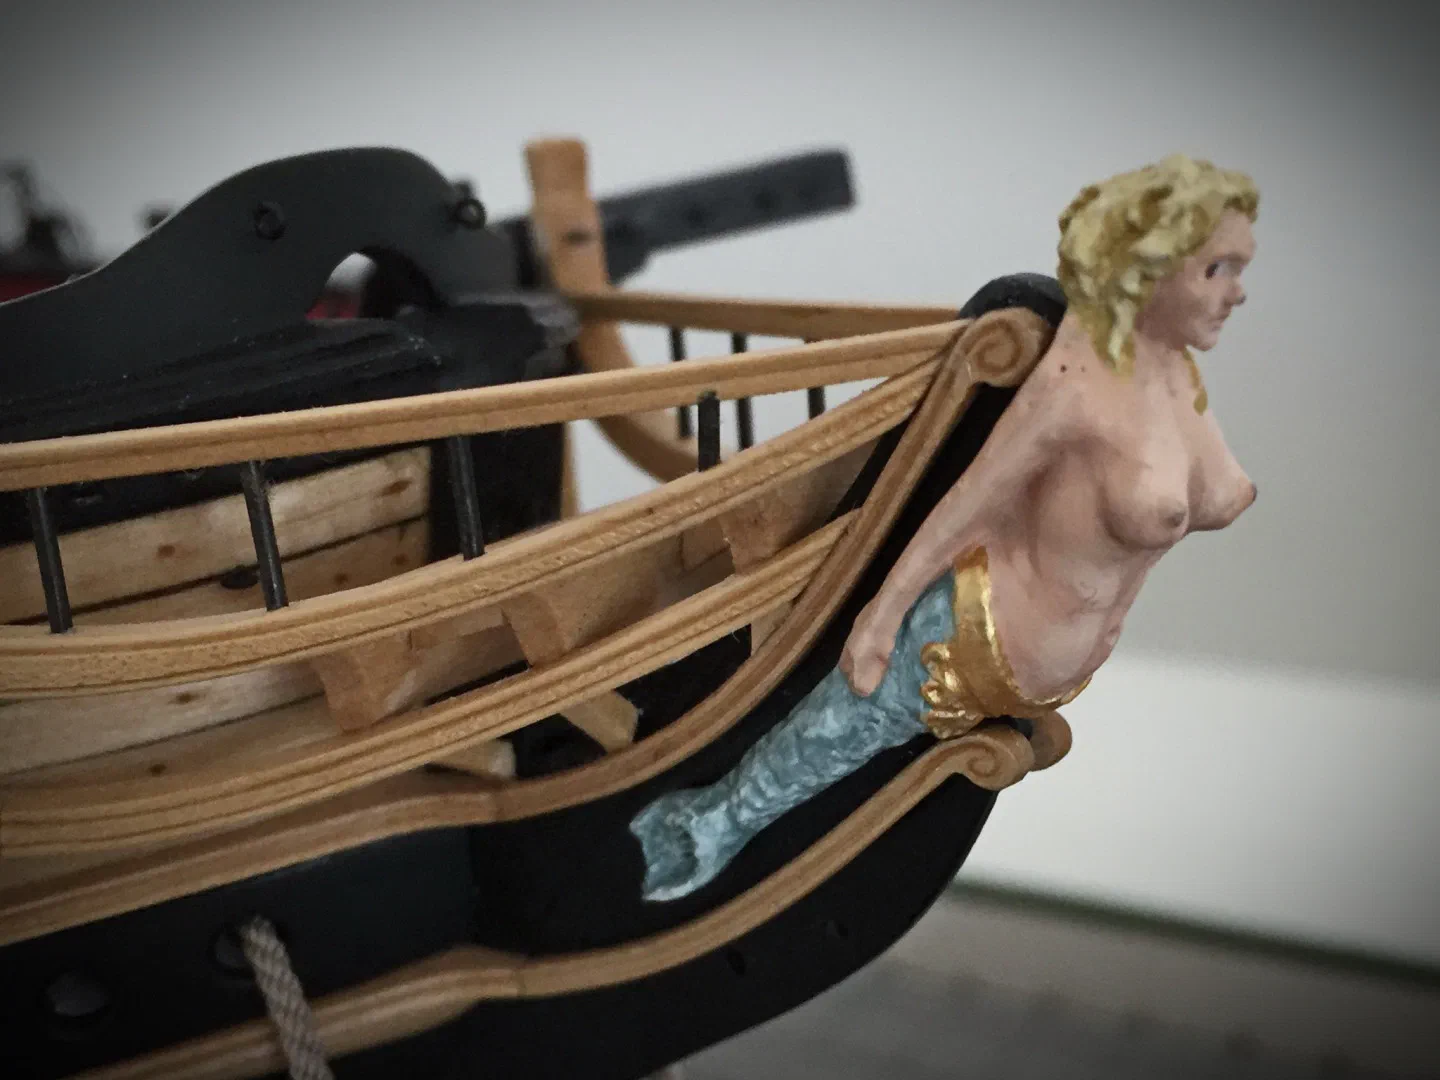
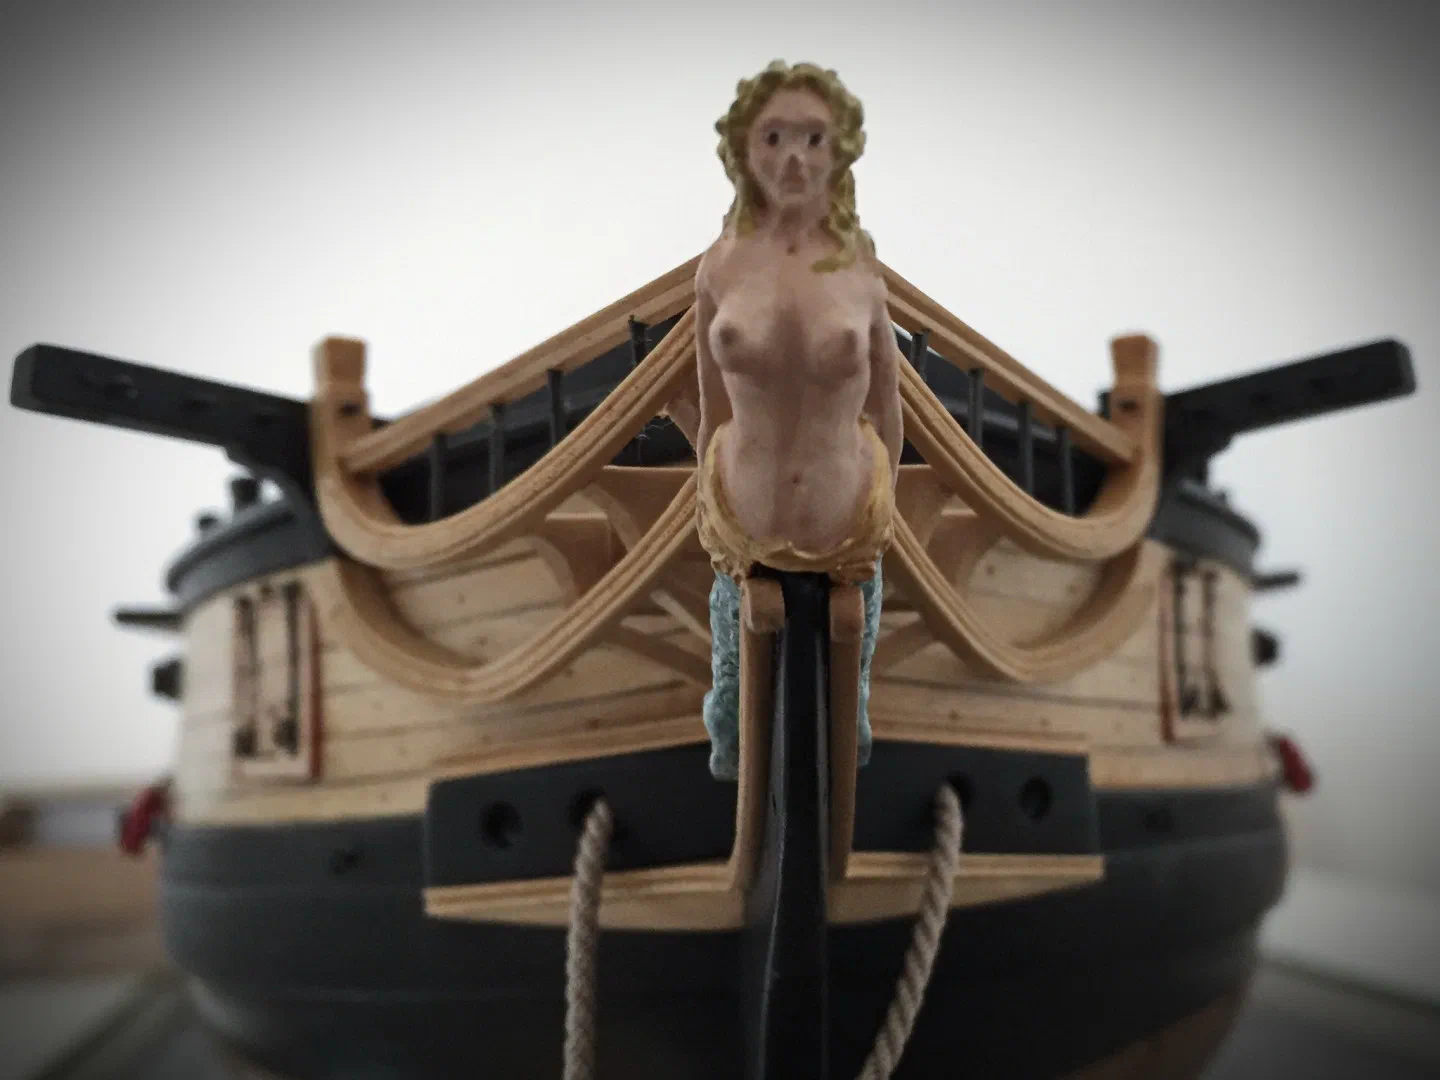
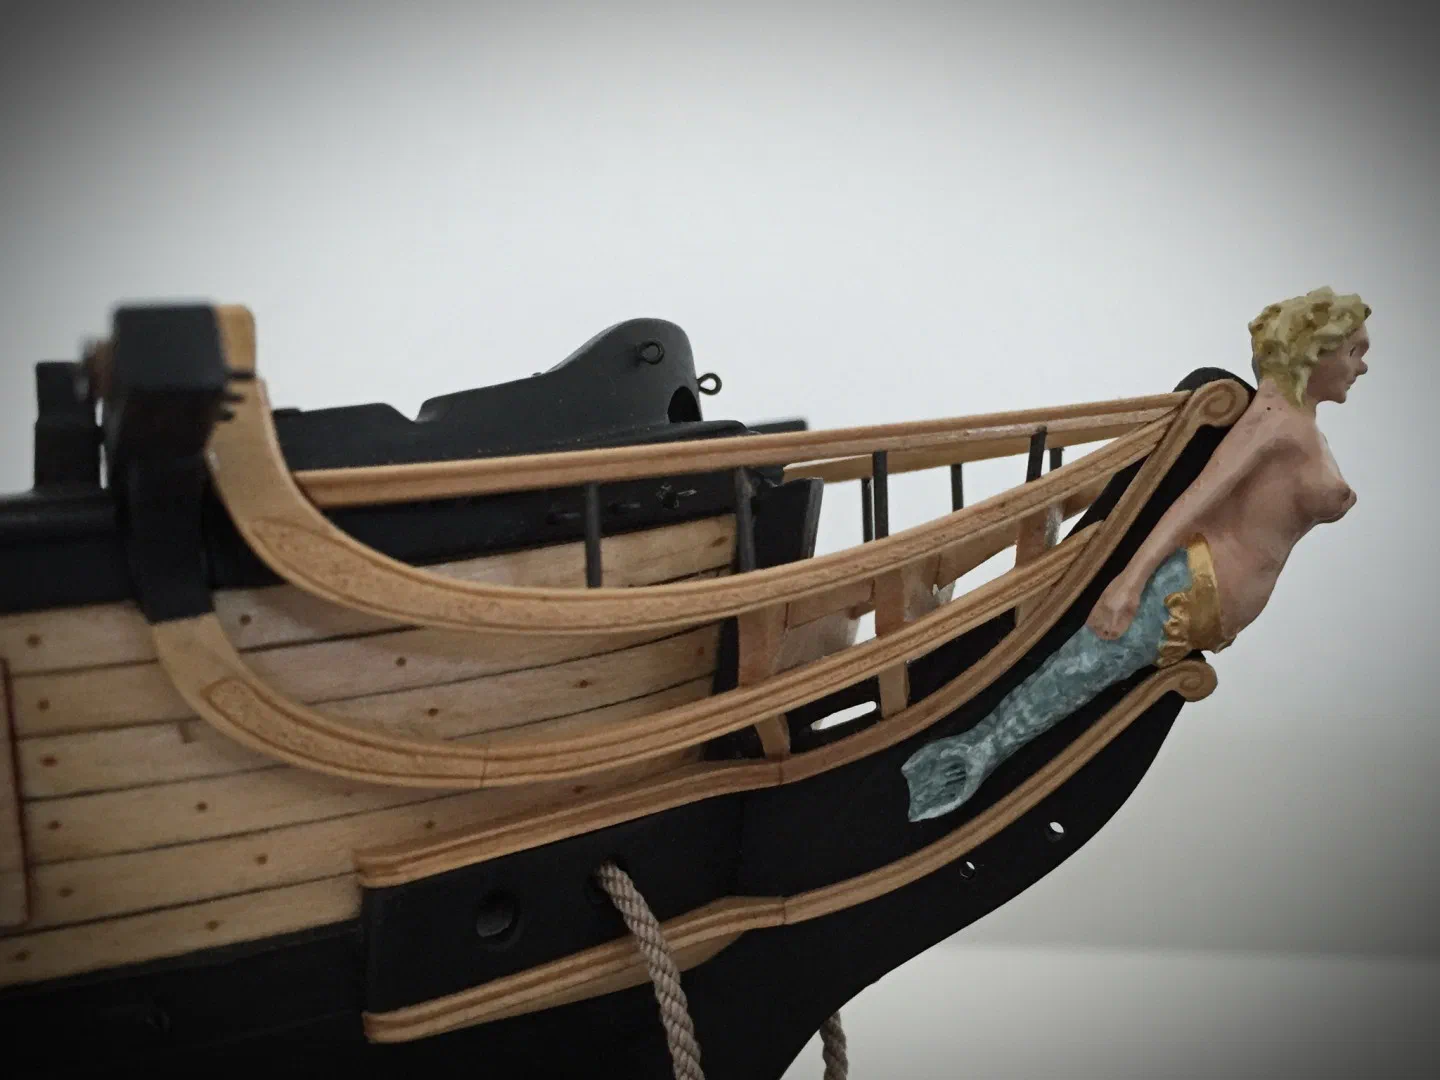
The head rails were the chapter I had feared most, and rightly so. The first cheeks I carved from the kit parts with a very simple tool – a pointed wire, drawn softly along the outline, then a second tool for depth and width; the worm I carved freehand.
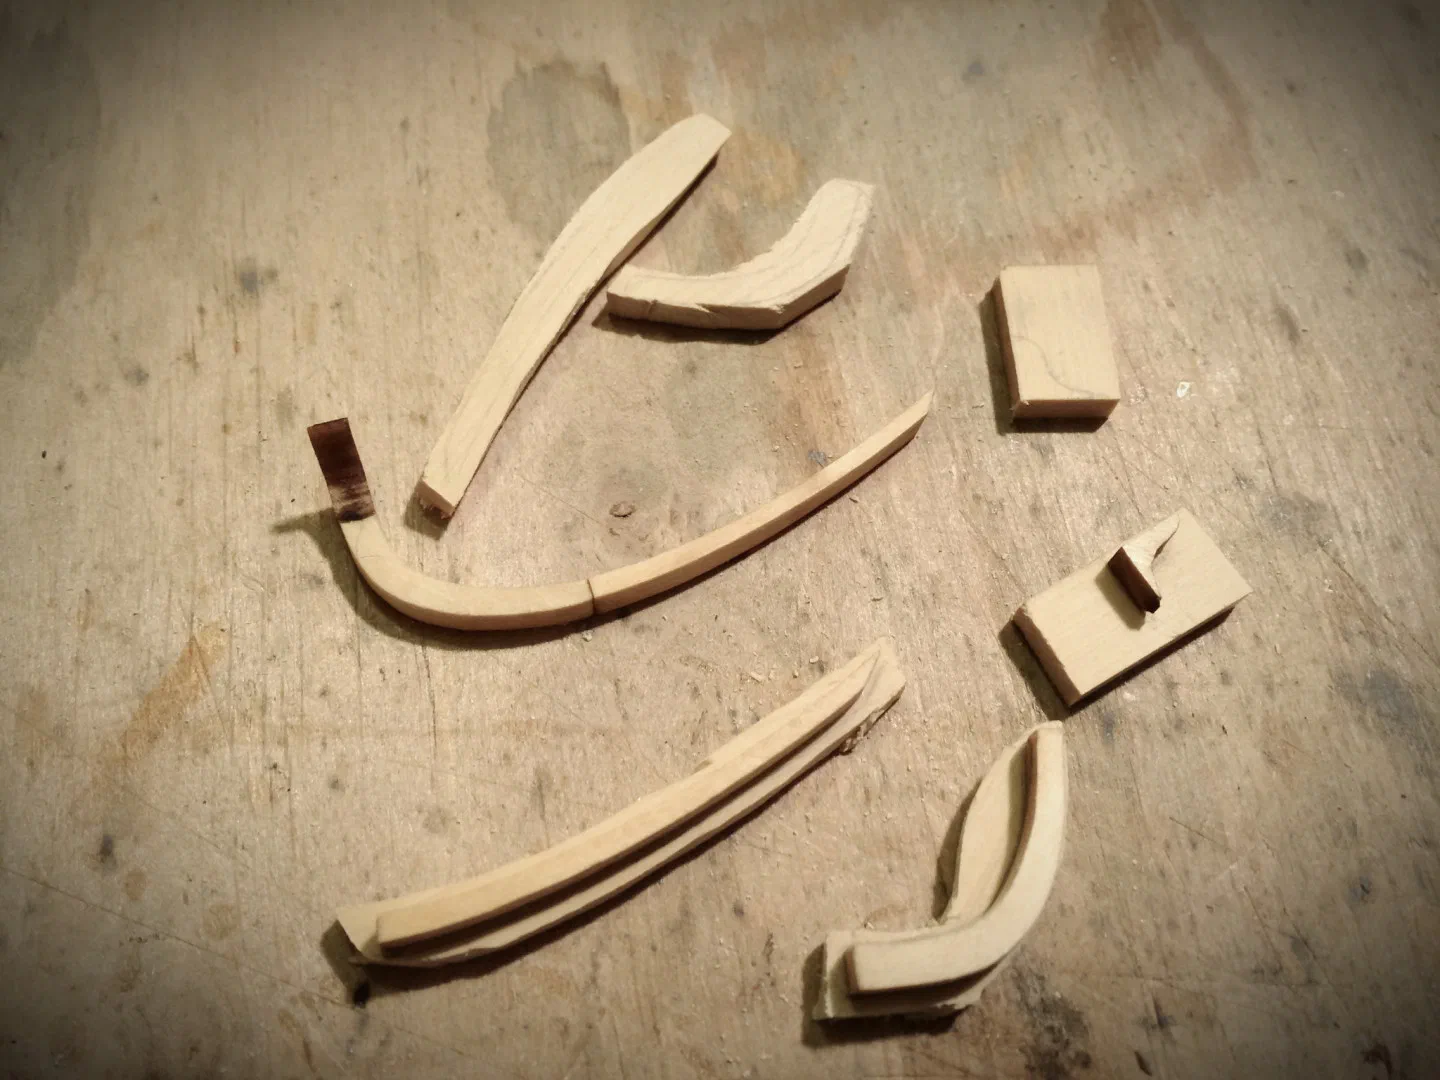
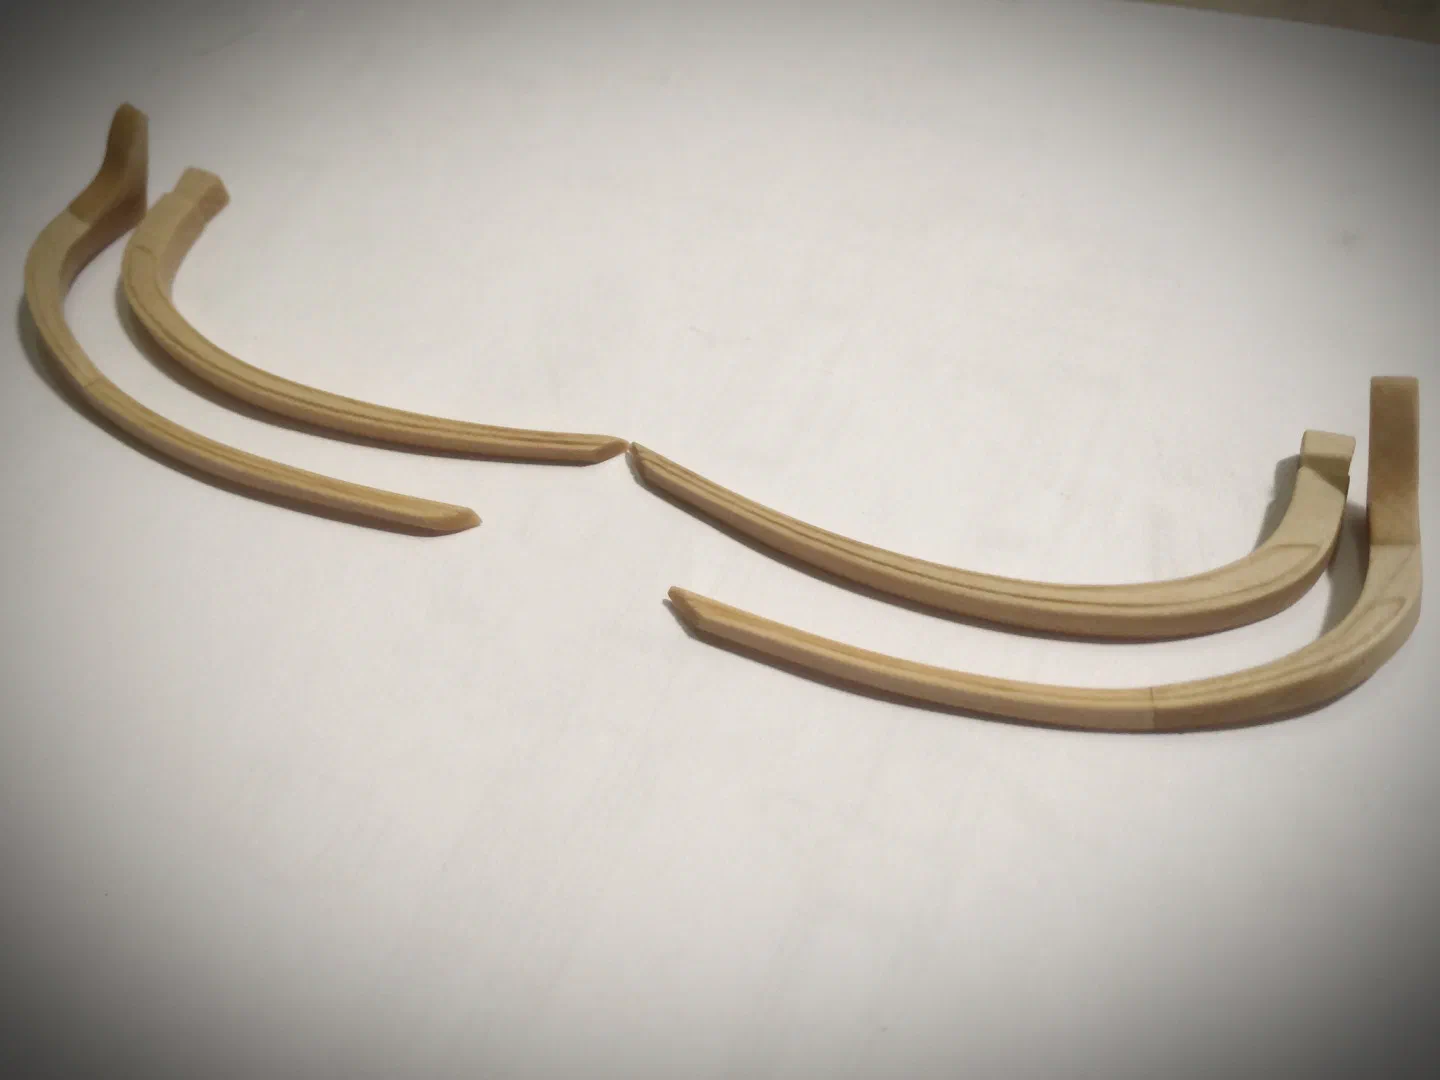
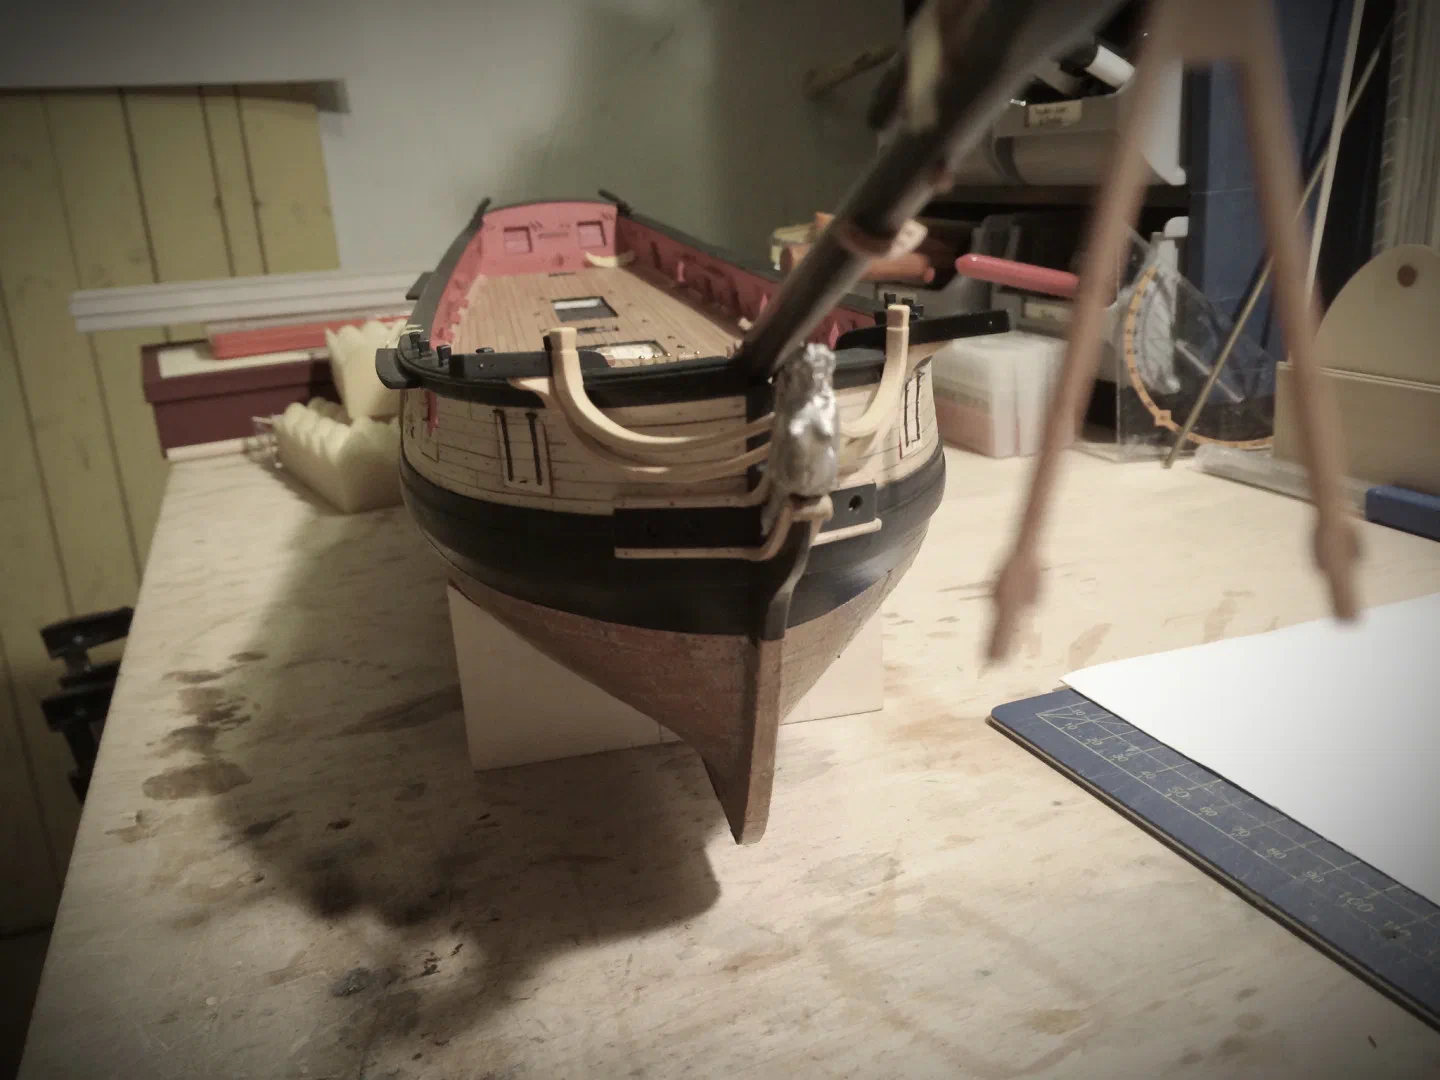
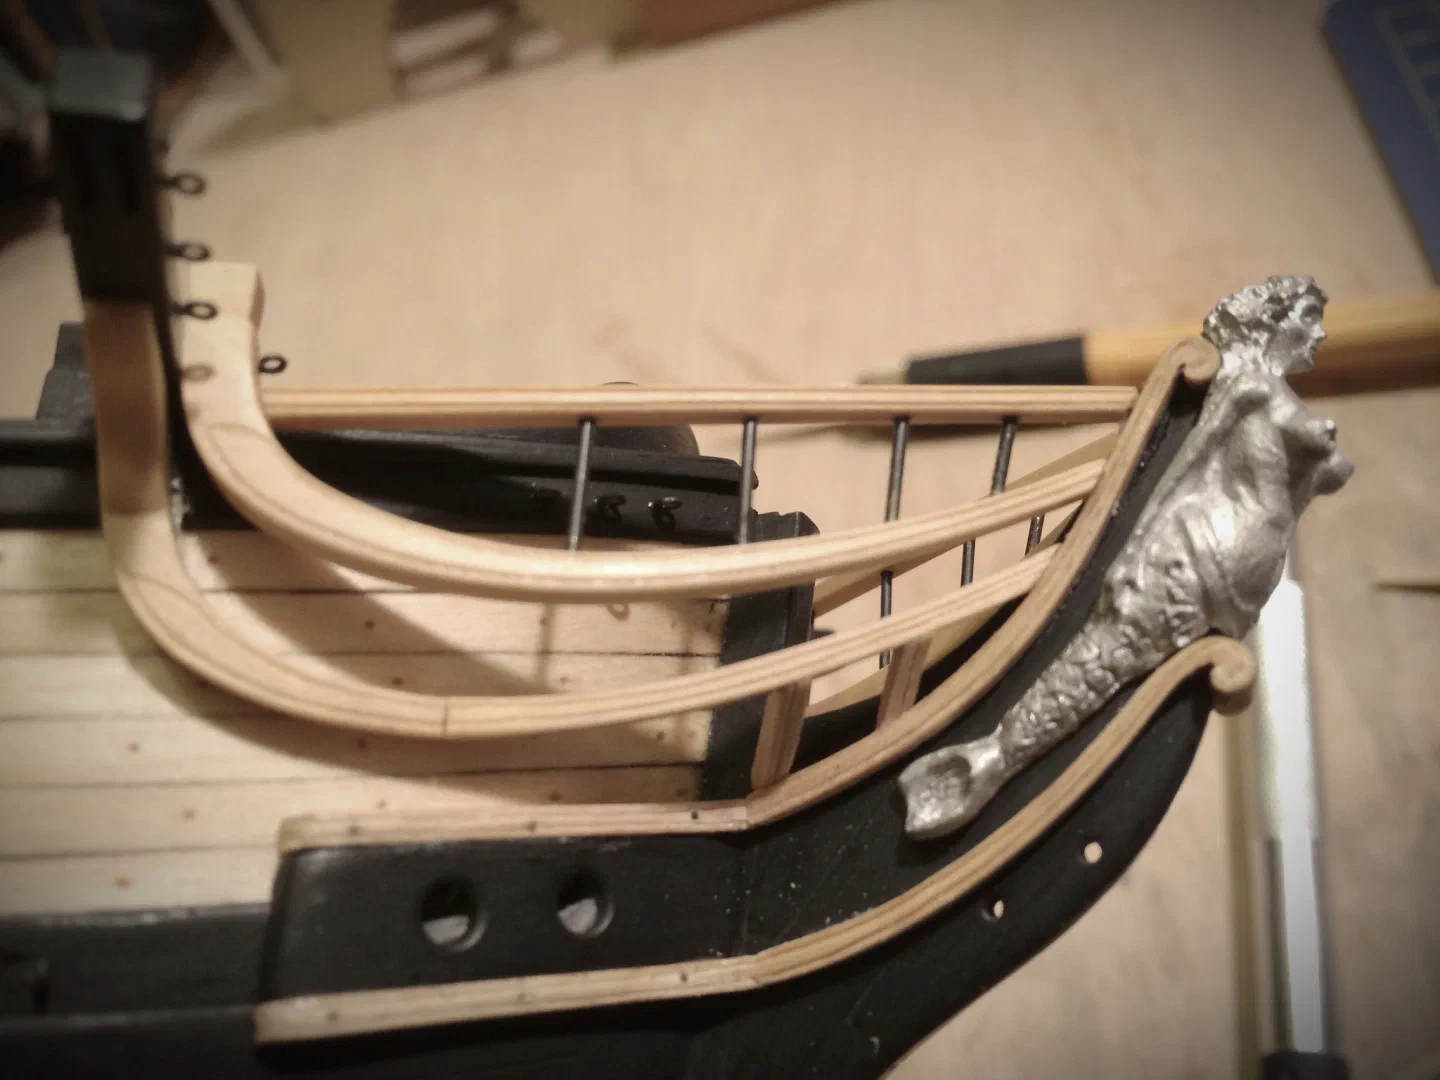
Later I rebuilt the cheeks in boxwood, which is much easier to carve. I glued several layers together with the old cheeks as a guide, cut them roughly on the scroll saw, refined them with a rotary tool, released the parts in water and finished them with a needle file. The top rails were redone so that they sit much higher on the cheeks, the middle rails were adjusted under the catheads, and the moulding strips and the line of the cap rail are boxwood too. The head timbers were the biggest headache of the build; in the end I made them following the original drawings, with three timbers per side, in a construction I had seen on other ships.
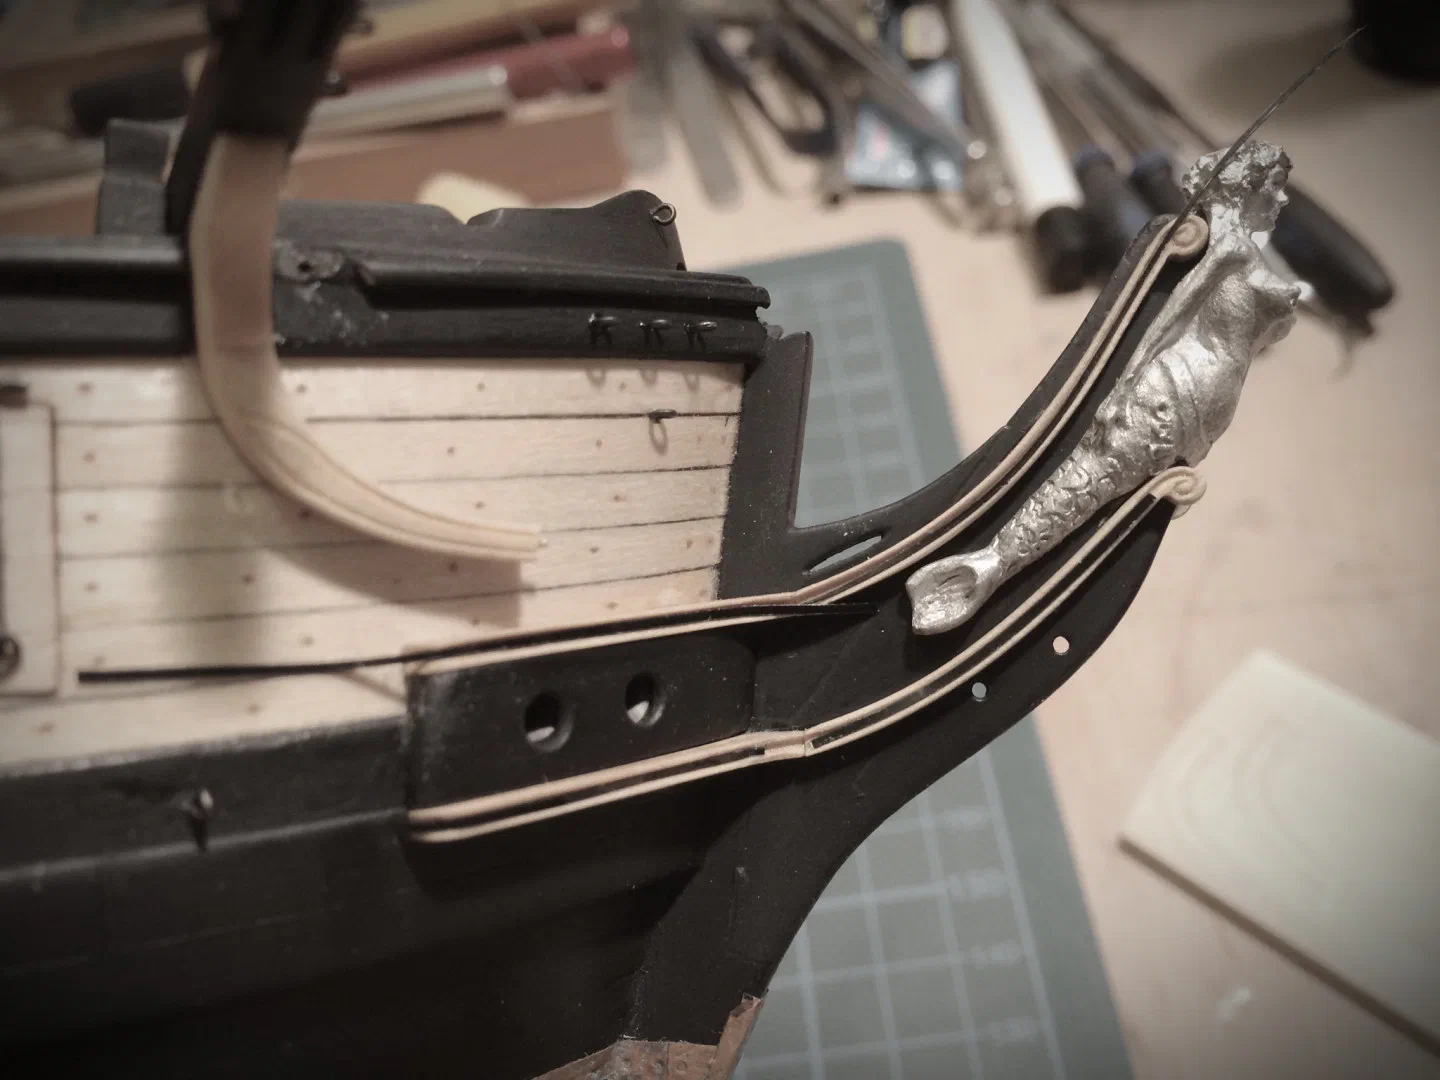
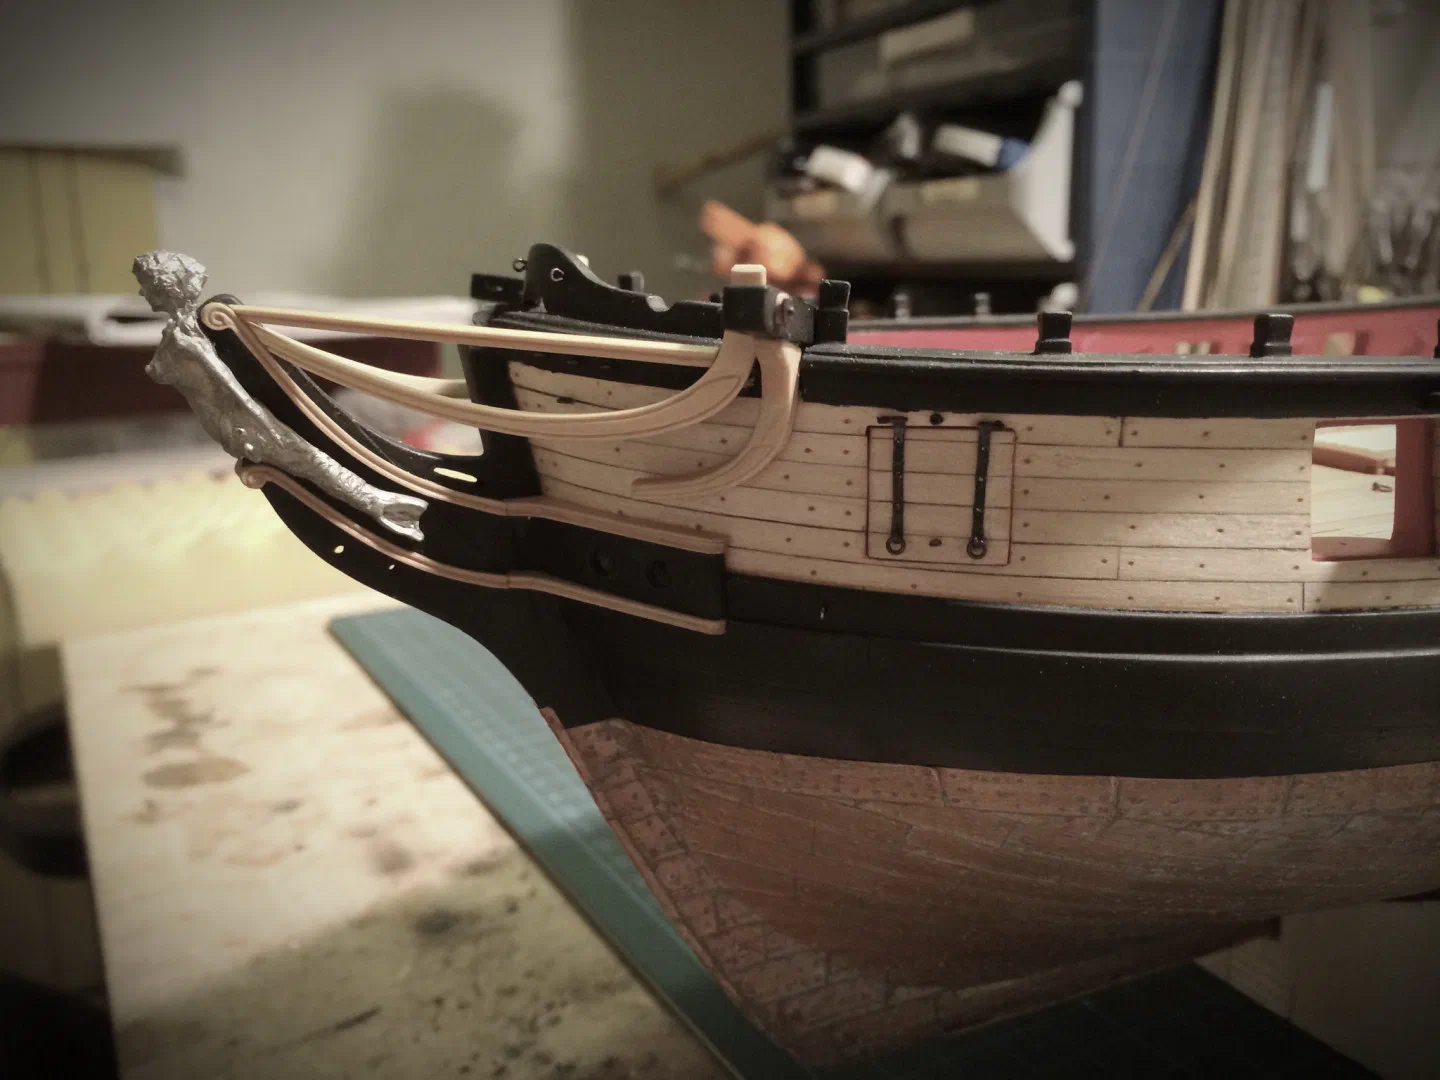
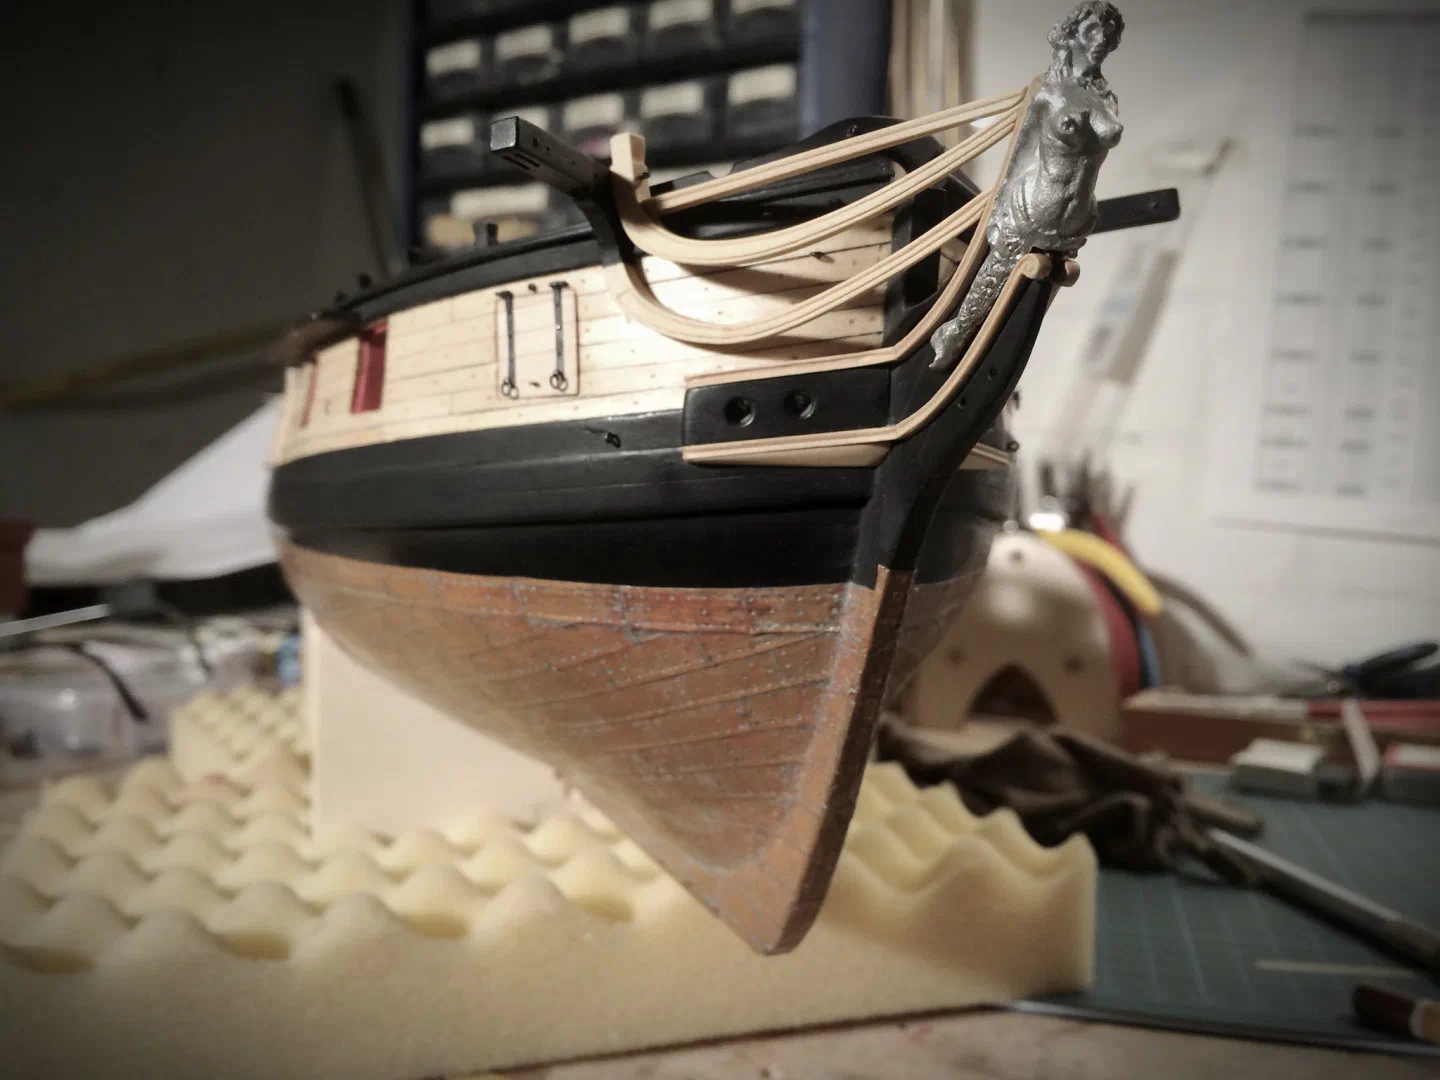
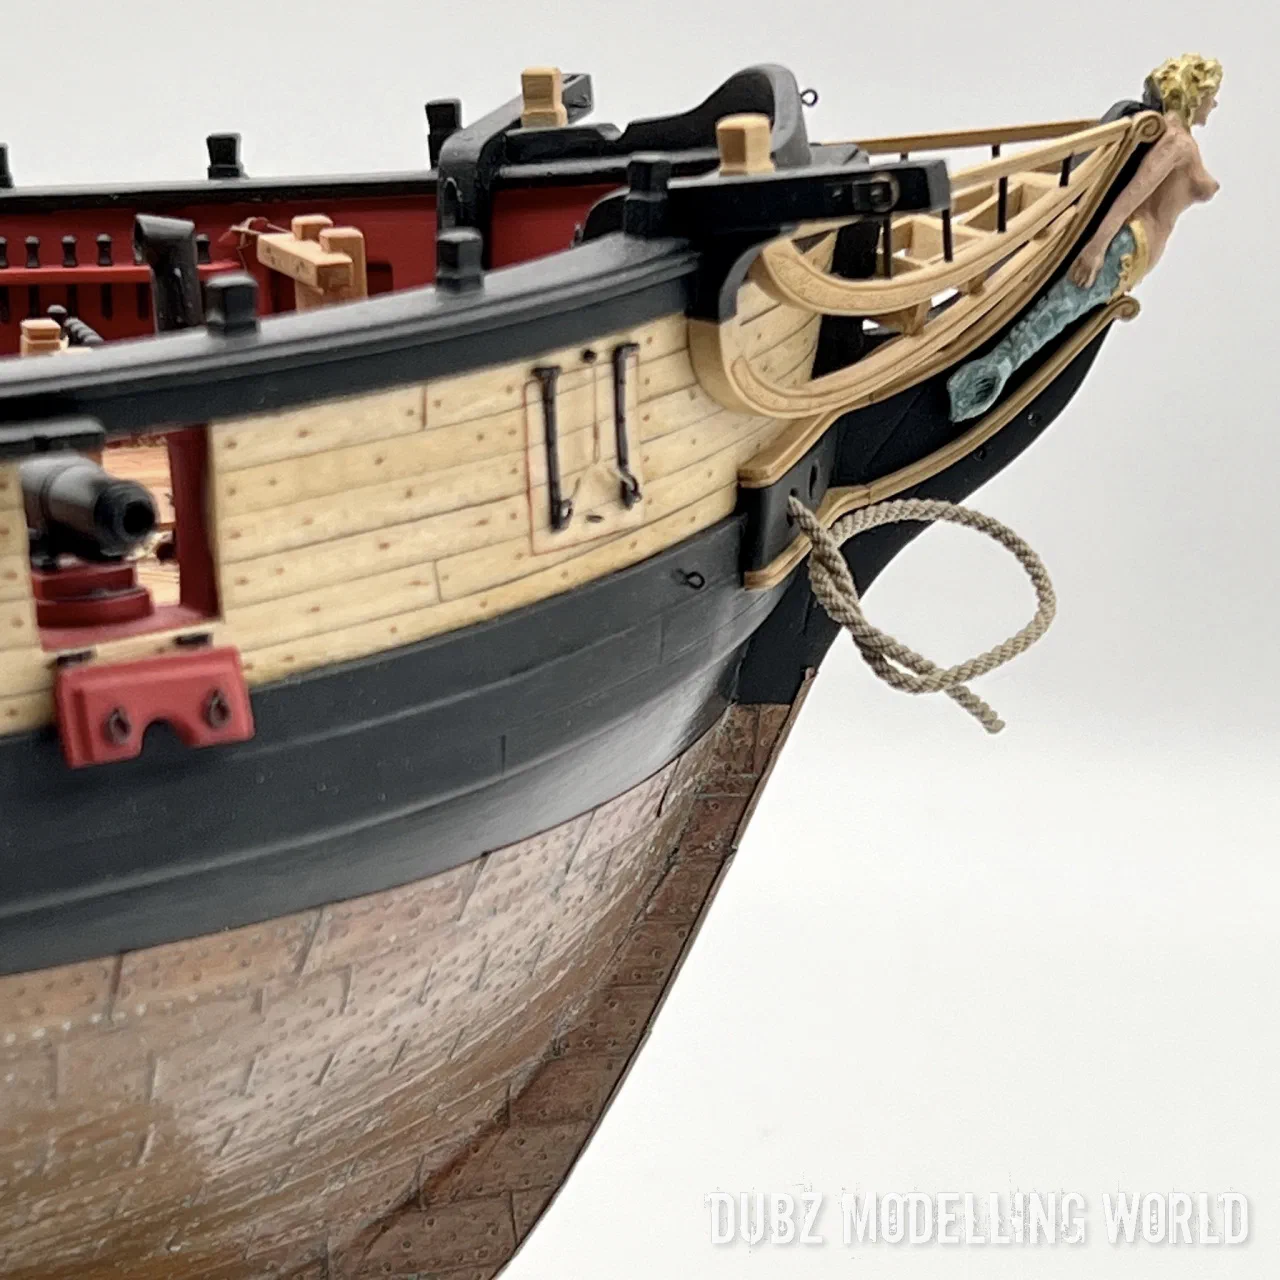
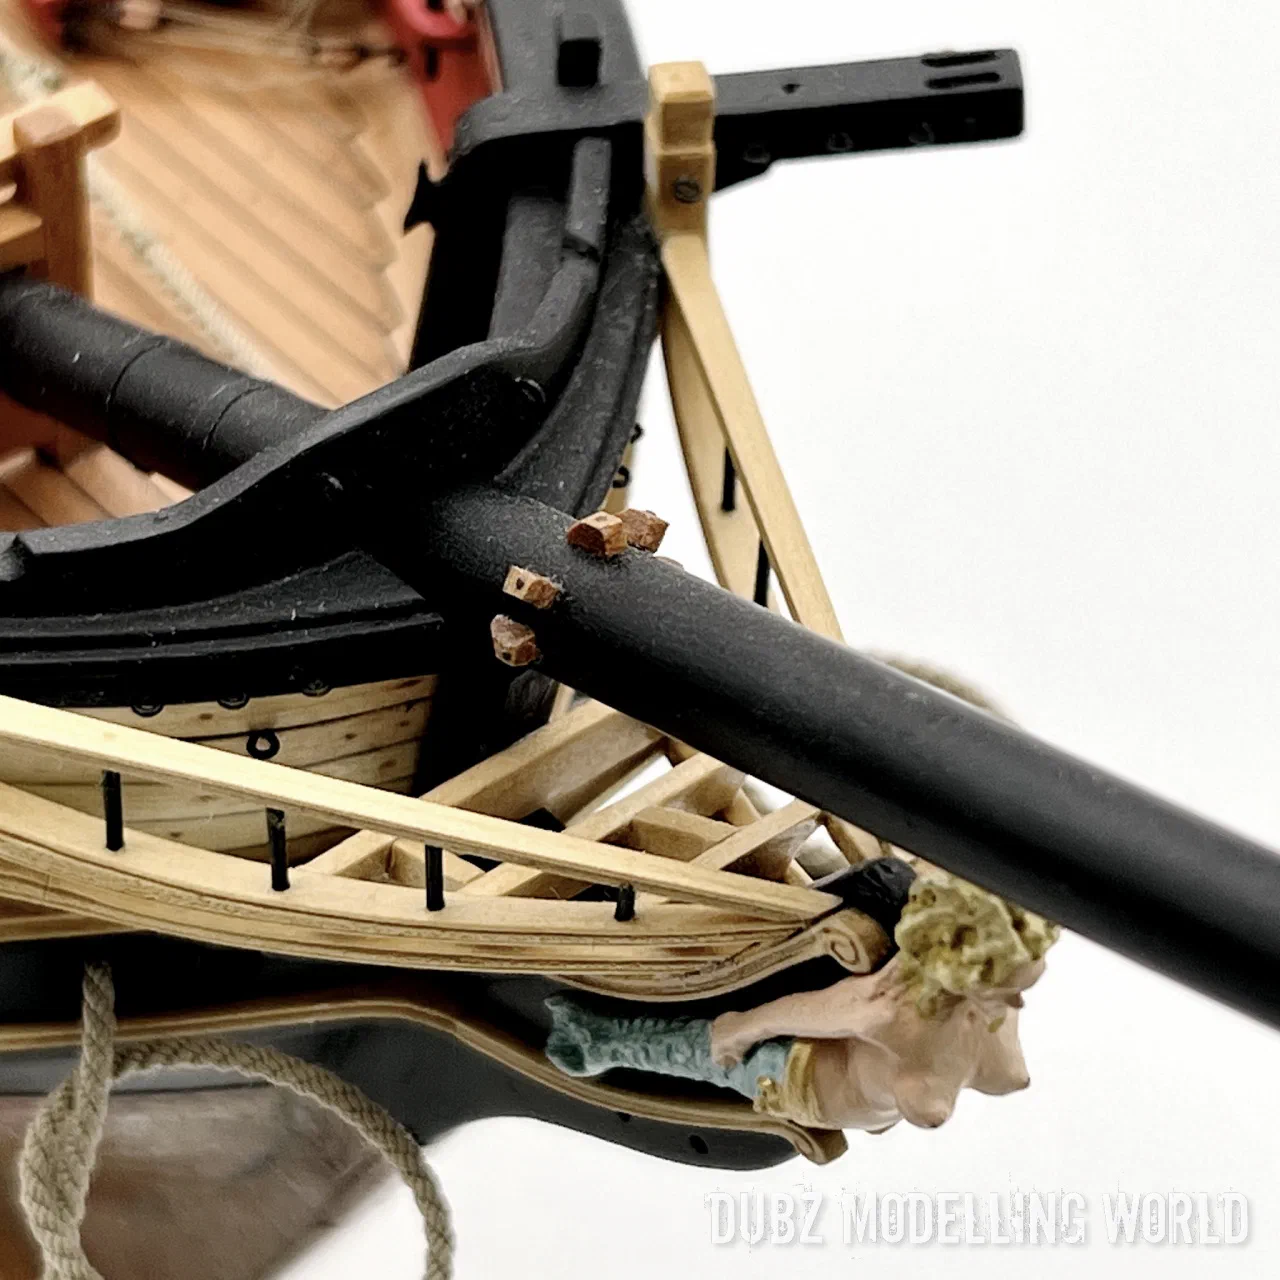
The hawse pipes were originally lined with lead, and I wanted to show that: roll lead was wound around a drill, inserted into the pipe together with the drill and widened with a mandrel. The entry ladders were milled from boxwood, the splash guard laminated from four layers of pear veneer.
Carronades finished
The carronades took much longer than planned. The joint chocks had bothered me from the start, because I knew they were historically wrong. The solution was soldering, the way I had made the rudder fittings: flattened tube soldered onto brass, filed and cut on the table saw. The breeching rope rings are made from Dafi’s photo-etched eyebolts, set into a slot so that they lie flat on the slide.
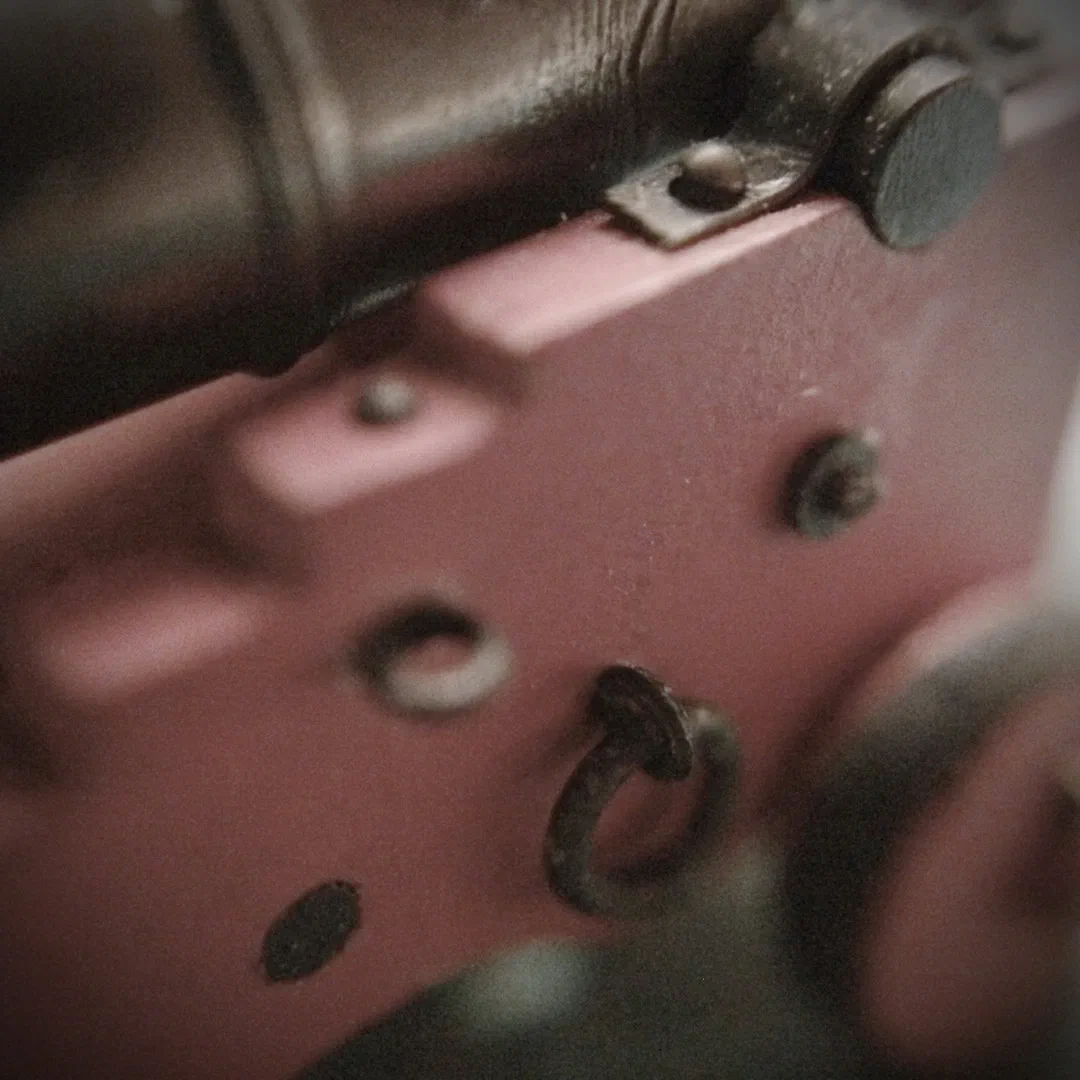
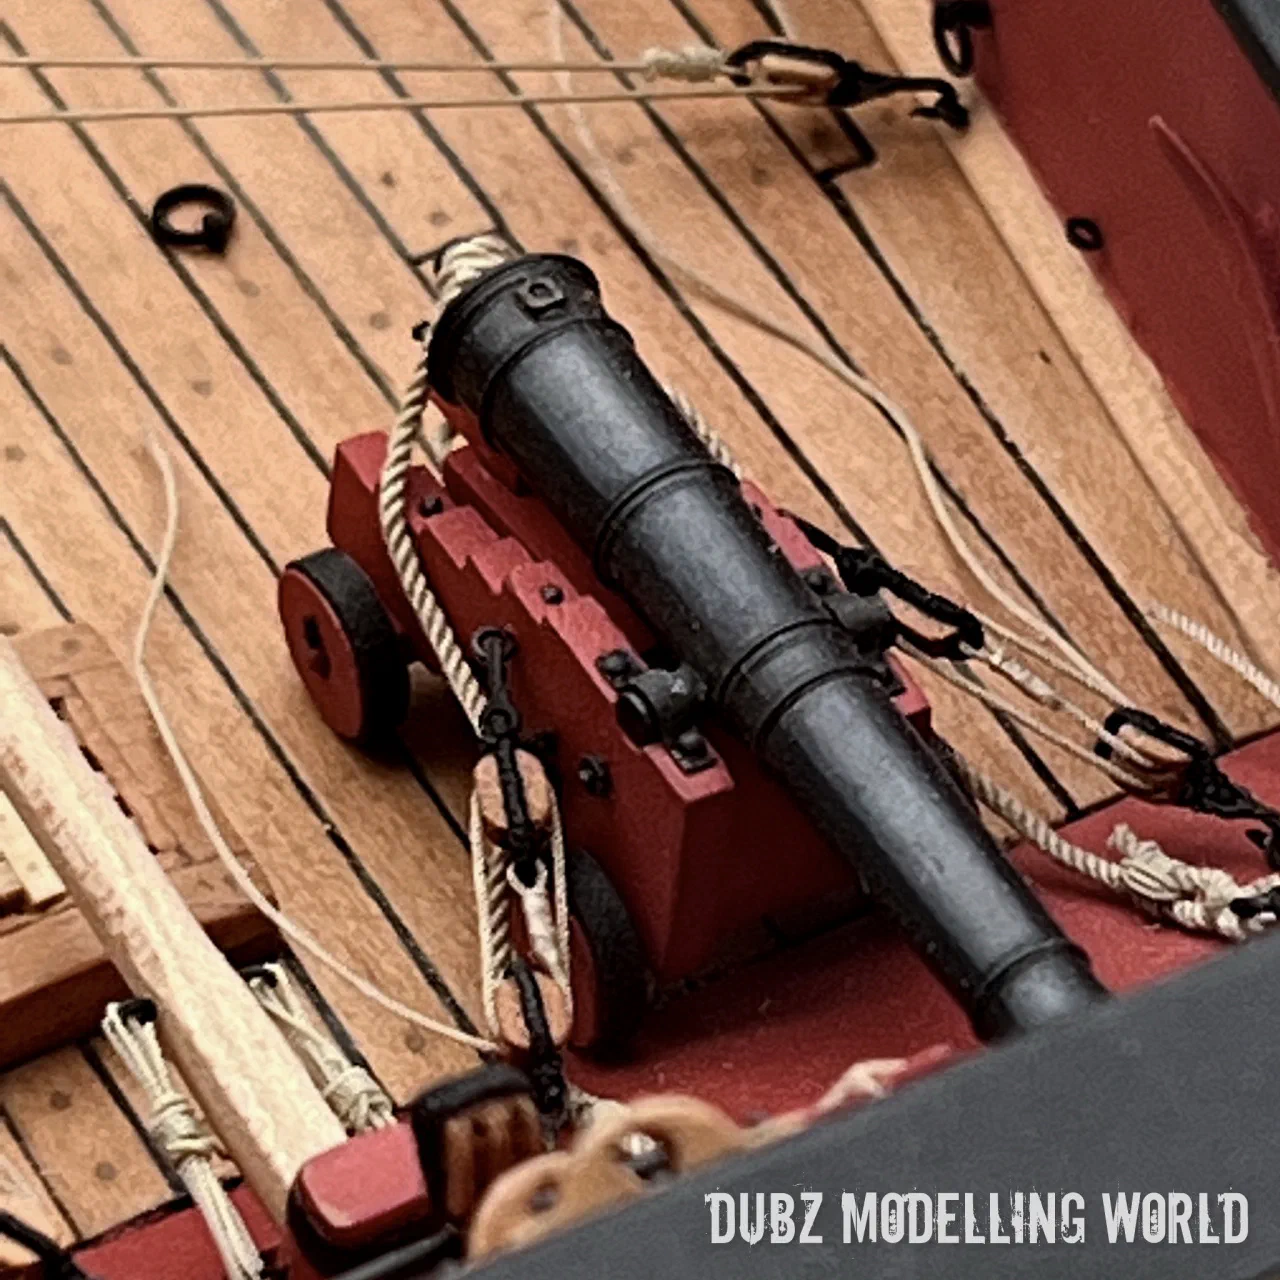
48 hinges
The port lids were the next long task. I wanted them with working hinges, and that meant 48 hinges. The 1 mm brass strips are cut from sheet with a knife and broken off, a 0.7 mm brass tube is silver-soldered onto them, a small jig brings them to size, and then come 96 holes of 0.3 mm. The counterparts were soldered and blackened, and when the first test showed that the gap between port and lid was too big, I drilled the holes closer under the edge of the port at an angle and refitted everything. The lids themselves I made thicker than in the instructions.
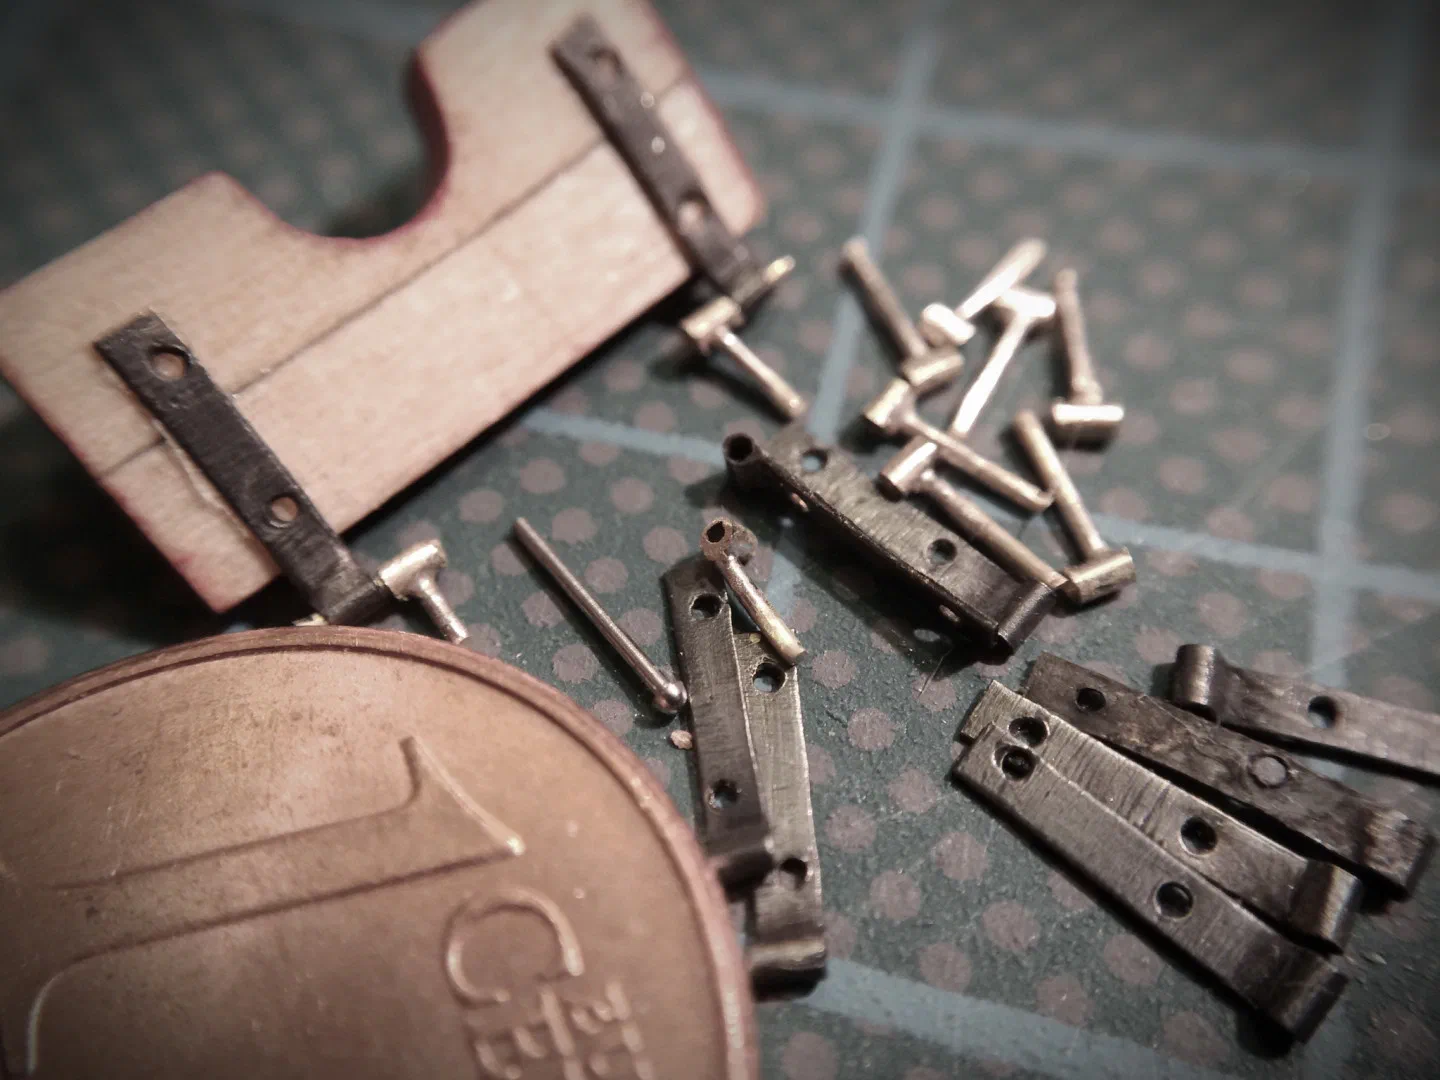
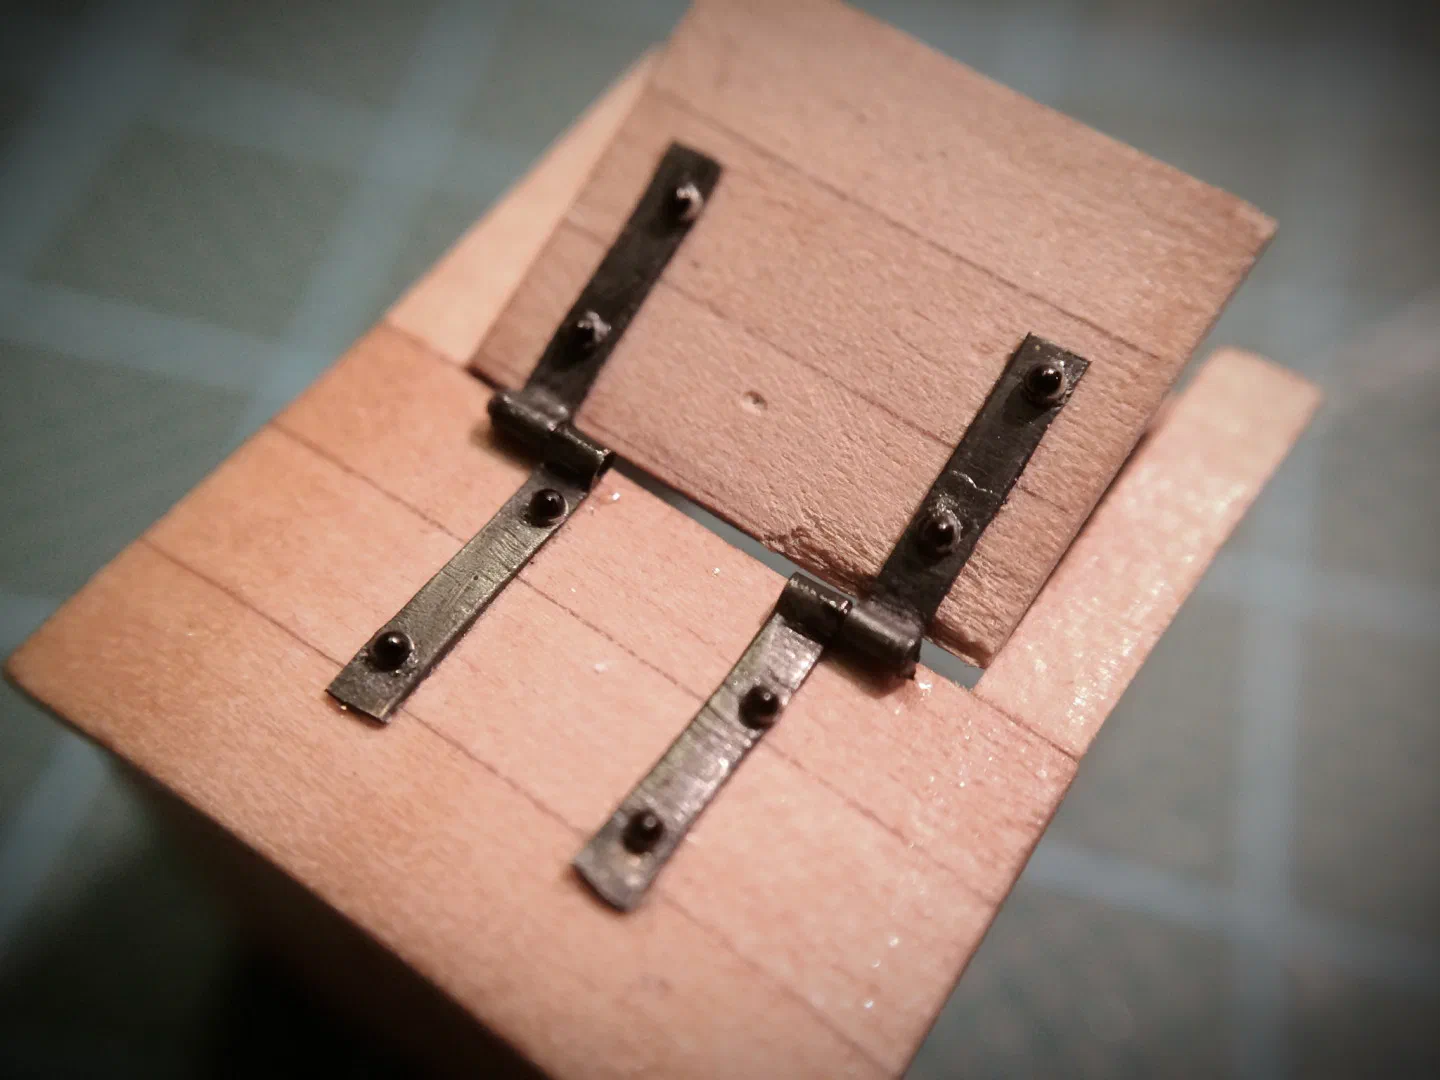
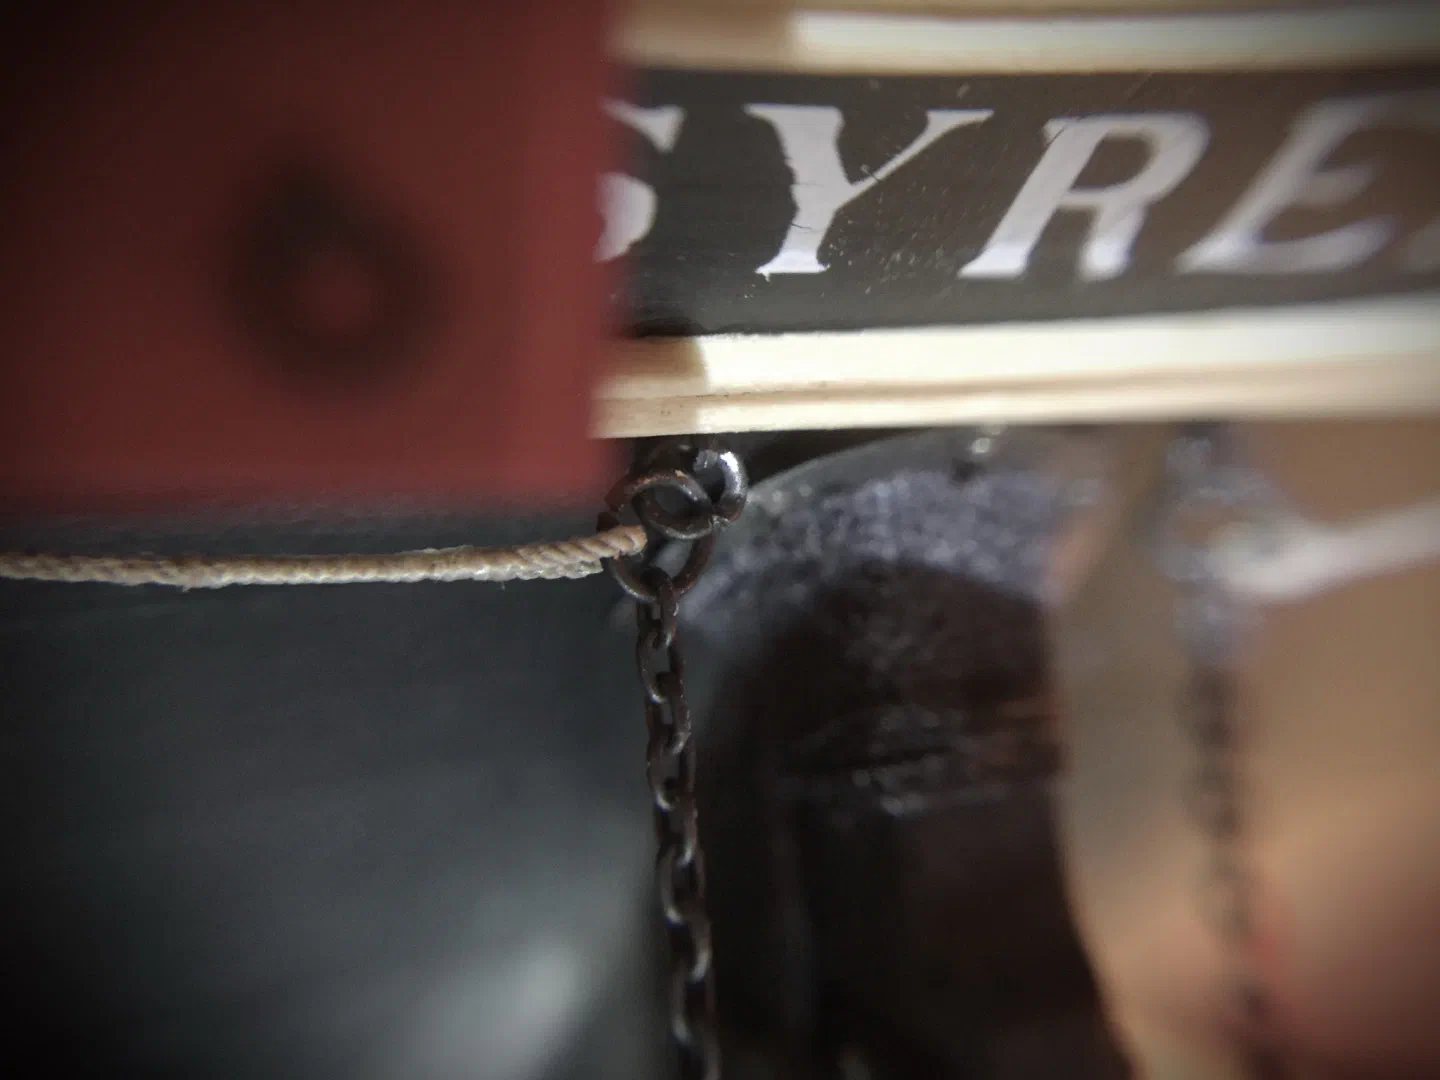
The name on the stern I did not make from the photo-etched letters, but with decals. Not perfect – but maybe that is exactly how it should look.
Rigging the guns
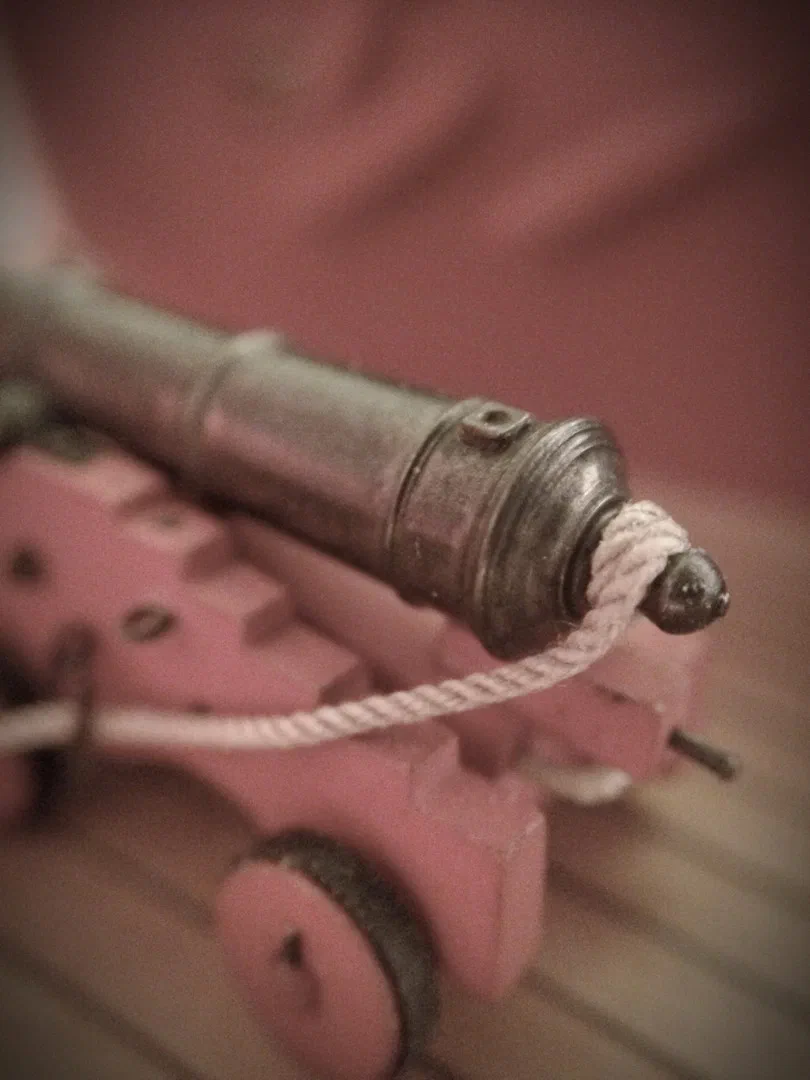
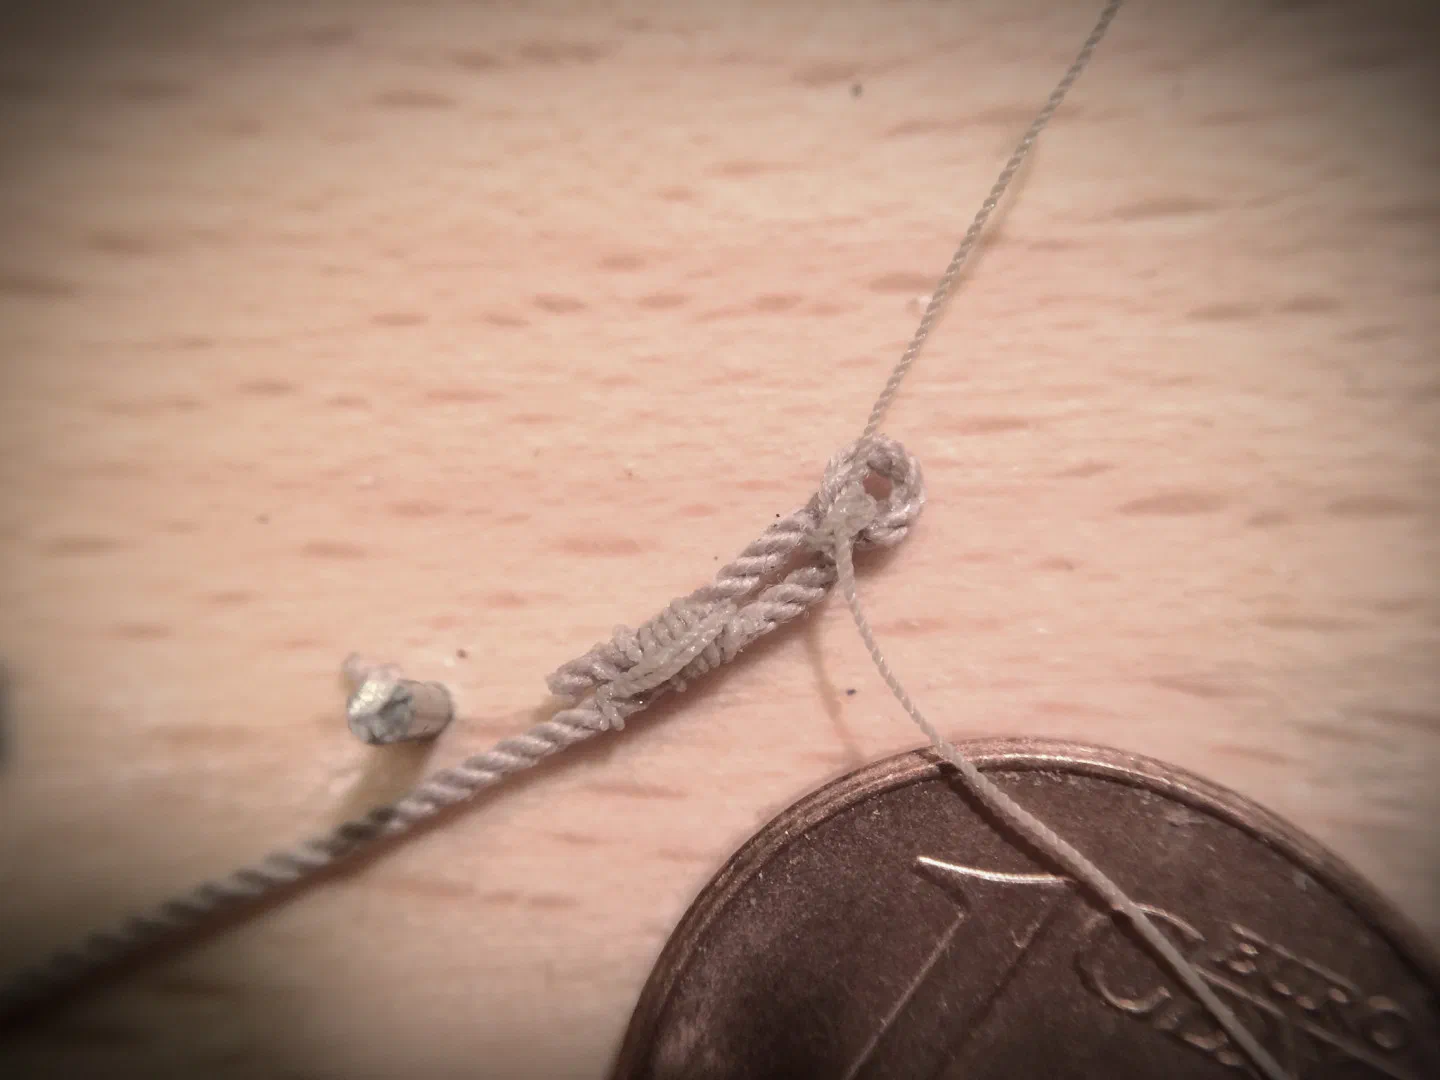
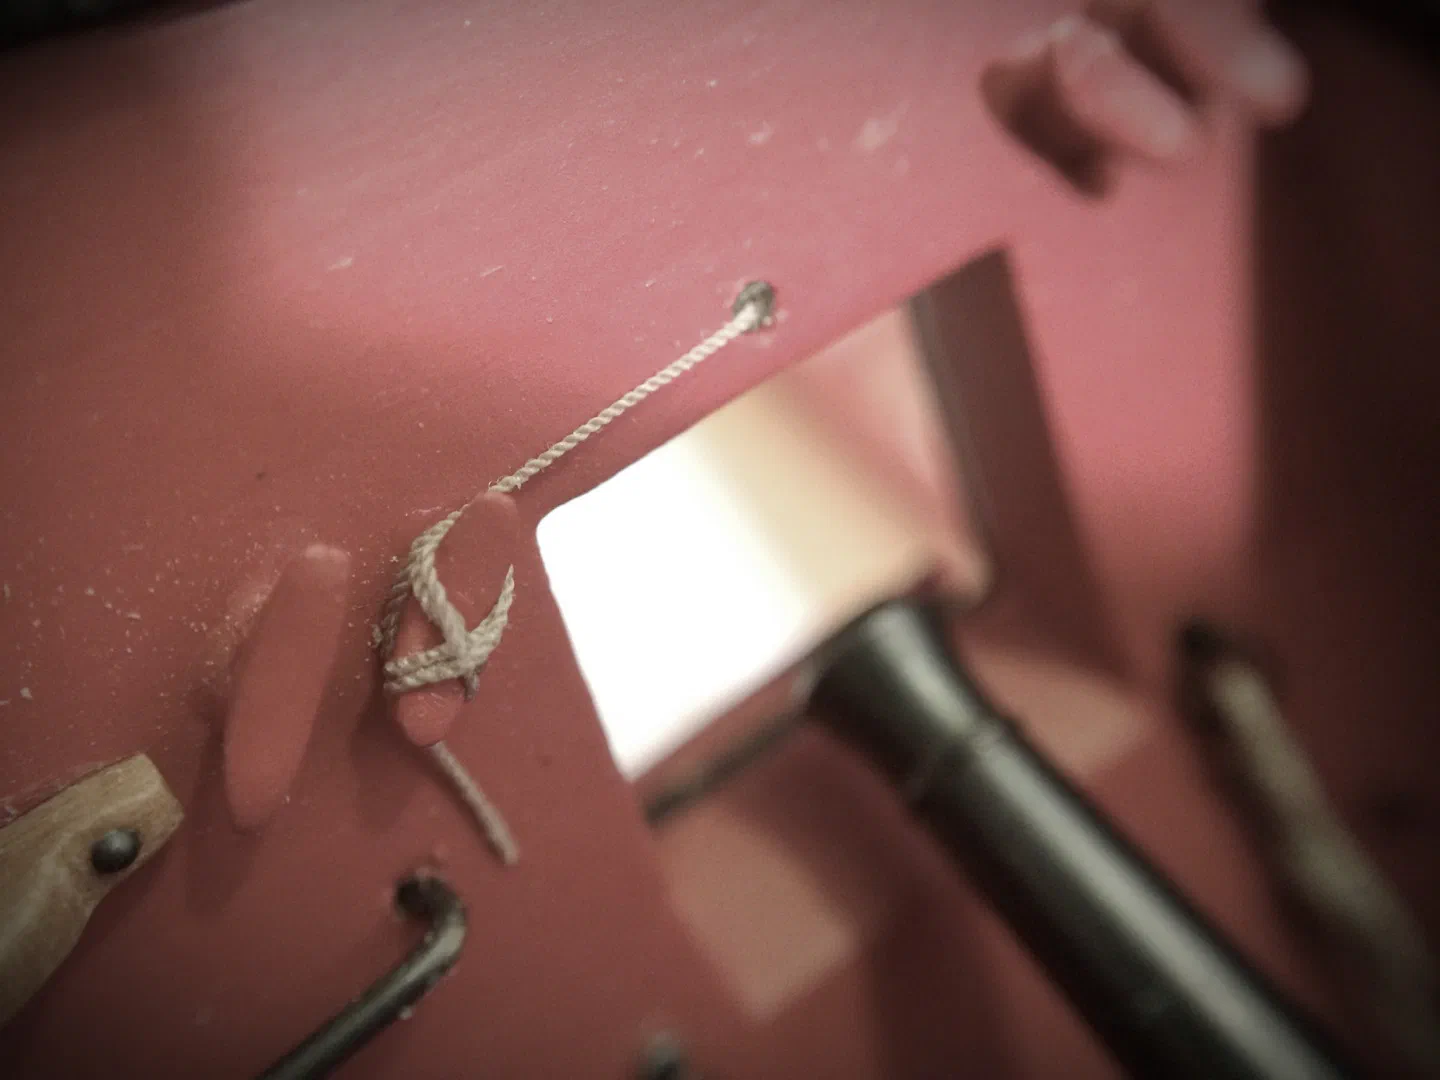
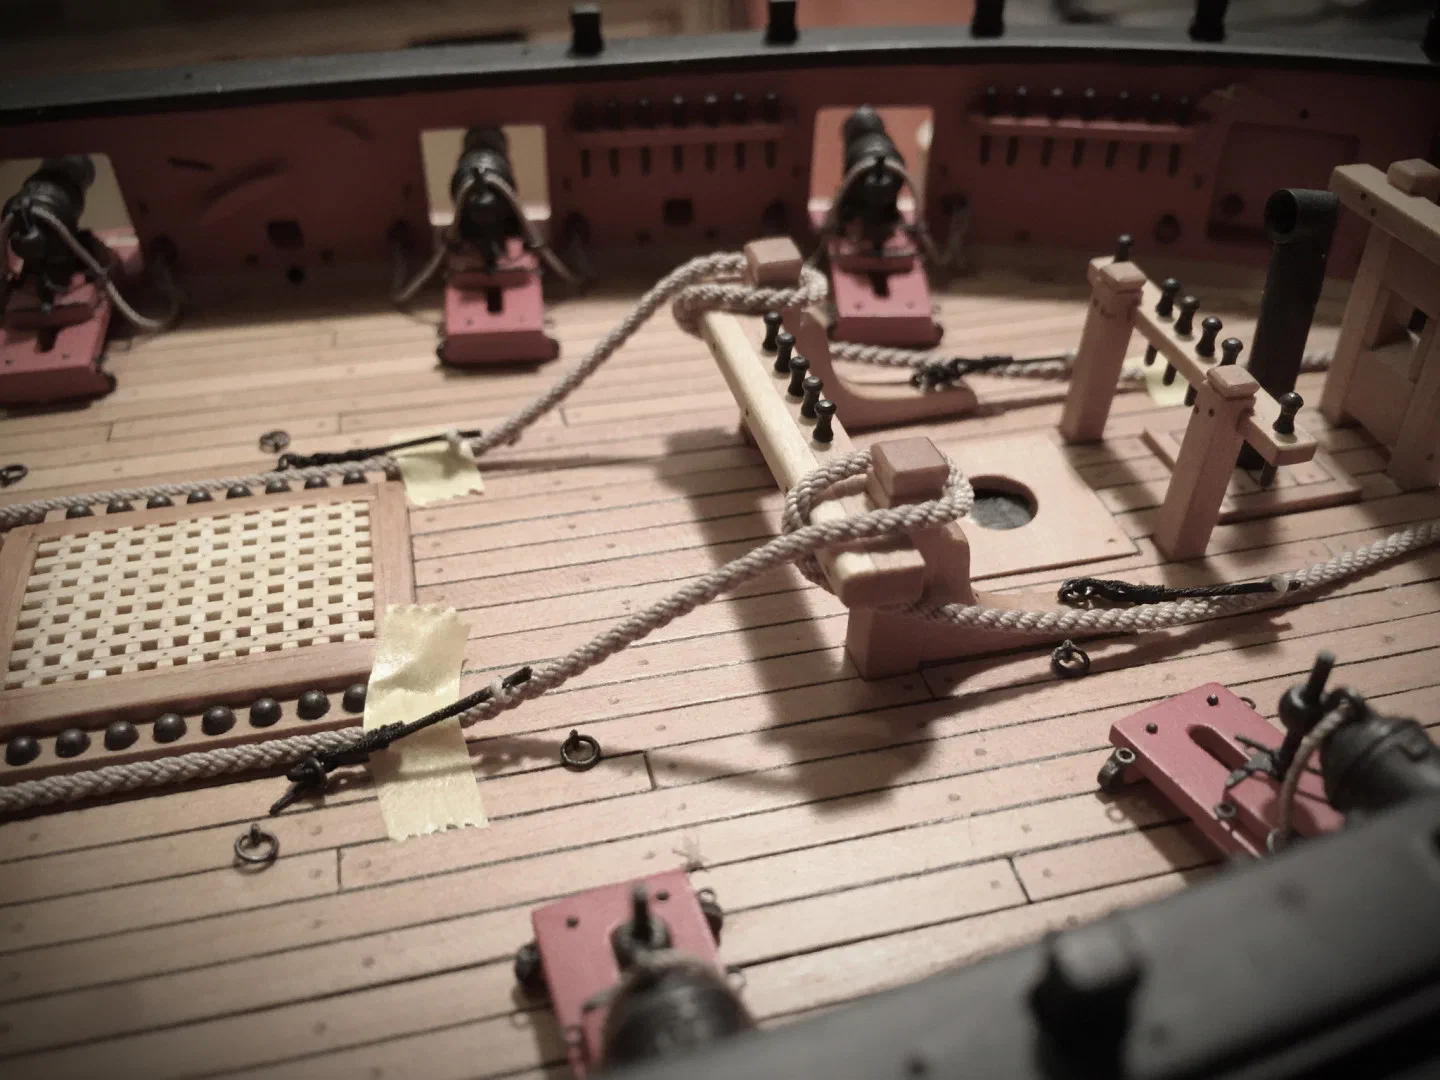
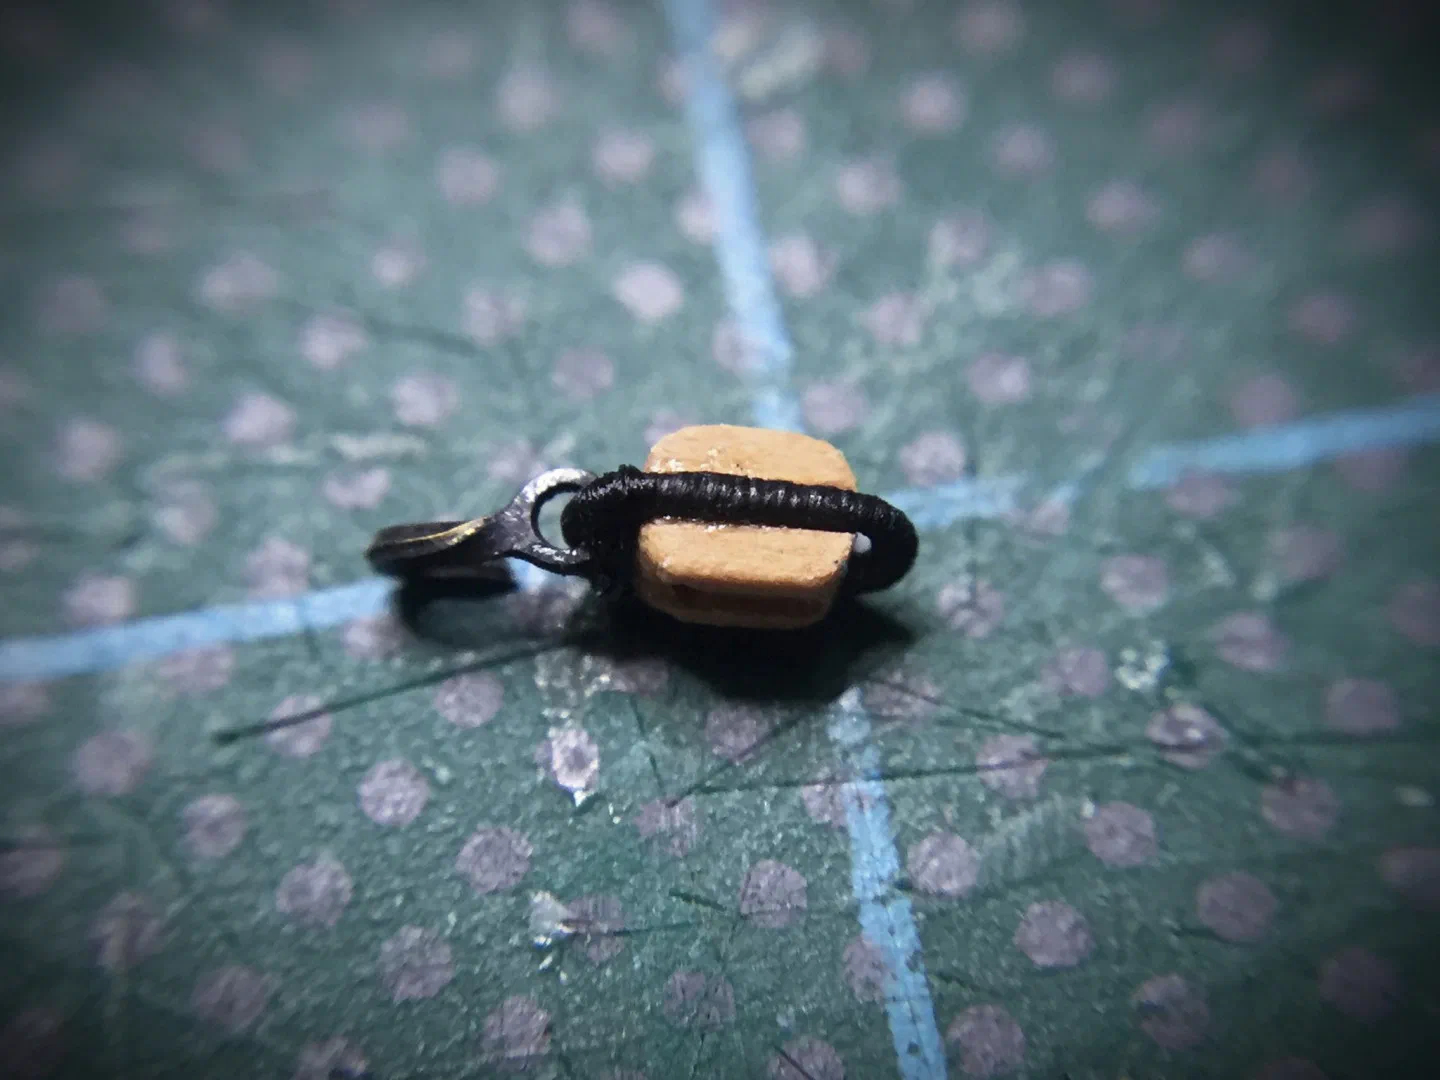
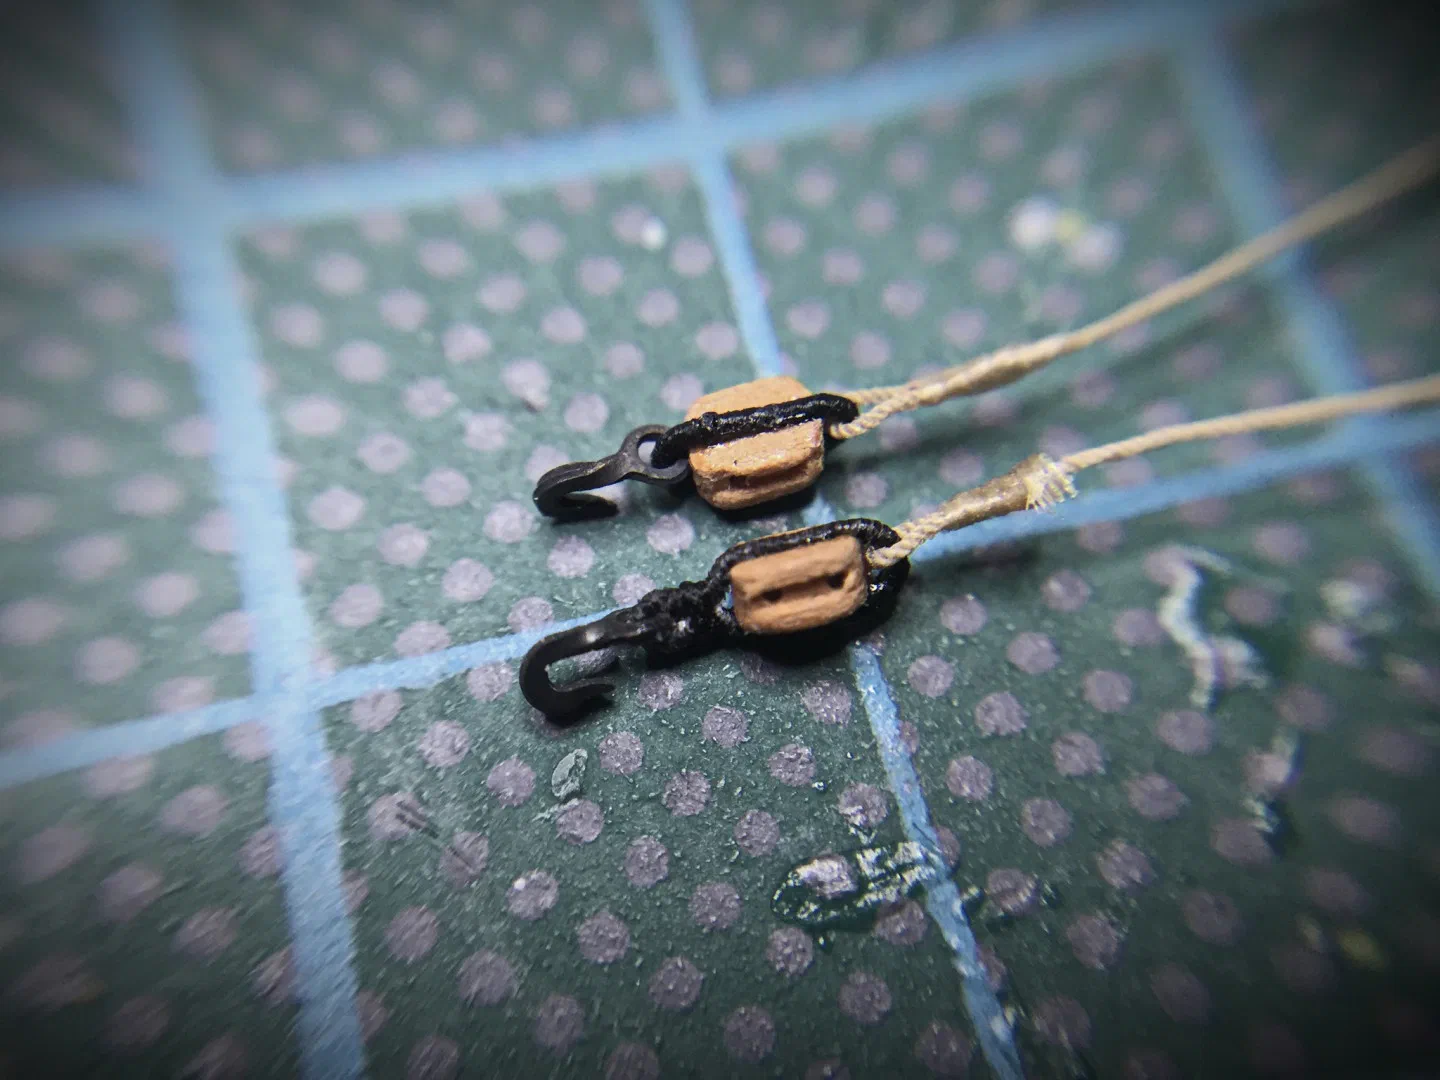
Then the boring part: gun rigging. Every breeching rope gets a seized eye and a knot that takes a long time at 1:64 – 0.63 mm rope, 0.1 mm thread for the seizings, CA to hold everything in shape. I served the rope on a self-built serving machine with a mixture of wood glue and water and gave it a slight shine with a black marker. The hooks and eyebolts are from Dafi. The long guns got single/double blocks instead of single/single, which I think is more appropriate, and the carronades were rigged one after another until all of them were done.
Steering gear and rudder pendants
The steering gear made me think. Following Harland’s Seamanship in the Age of Sail (1984, p. 173) I changed the lead of the tiller ropes, and an NMM plan of the steering rig of the Hind of 1814 helped with the geometry of the blocks aft – the rudder has to be able to turn about 32°, which led to a longer tiller. The rudder pendants follow Steel: a chain shackled to eyes at the rudder, pendants hooked into rings at its ends, ready for a tackle to steer with in an emergency. The rudder chain is micro chain.
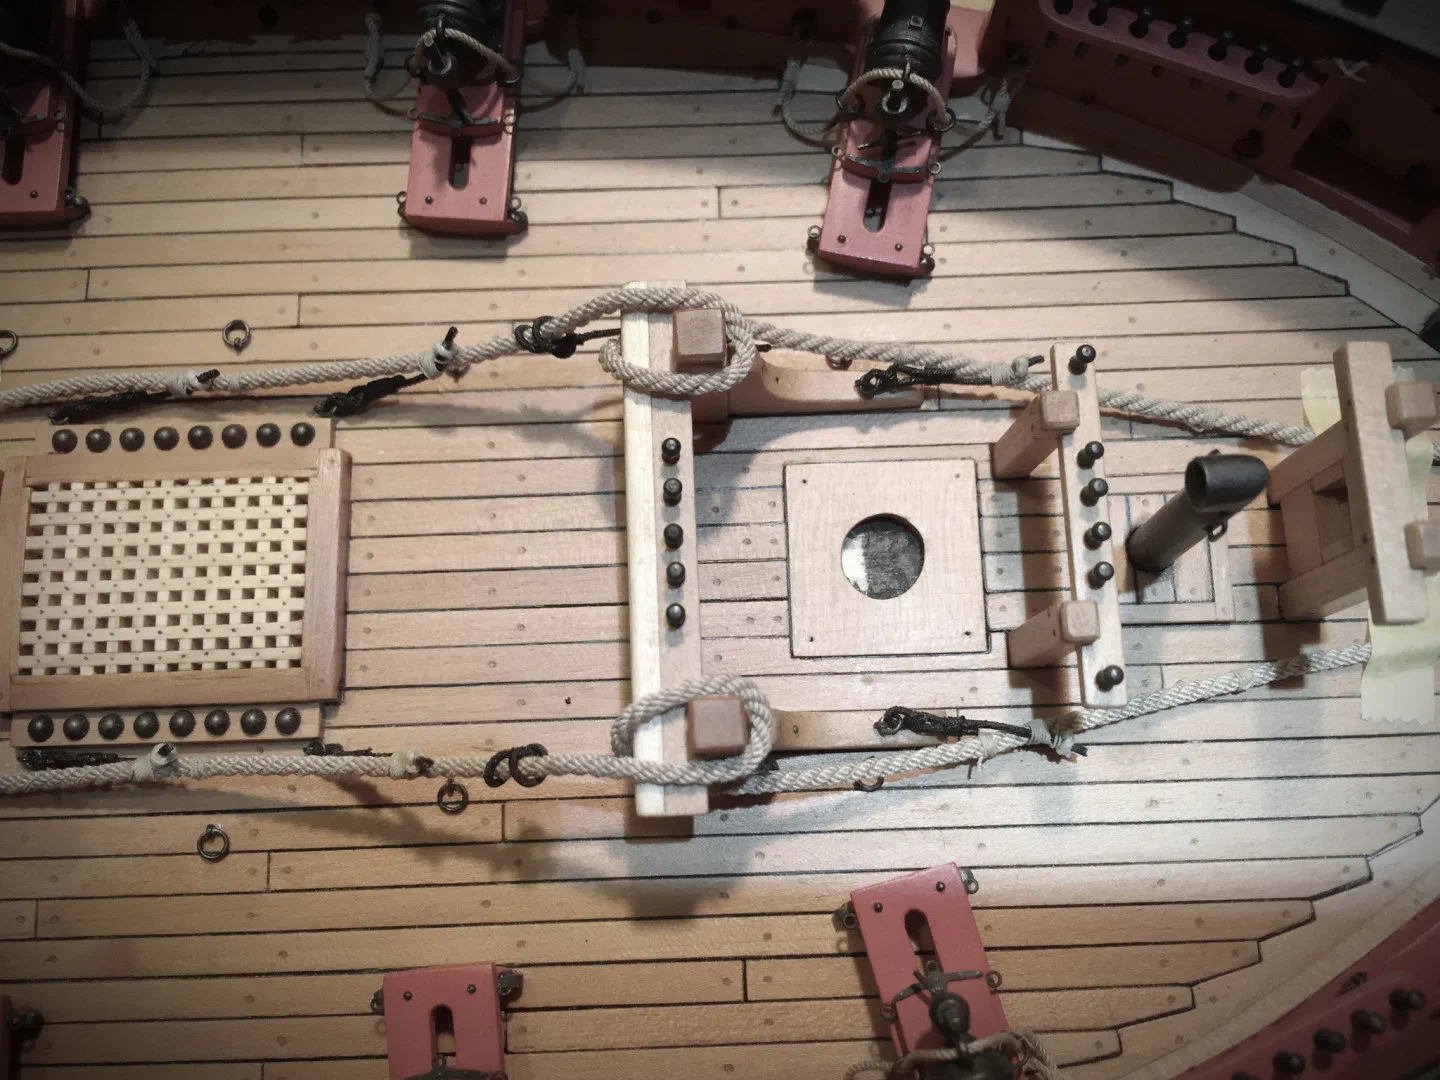
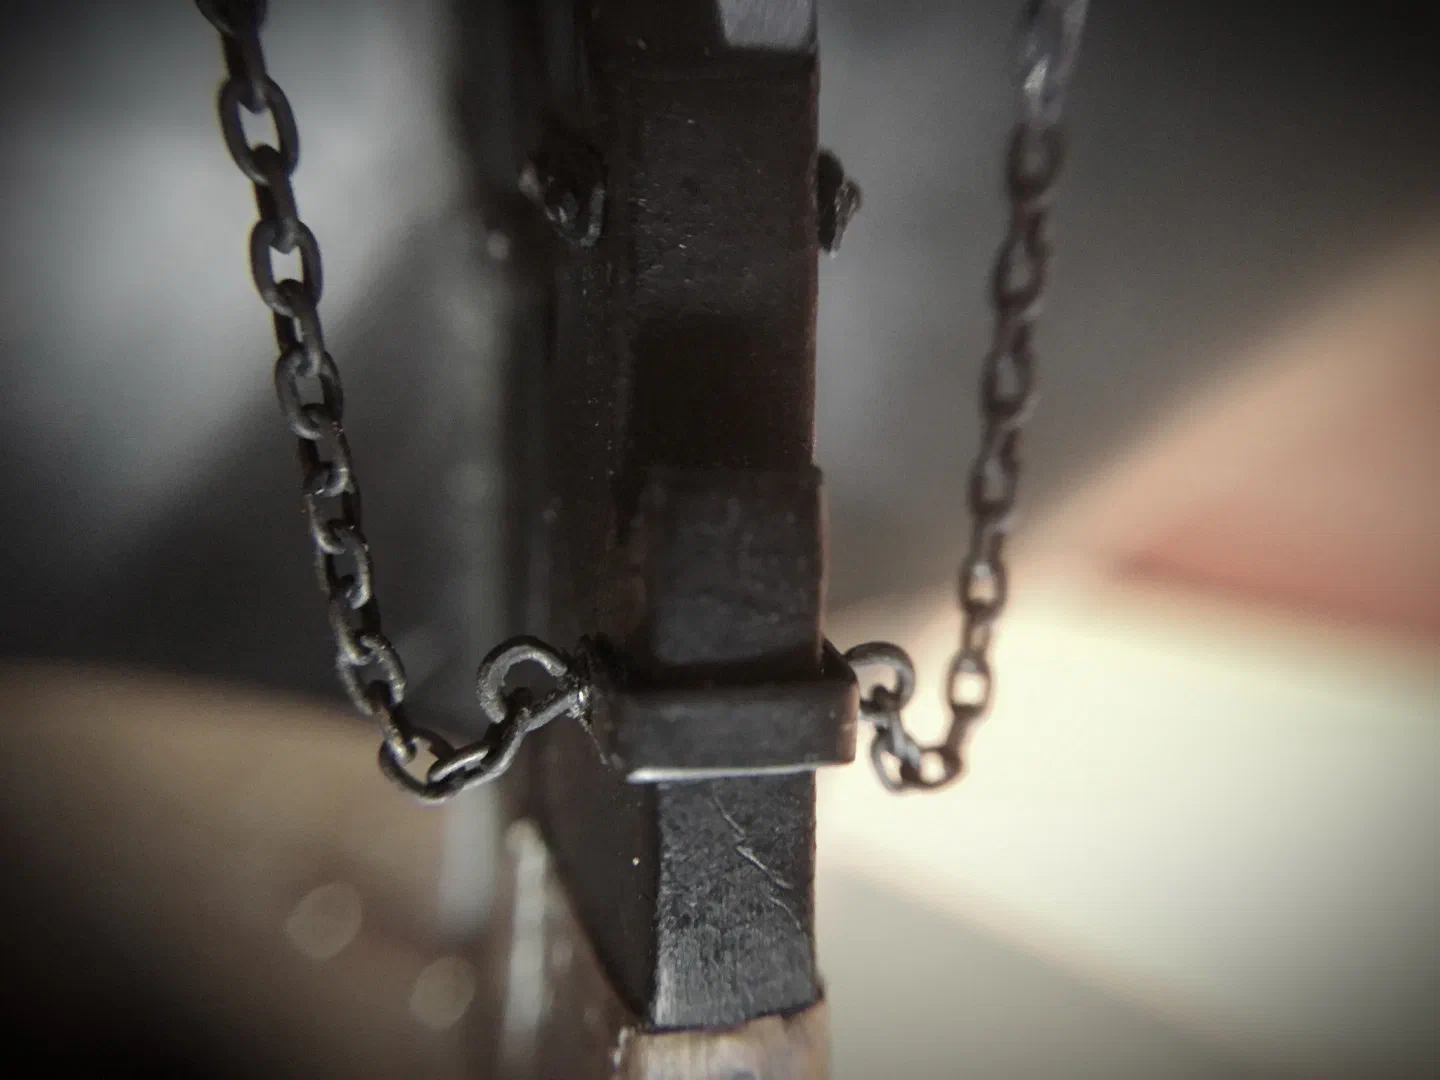
For the anchor cables I made six stoppers and – at Dafi’s request – two dog stoppers.
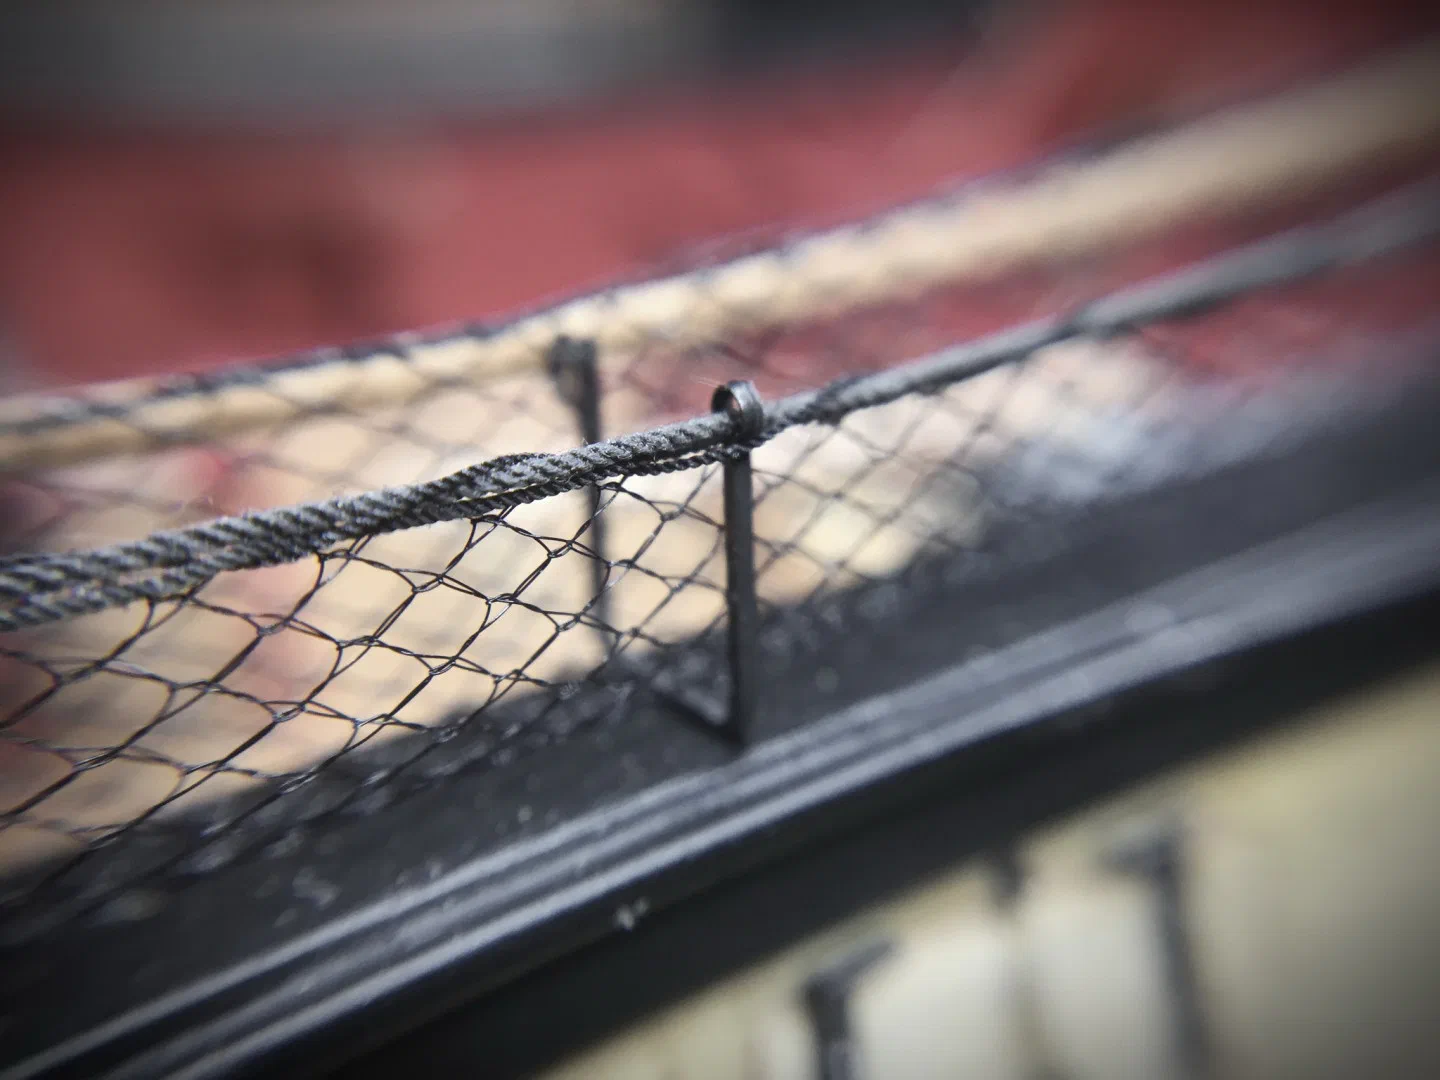
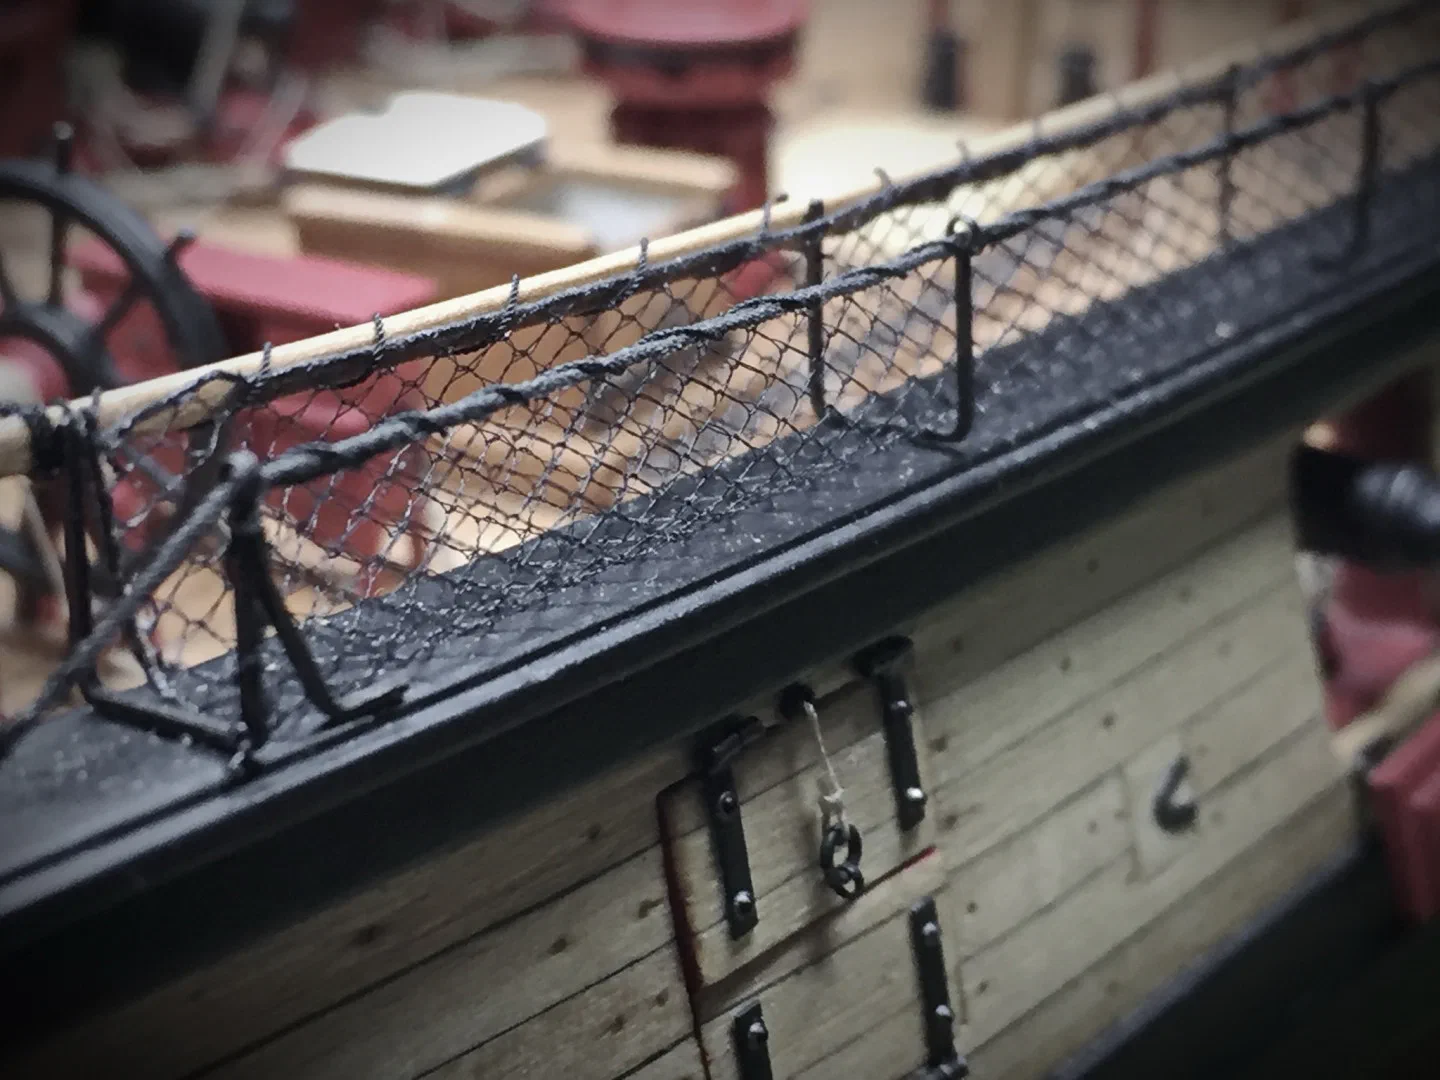
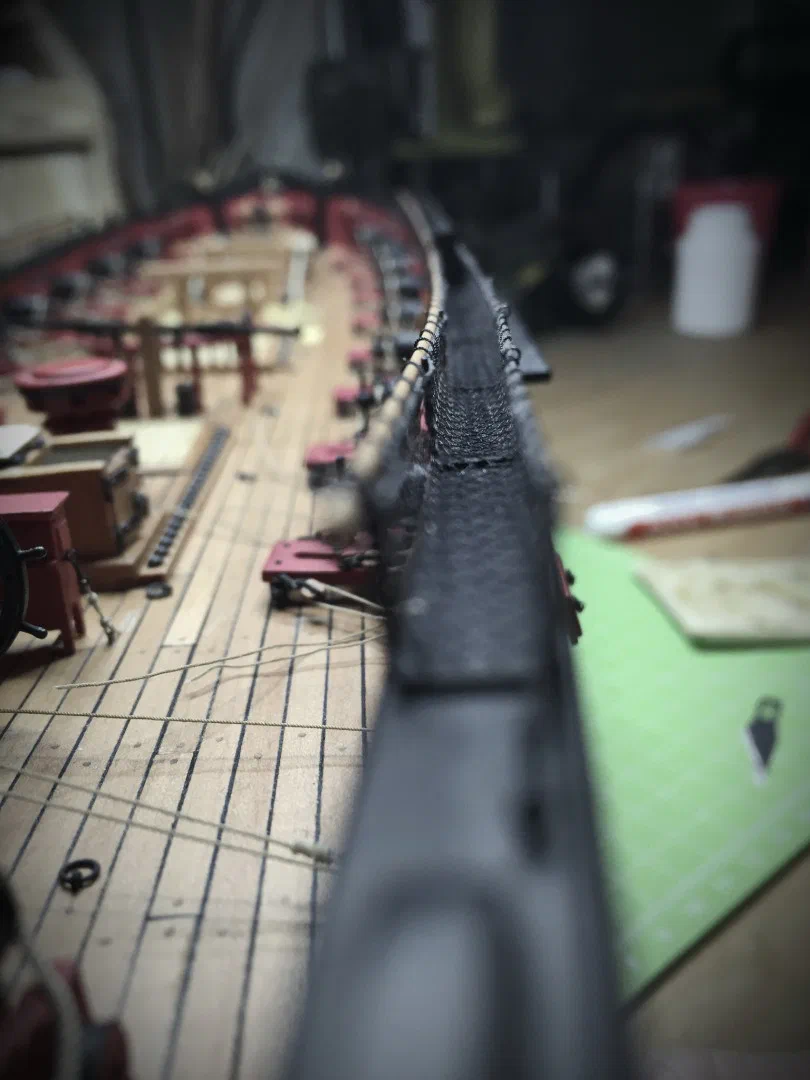
Hammock cranes and nettings
I was not satisfied with the etched hammock cranes – they looked too flat. Square brass bar of 0.6 mm was impossible to get, so I tried a photo-etching service. The first attempt failed completely; the second was better, though at 0.5 mm thickness there is a lot of under-etching. Filed and blackened, the cranes finally looked right.
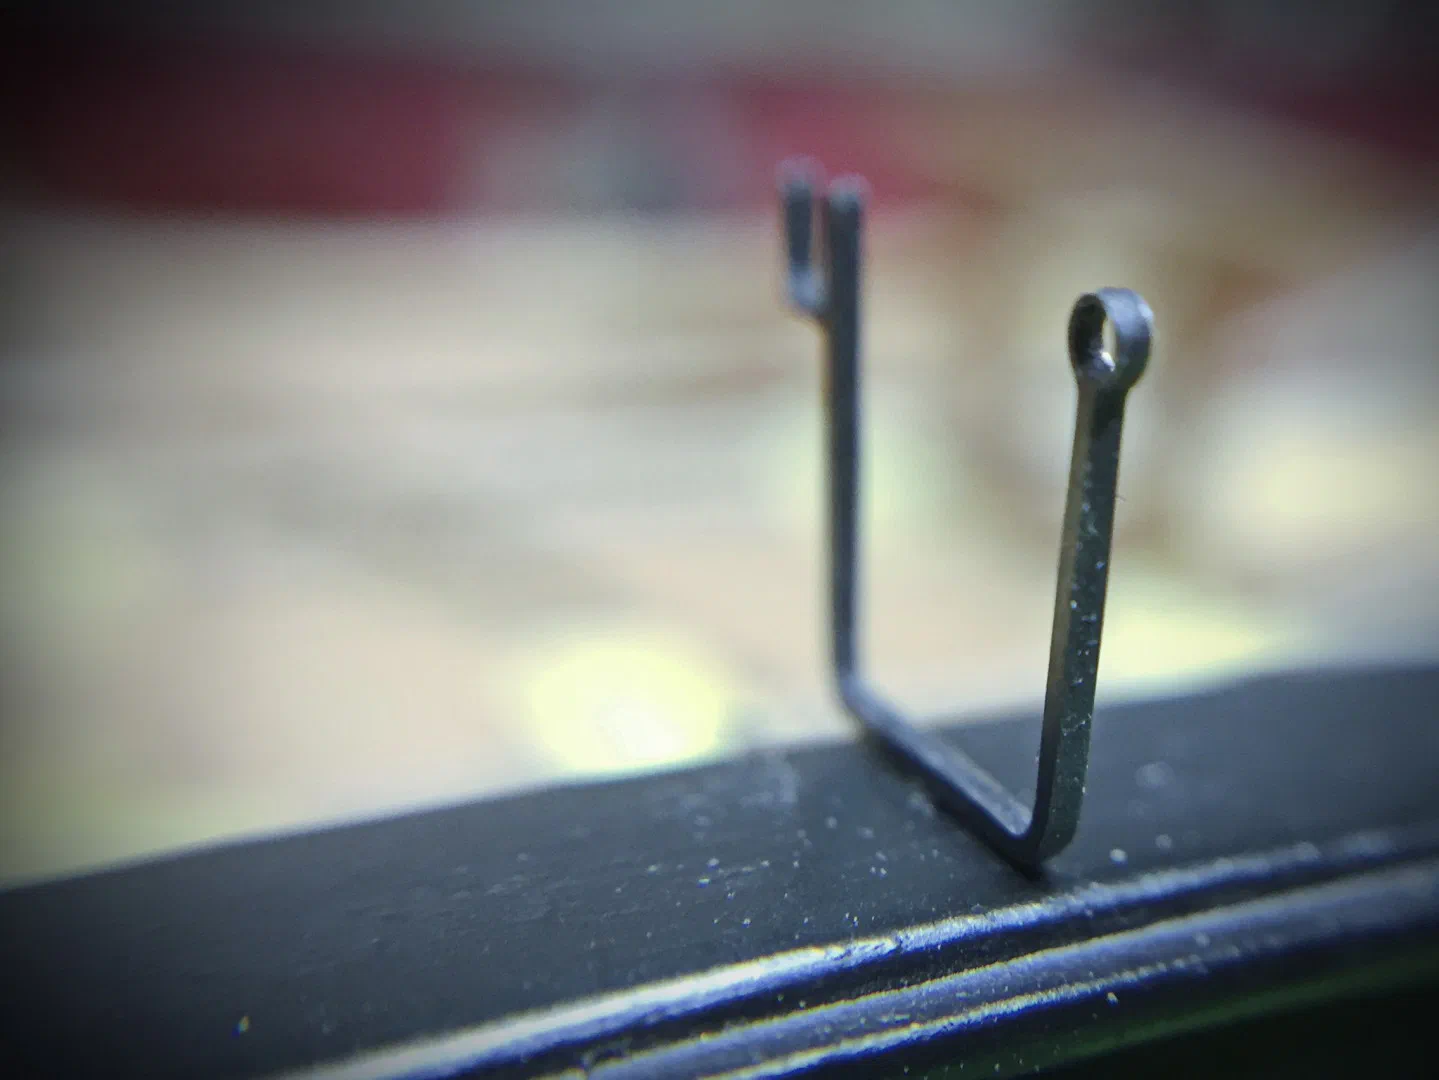
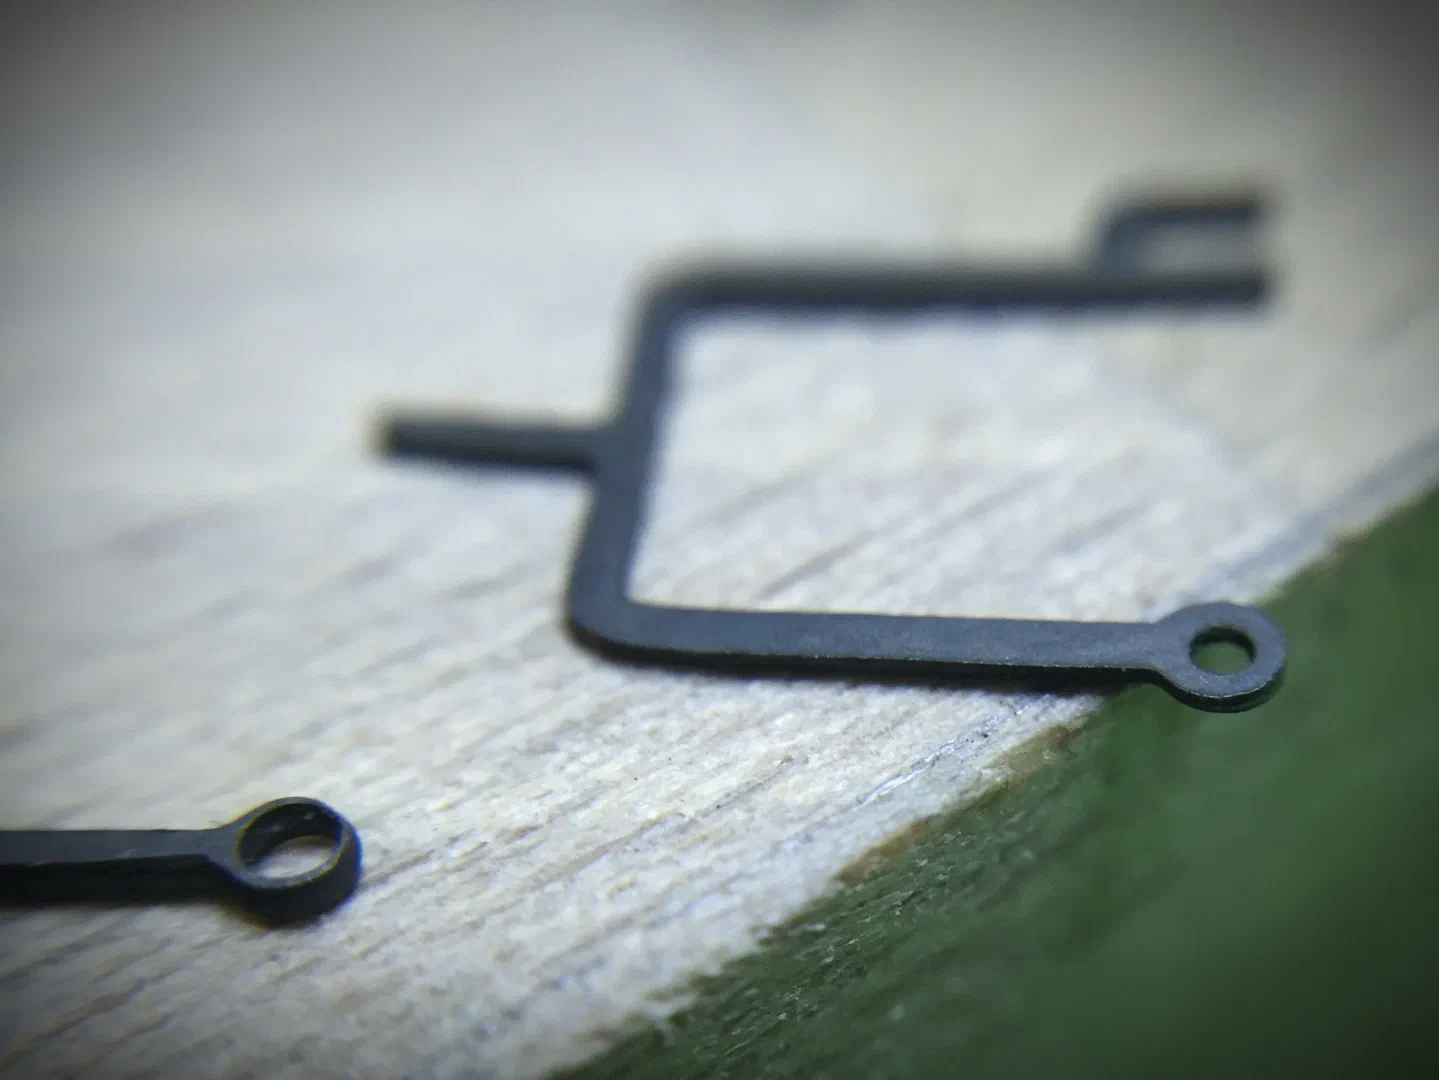
The nettings are one piece each and sit inside the cranes. I measured them, laid the netting onto cardboard, glued 0.33 mm rope around the edge, cut it sharp along the rope and attached it with 0.1 mm thread.
Figurehead and stern
After studying many paintings of brigs and small frigates of the period, I painted the stern black with ochre decorations. My girlfriend painted the figures for the deck and a coloured version of the figurehead.
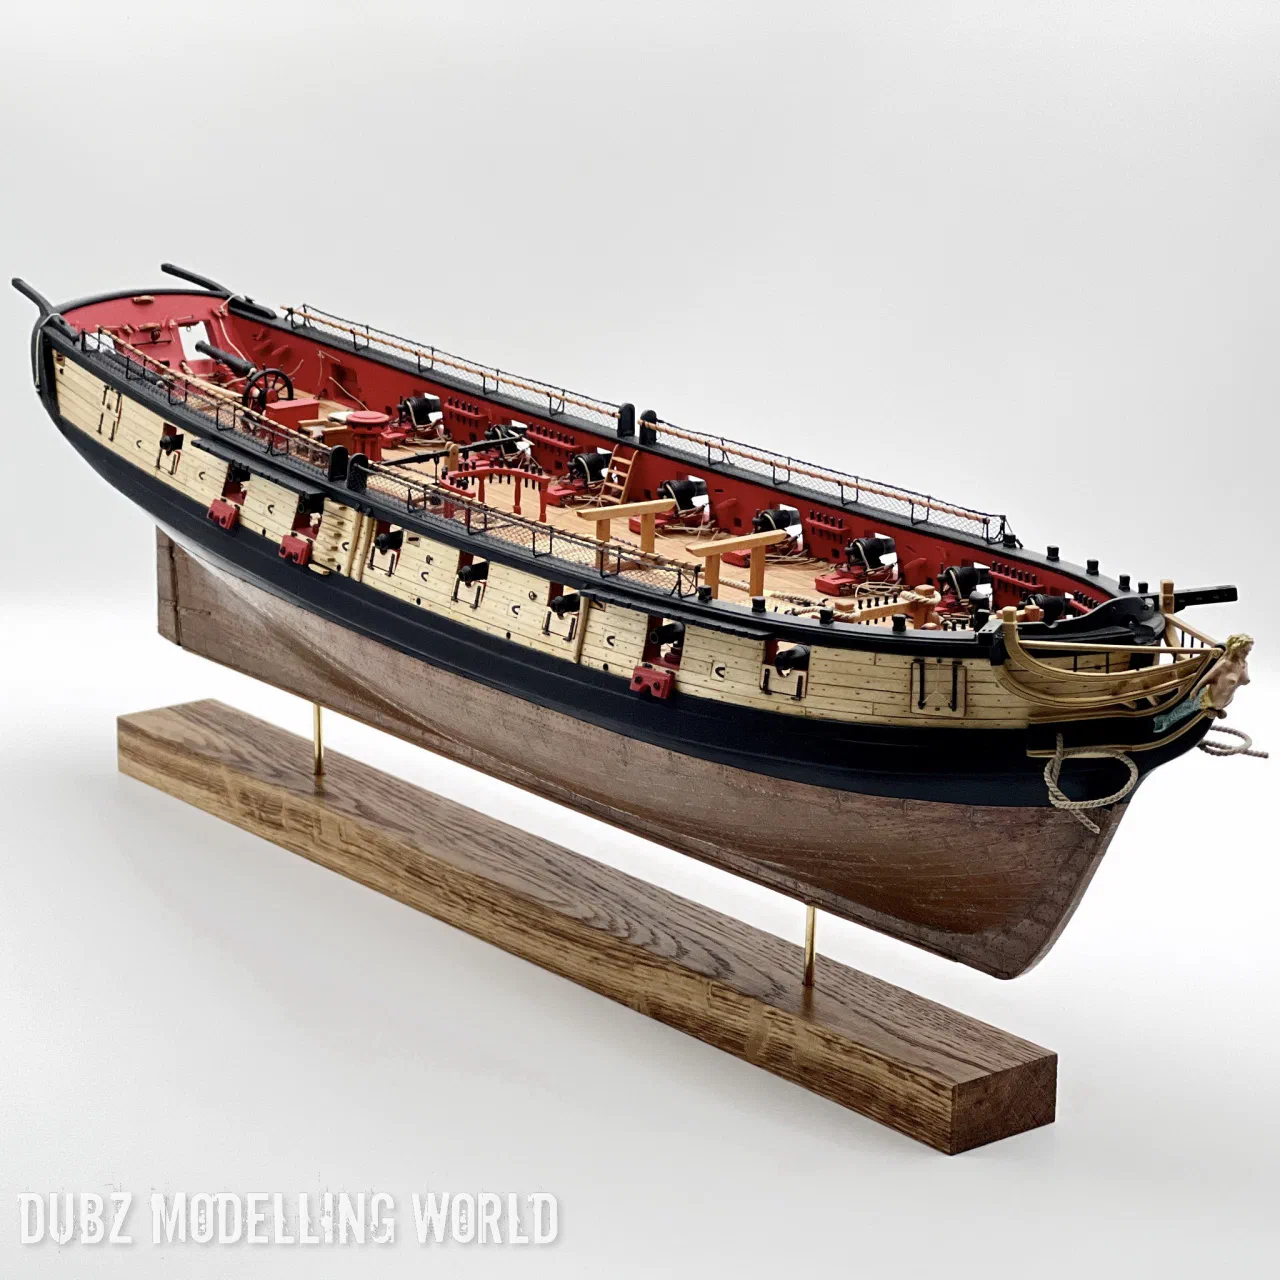
Where she stands
Hull and deck are finished: coppered, armed, with all guns rigged, the lids on their hinges, the head carved and the nettings in place. In 2022 I made a nicer stand – a dark wooden base with two brass rods – to be able to take proper photographs. The masts and the rig are still waiting, so the Syren is officially a work in progress.