A change of material
Wood, pear and rope are my usual world – but some subjects simply ask to be built. The Galactica of the original Battlestar Galactica series is one of them. Moebius Models offers her as a large plastic kit in 1:4105, and it was the first plastic model I built in many years. It was also my first serious work with the airbrush, so there was a lot to learn.
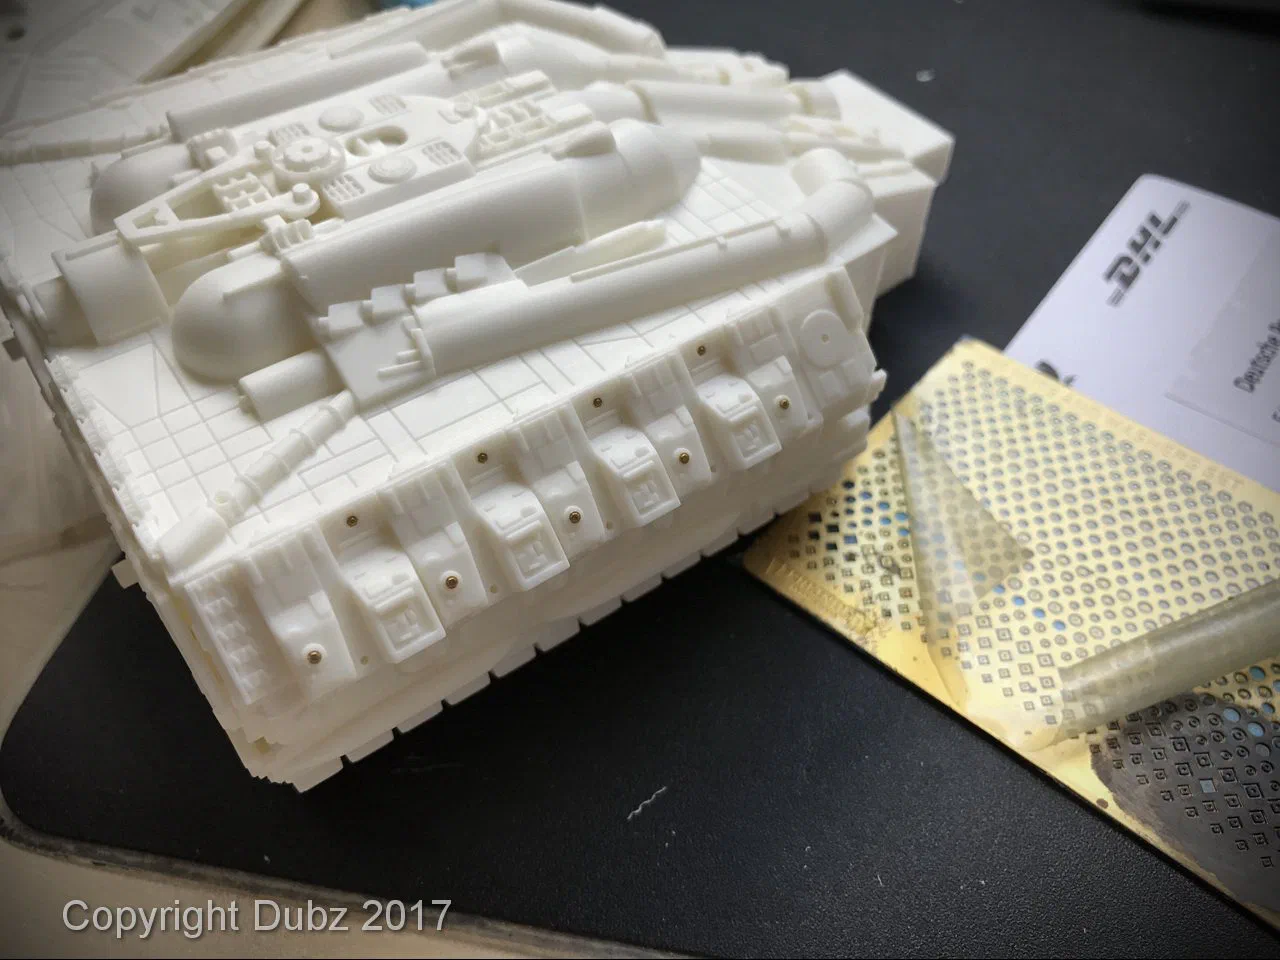
The kit itself is good, but I wanted more than the box offers: I customised the model, used a set of excellent 3D-printed aftermarket parts by Tony of 308 Bits (at the time sold through Shapeways) – and Tony was a real pleasure to deal with, added photo-etched details and built in lighting.

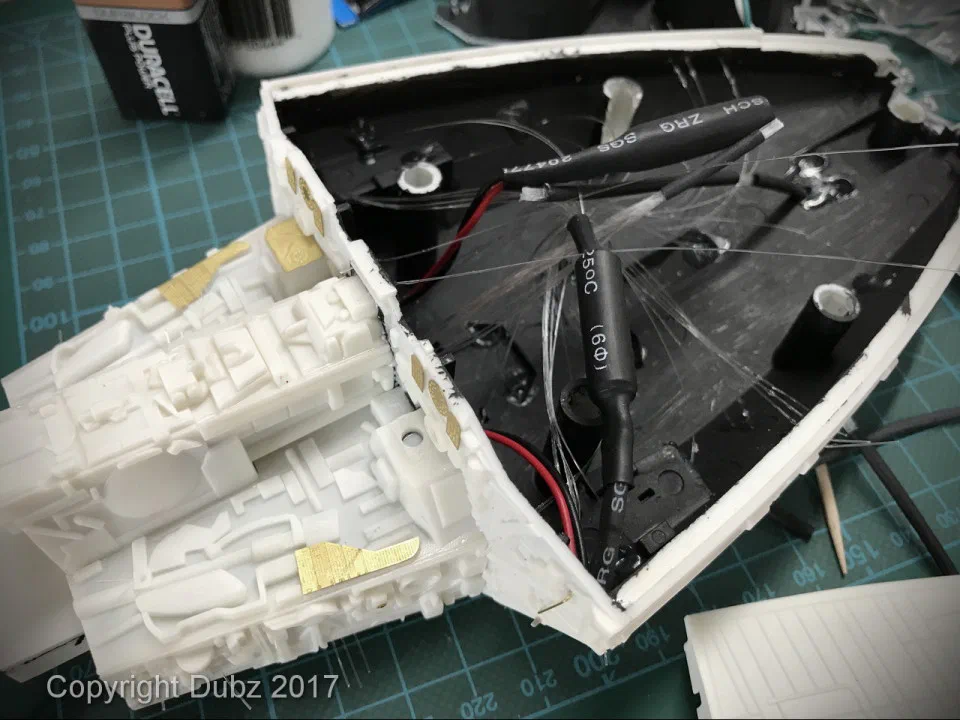
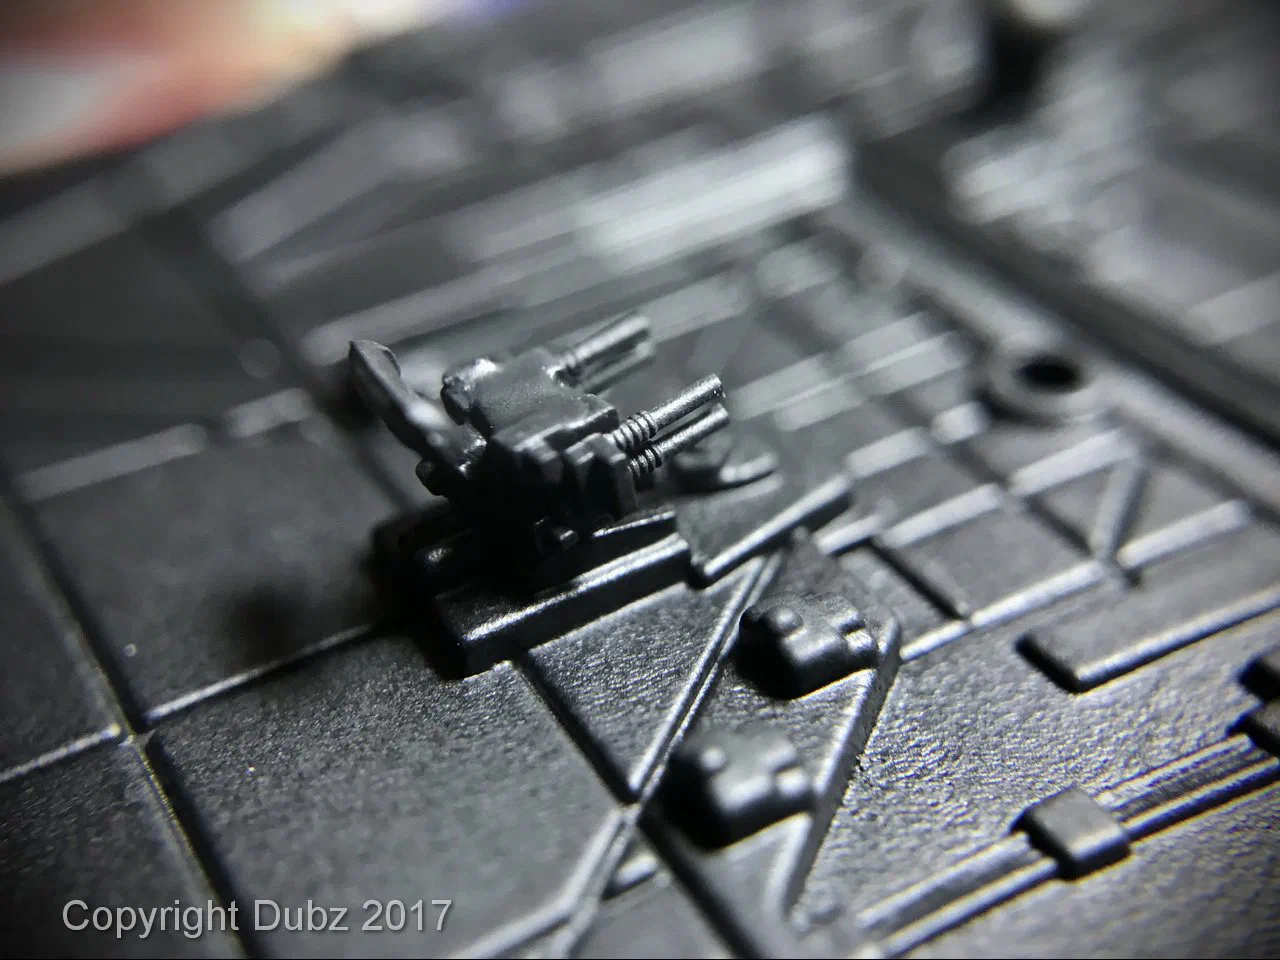
Besides the aftermarket set, the list of additions grew long: all kinds of greeblies, photo-etch, brass wire, fibre optics and LEDs. Much of the detail went on before any paint.
Assembly – and a lesson
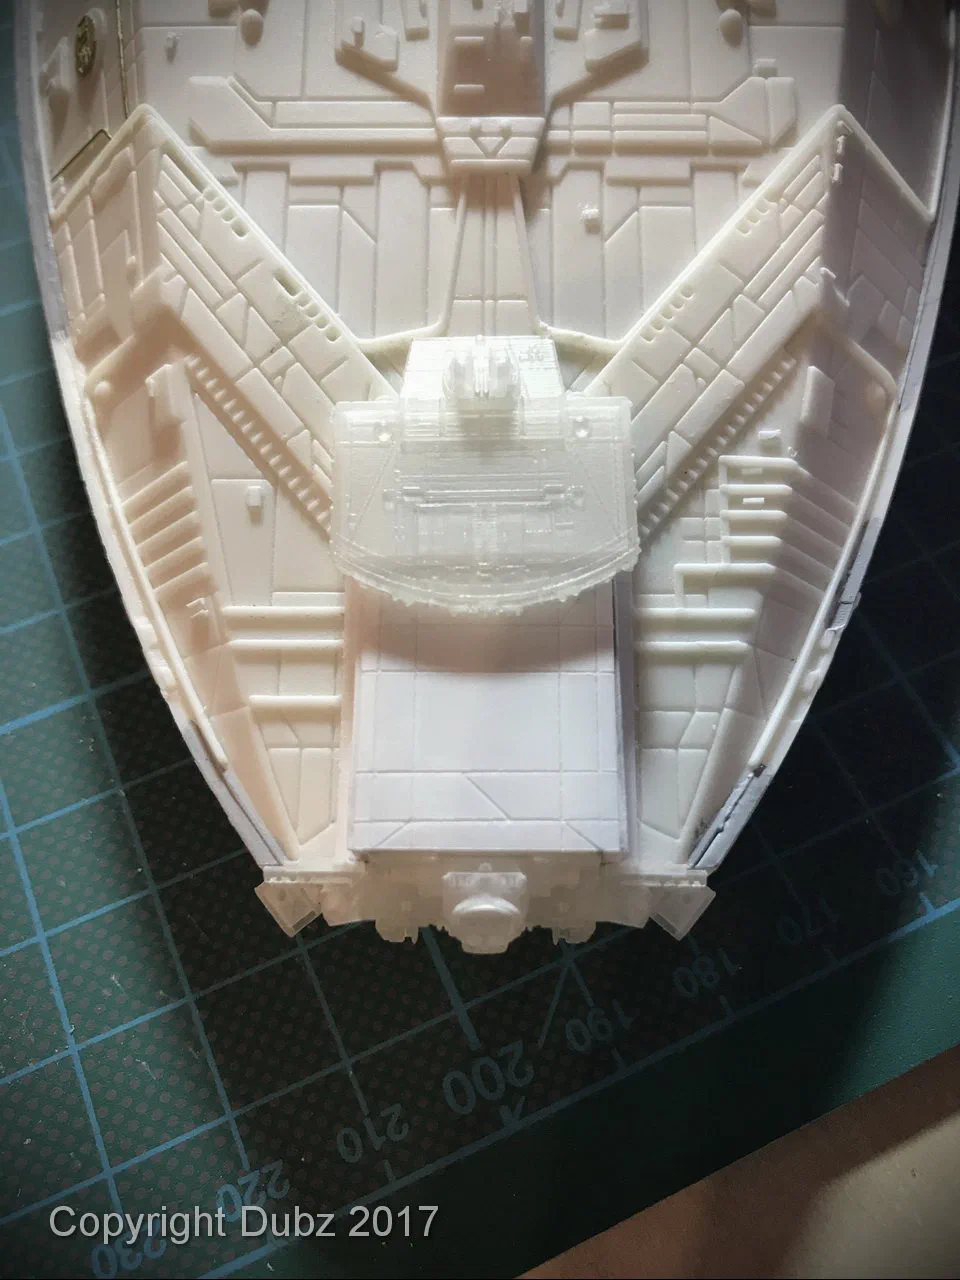
Building a plastic kit follows different rules than a wooden ship. The biggest one I learned the hard way: I glued the landing bays in far too early. Everything that has to be painted, lit or masked later becomes much harder once these large sub-assemblies are closed. Next time, the order of work will be planned more carefully.
Colour and panels
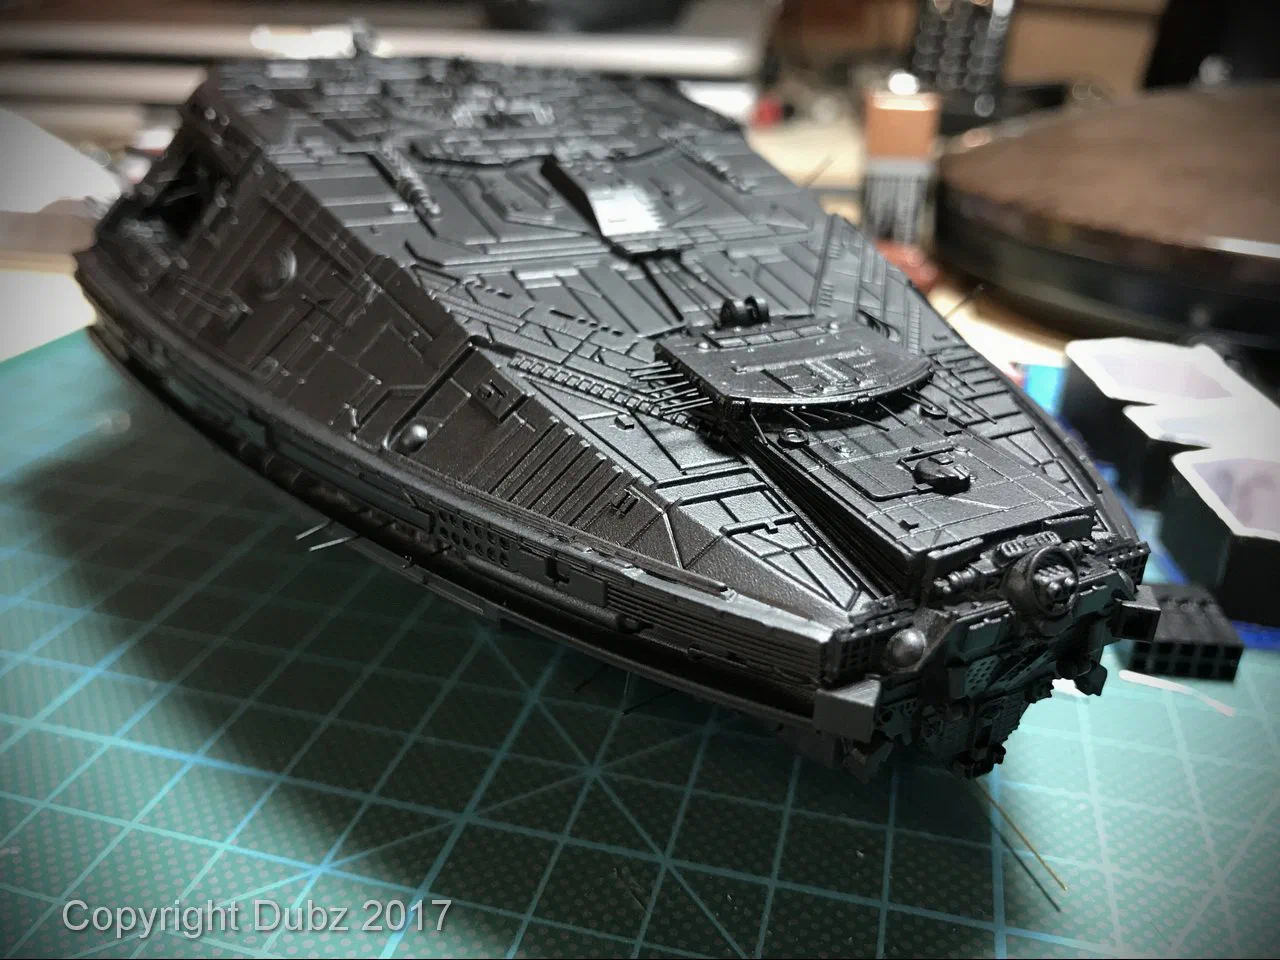
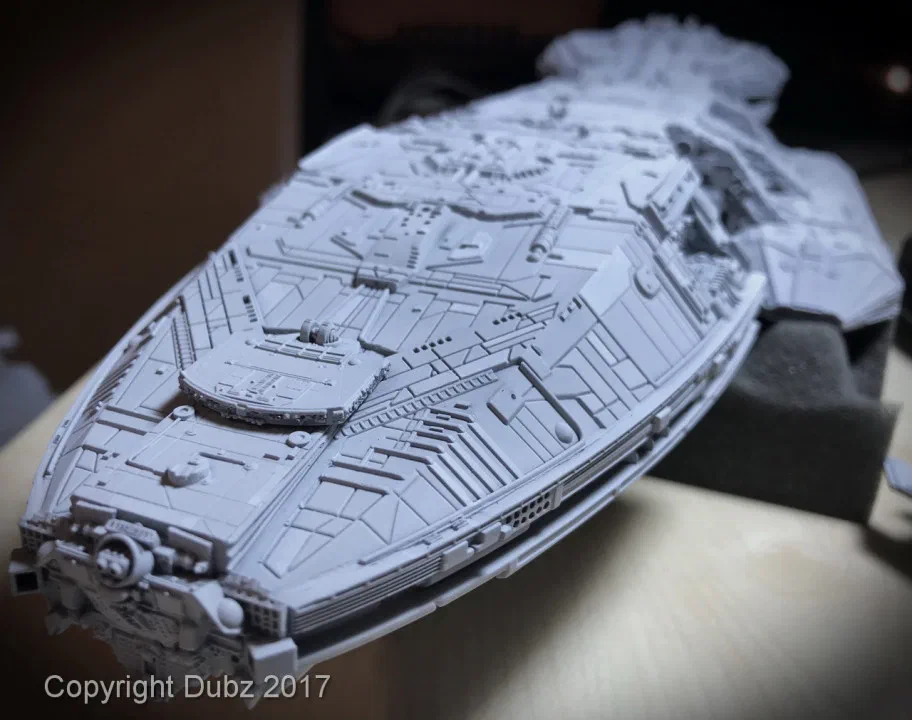
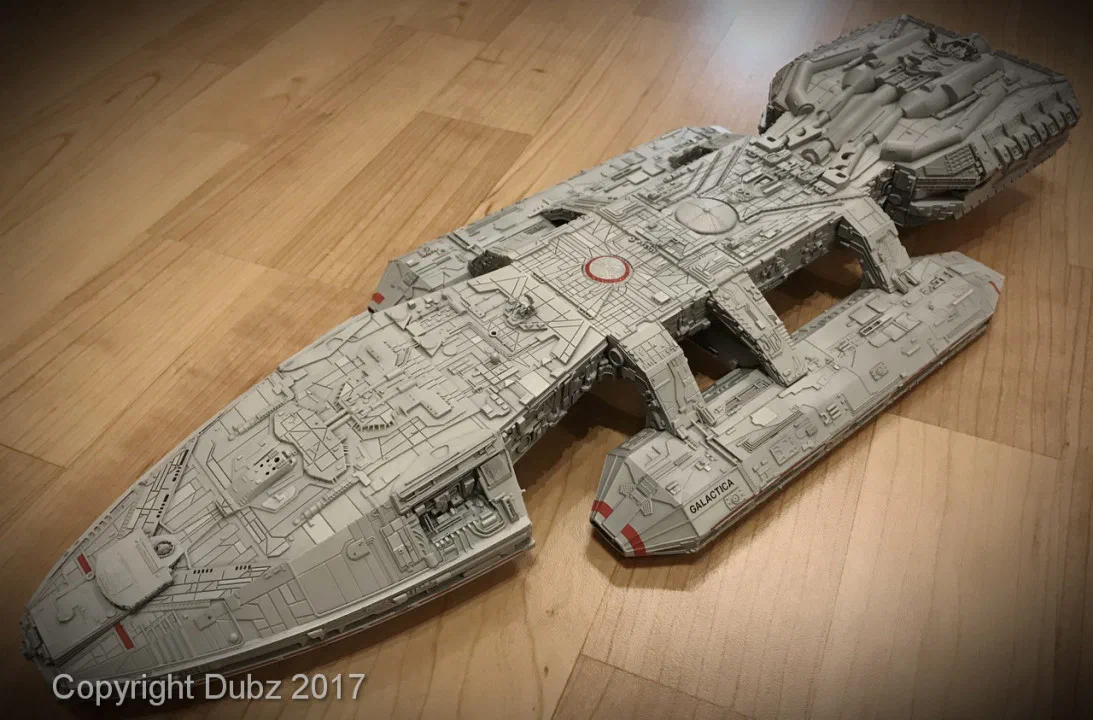
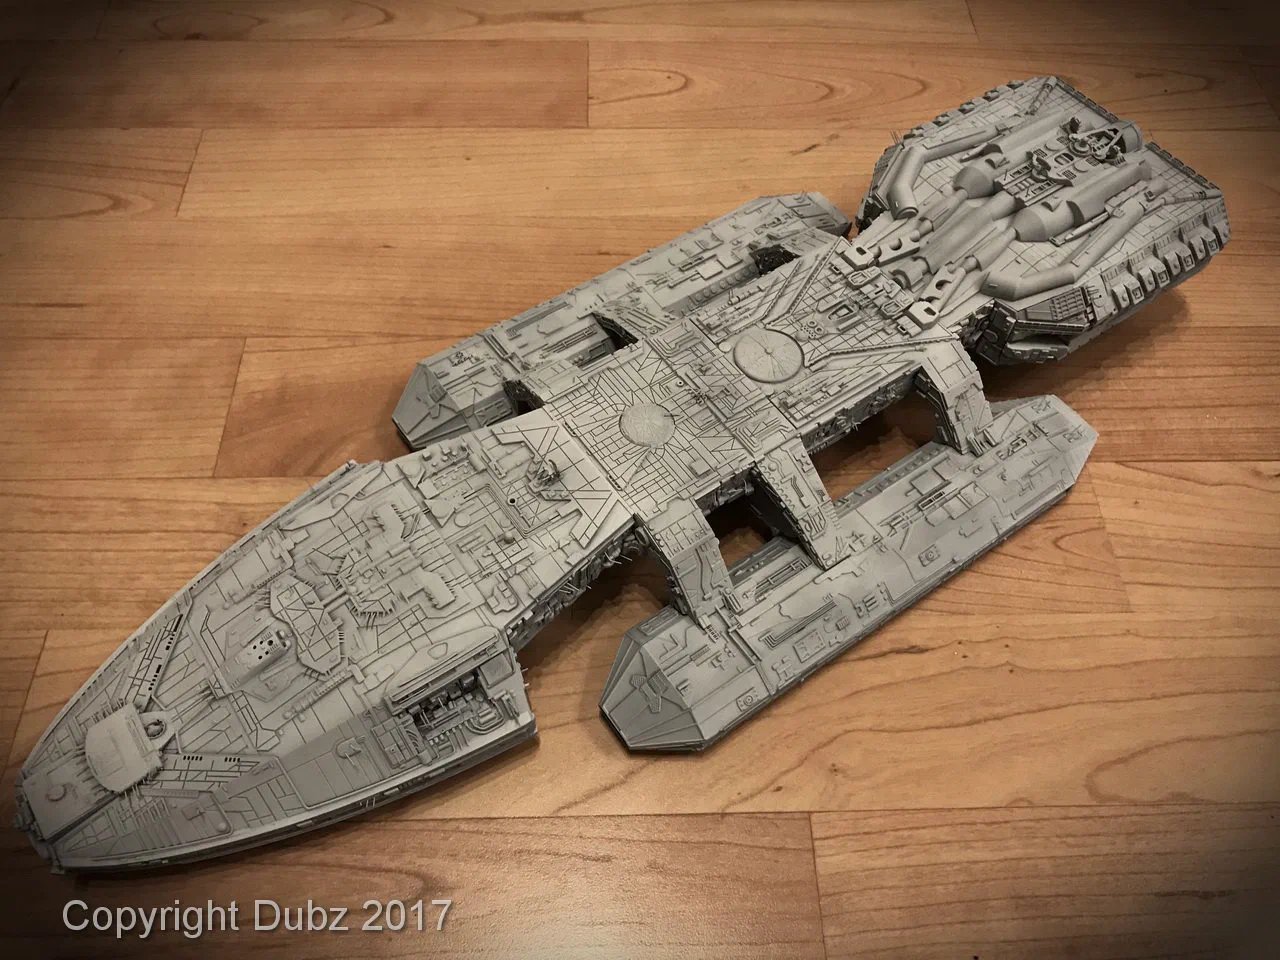
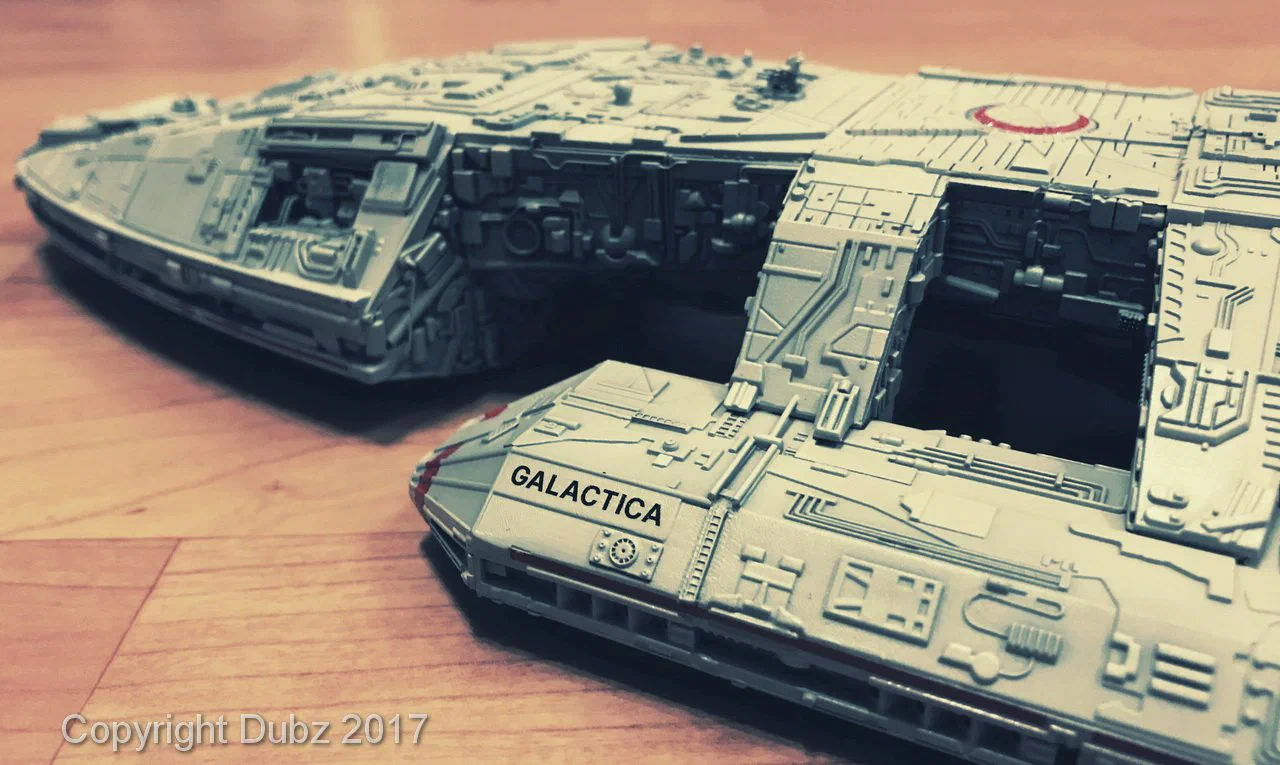
After the first coats of white and grey I picked out individual panels in slightly different shades. This panel highlighting helps a model of this size to look big: the eye reads the slightly different plates as a huge, complex surface.
Decals and clear coat
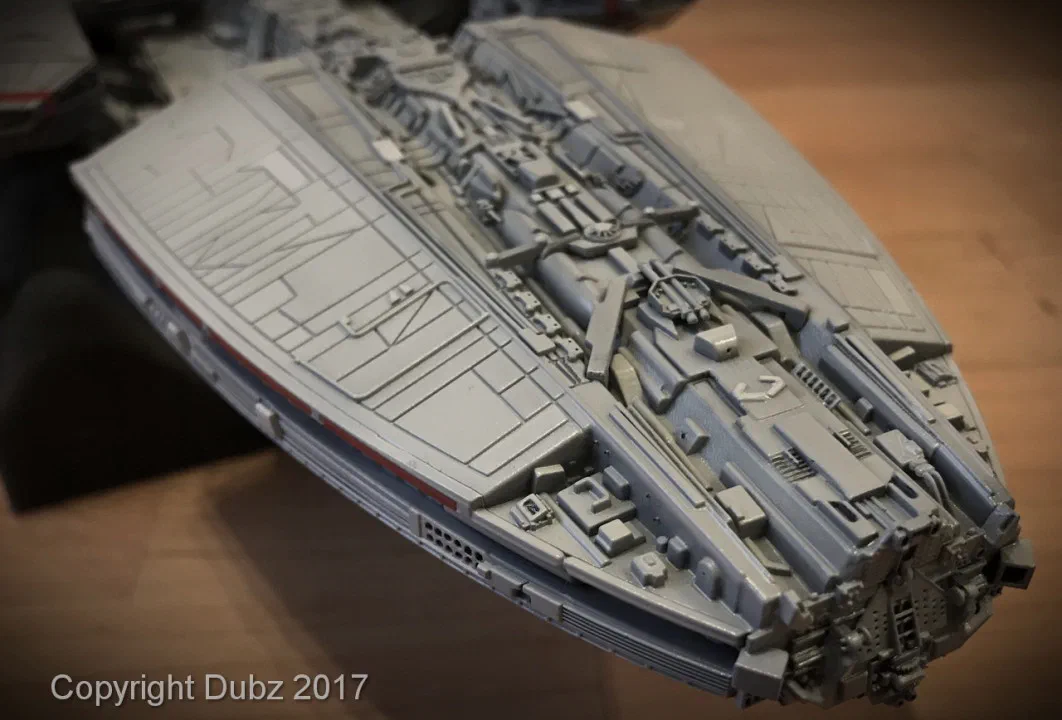
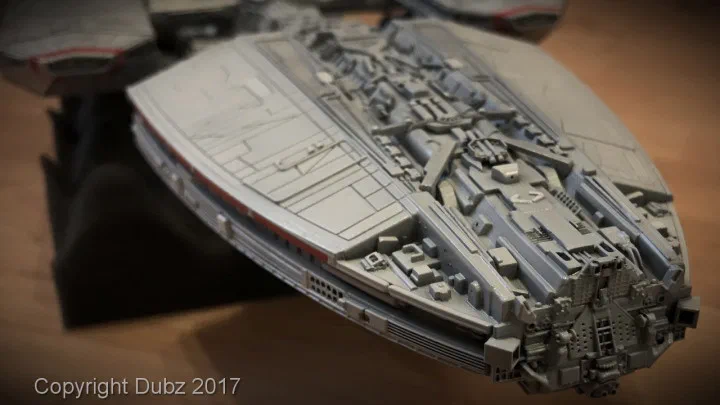
Before the decals went on, the model received a first coat of Klear. The red markings and the many small details come alive at this stage.
Weathering
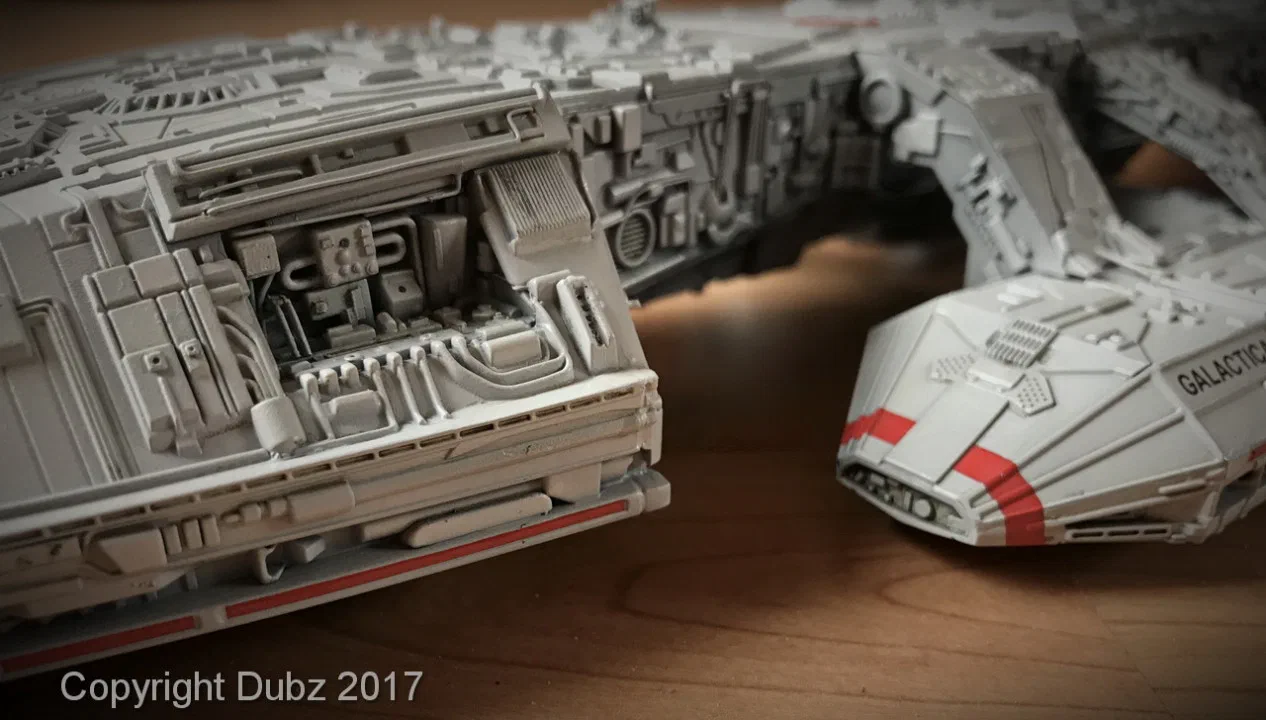
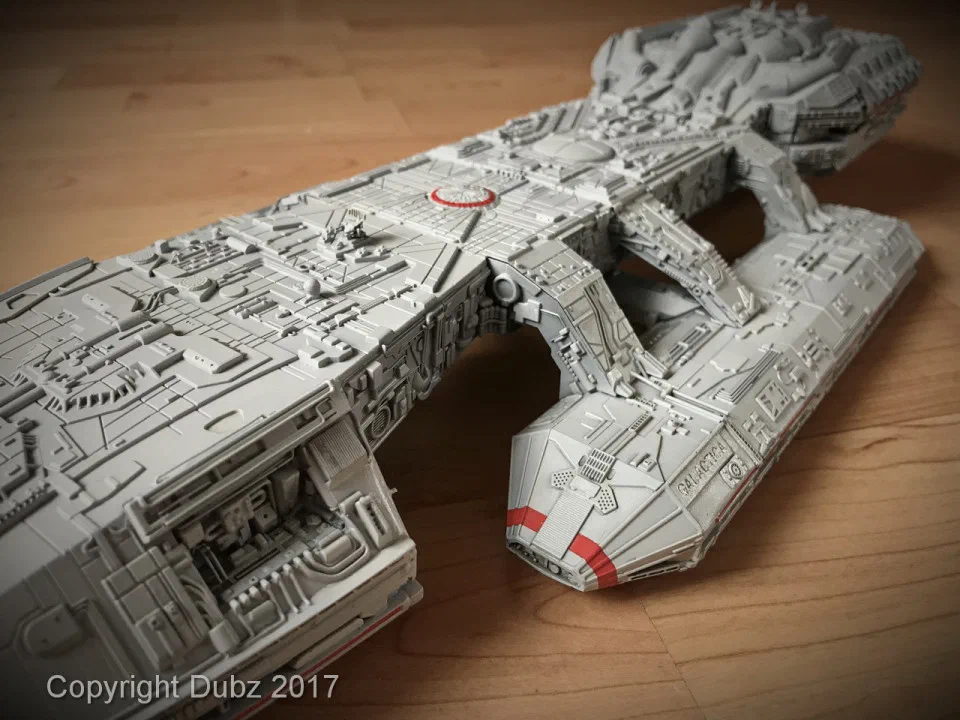
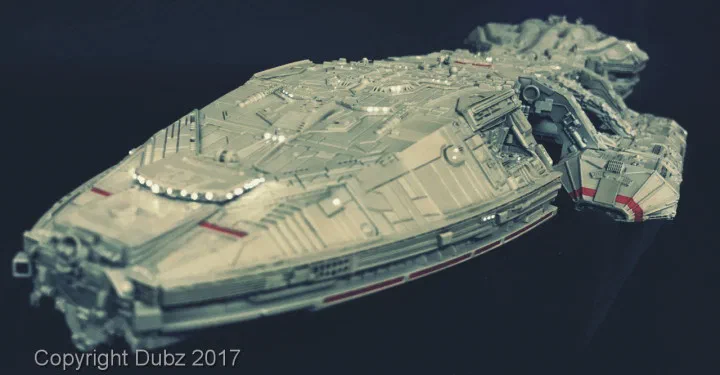
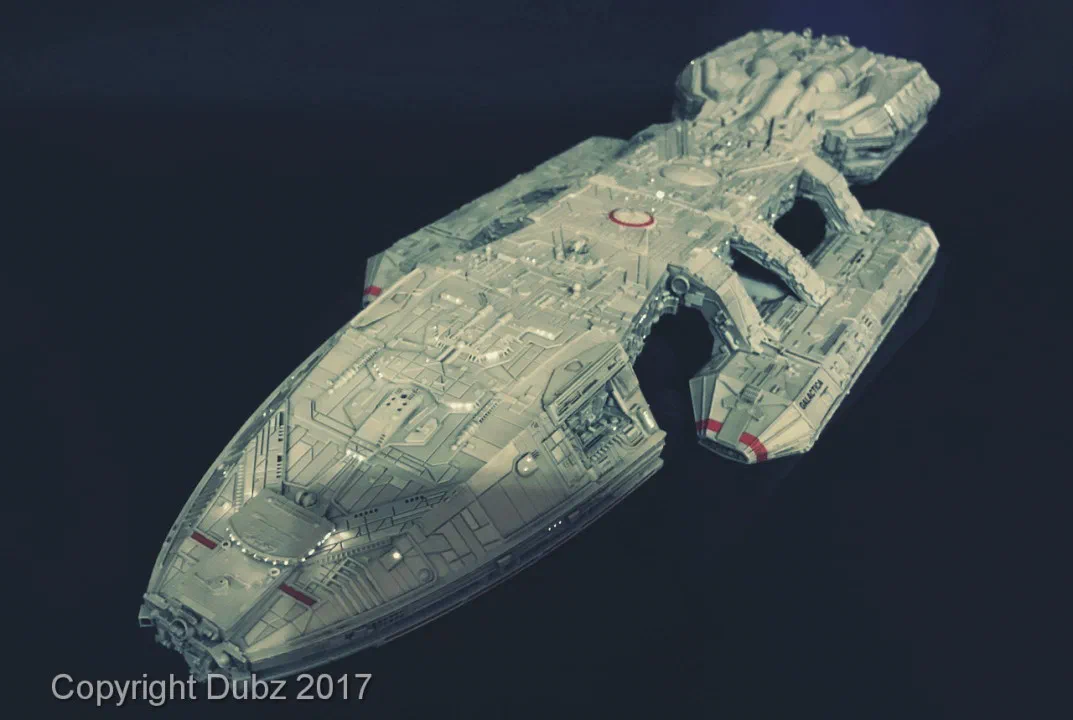
Then came the part I approached most carefully: weathering. The aim was a very discreet effect – a ship that has been in service for a long time, not a wreck. Photographed against a dark background, the model finally starts to look like the ship from the series.
Light
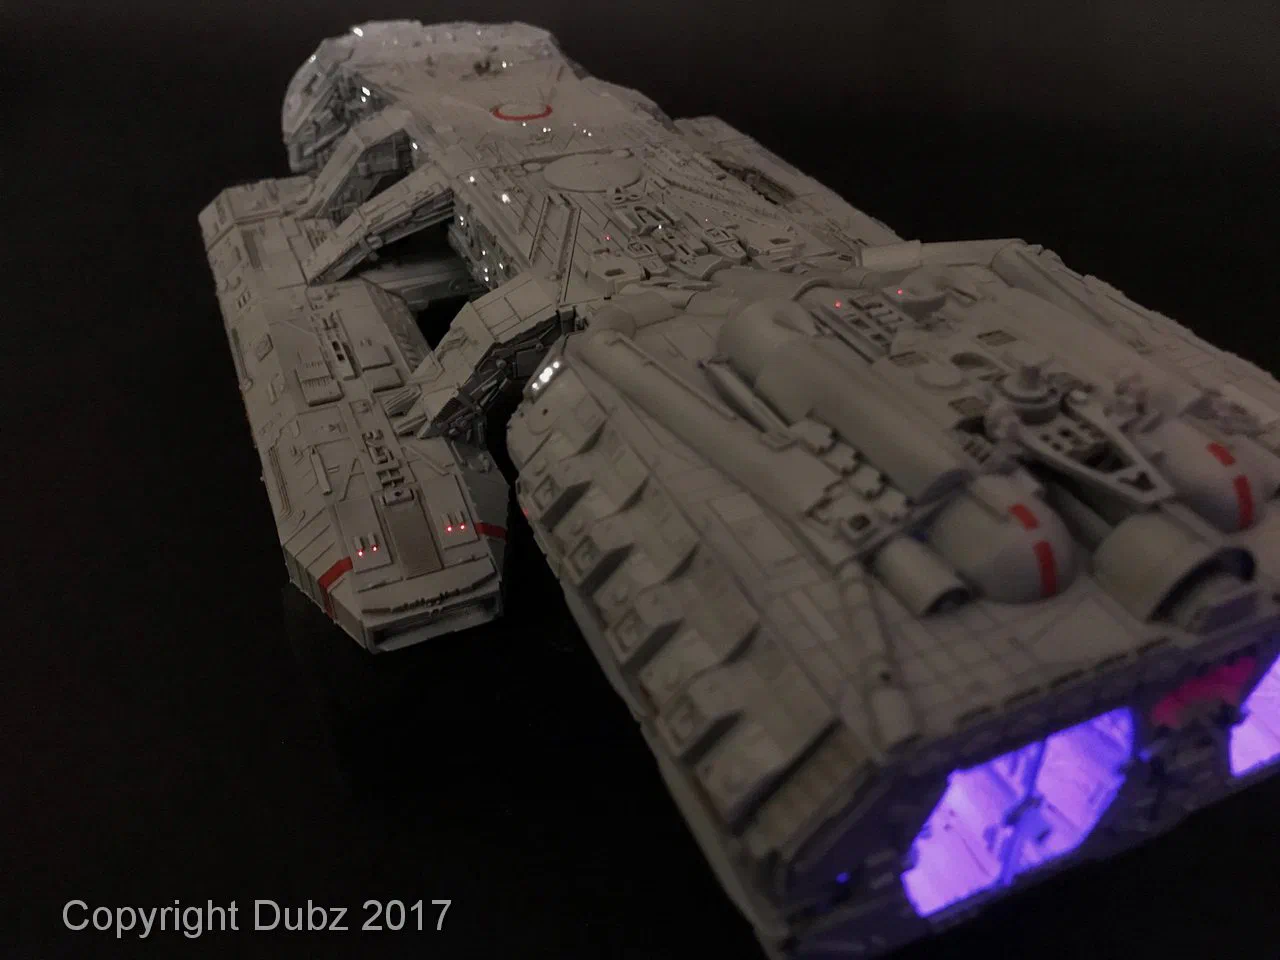
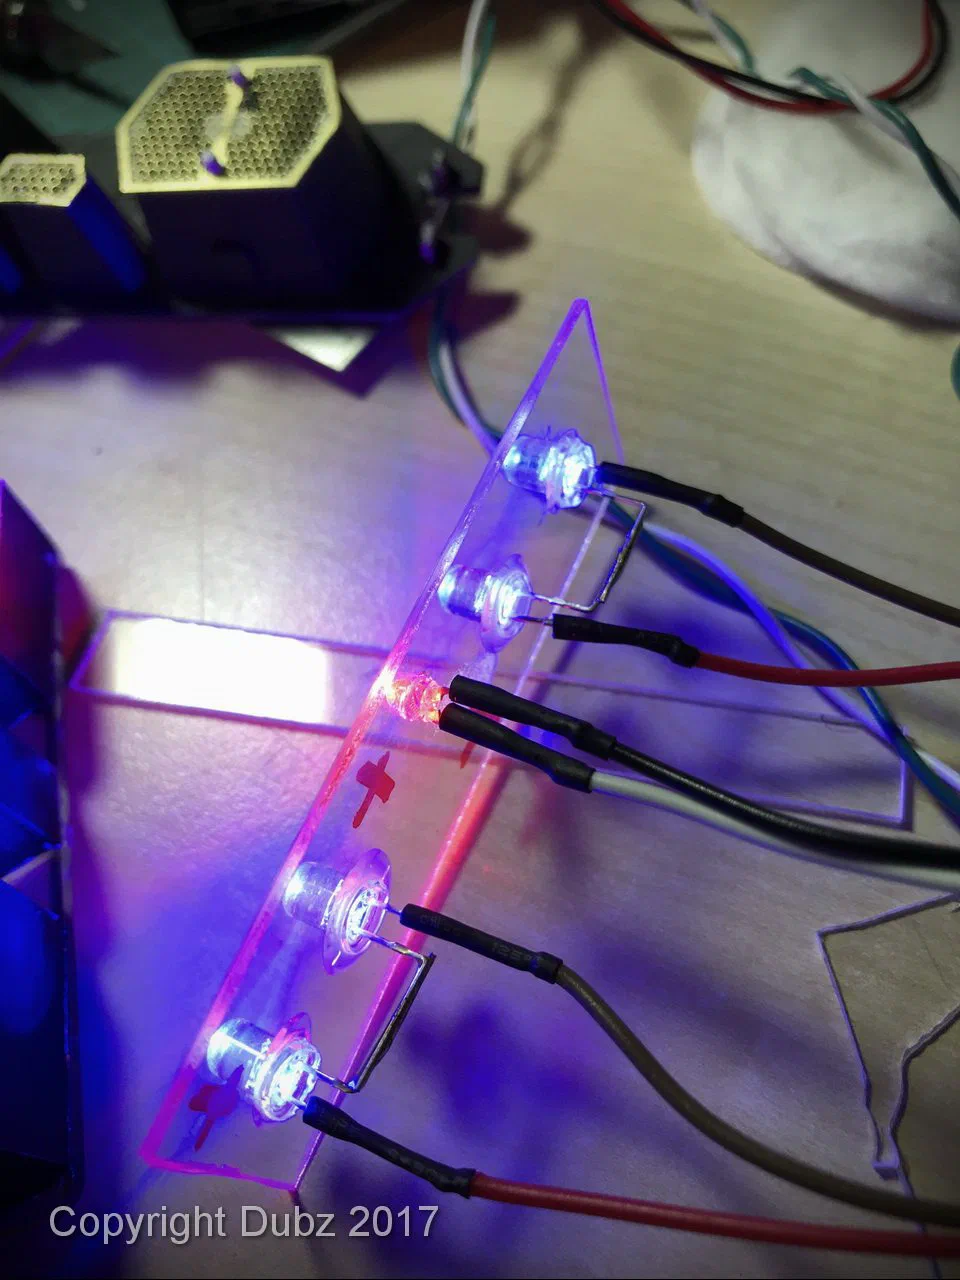
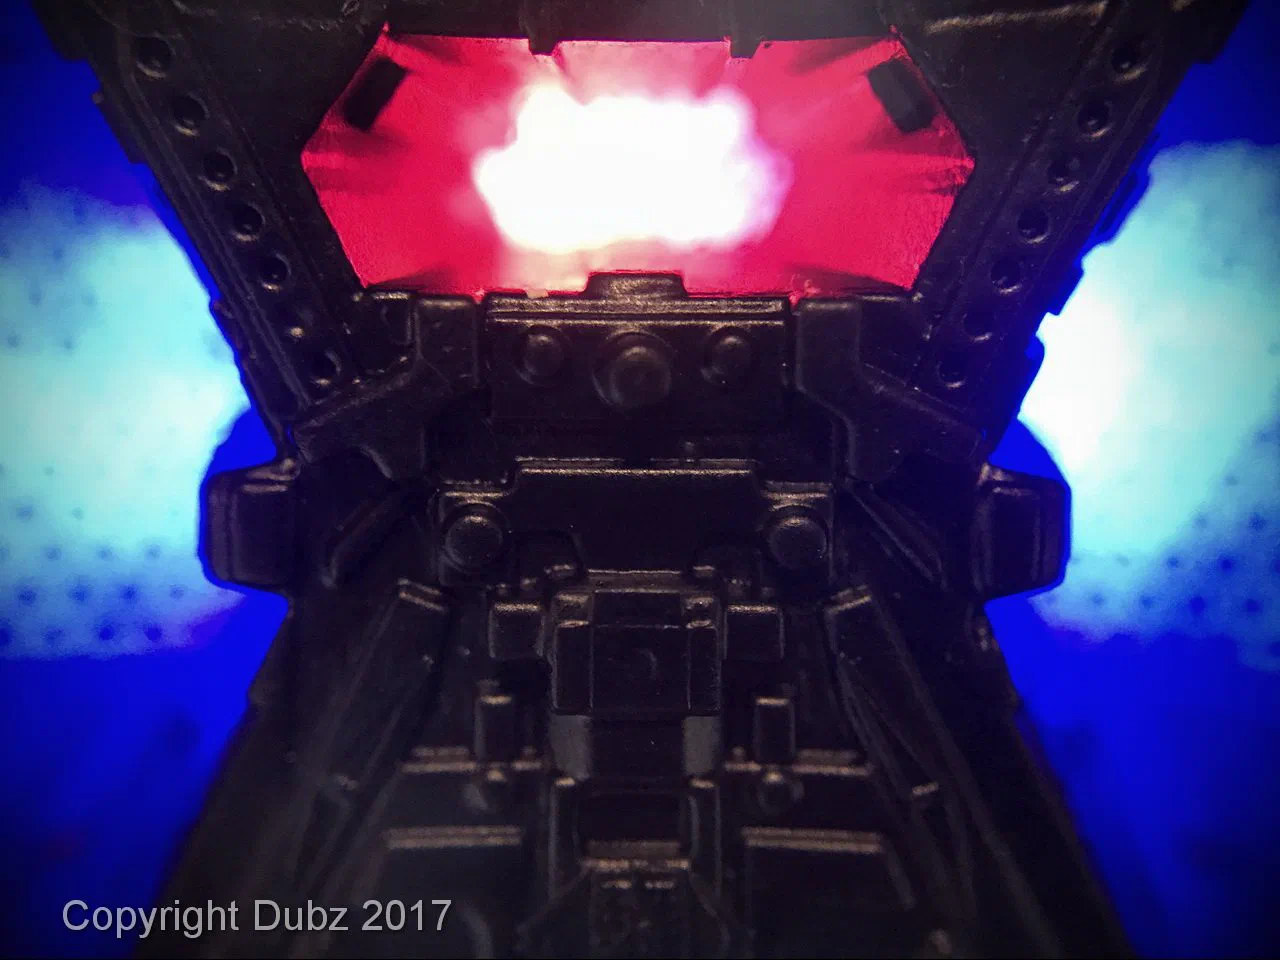
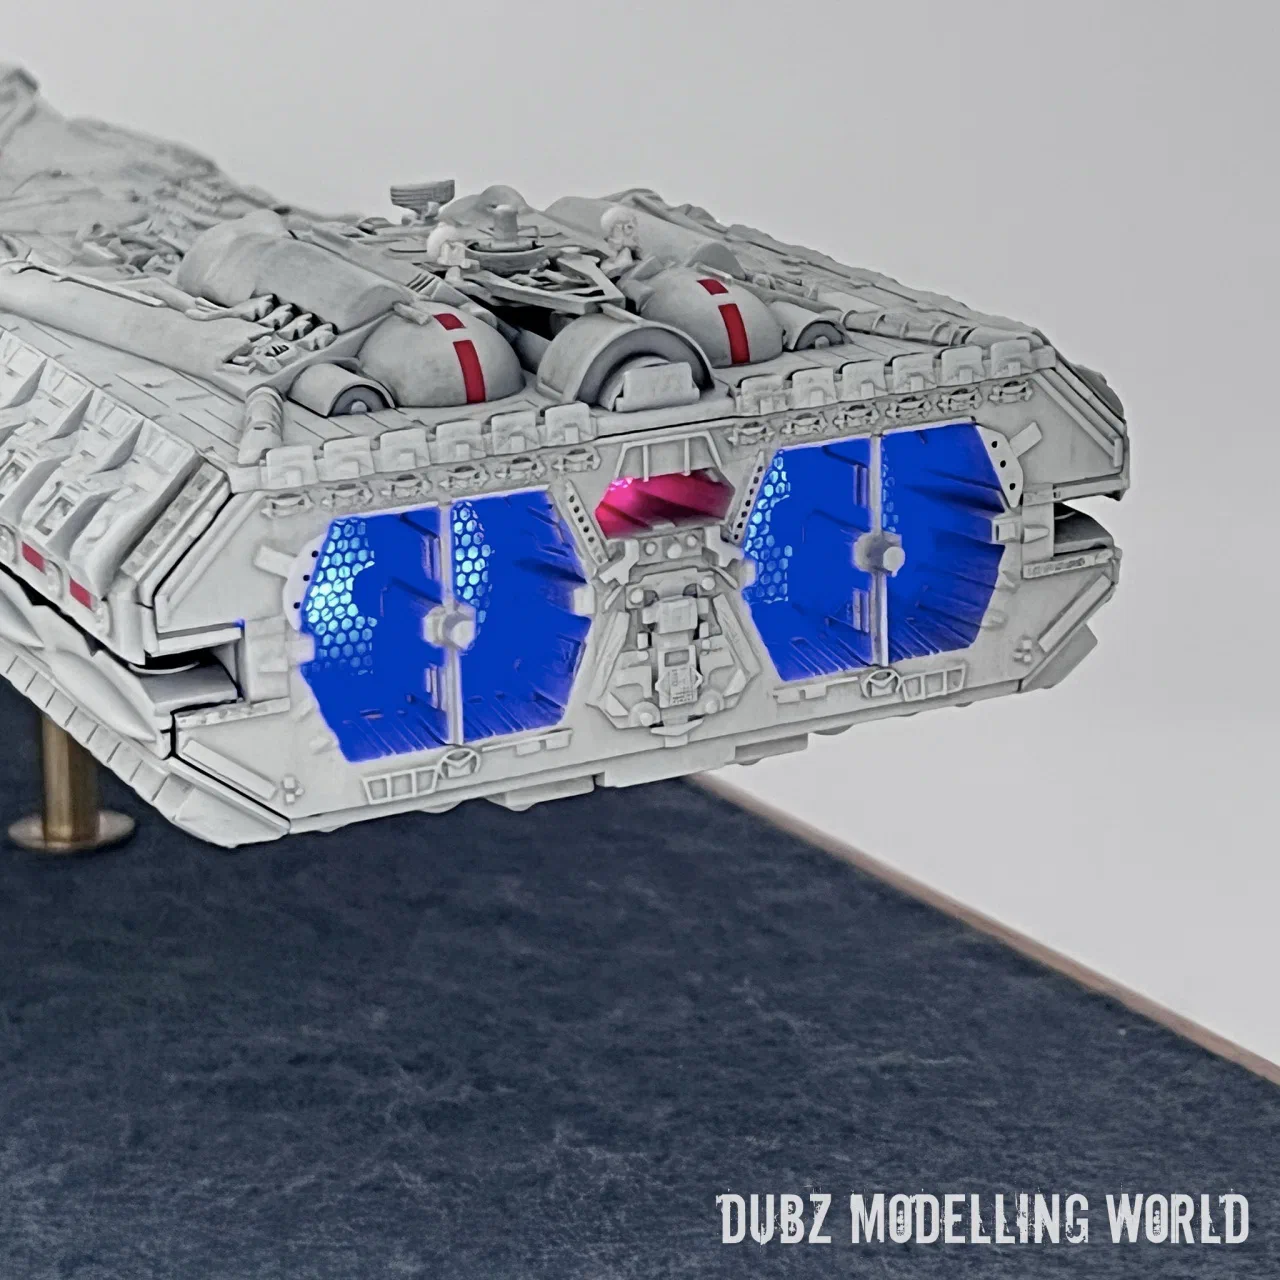
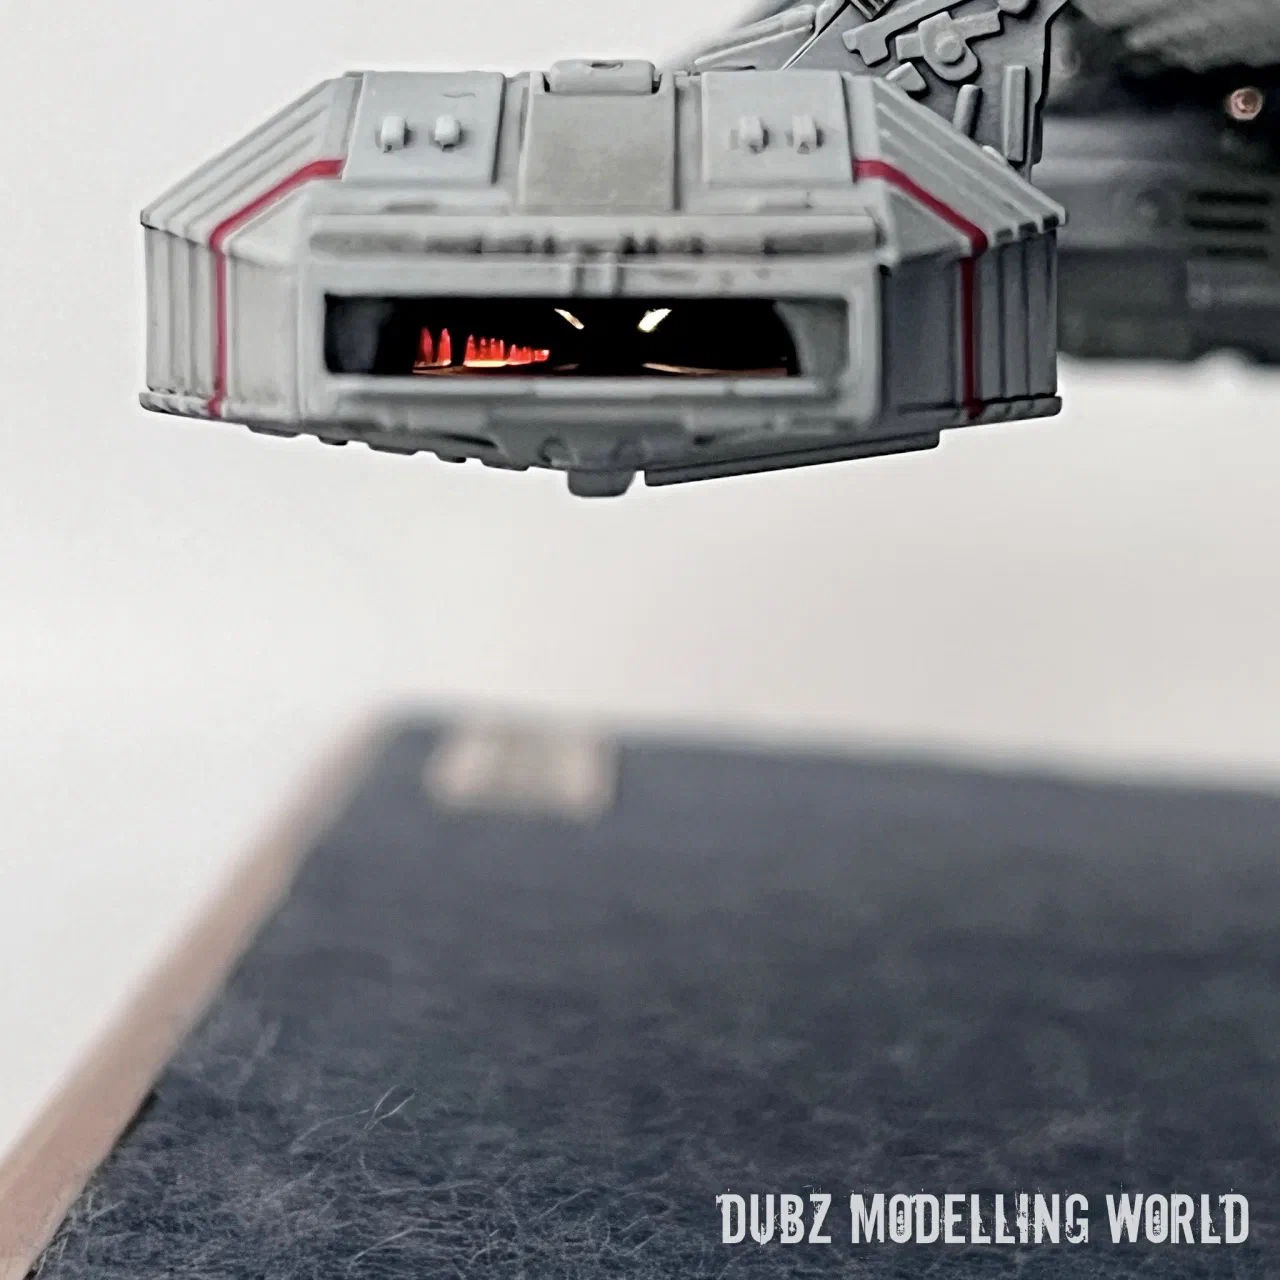
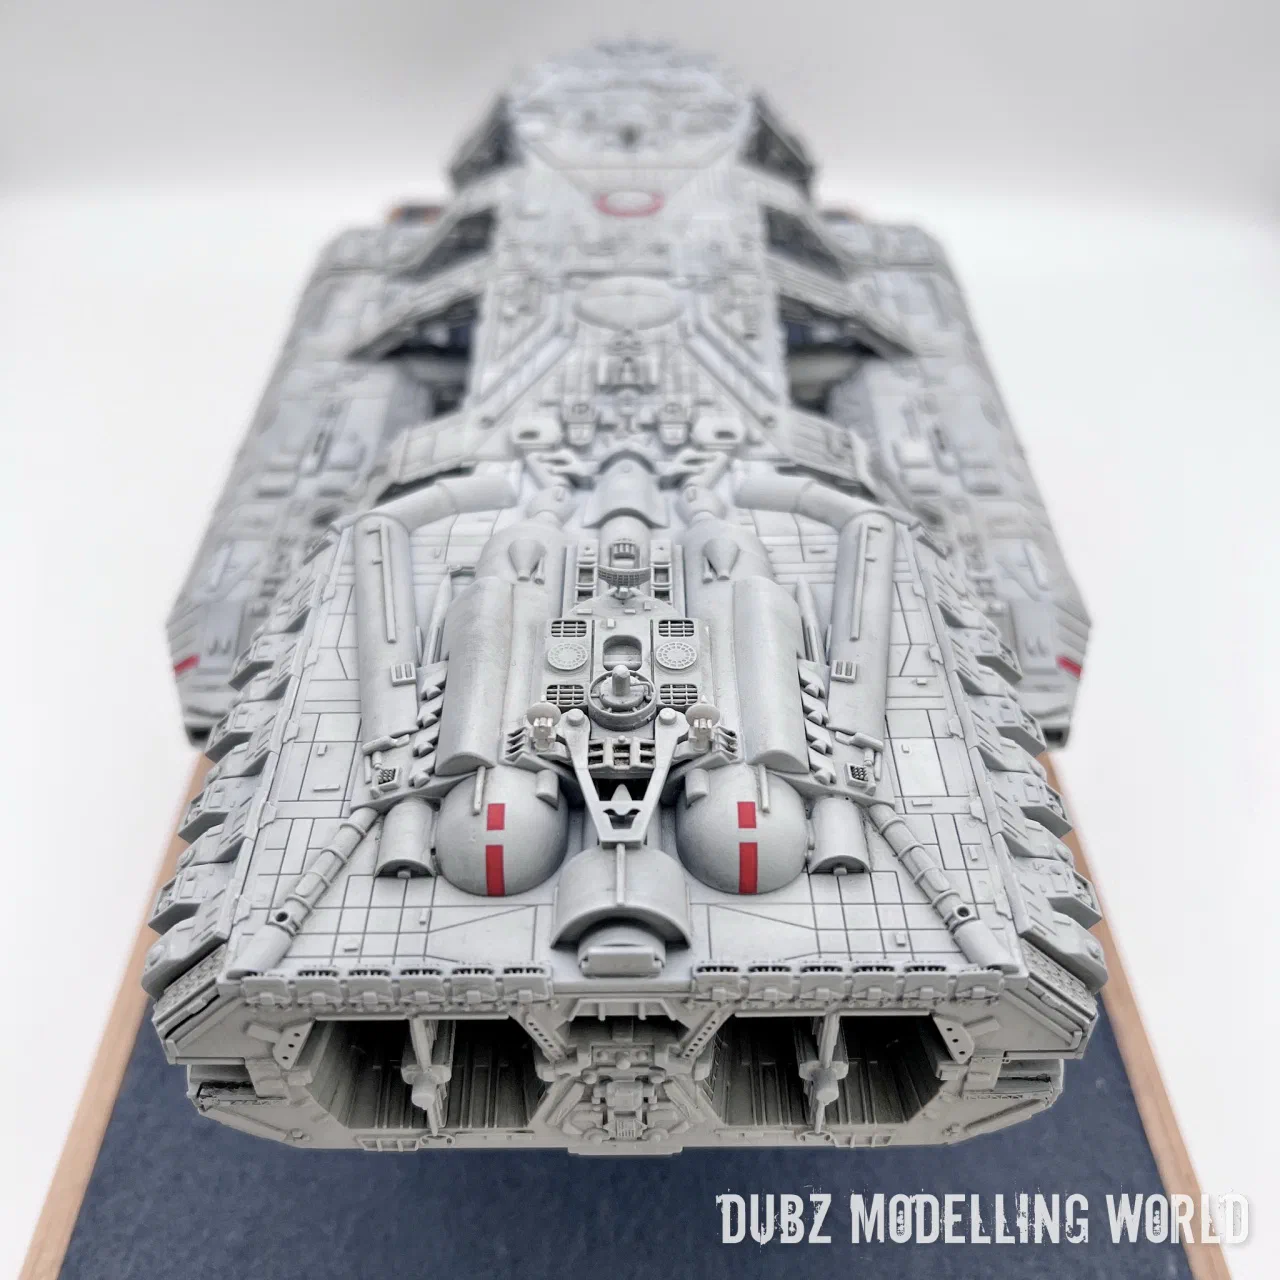
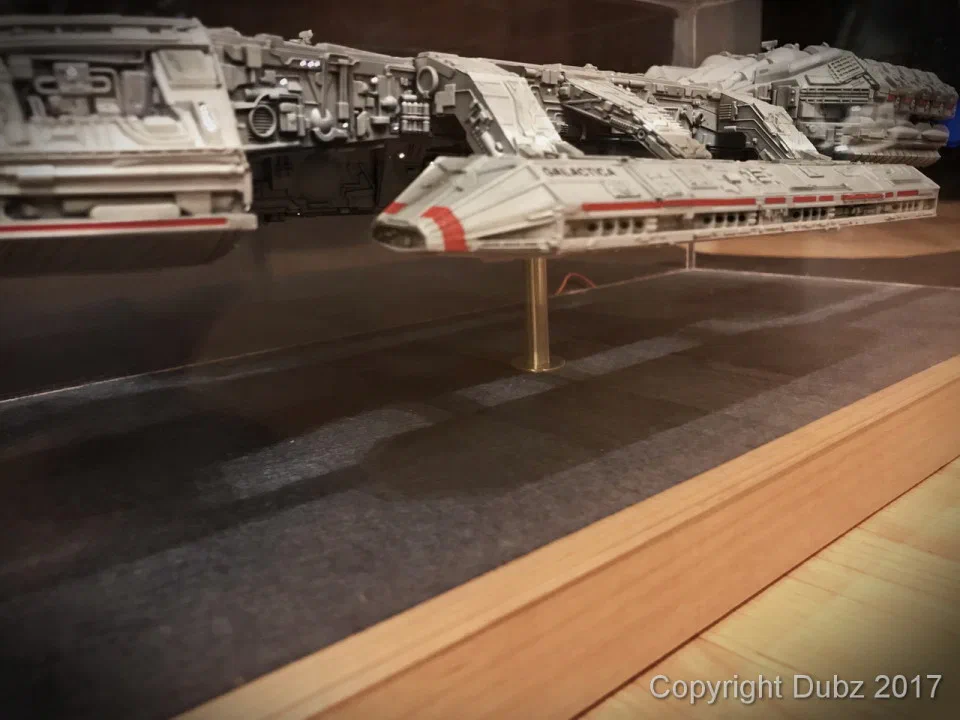
Lighting was planned from the very beginning, which is why the hull was opened up and prepared before it was closed – and why gluing the landing bays in early hurt so much. In the finished model the engines glow in blue, and the landing bays are lit from inside, so that their interior structure becomes visible from the ends.
Details up close
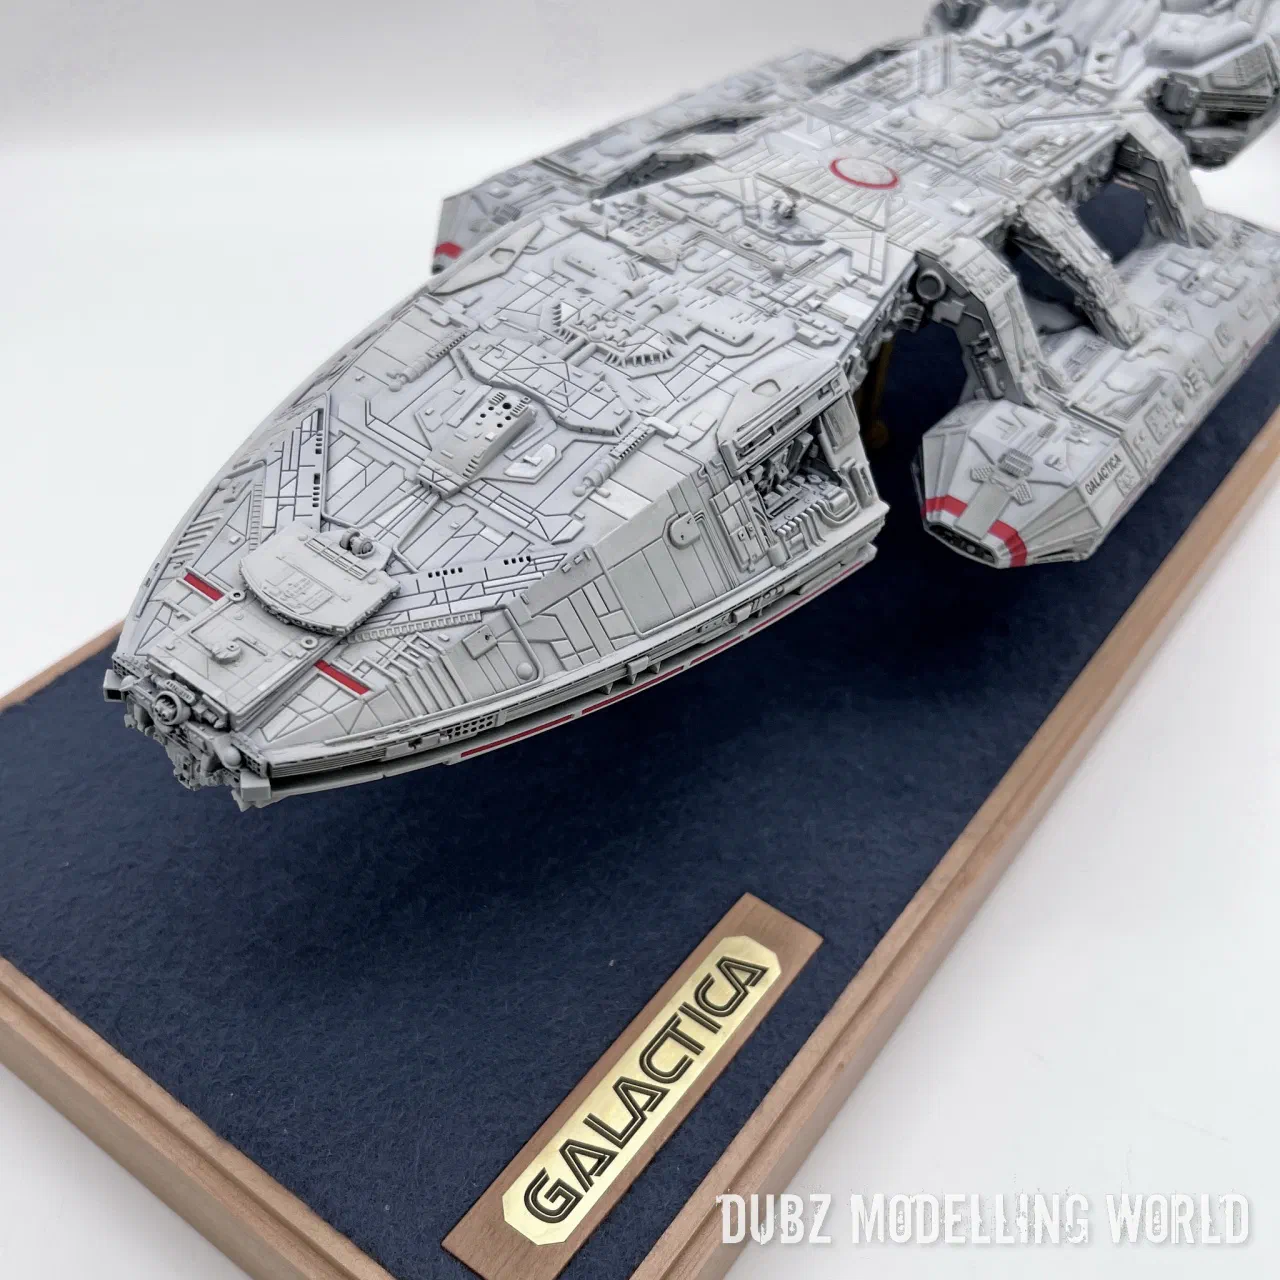
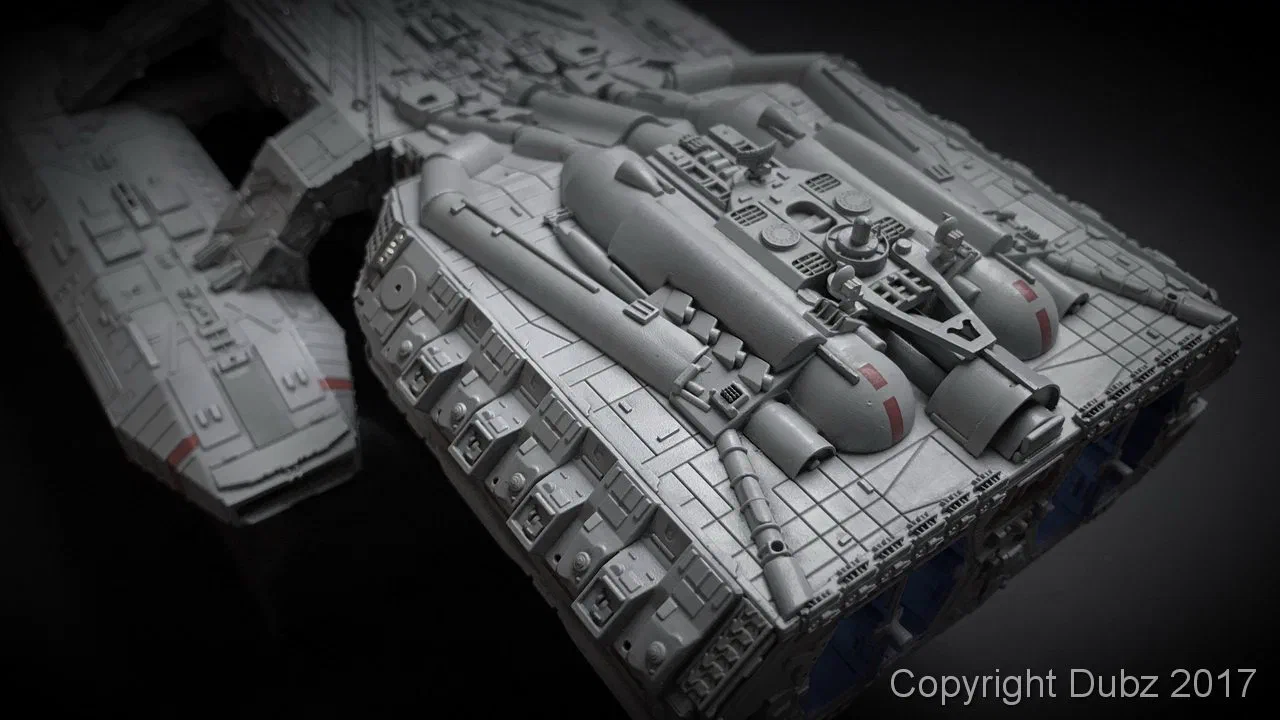
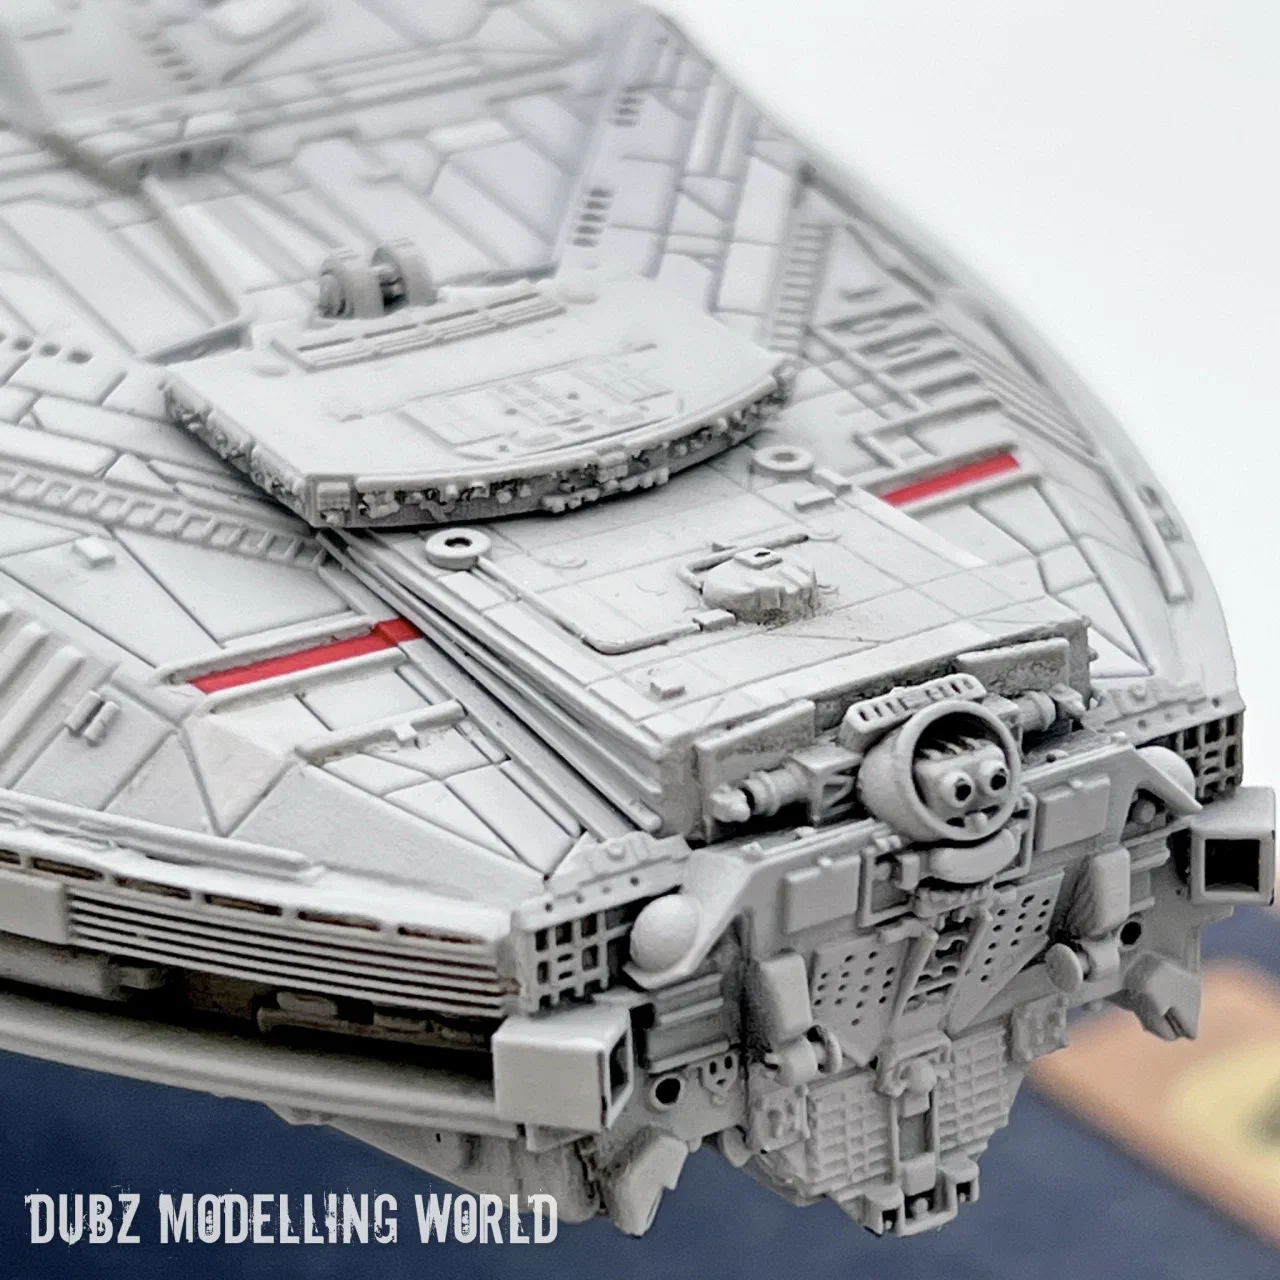
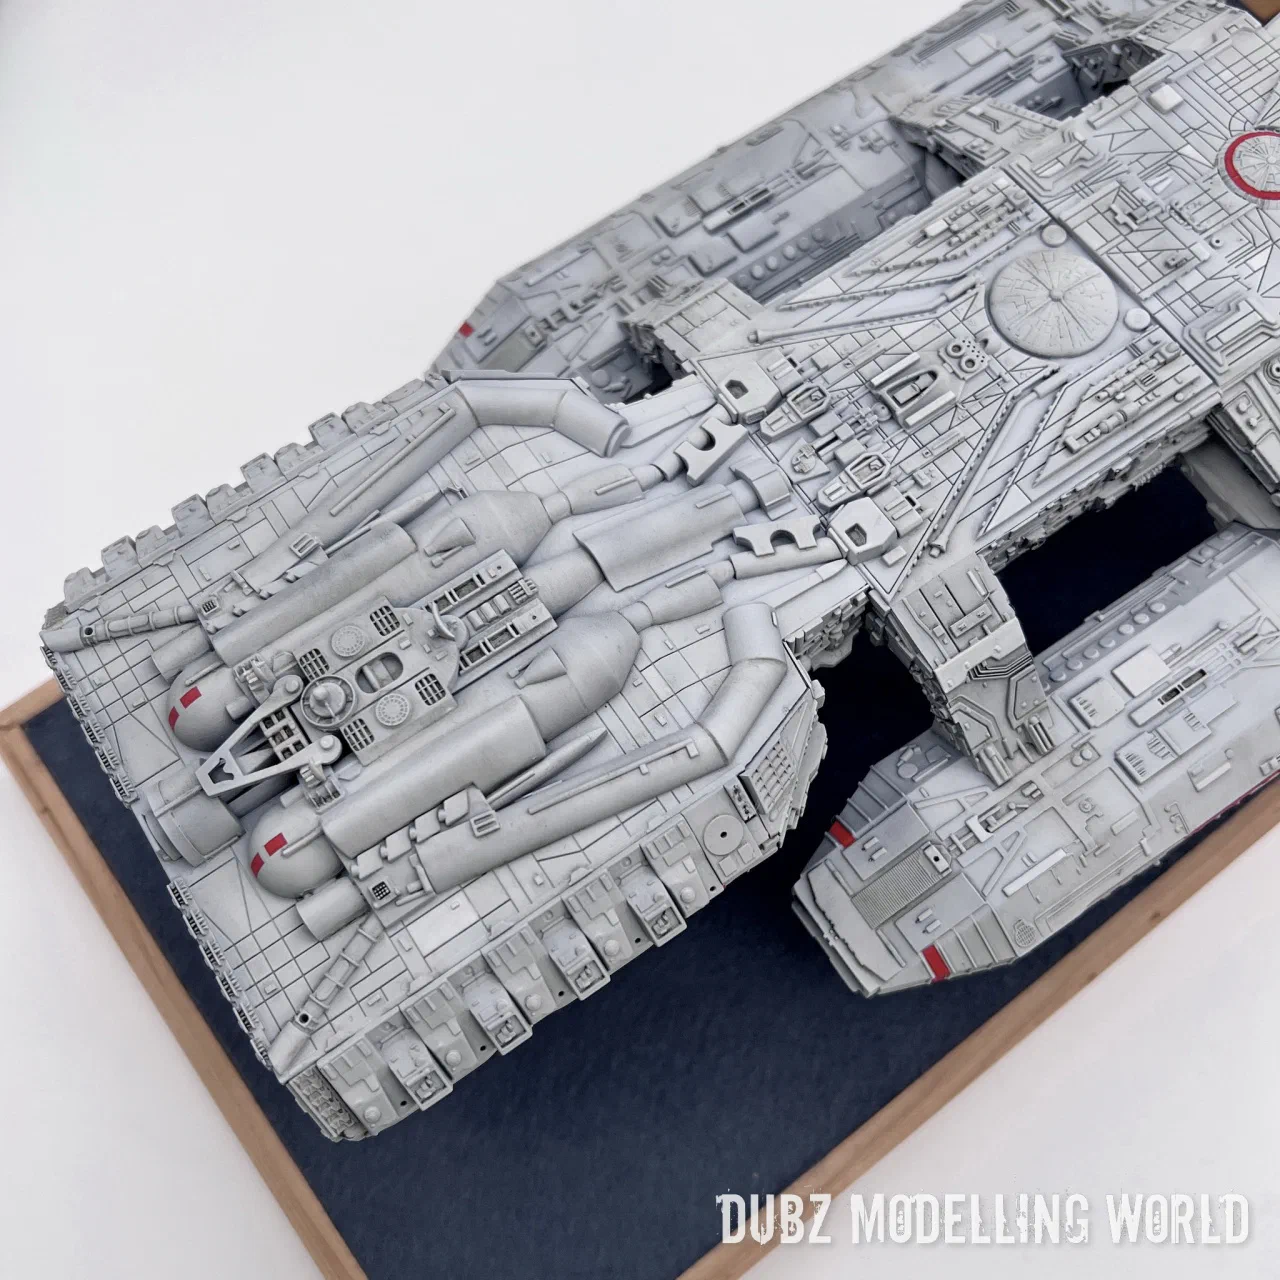
The Galactica is a model that rewards a closer look. Between the large panels sit countless small greebles, vents and structures; the photo-etched parts add fine detail where the plastic would be too thick. The red markings and the ship’s name on the landing bays break up the light grey hull and give the eye something to hold on to.

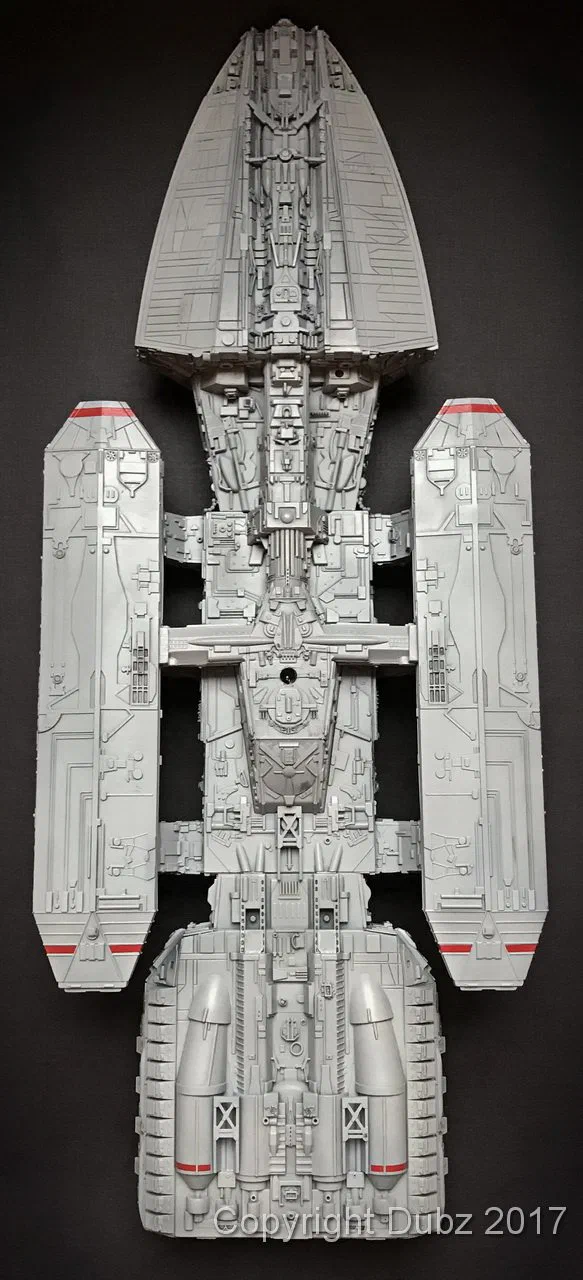
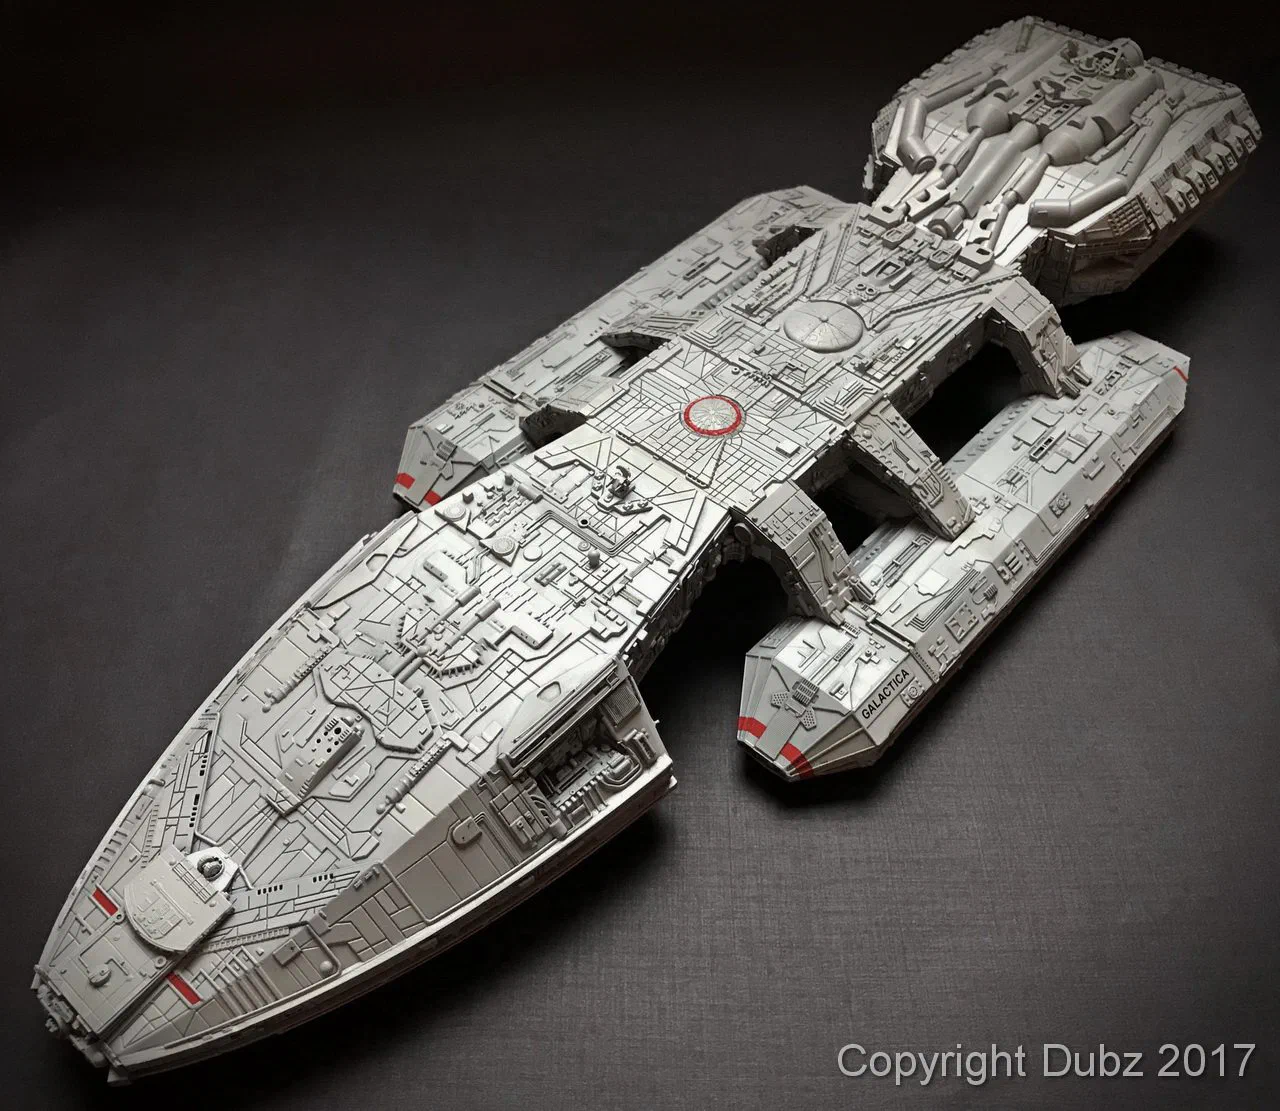
Seen from above, the long, flat shape of the ship and the clear division into bow section, central hull and the two landing bays become obvious – the silhouette that made the original series’ battlestar so recognisable.
Base and display
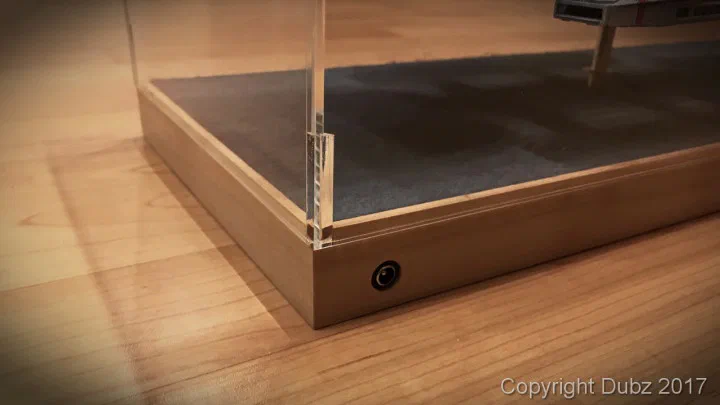
As with my ships, the last step was the presentation. The Galactica sits on a slim brass rod above a dark blue base in a wooden frame, with a small brass name plate. The display case protects her from dust – and lets you walk around the model without touching it.
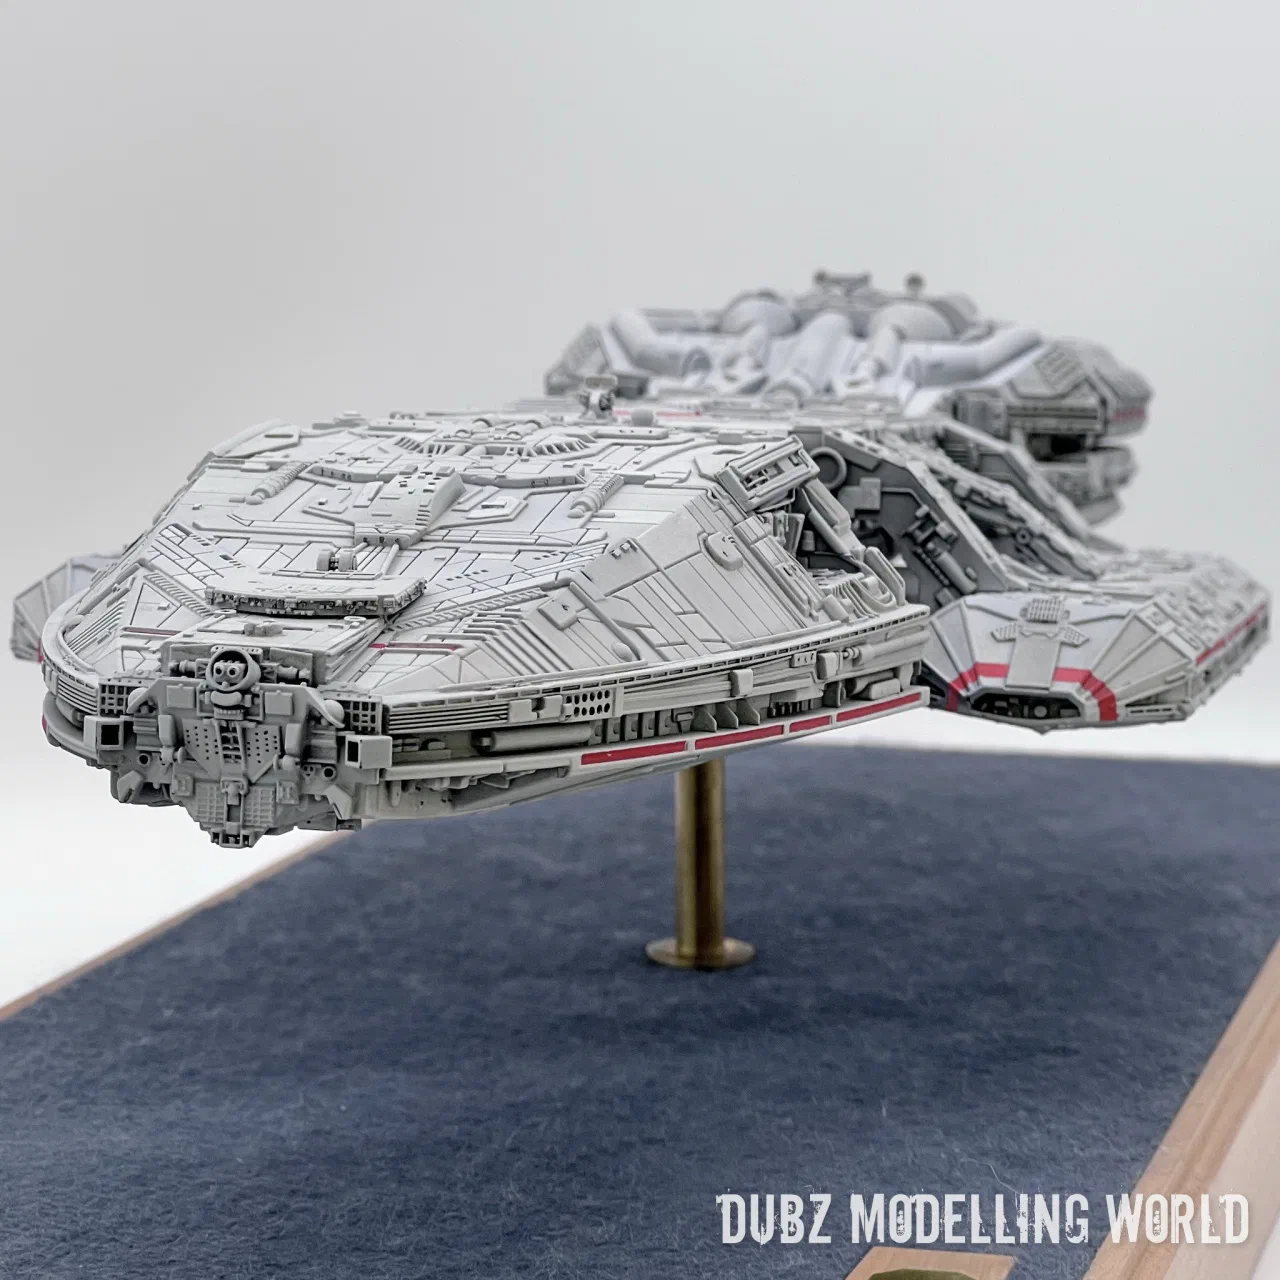
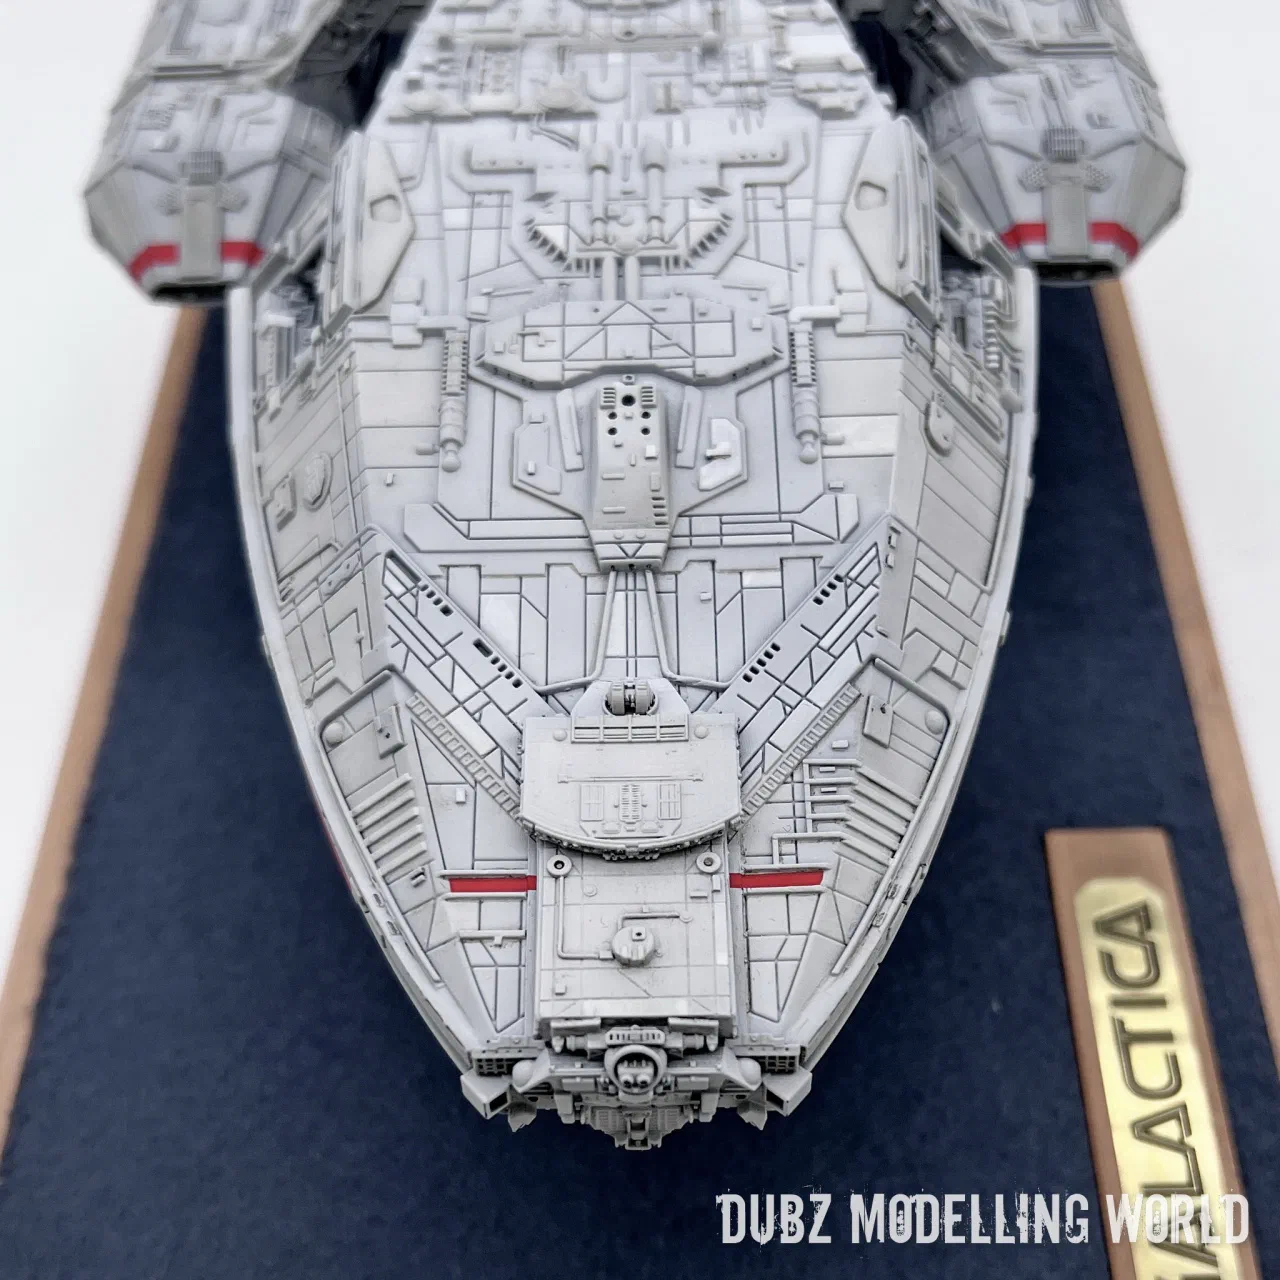
The finished model
Looking back, the Galactica was more than a change of material. It was a crash course in airbrushing, lighting and planning the order of assembly – lessons that are just as useful on the next wooden ship. And she remains a reminder of how much one can learn from stepping outside one’s usual field.
Award
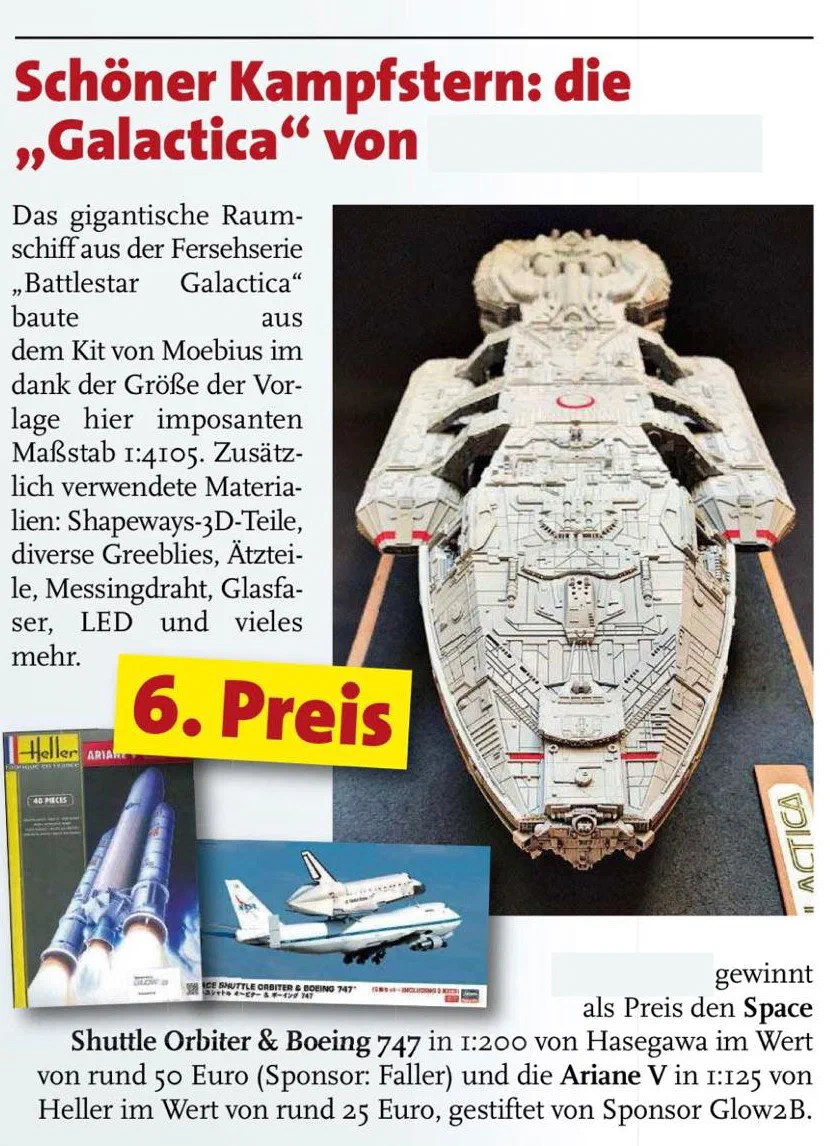
In August 2019 I sent the Galactica to the reader contest “Mein bestes Modell” of the German magazine ModellFan. The winners were published in the December 2019 issue (ModellFan 12/2019), and the Galactica took 6th prize – with a Hasegawa Space Shuttle with Boeing 747 in 1:200 and a Heller Ariane V in 1:125 as prizes. A nice surprise for my first plastic kit in many years.