History
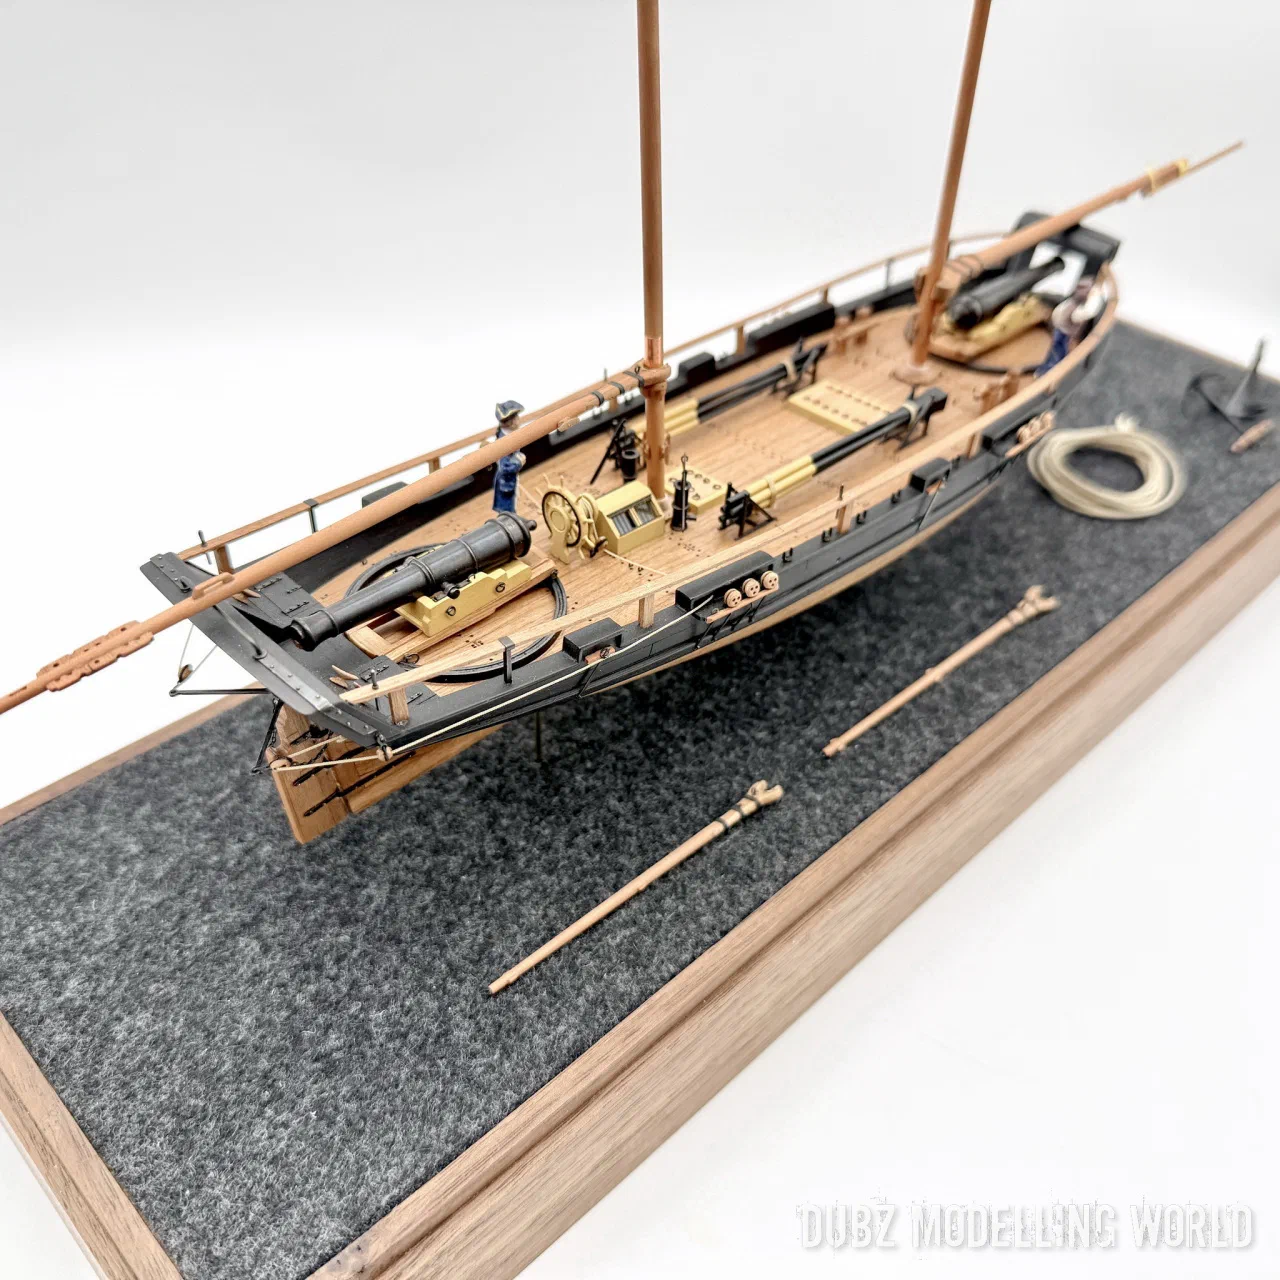
The Axel Thorsen was built in 1810 as a gun schooner for the Royal Danish-Norwegian Navy. According to the kit’s description she was built of pine, measured about 56 Norwegian feet – roughly 19 metres – and displaced 74 tons. Her armament was two 24-pounders on swivel mounts, her crew about 45 men. Schooners of this class were built to counter the British blockade of the Norwegian coast during the Napoleonic Wars; their main task was escorting merchant ships from the White Sea to Norway. In her early years the Axel Thorsen sailed on several convoy missions and was used for harbour defence.
After the wars she served for decades in very different roles – coastal surveying, Arctic scientific expeditions and the harvesting of marine resources. Her story ended in 1872 on an Arctic expedition, when she was trapped by the ice and abandoned in the Tsjesjekaja Bay near Cape Kanin. Her long life reflects the whole range of 19th-century seafaring: wartime defence, sovereignty, exploration and the exploitation of the northern seas.
For the details I worked with Marquardt’s original plans, a card model, photographs of another well-built model and two small black-and-white pictures of Marquardt’s own model – which differs from his plans in a few details. There is a lot of room for interpretation.
The kit
I have a special relationship with small and unusual ships, and I wanted something “simple” for in between, without having to think too much. The Axel Thorsen from Modelship Dockyard had been waiting in my stash: a small kit with a 3D-printed hull, about 40 cm long. The finished hull promised an easy build. Spoiler: the plan did not work out at all.
At first sight the kit makes a good impression. I prefer pear, but cherry is a good wood too. Turned brass gun barrels, high-quality blocks, photo-etched parts and some 3D-printed resin parts complete the box. A 1:1 side view is the only plan; the instructions can be downloaded.
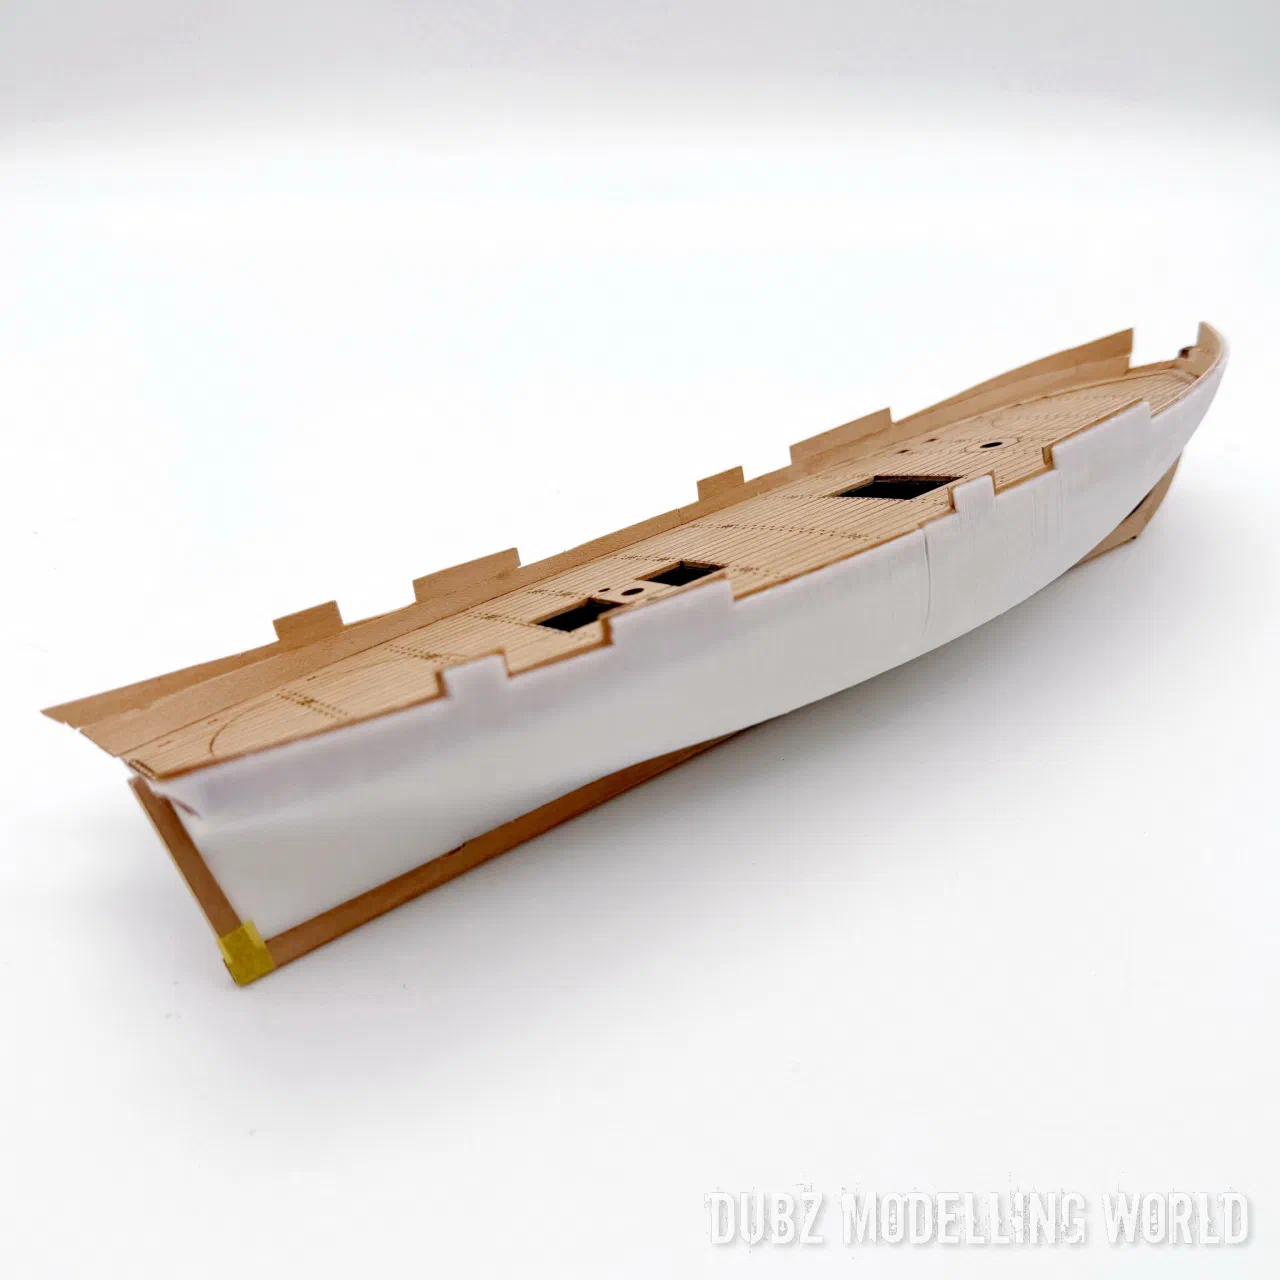
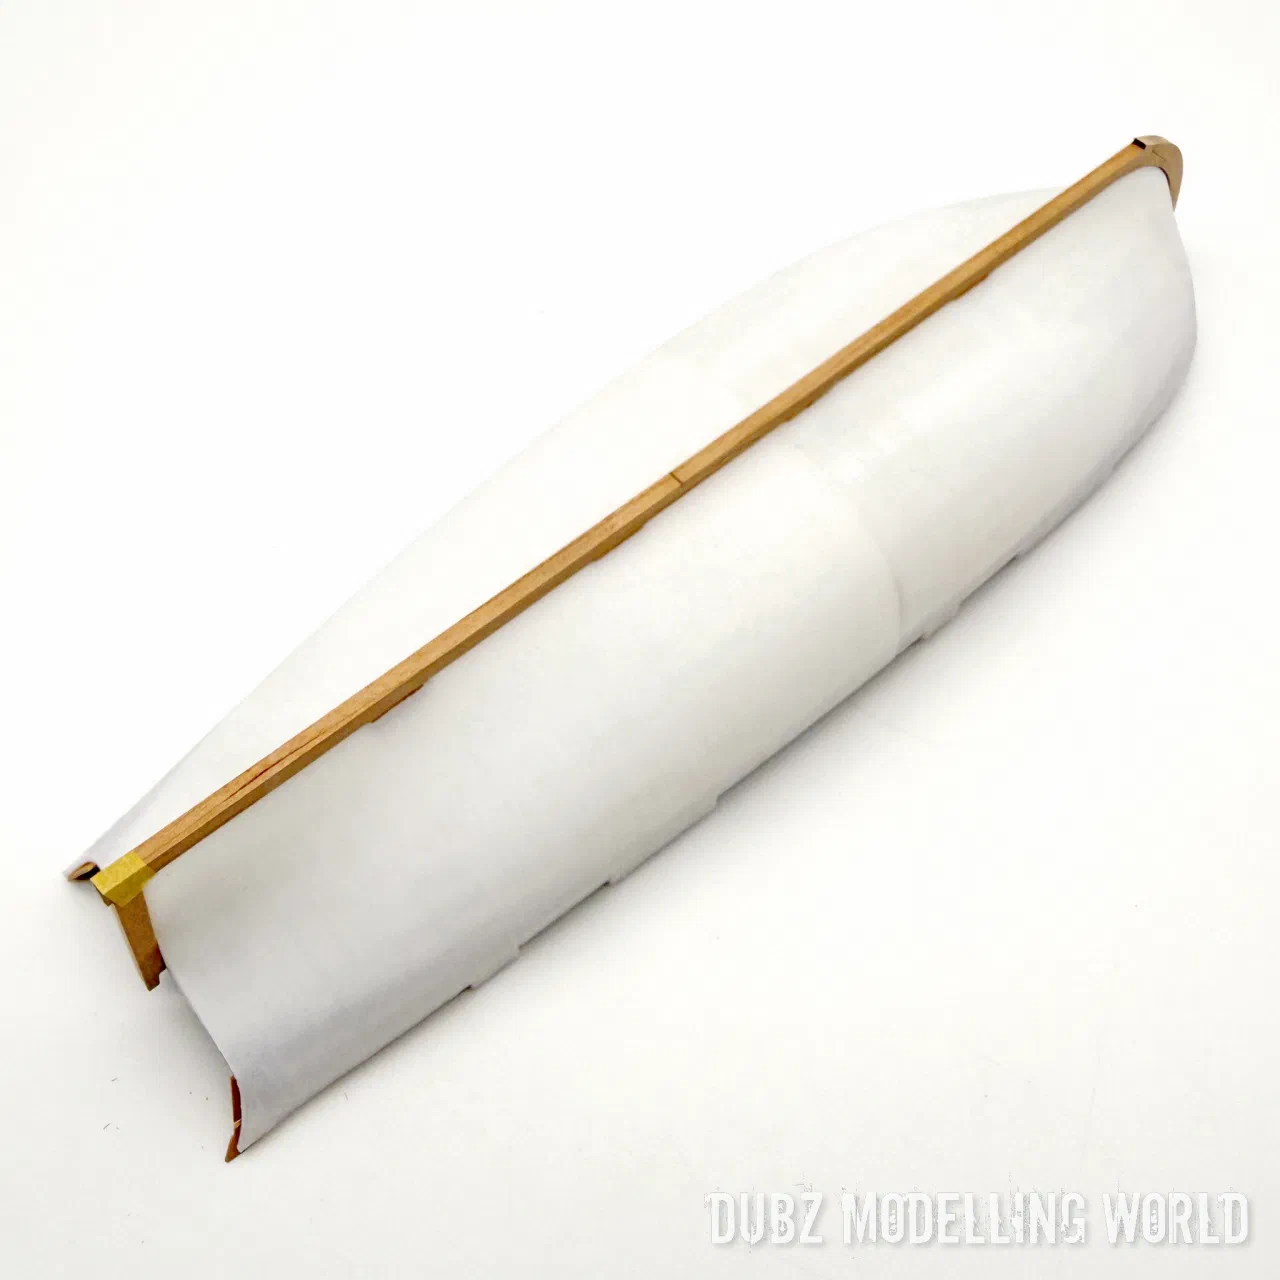
The instructions leave many steps open, so from the very beginning this was a build of measuring, fitting and improvising. The inner planking, for example, is meant to be 1 mm cherry veneer – far too thick for the tight bends of these short parts. I made it from 0.5 mm pear veneer instead. The waterway also had to be adapted laboriously to the shape of the printed hull, and the false keel had to be added without a part number.
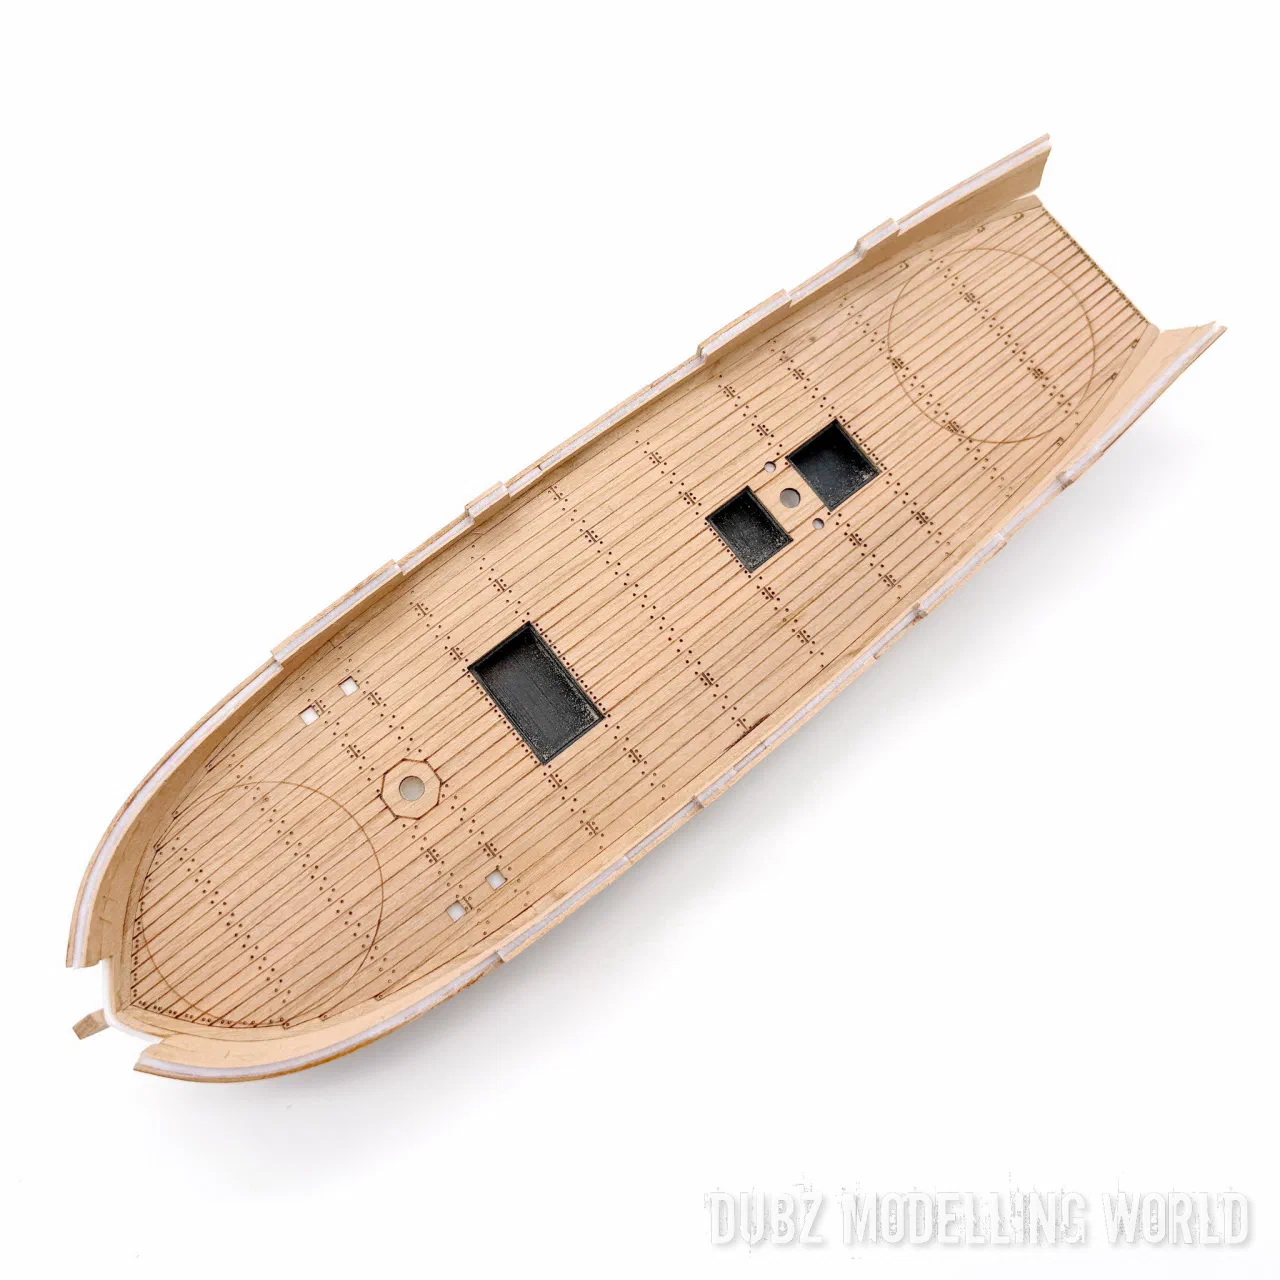
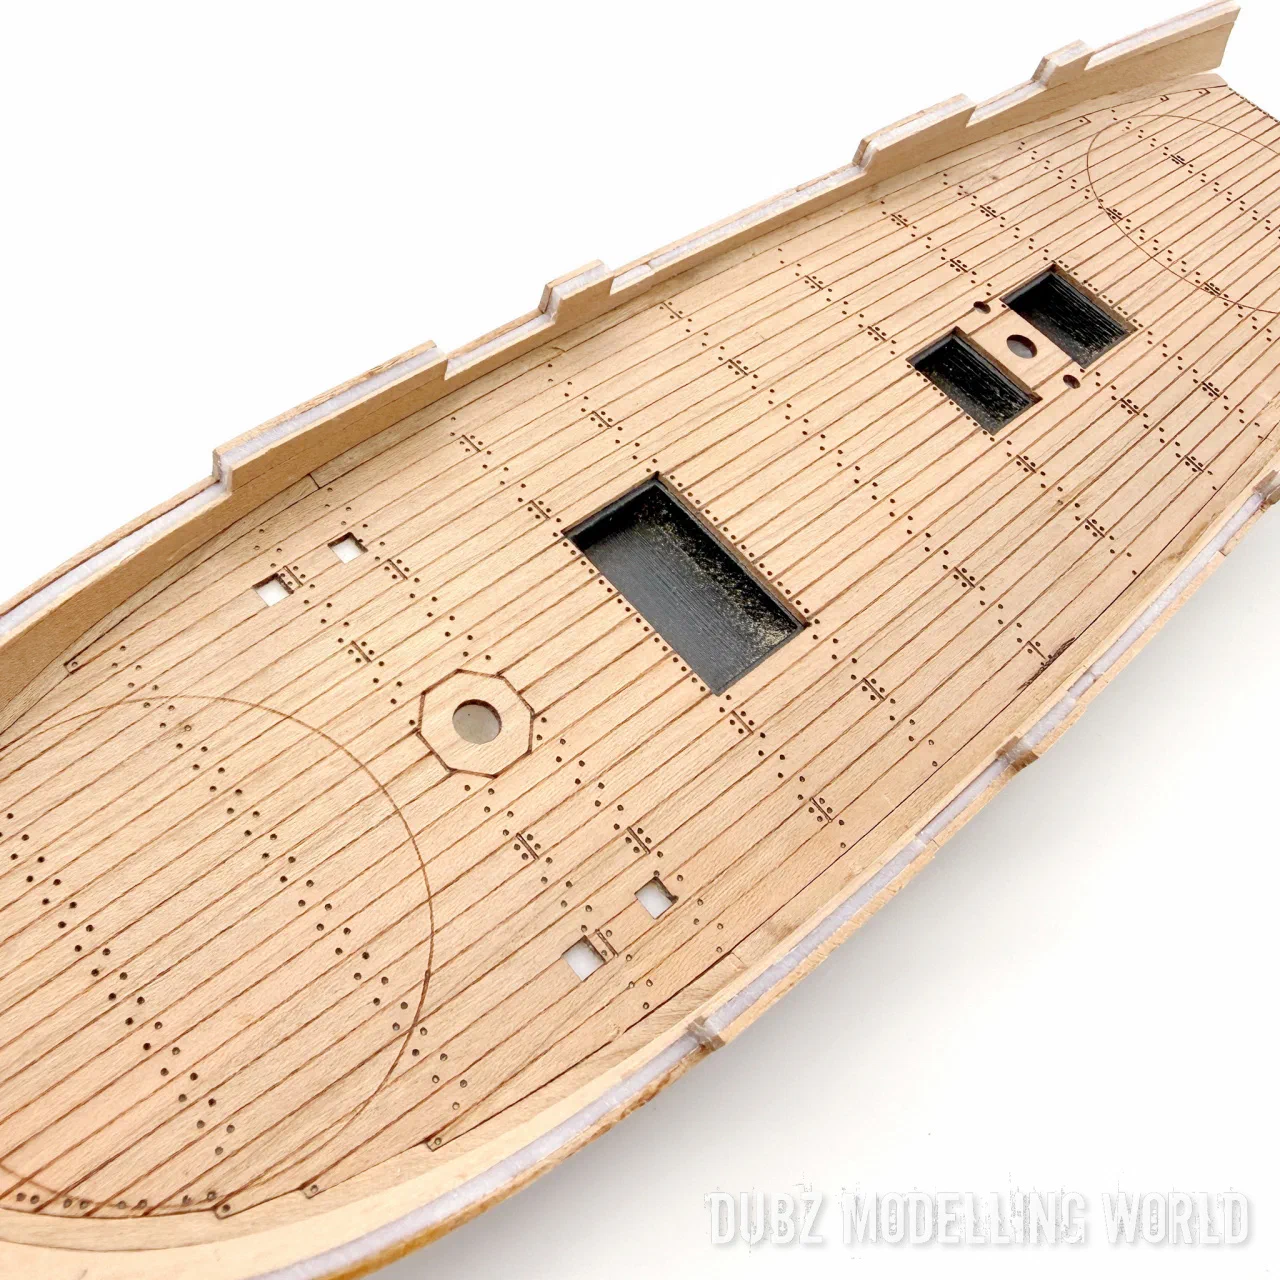
Planking, wales and rails
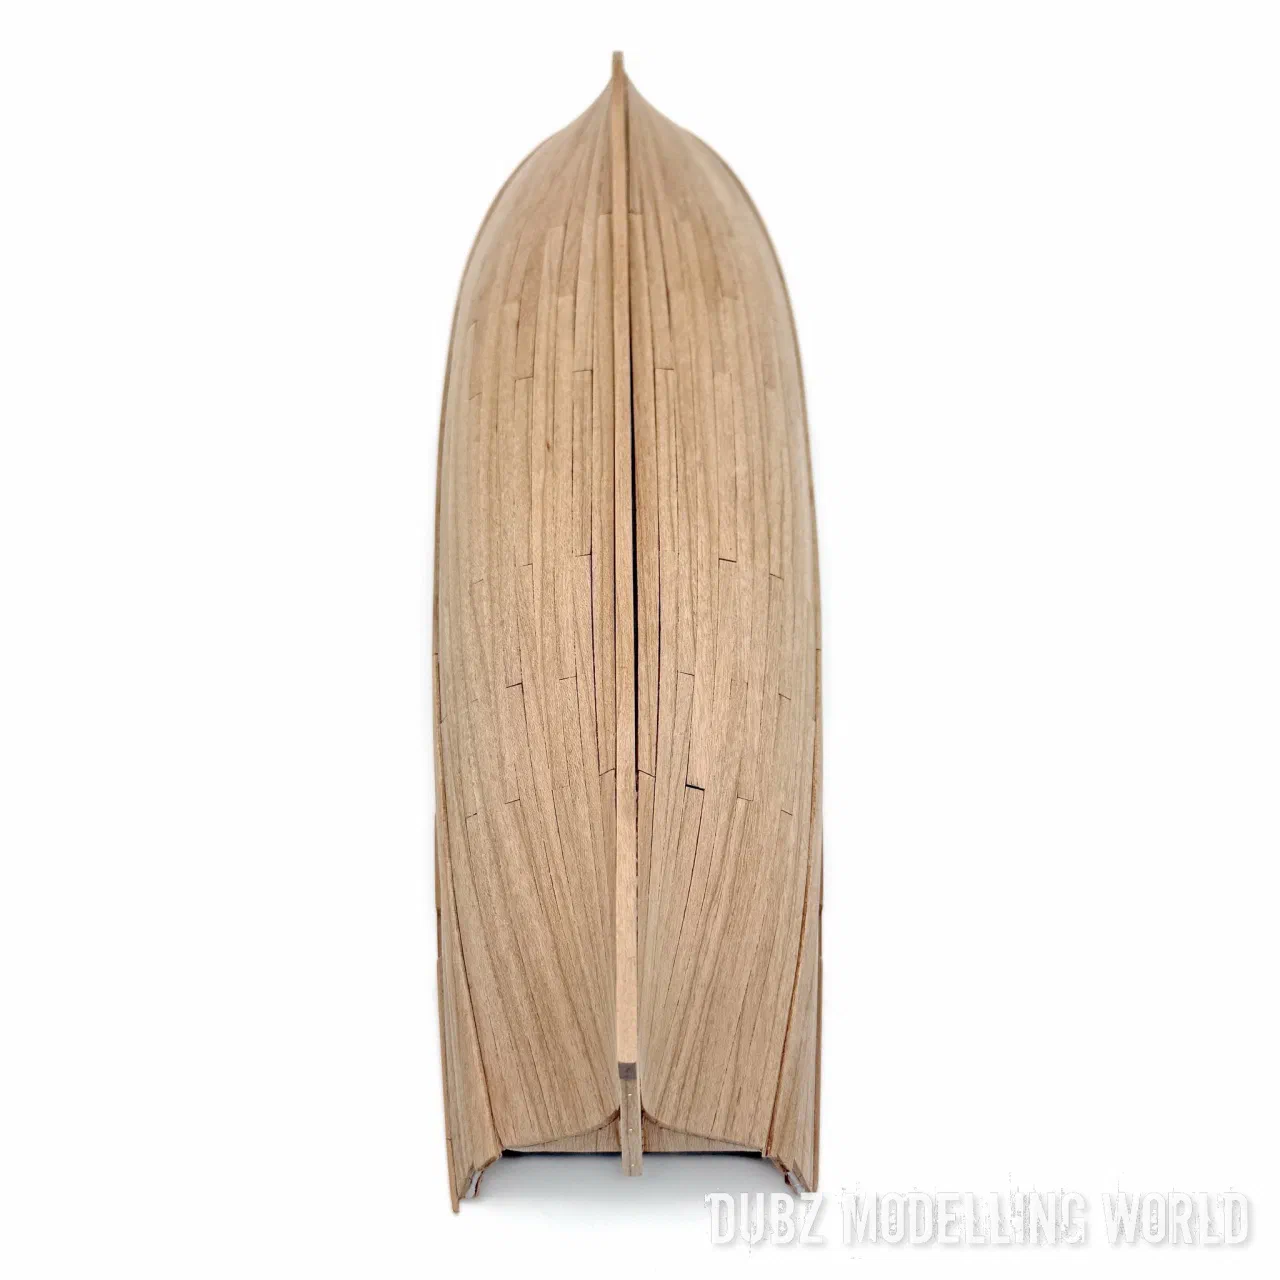
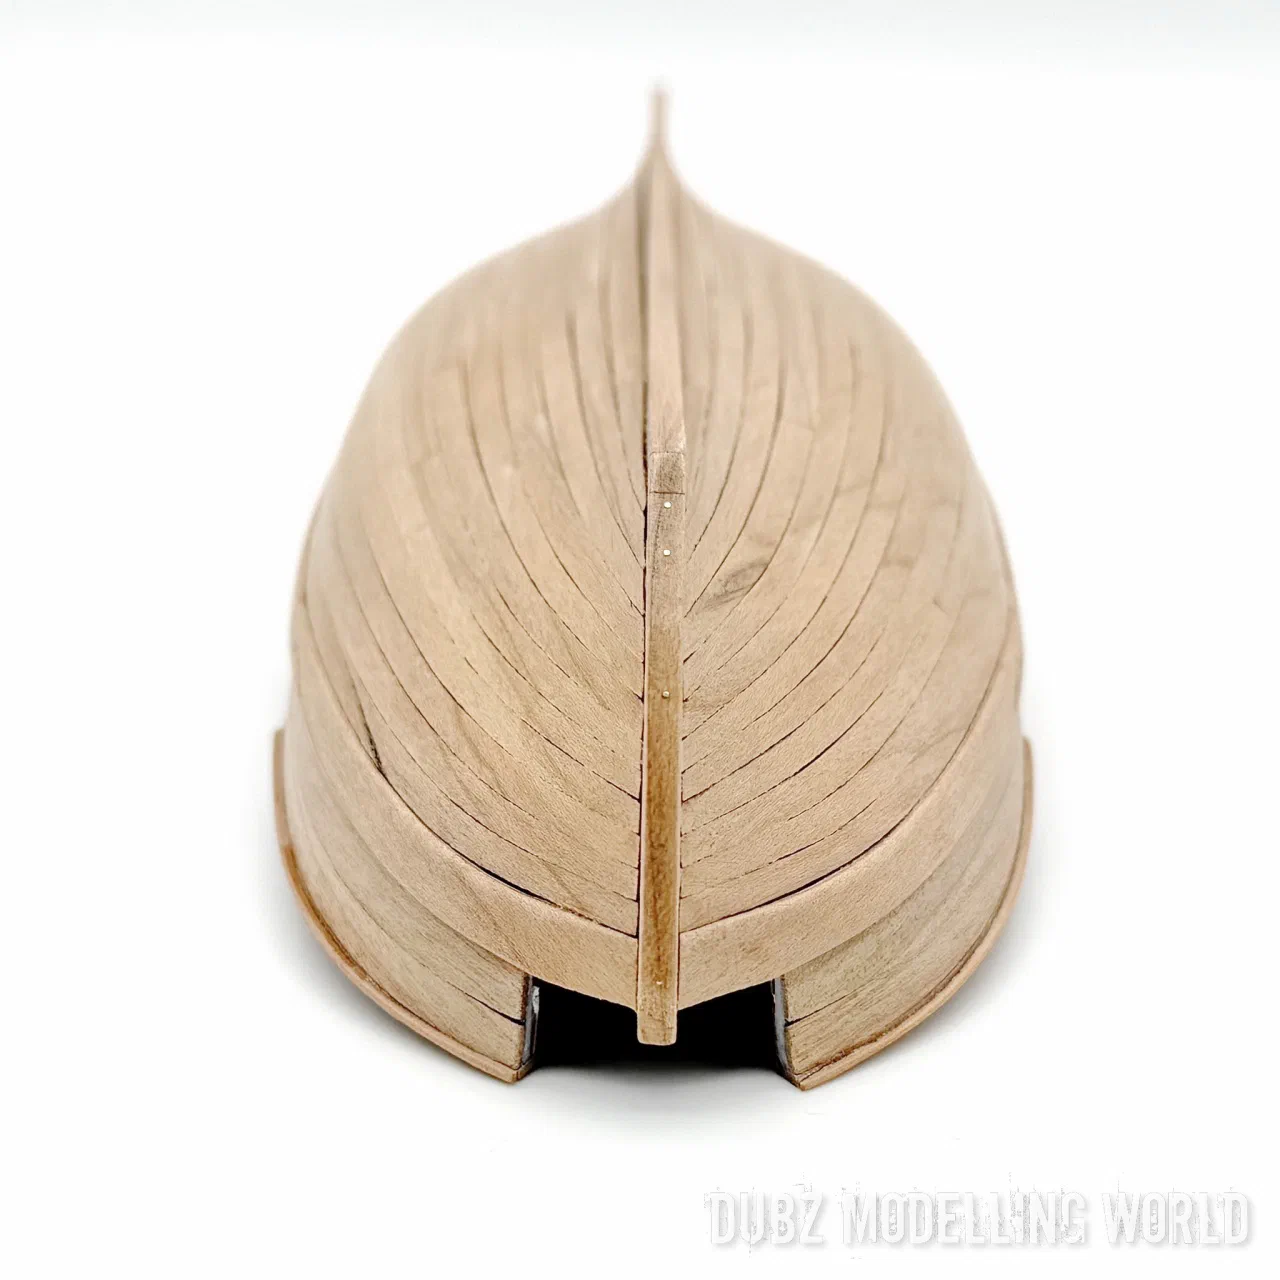
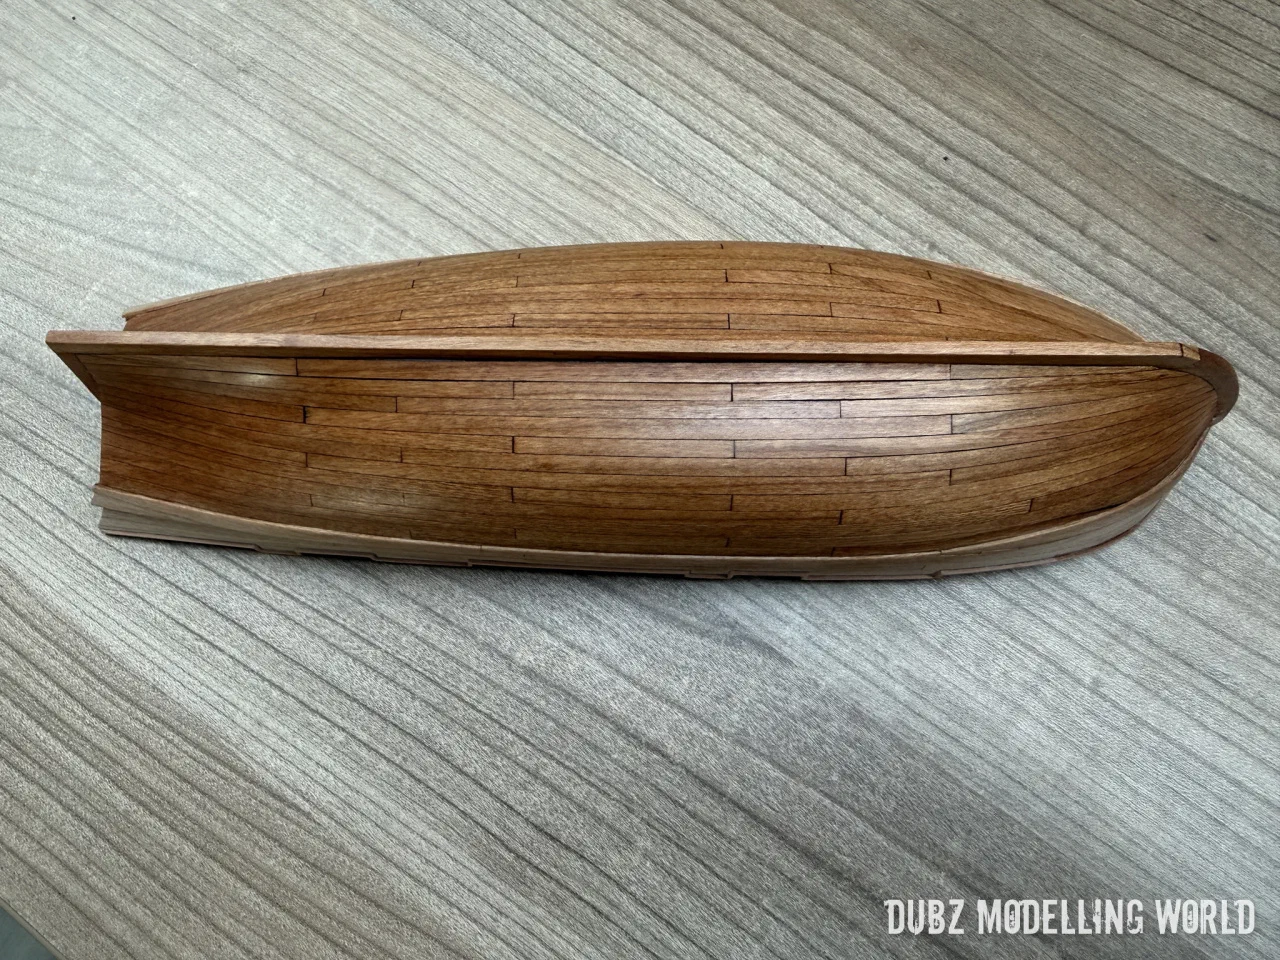
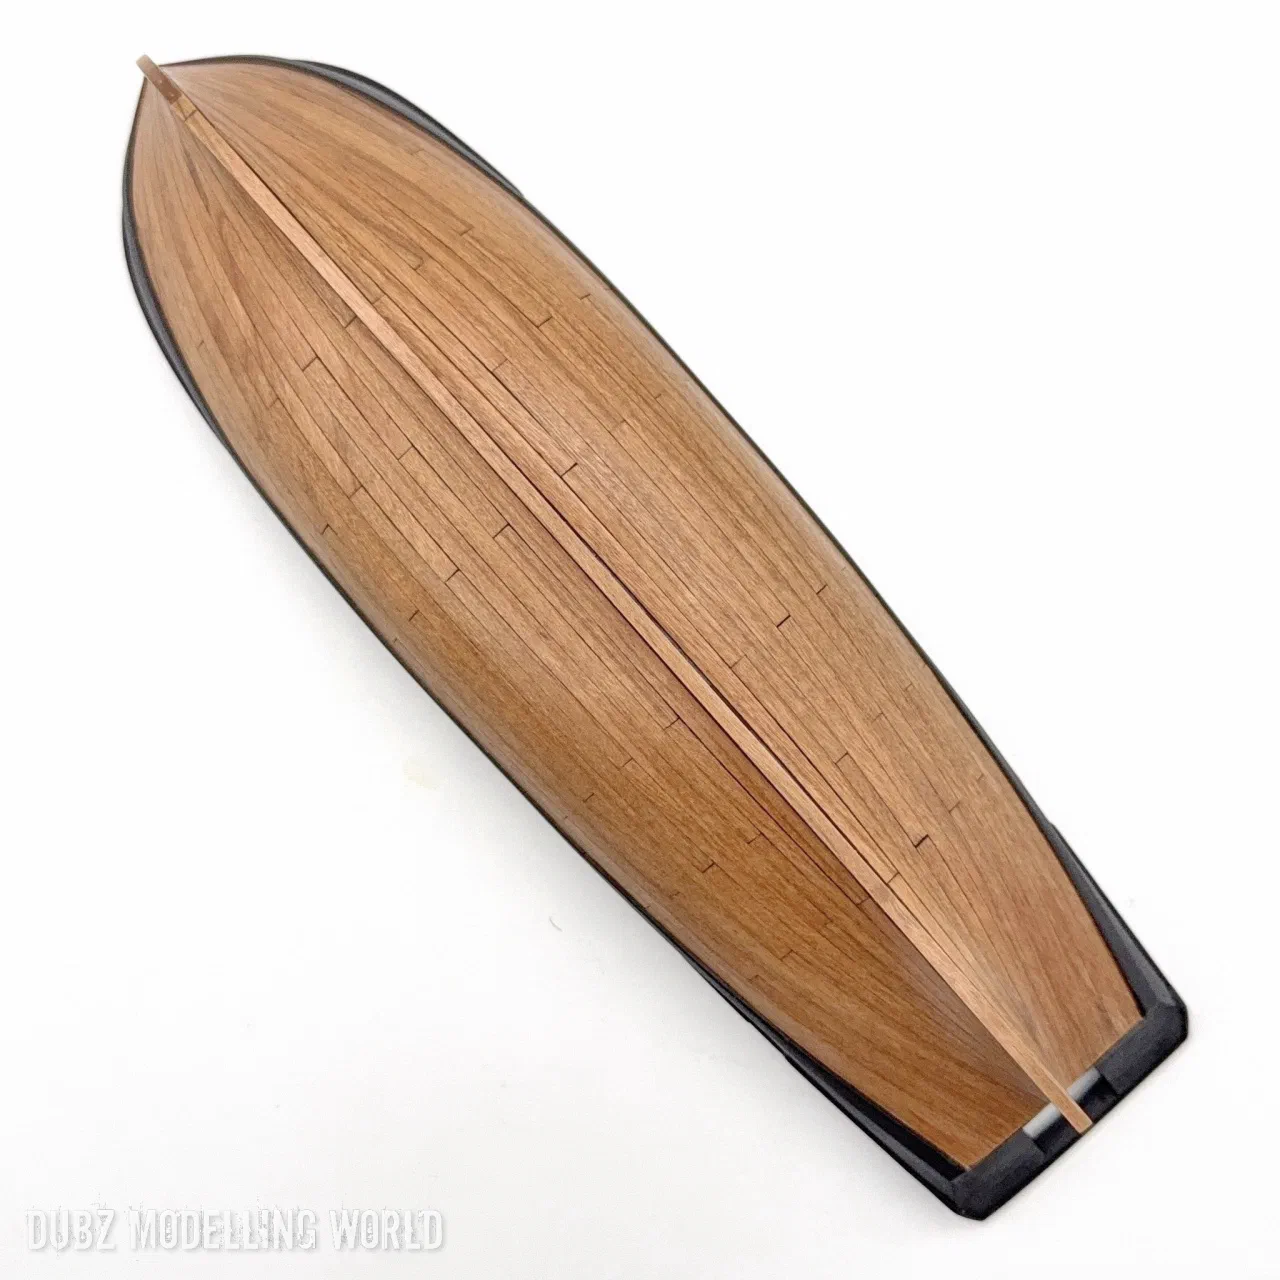
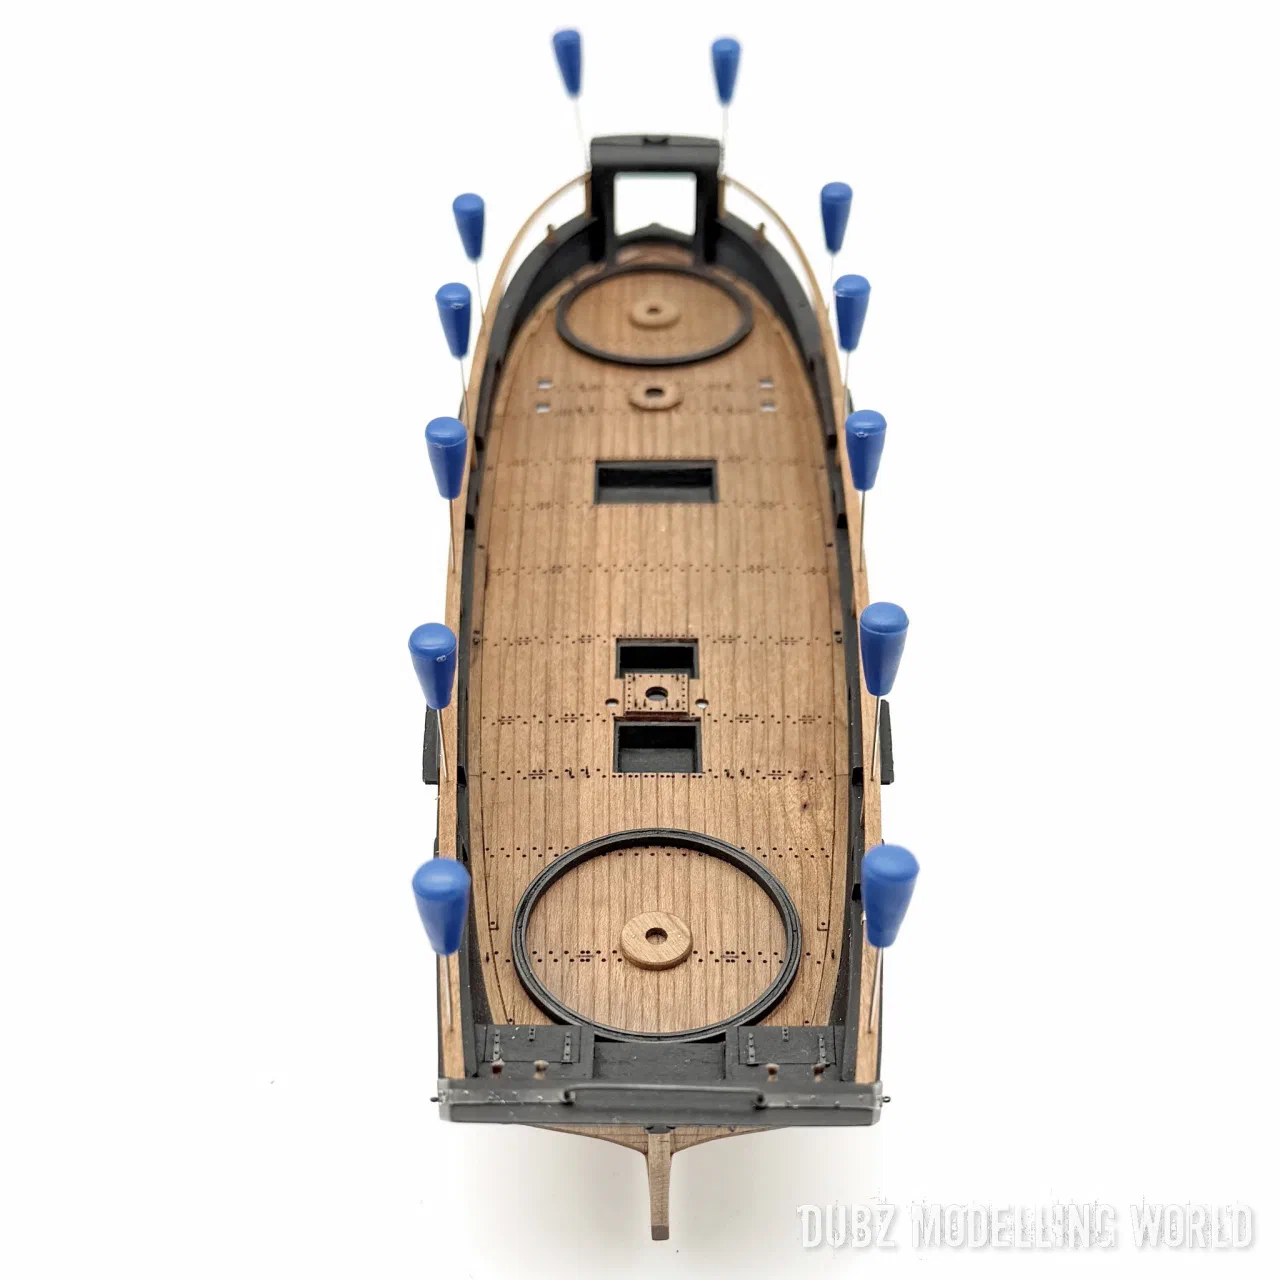
Then the outer hull was planked. The top of the first plank has to be flush with the top edges of the hull sides – and the planks must not be cut flush at the stern, because the stern parts still have to go on. Building the stern first would have been the better order. You will learn that I like filler.
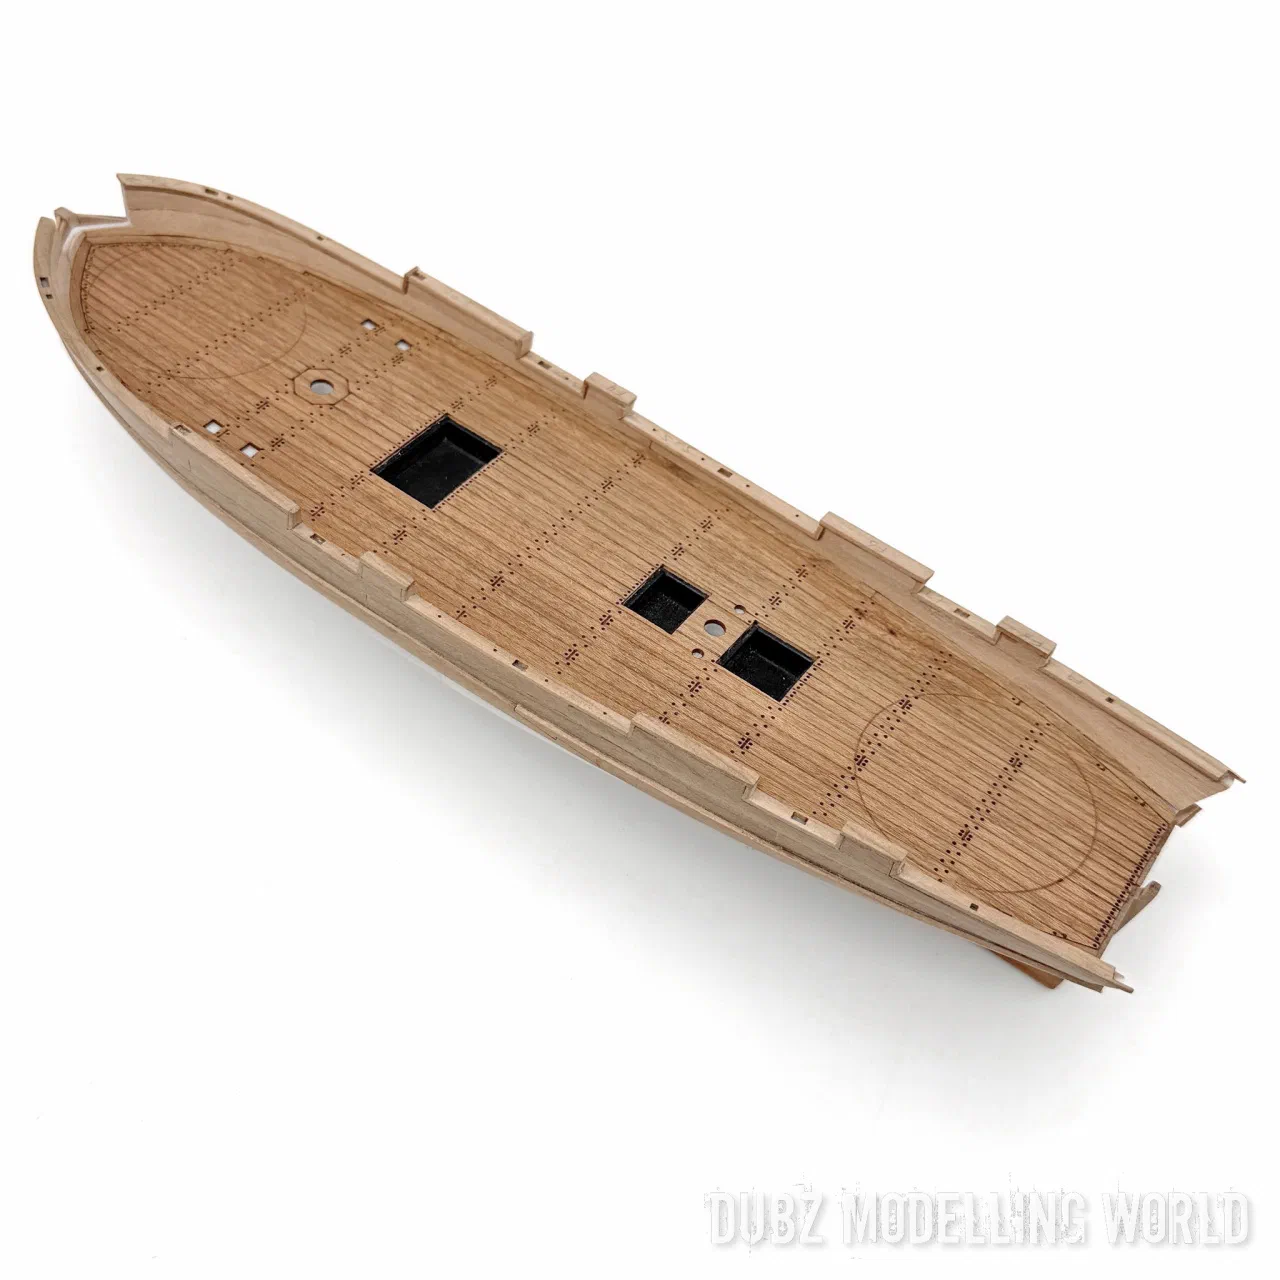
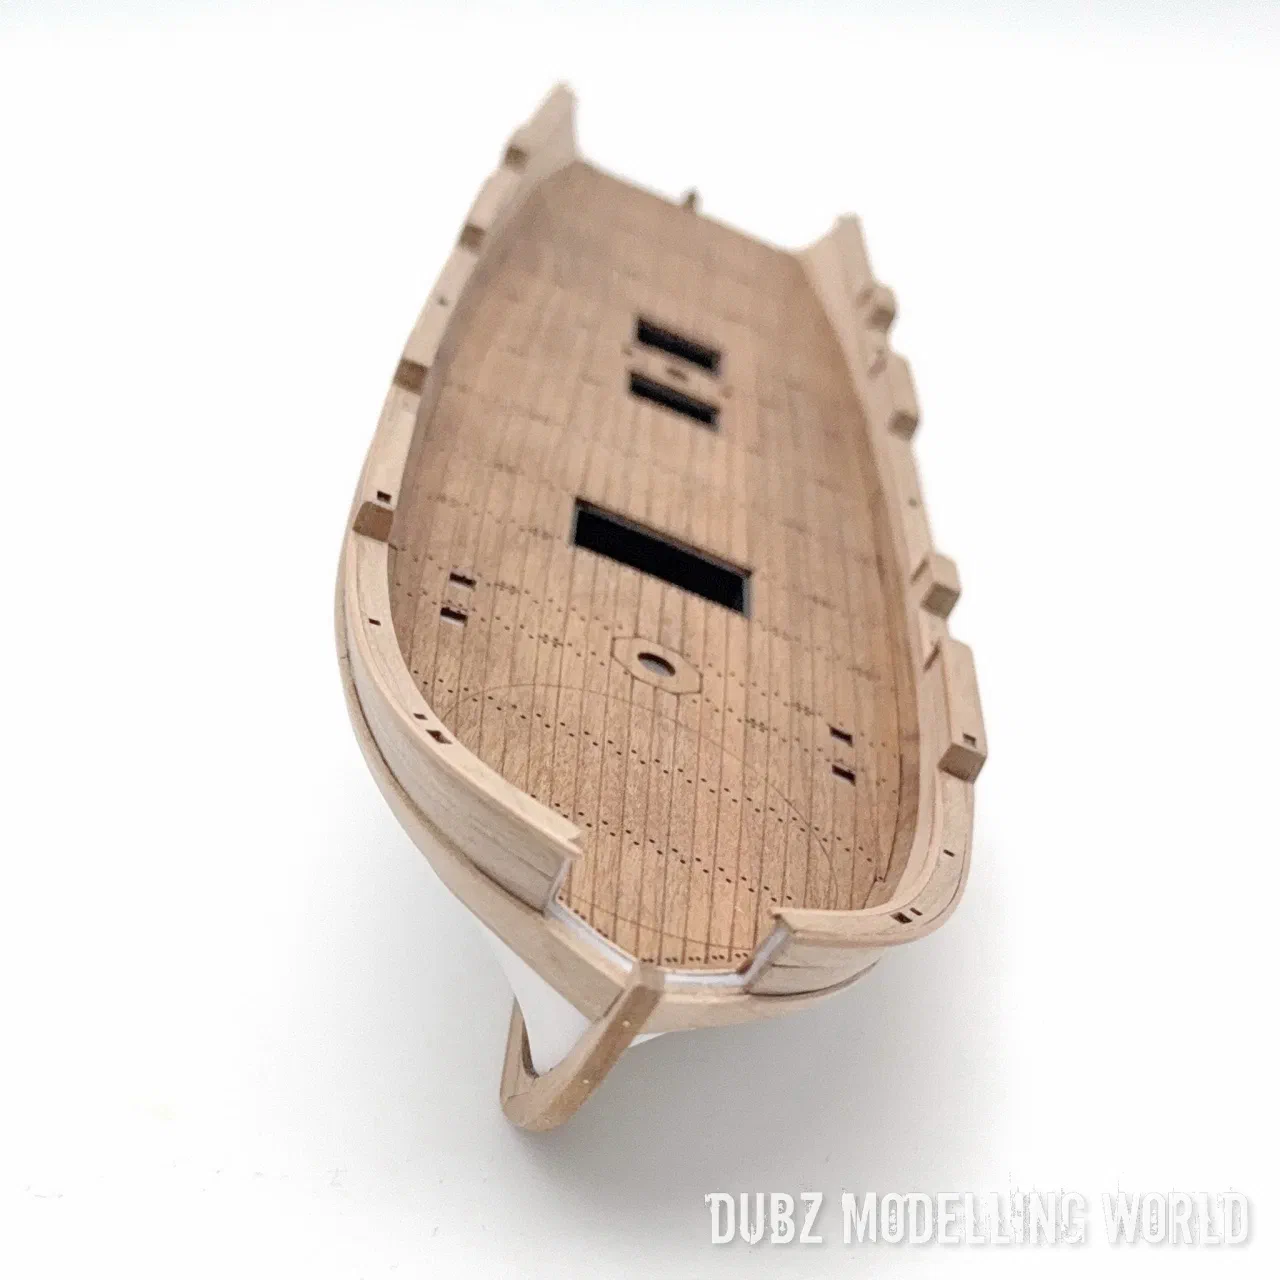
The last plank could have been a little wider; because I remove the laser char from every part, a small gap remained at the keel. Some sanding at the bow was needed too.
Oil and the first colour
The hull was oiled and lightly polished with Ballenmattierung – I always like to do this early, because it protects the wood from sticky fingers.
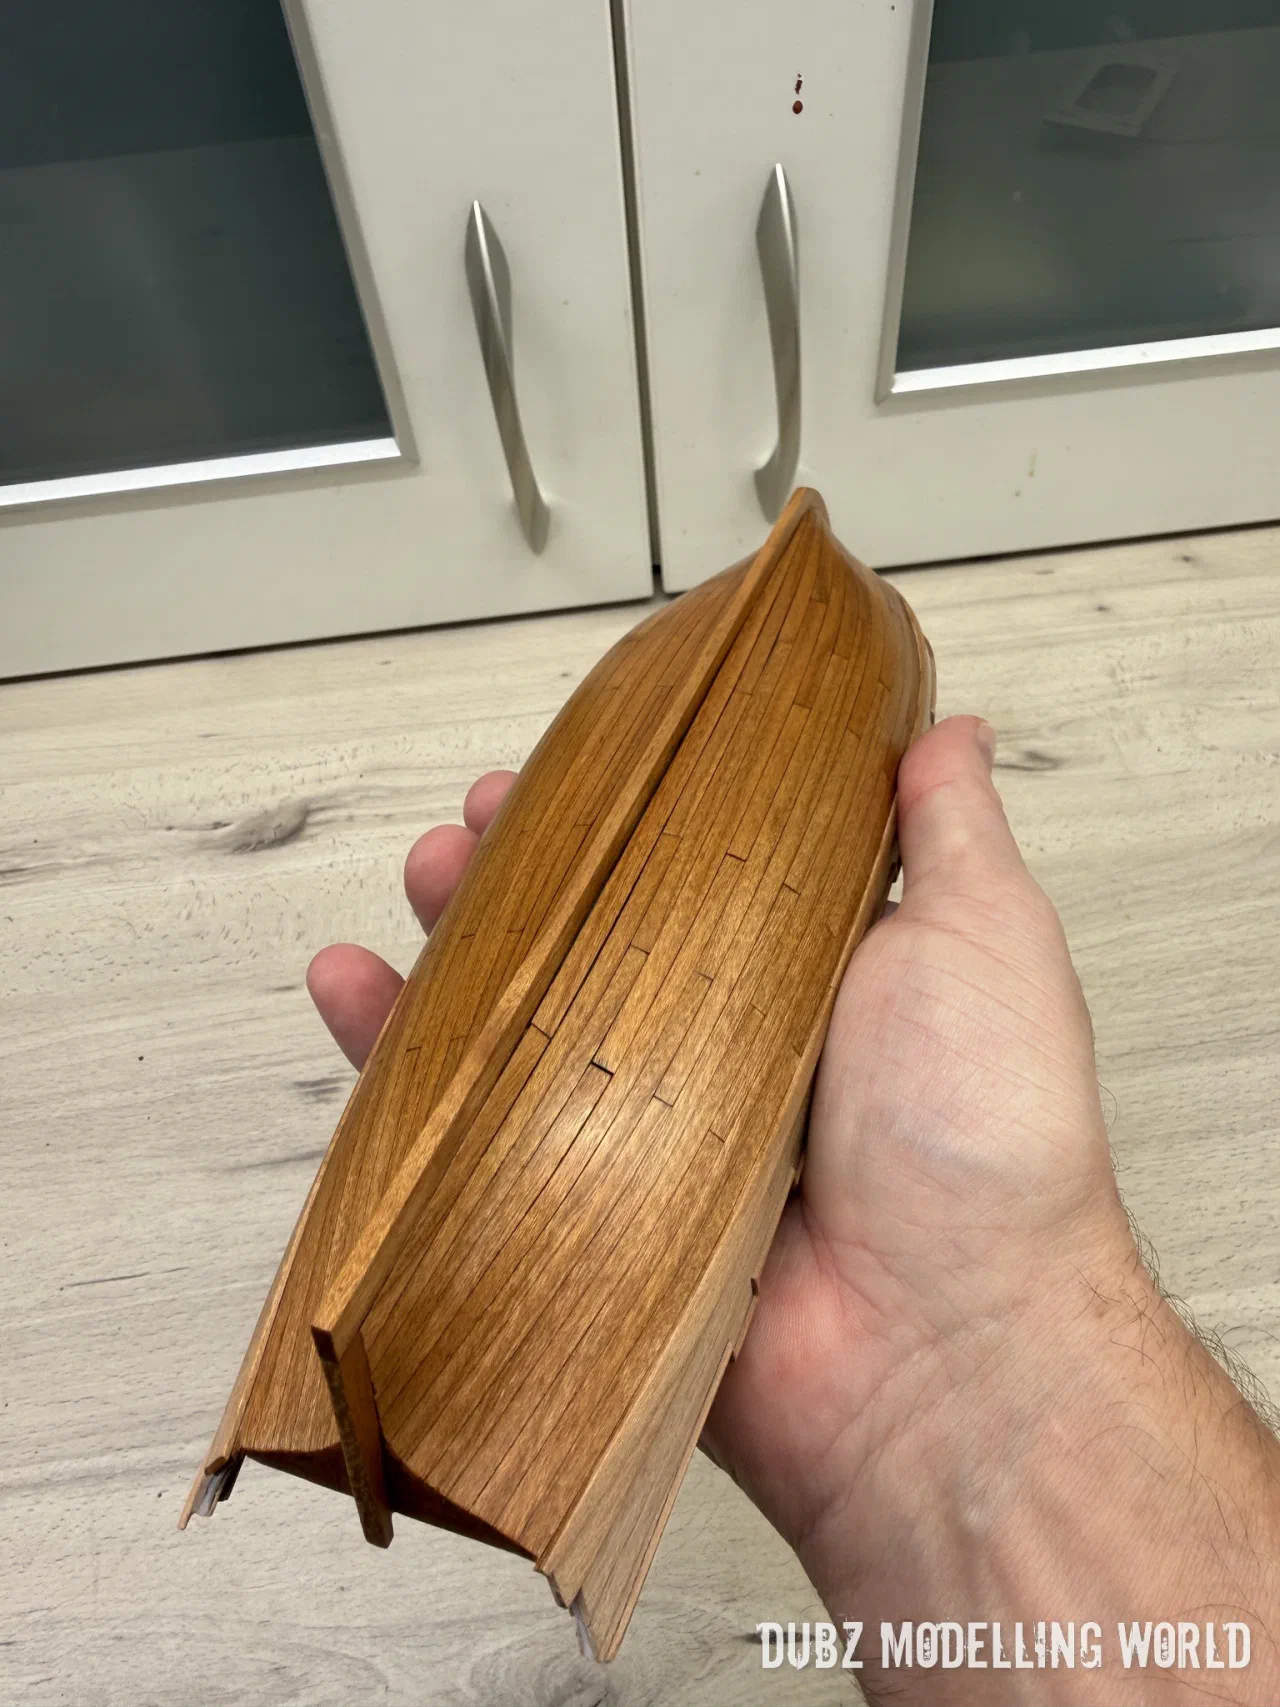
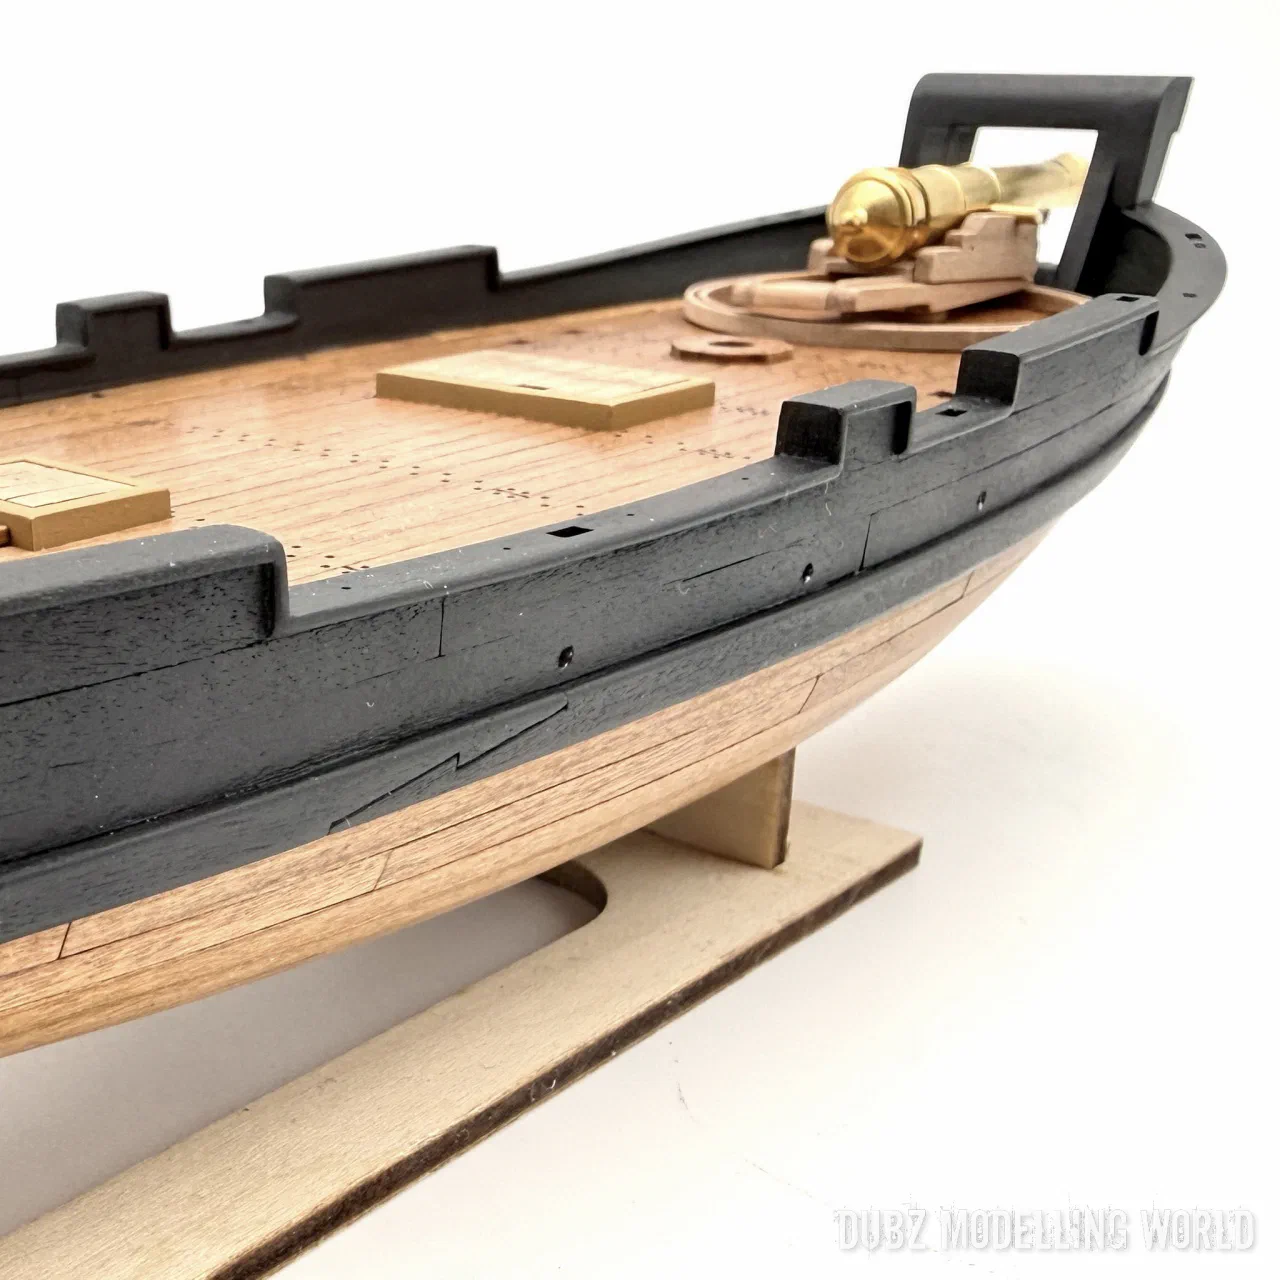
After that came the first airbrush session. Everything from the wales upwards is black; the original may well have been black all over, but I did not want to hide the beautiful cherry hull. The inside is black too – not least because a lot of filler was needed at bow and stern.
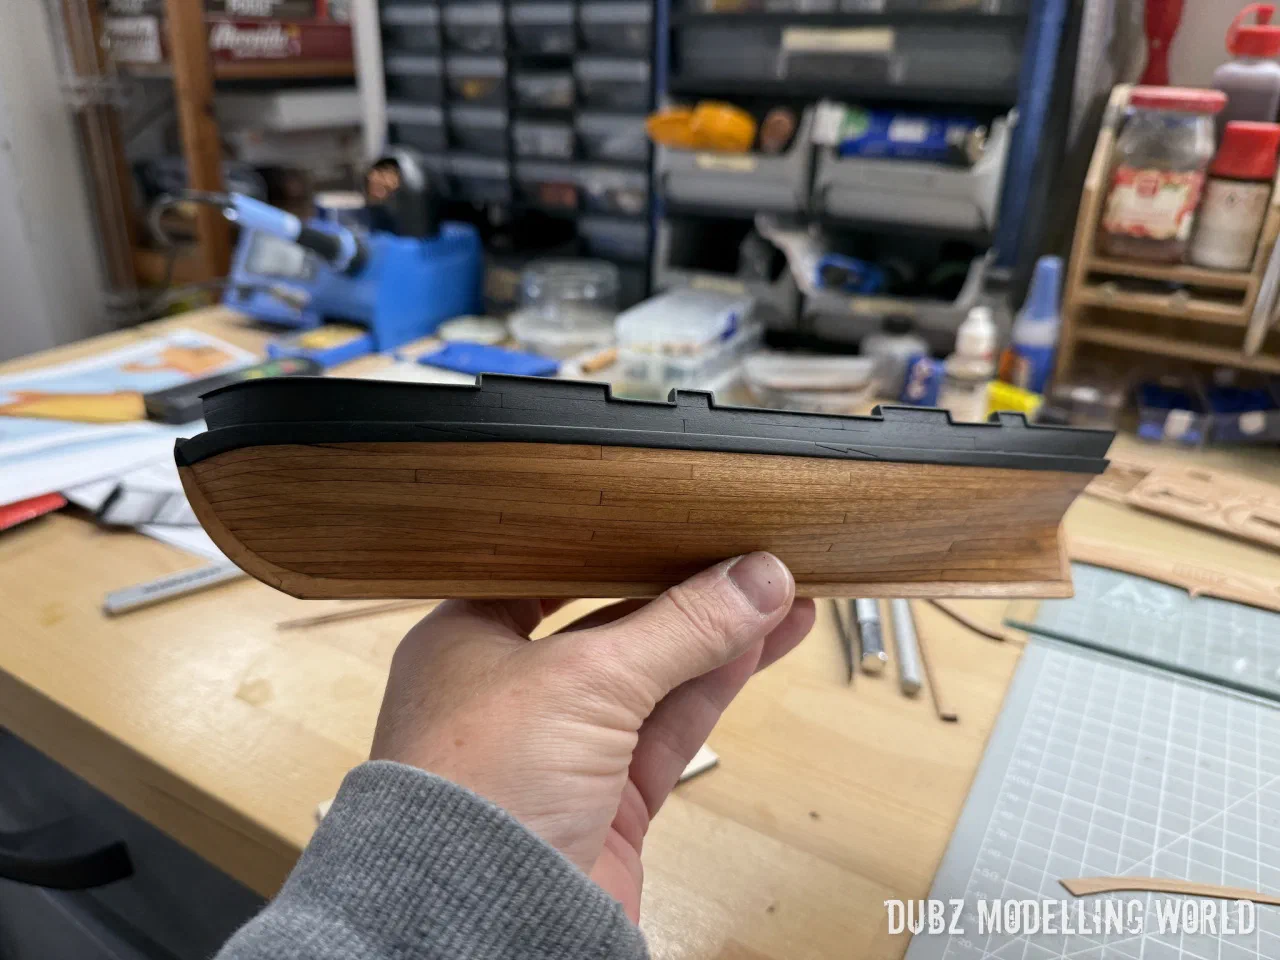
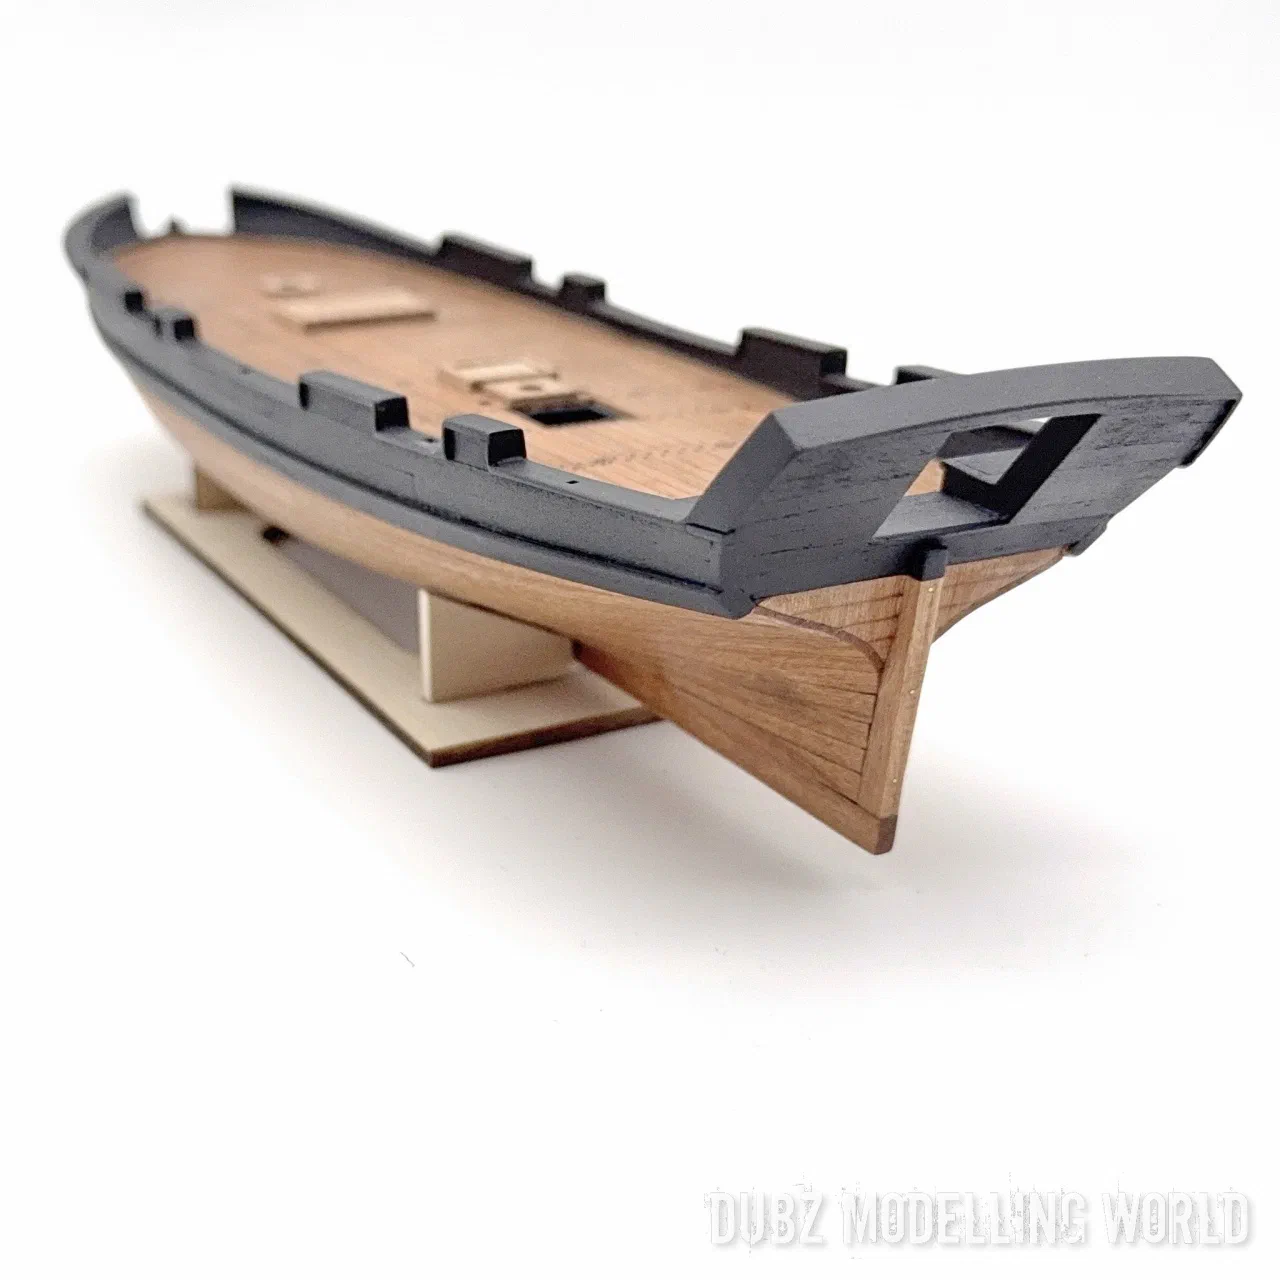
The stern parts in the kit look quite different from the laser-cut ones and needed a lot of sanding, filler and adjusting – and the shortened planks had to be fixed as well.
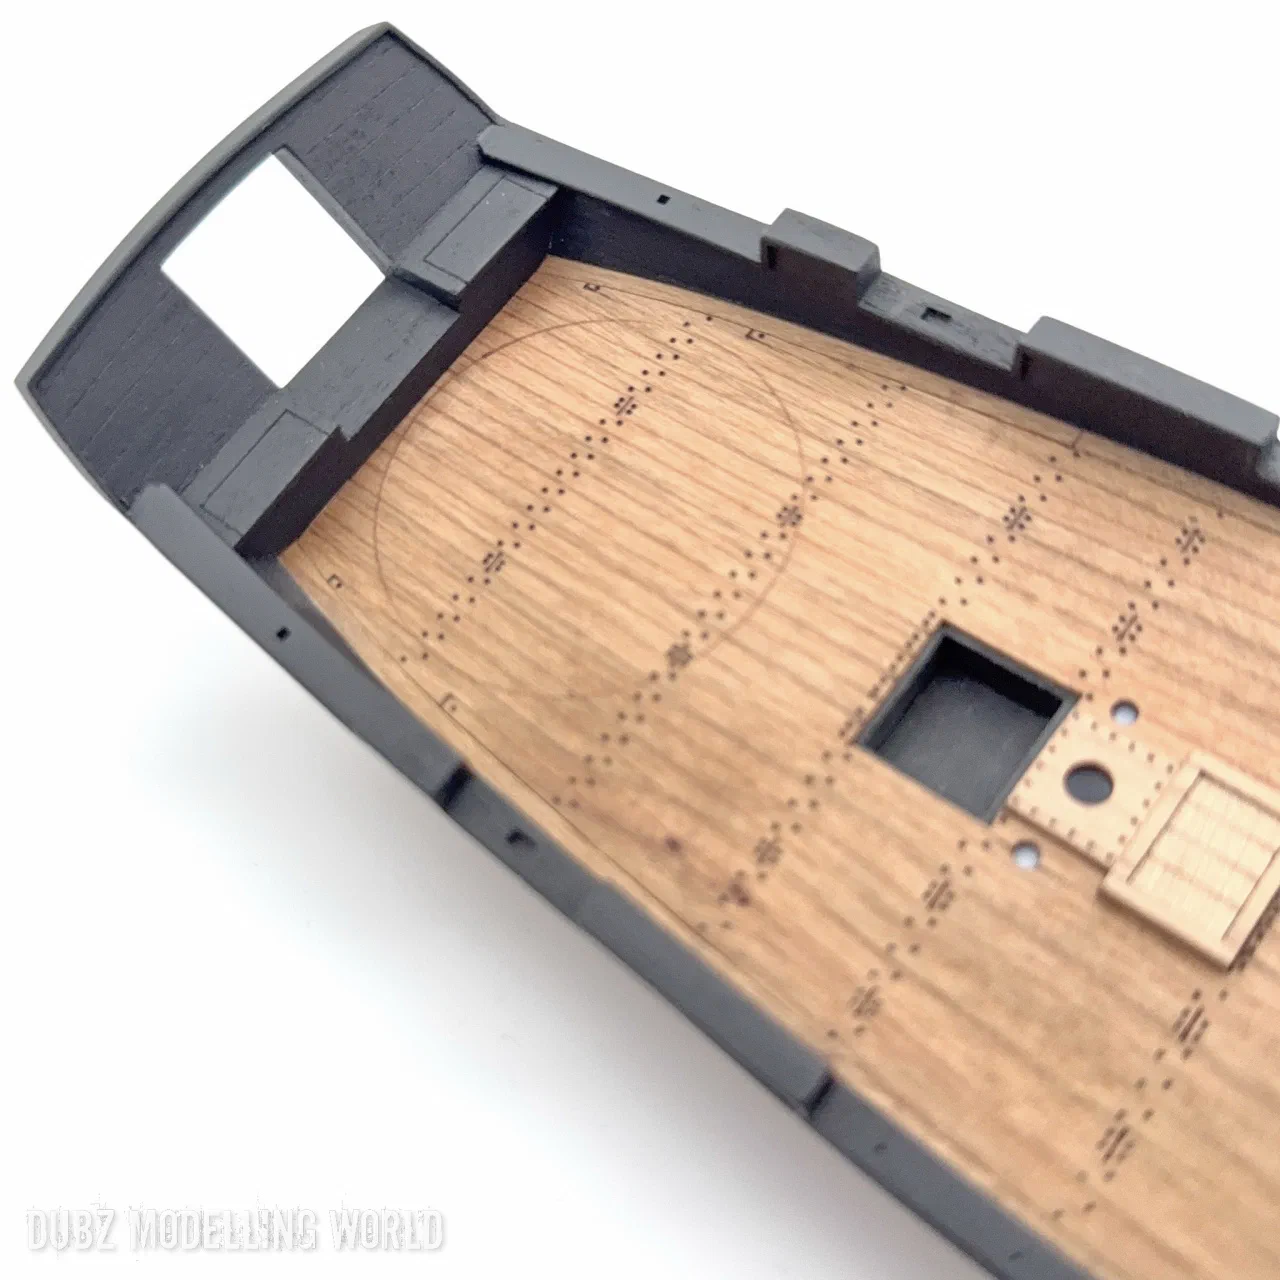
The stern structure
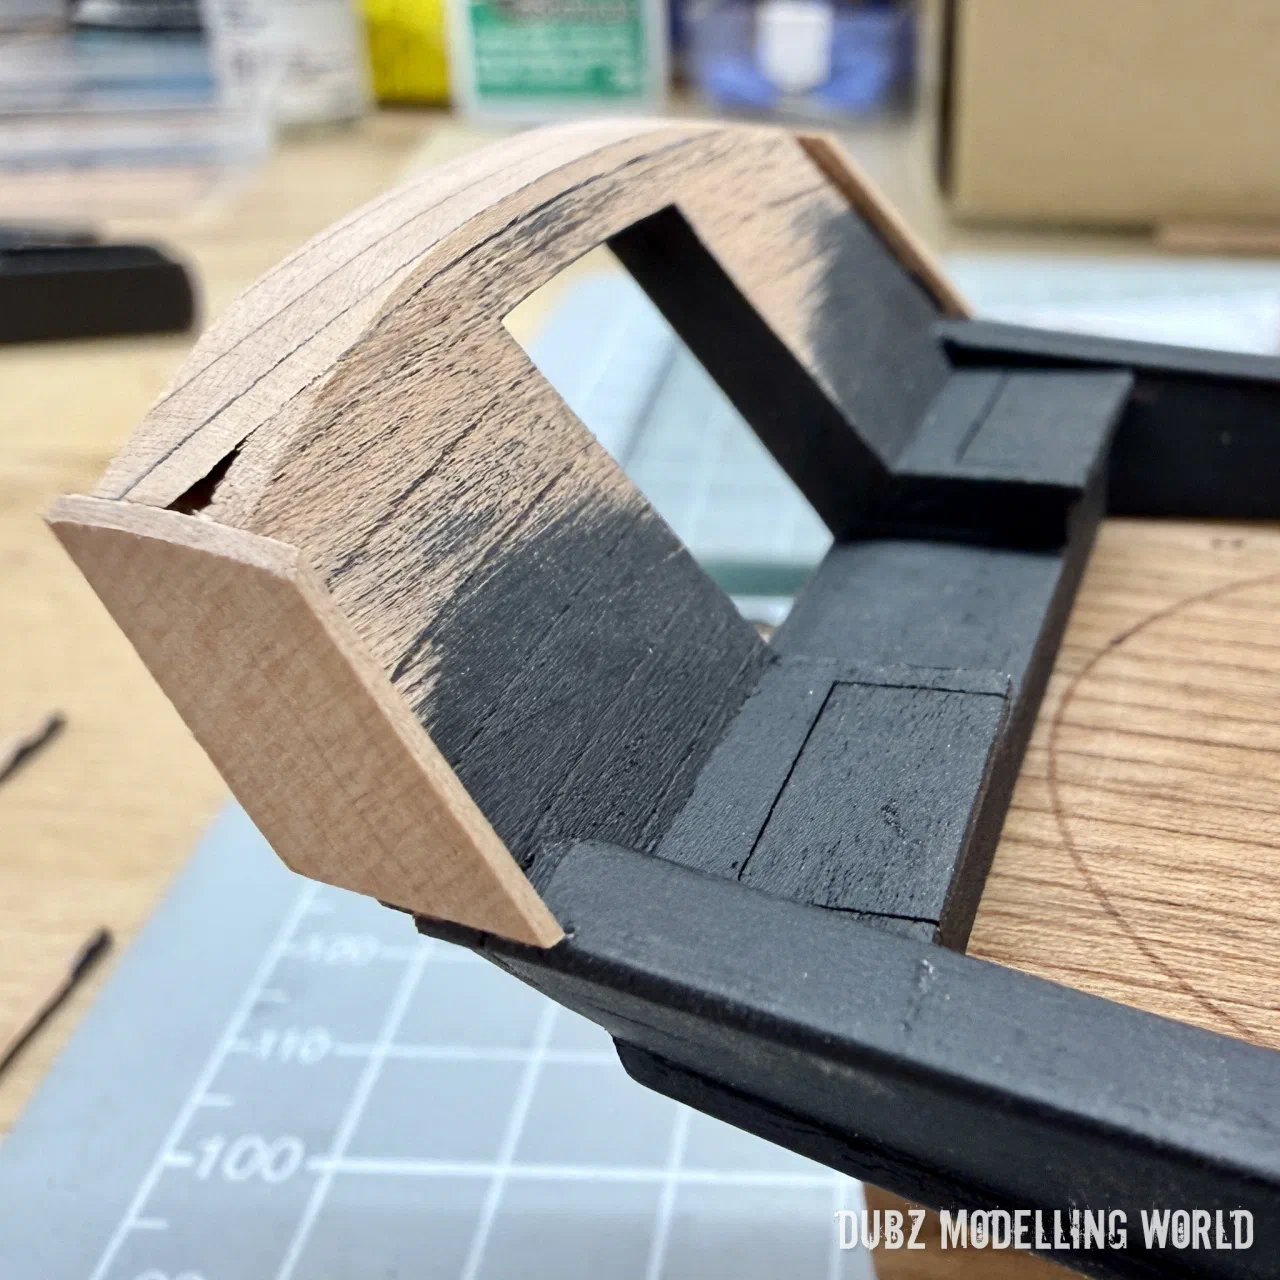
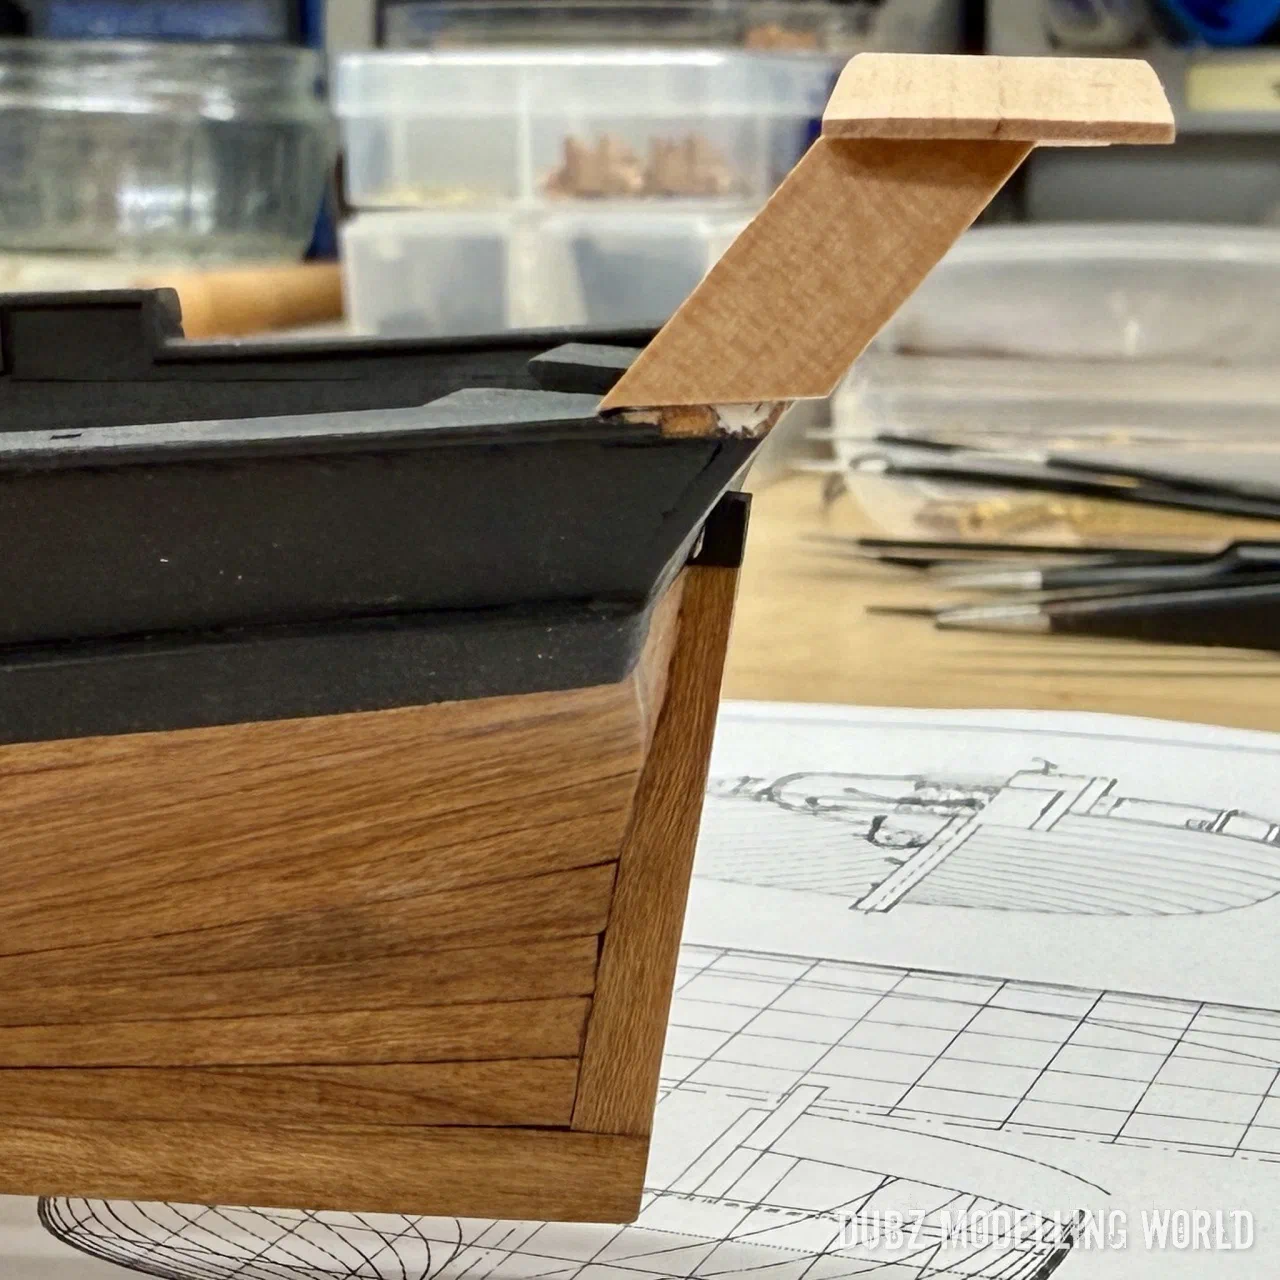
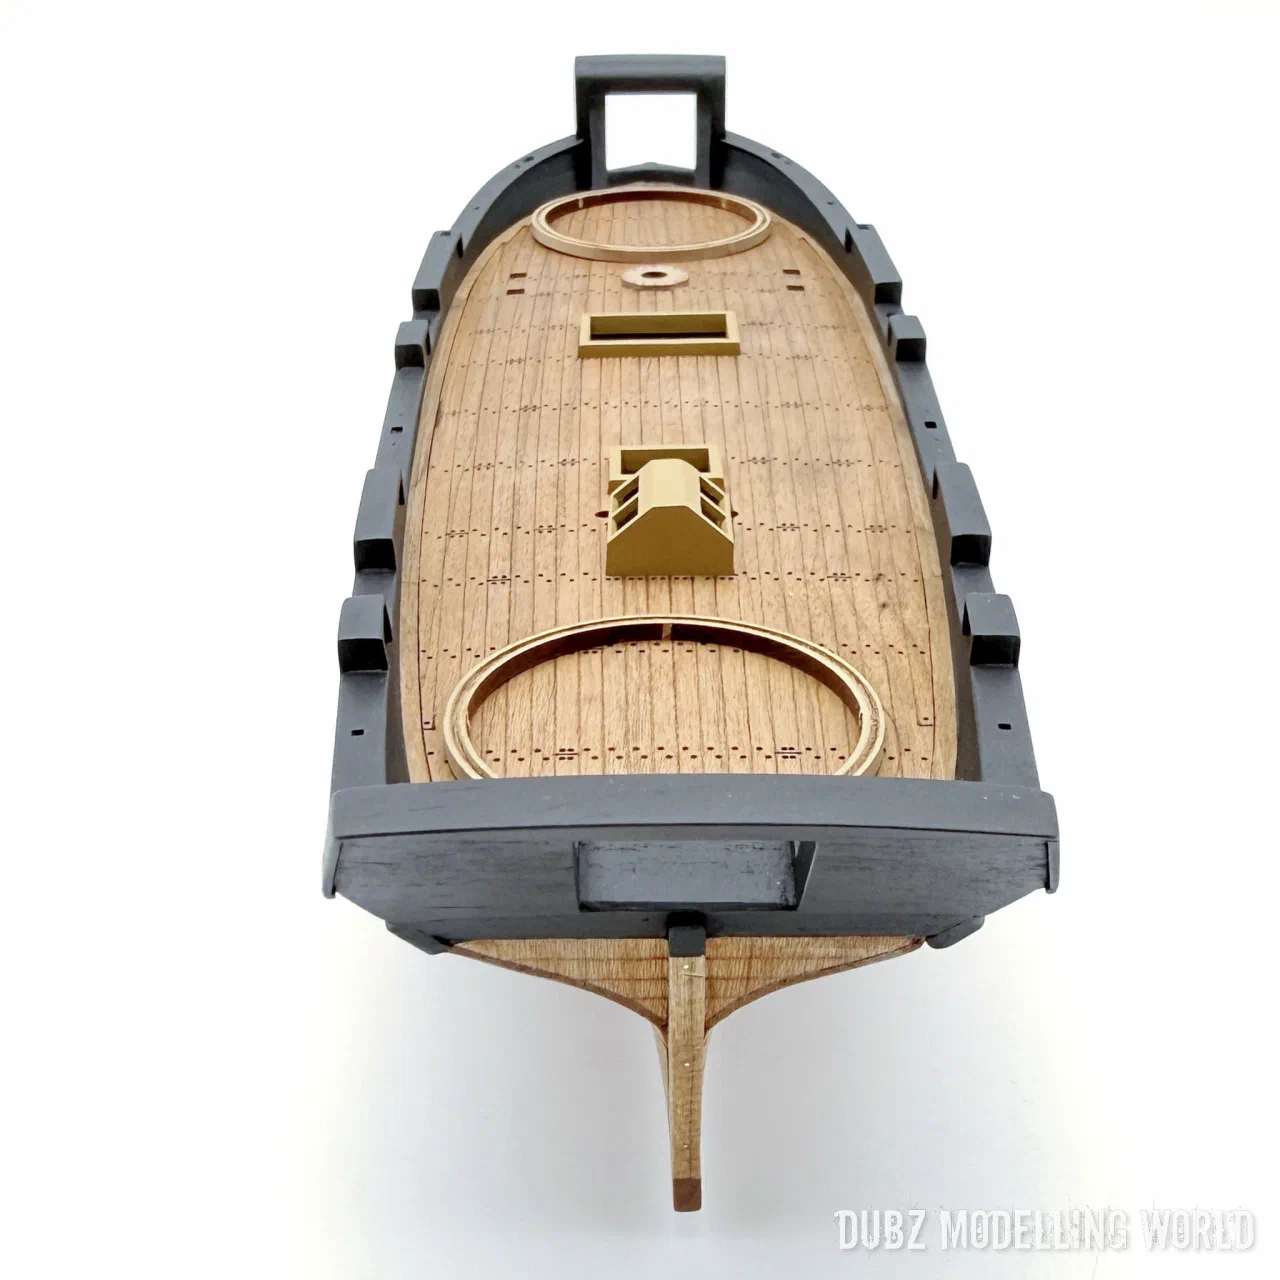
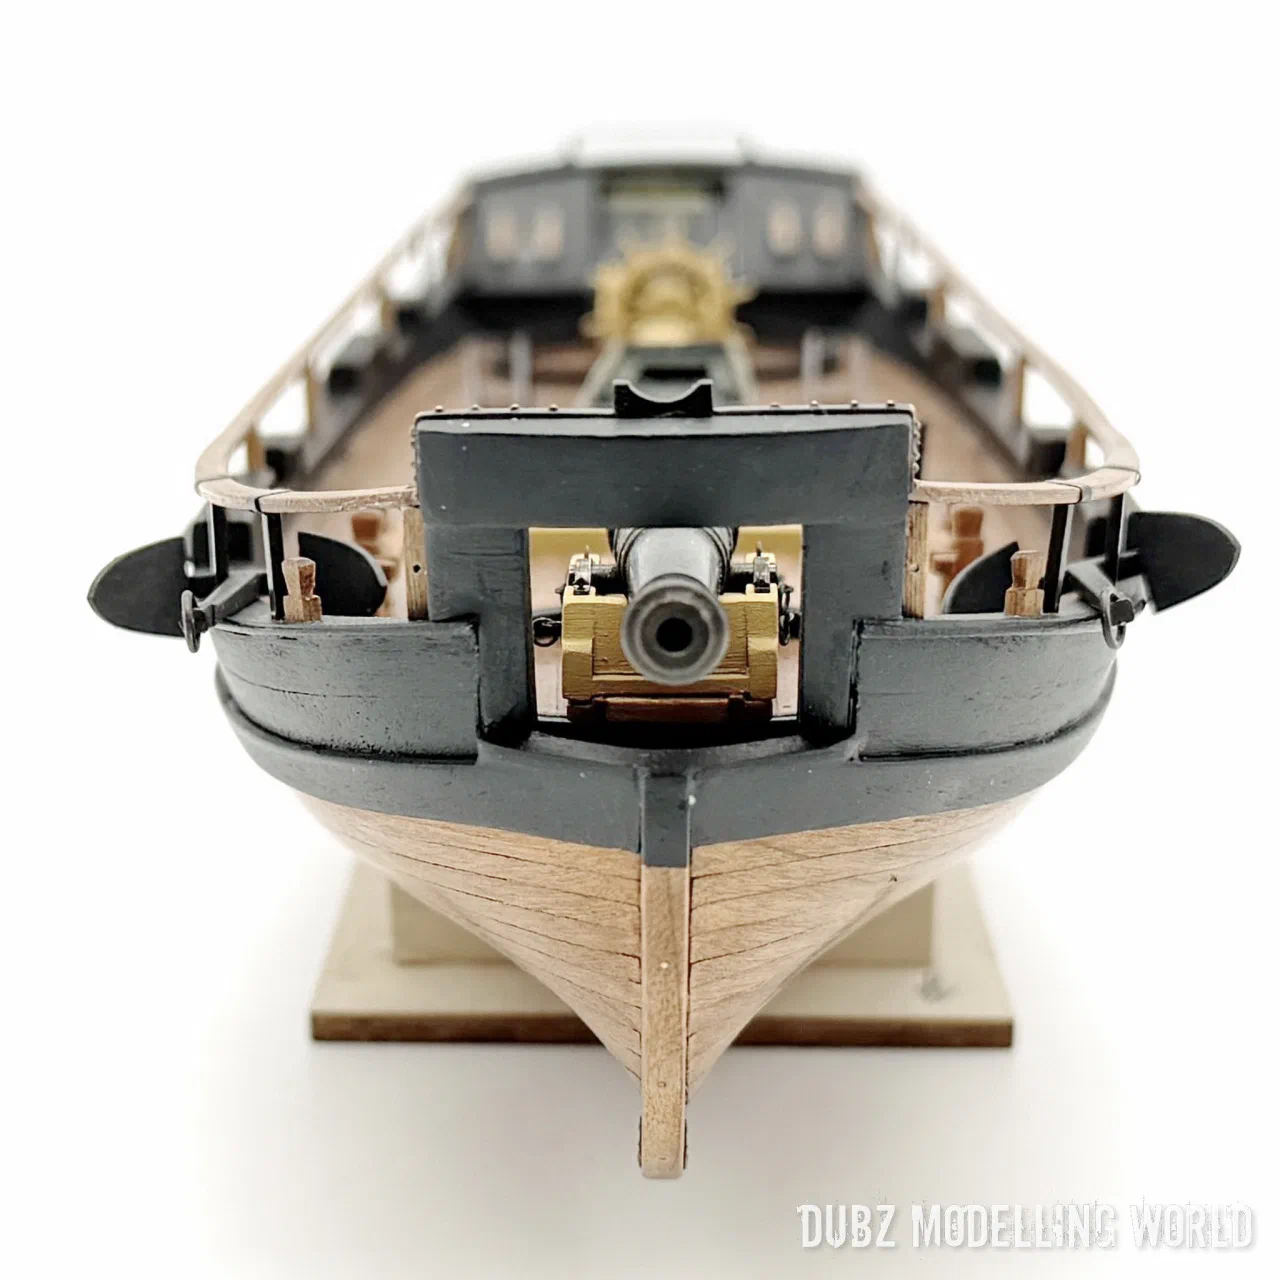
Step 10 was the most complex part so far: a structure with many angles, shown with a single picture in the instructions and no drawings. First I had to work out the total width and exactly how much of the bulwark had to be removed. The side wall was then sawn freehand along the markings, fitted, filled and sanded step by step. There was not enough wood at the front, so something had to be added, and the rounding was ground in.
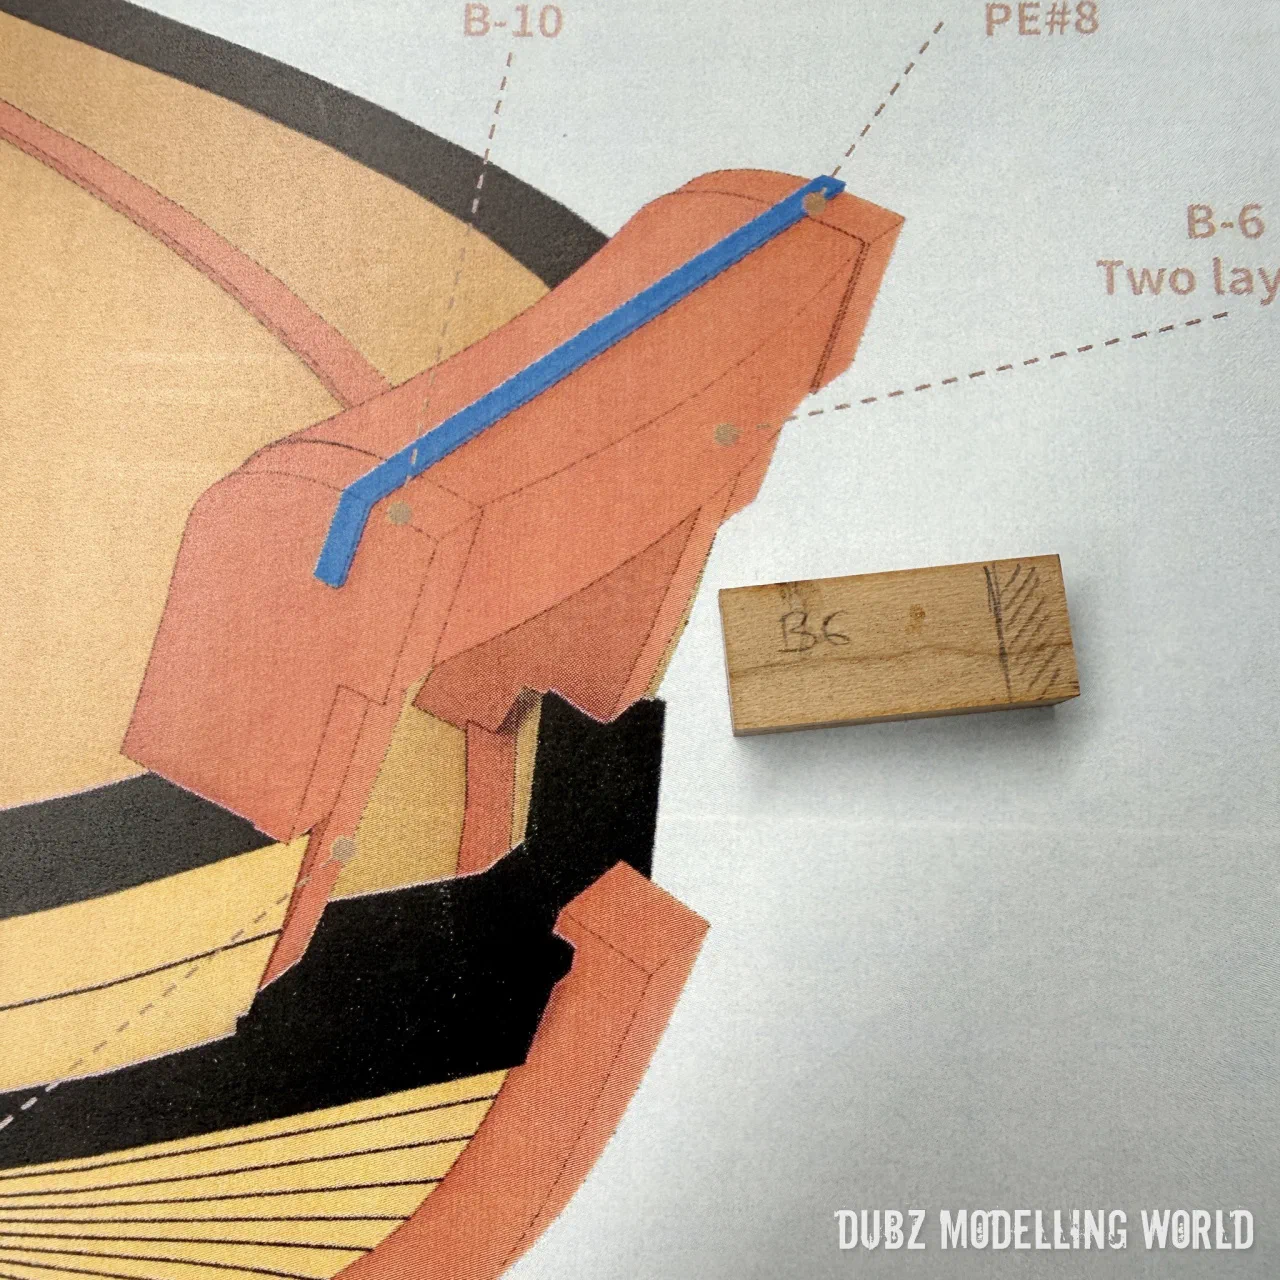
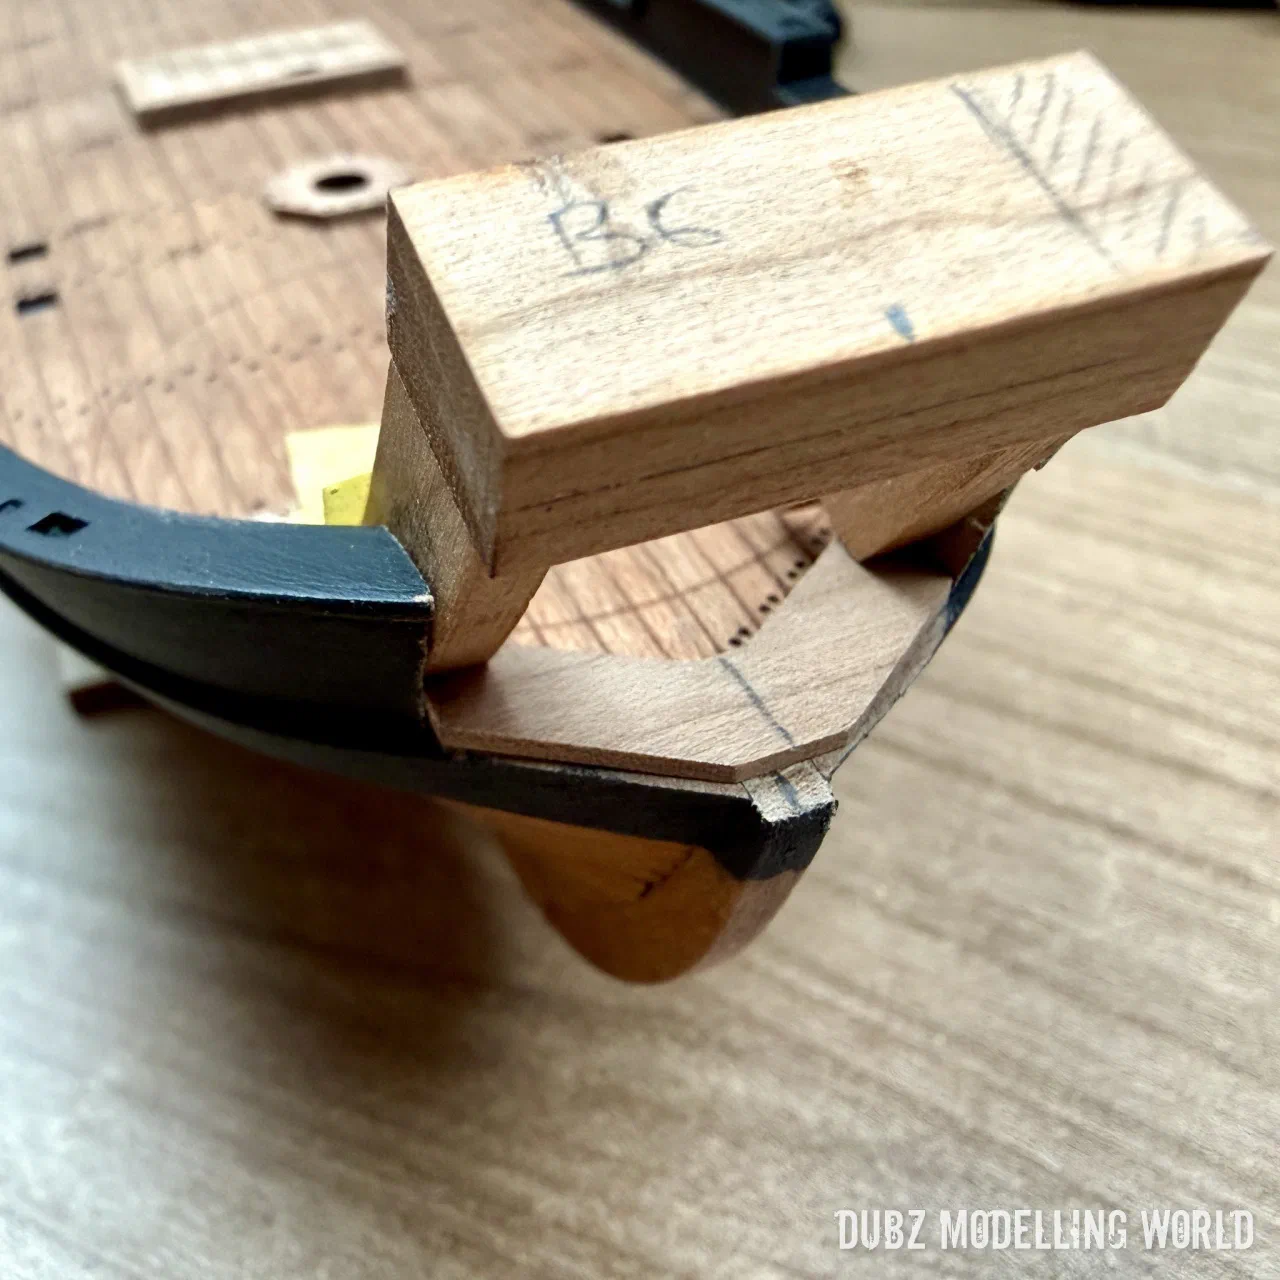
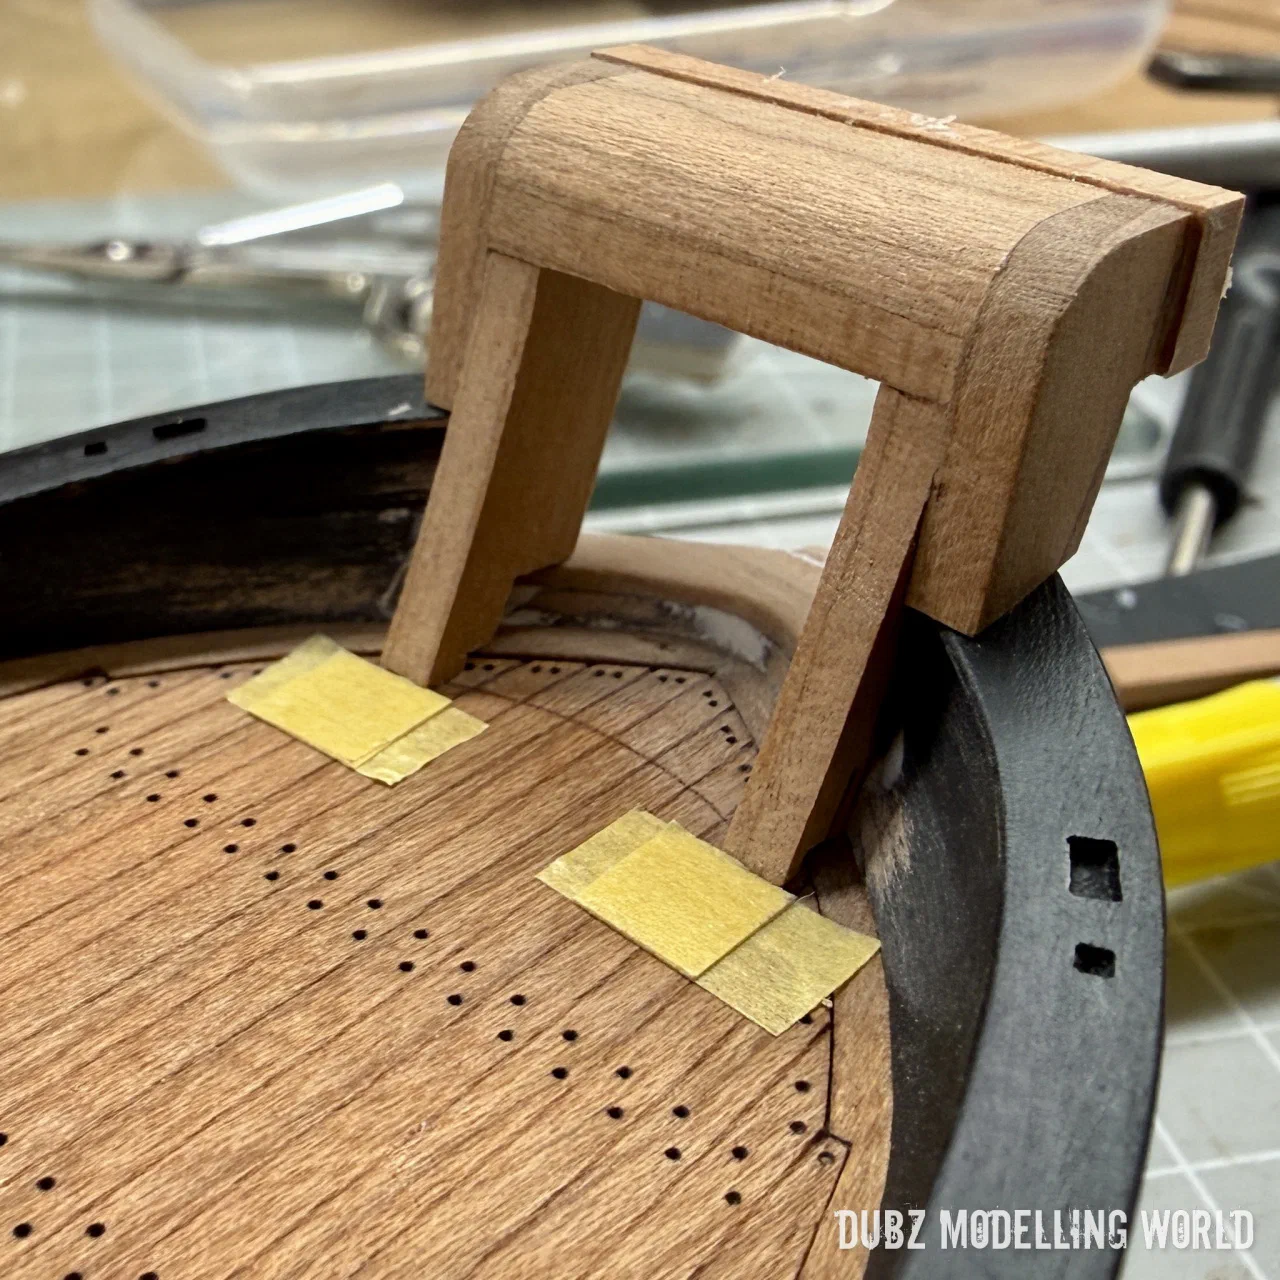
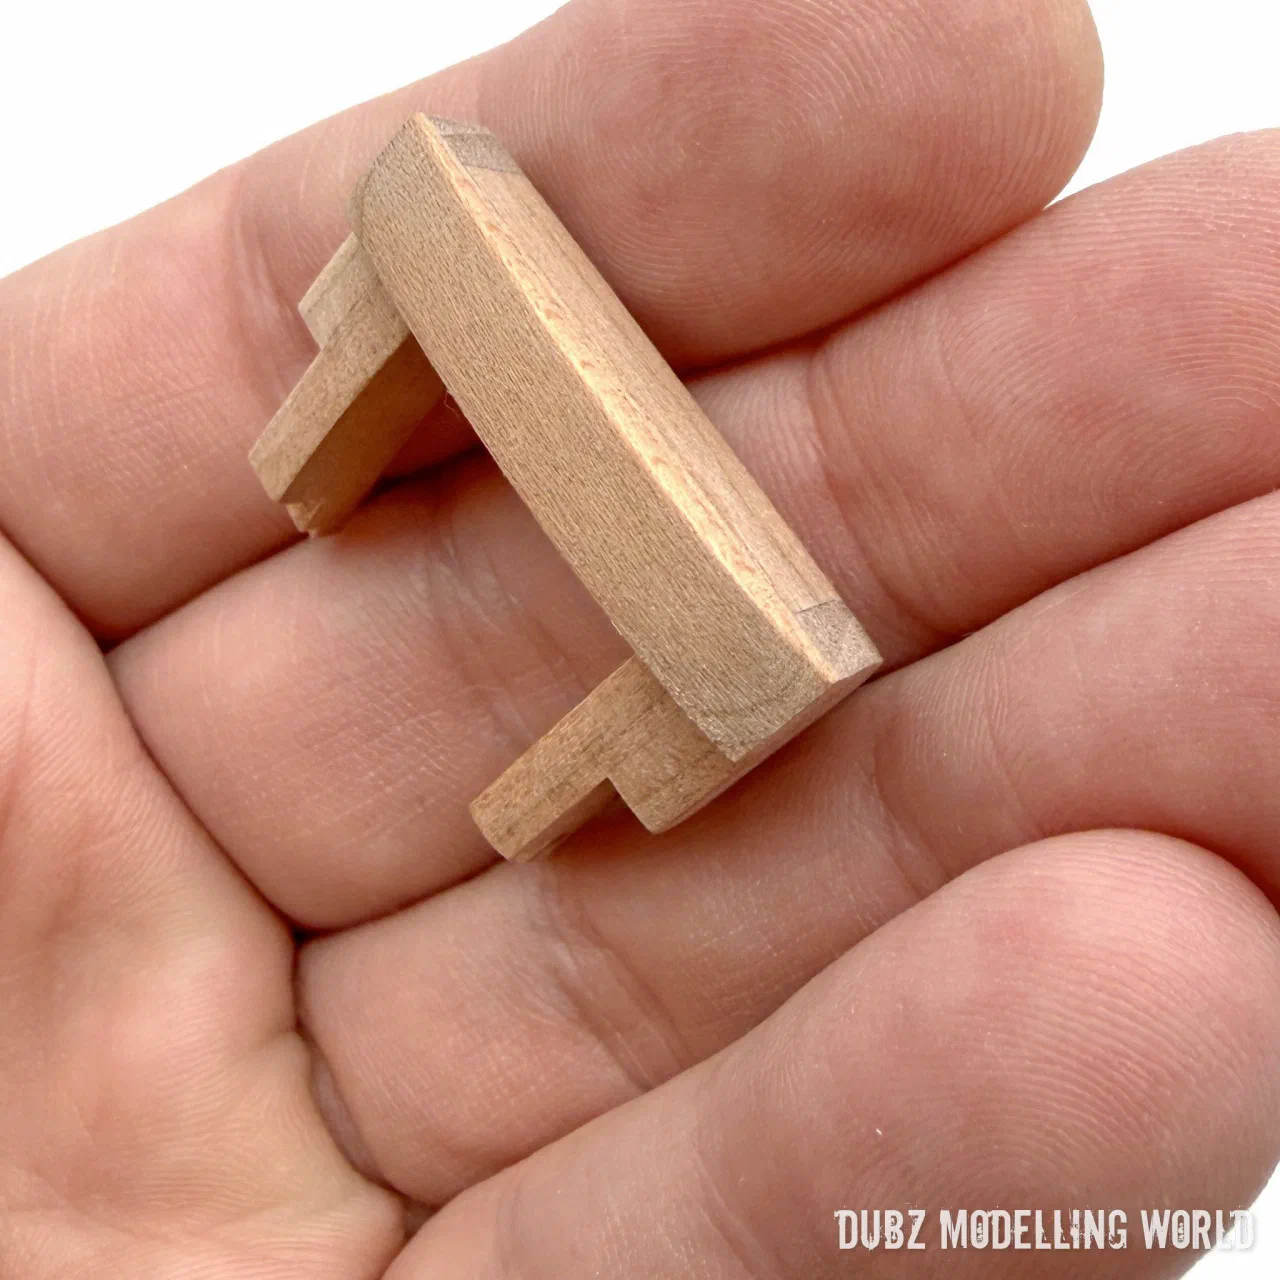
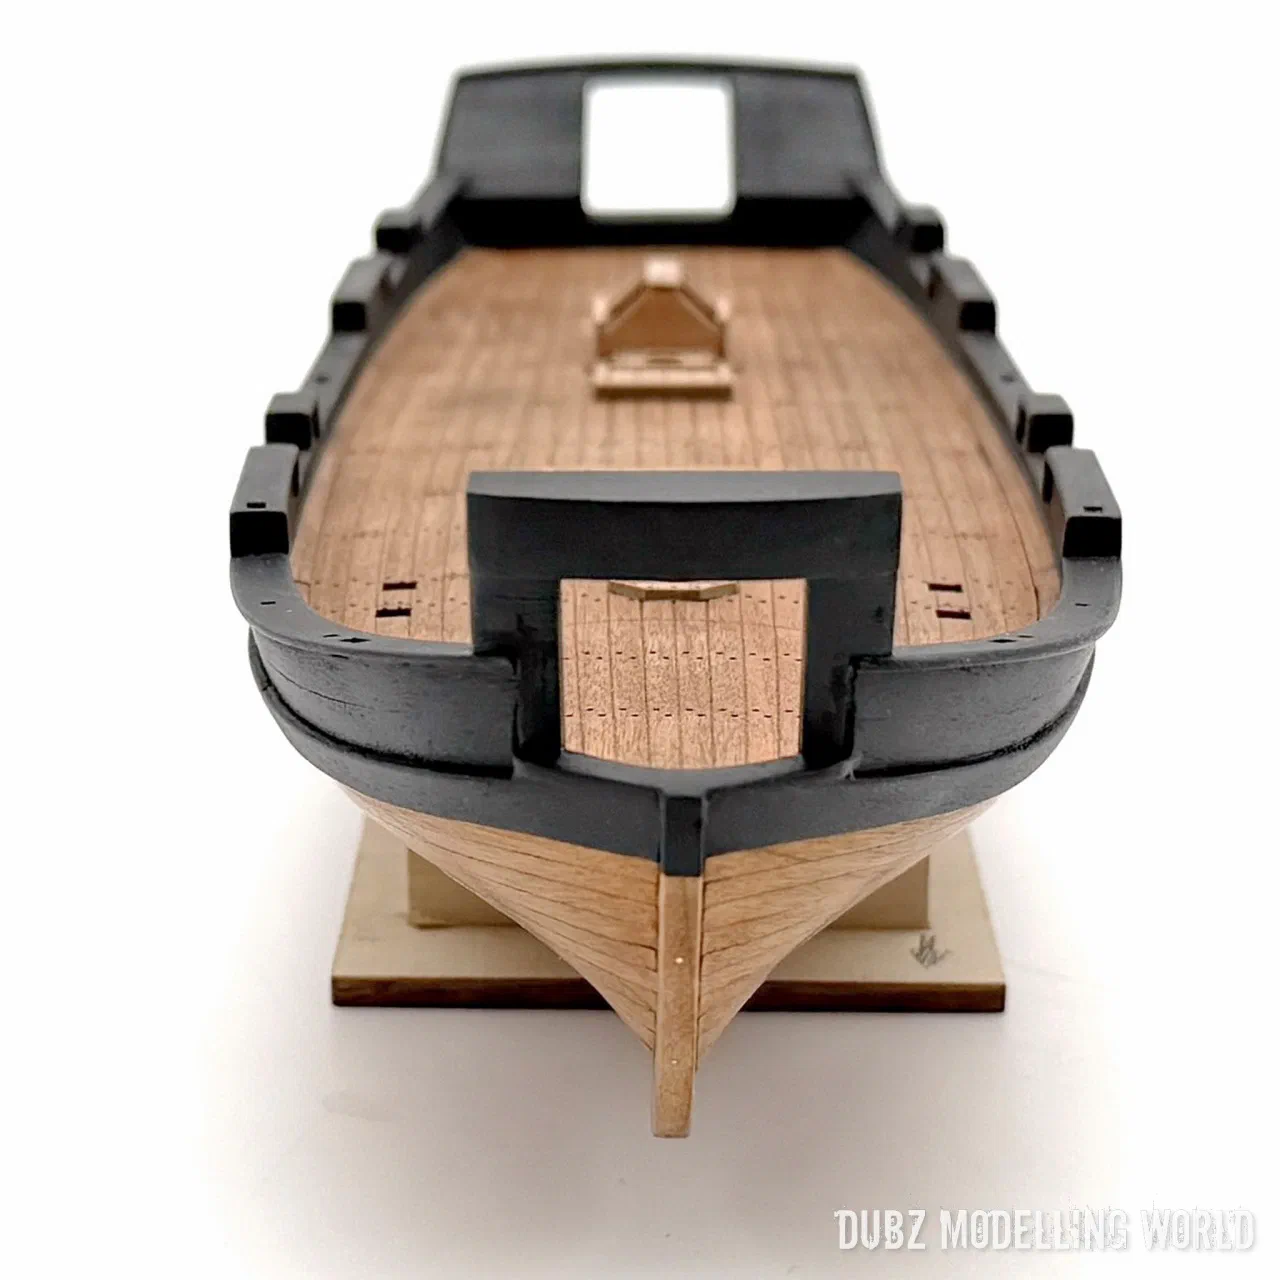
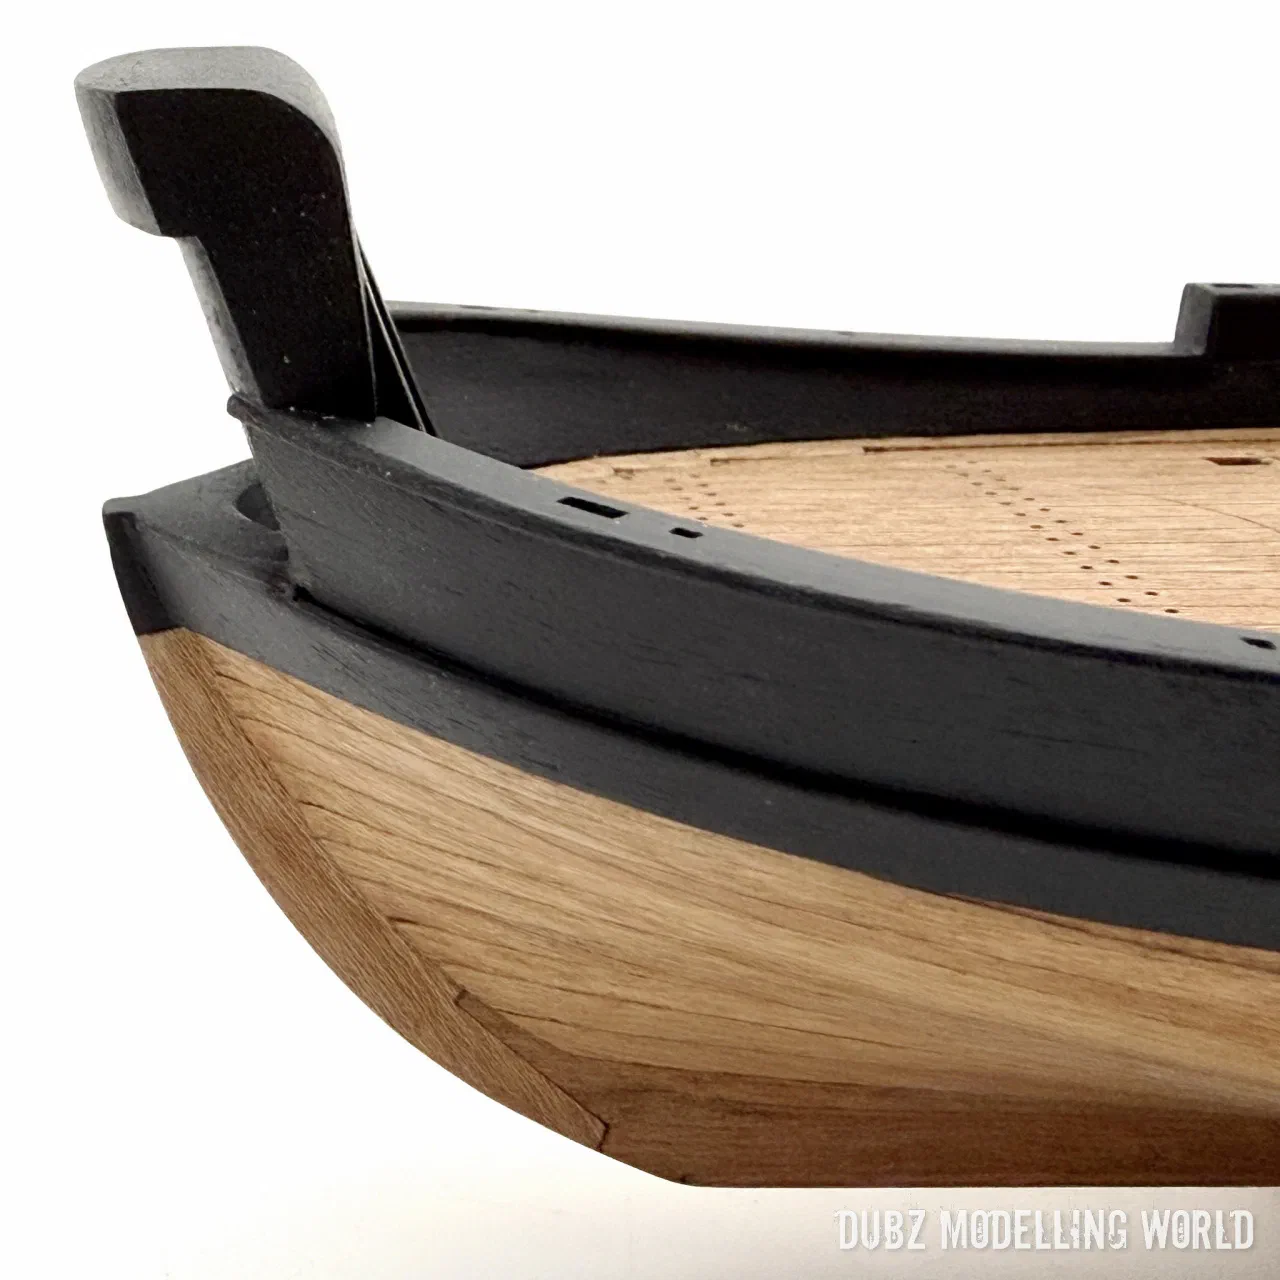
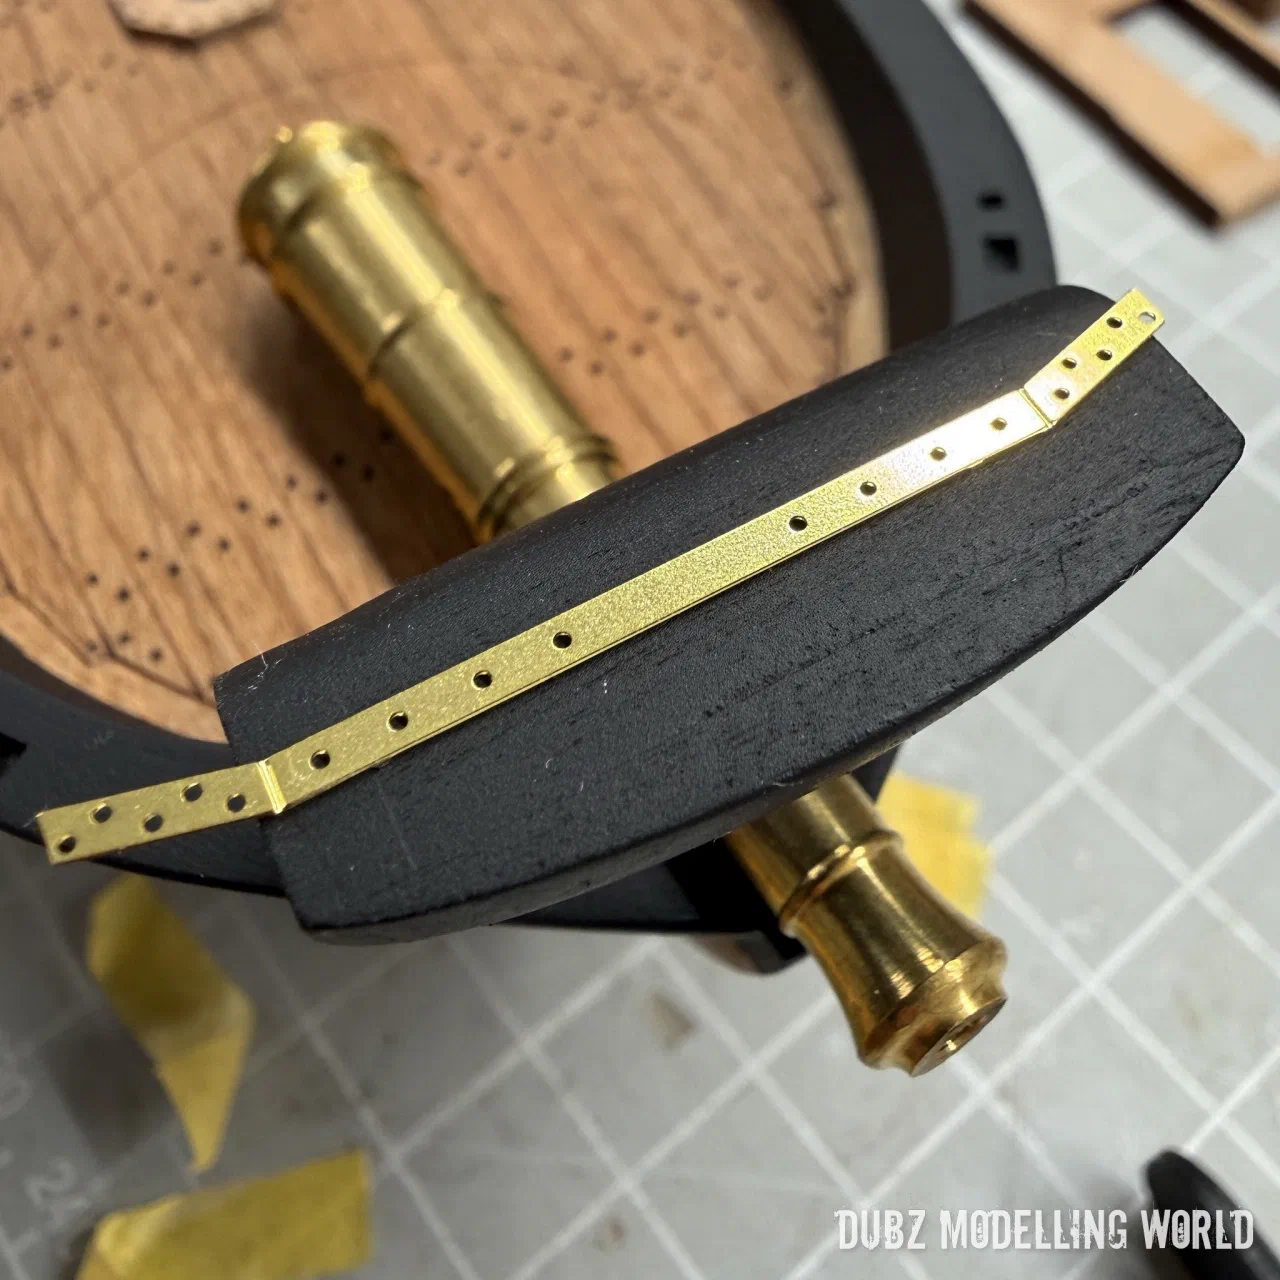
Later I learned that it sat too far aft. The photo-etched part for the front gun port did not match either – I ended up splitting it.
Rebuilding the stern
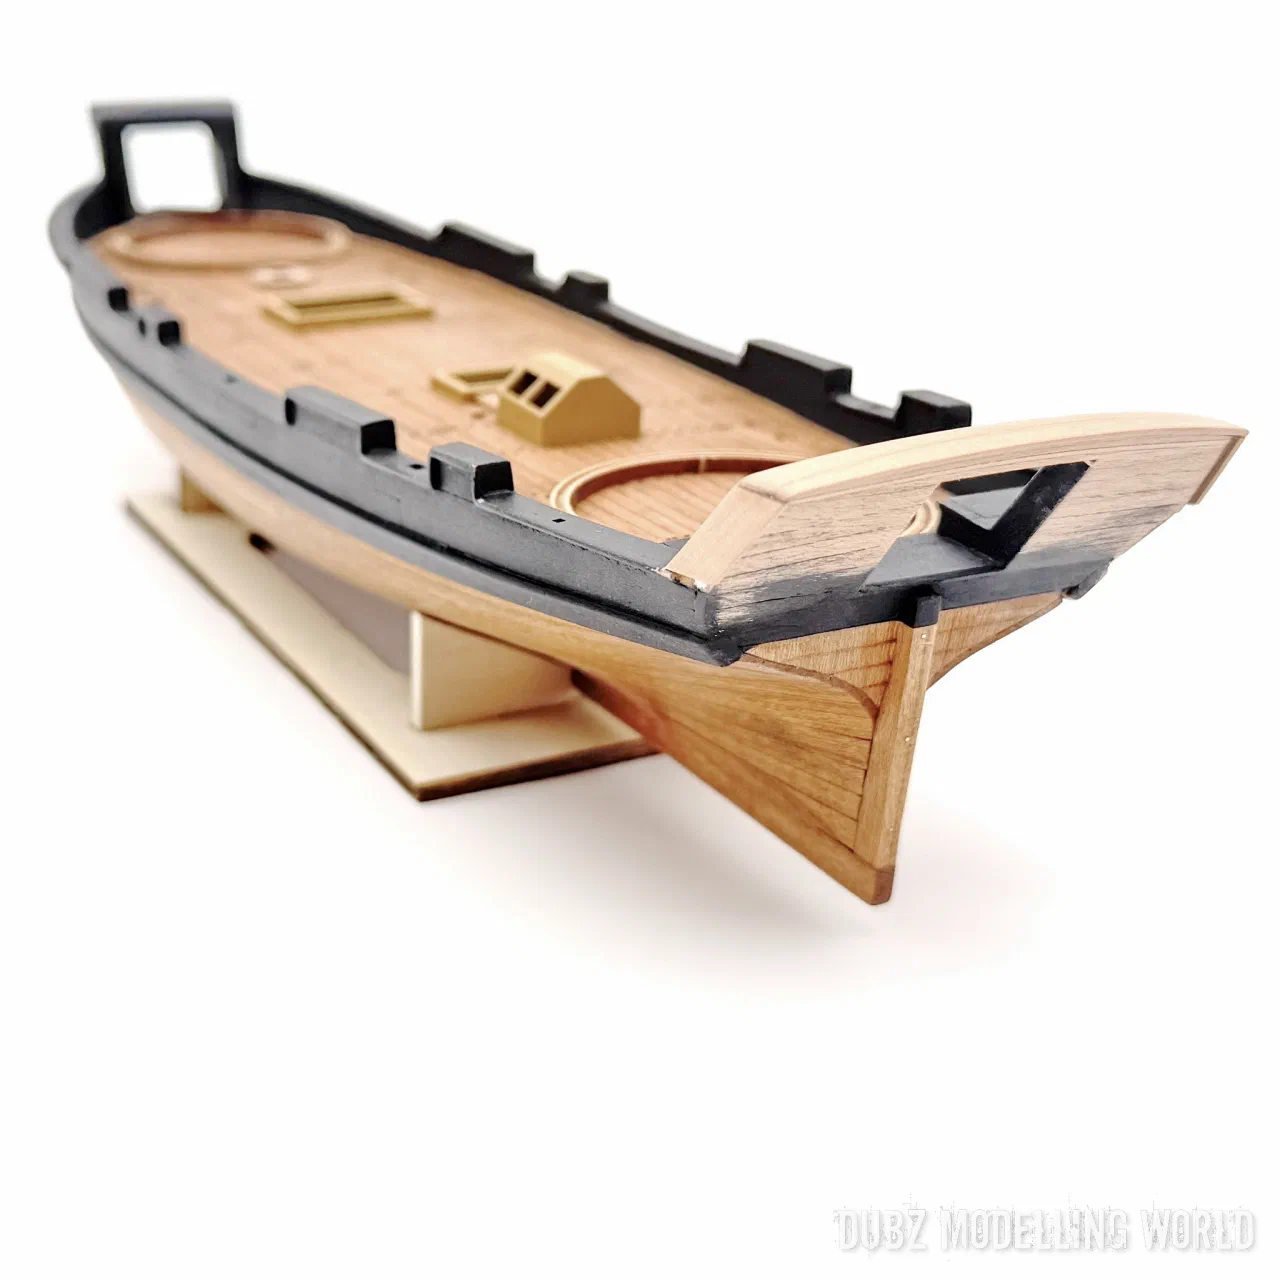
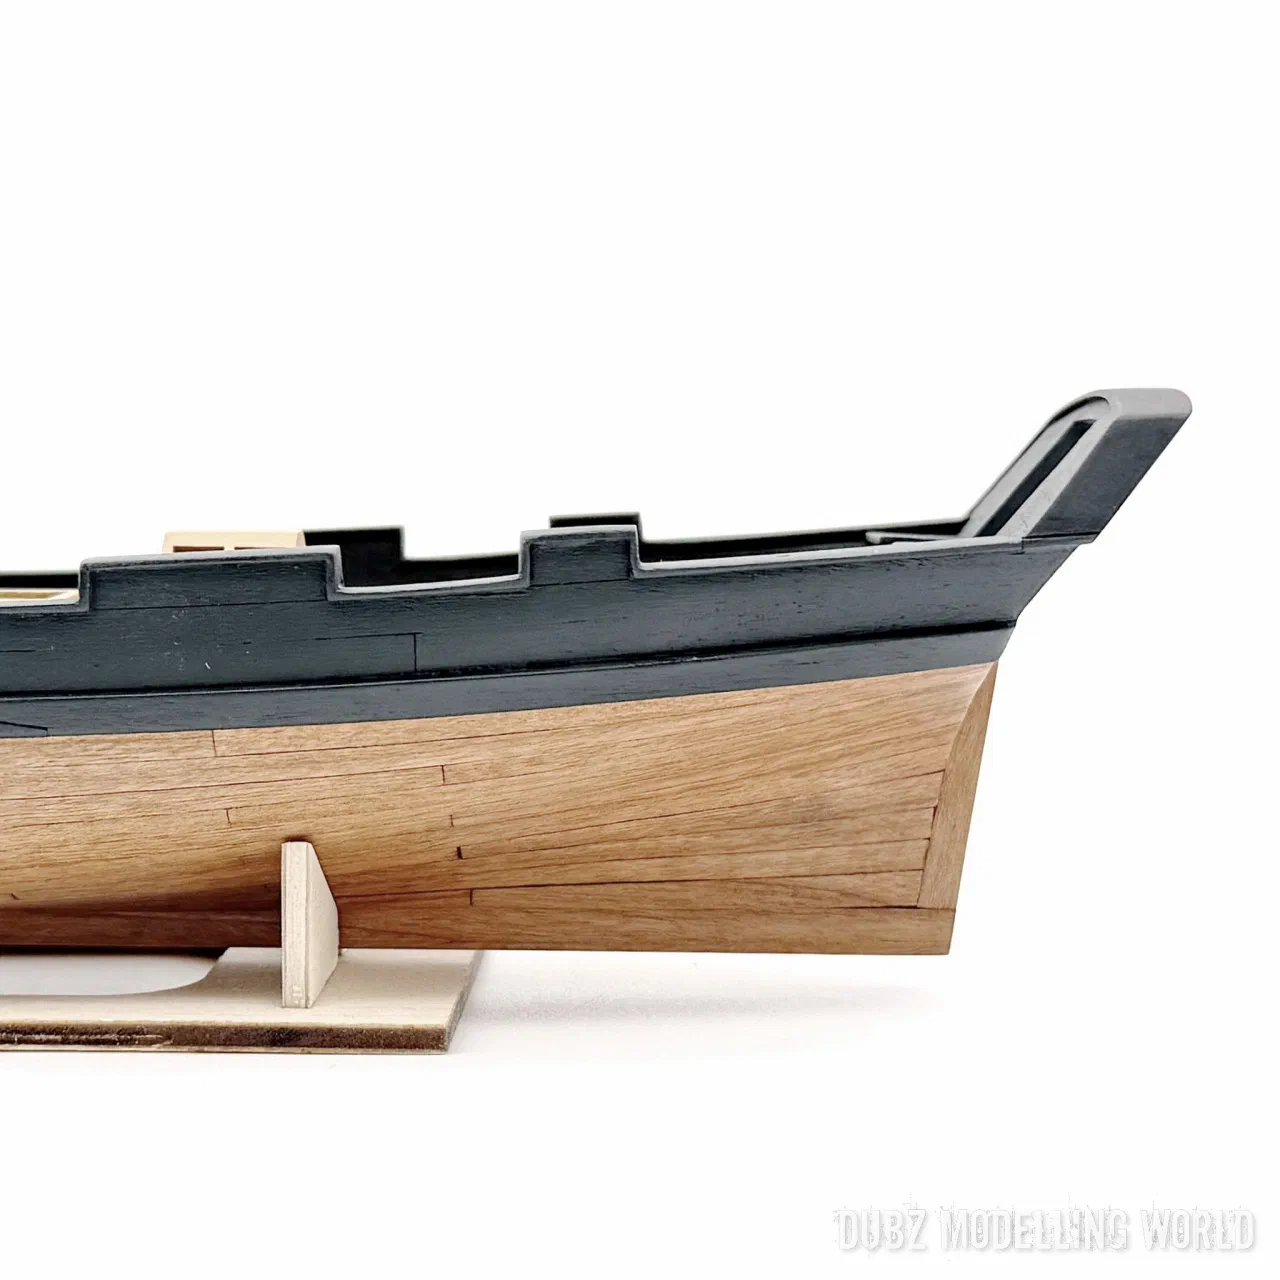
I was not happy with the stern. It looked wrong, it was wrong – it had to go. The first version looked like a fat spoiler on a Japanese car. The second is much, much better.
Guns and scuppers
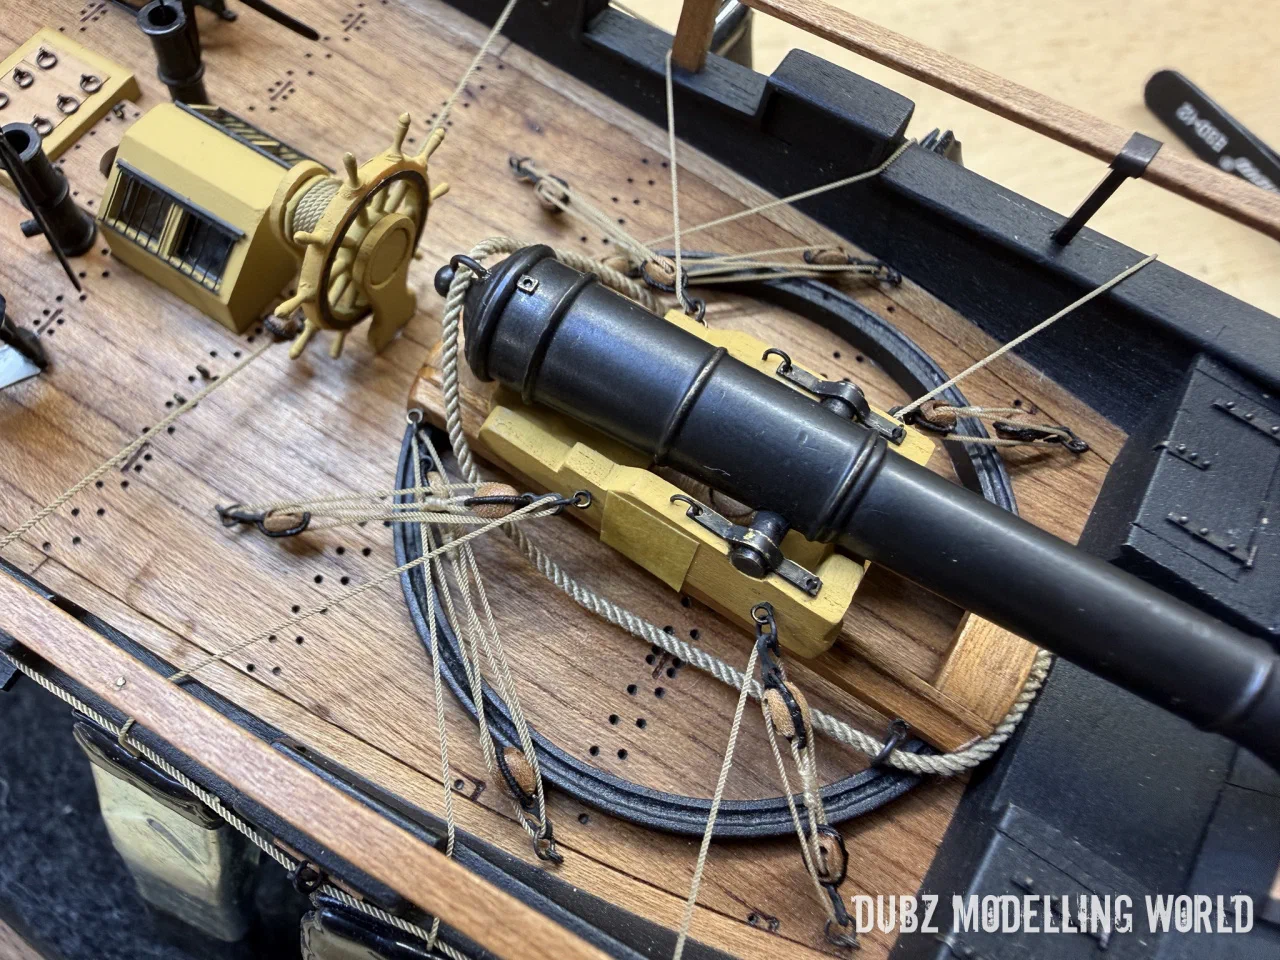
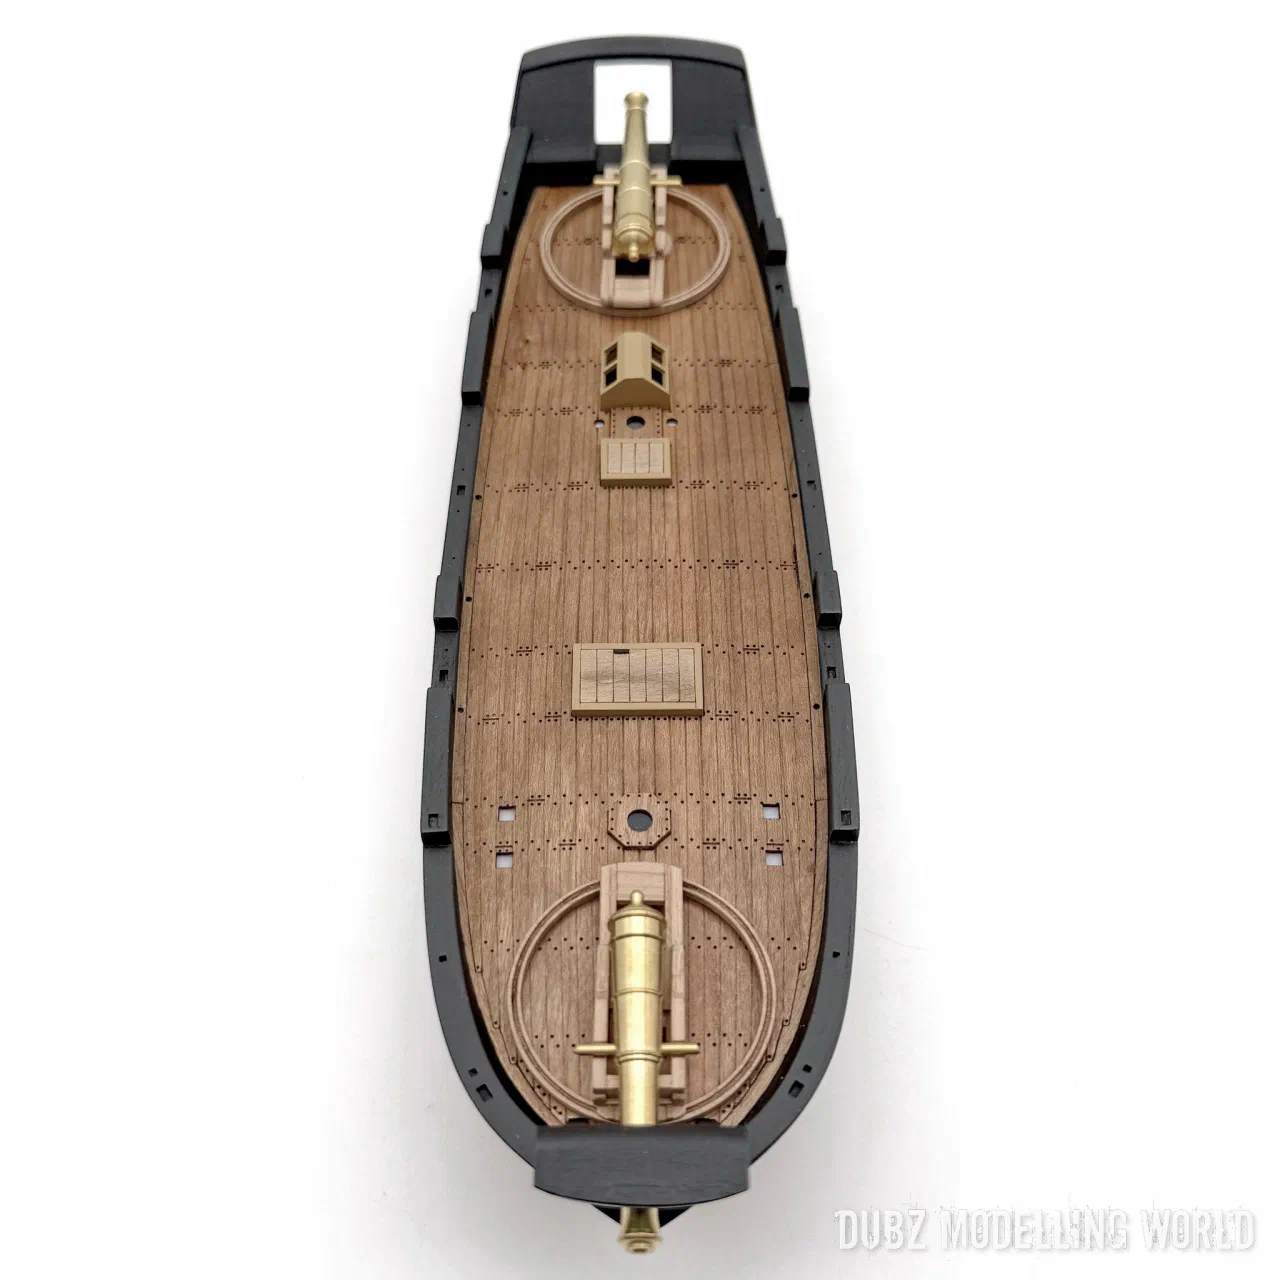
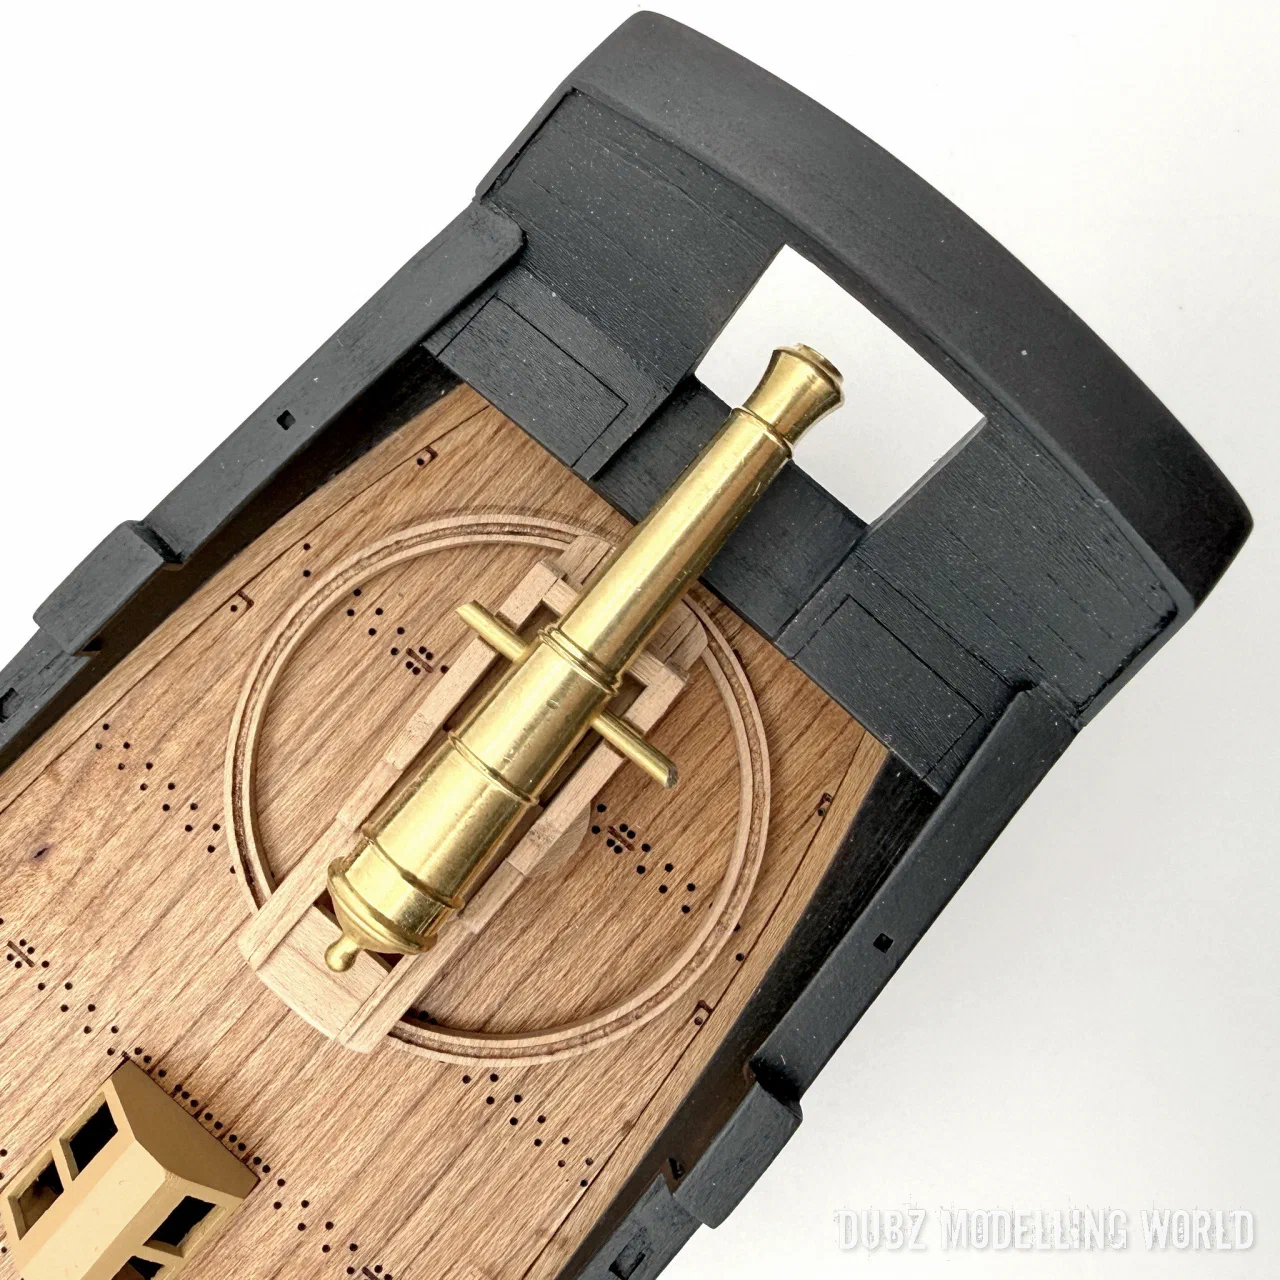
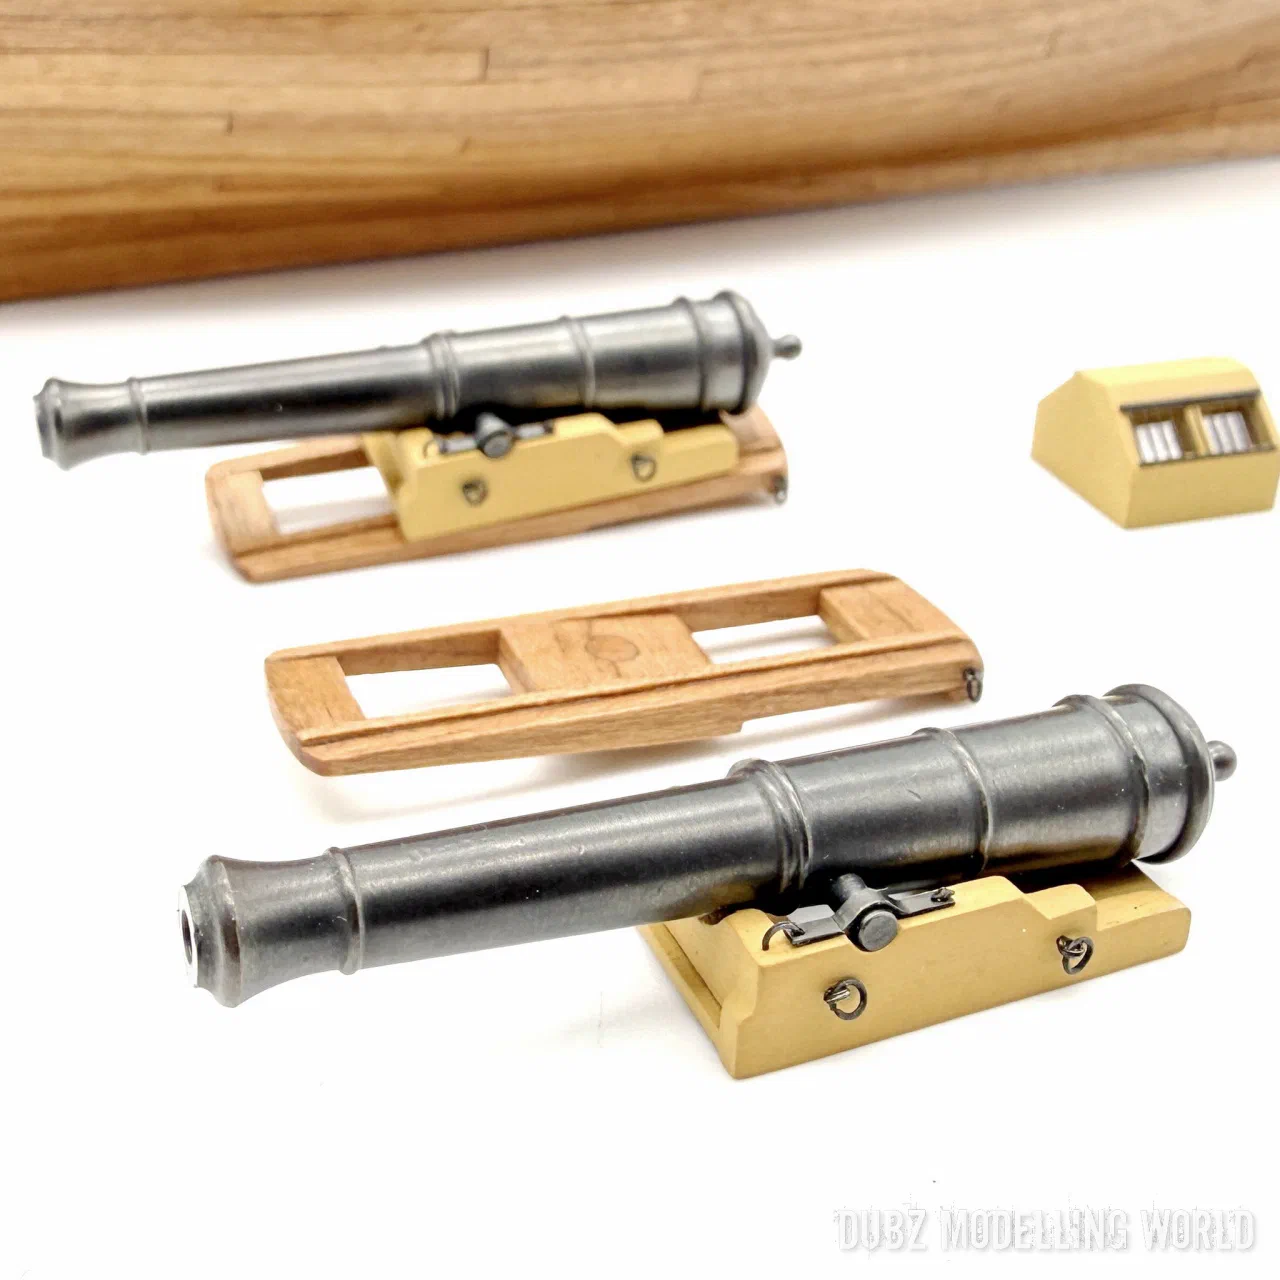
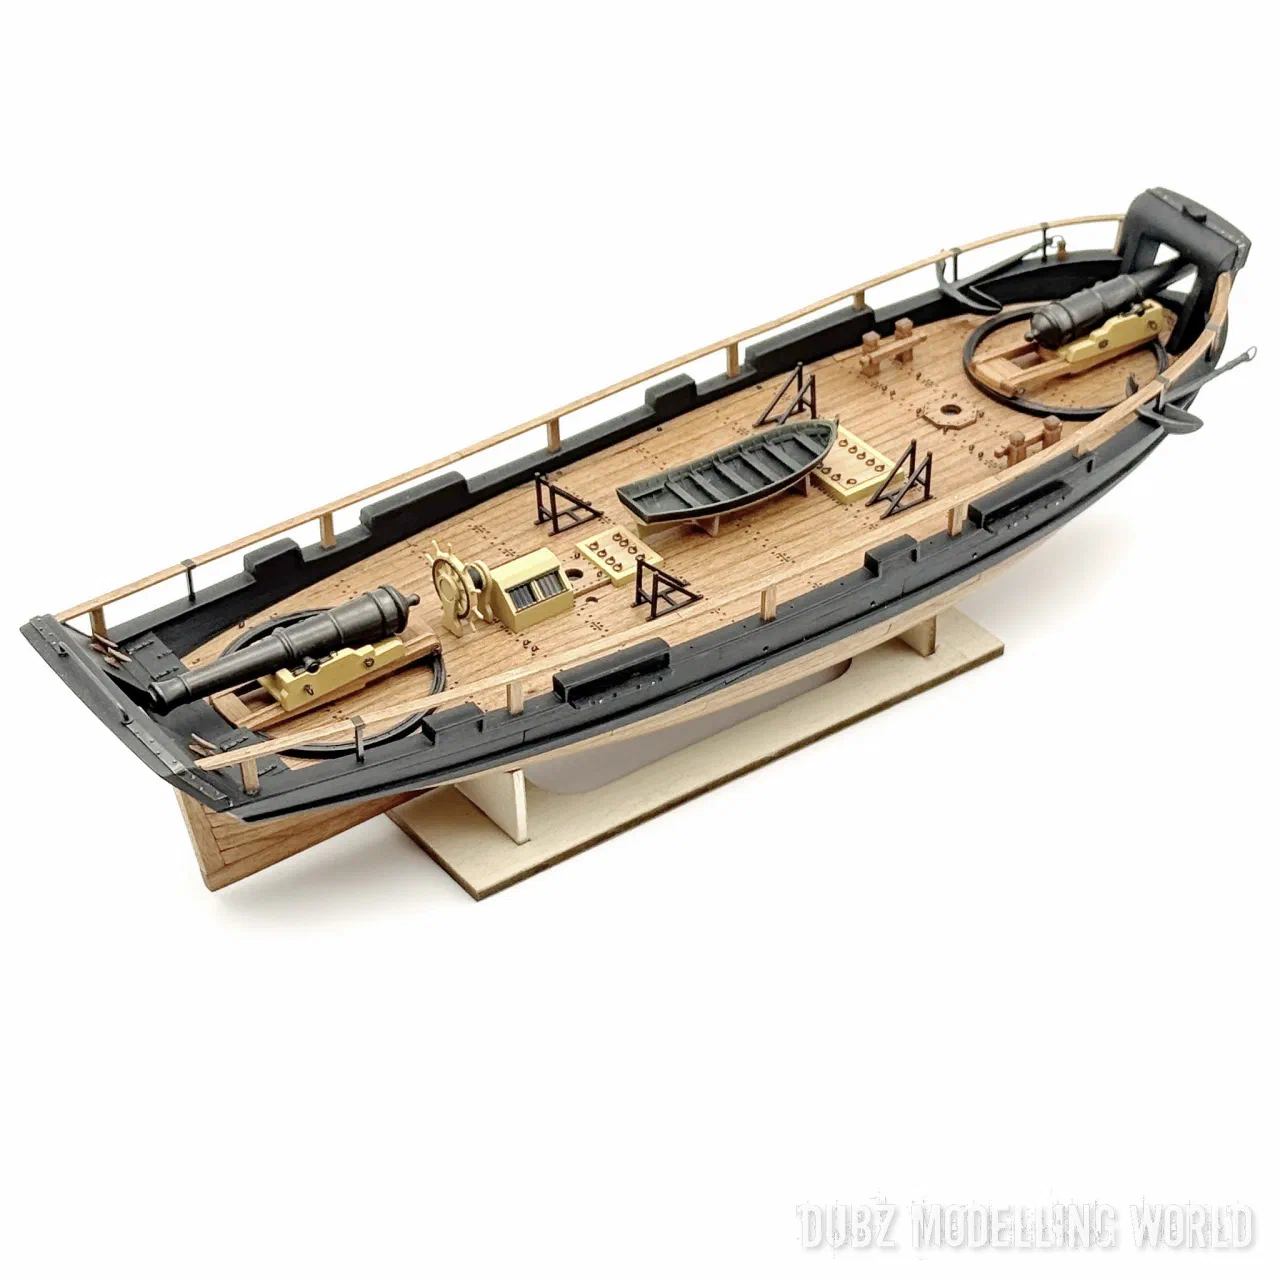
Then I started on smaller parts: the guns and the scuppers (one of them ended up a little too high). Laser lines cannot always be trusted – I got four identical side panels for the carriages instead of two mirrored pairs, so some of them had to be rebuilt. The barrels were blackened and the first photo-etched parts fitted.

Hatches, colour and details
The hatch covers in the kit were made from a single piece, and parts of the large hatch had been laser-cut away. I made the covers again from separate pieces, added photo-etched parts, the anchor bollards and eyebolts.
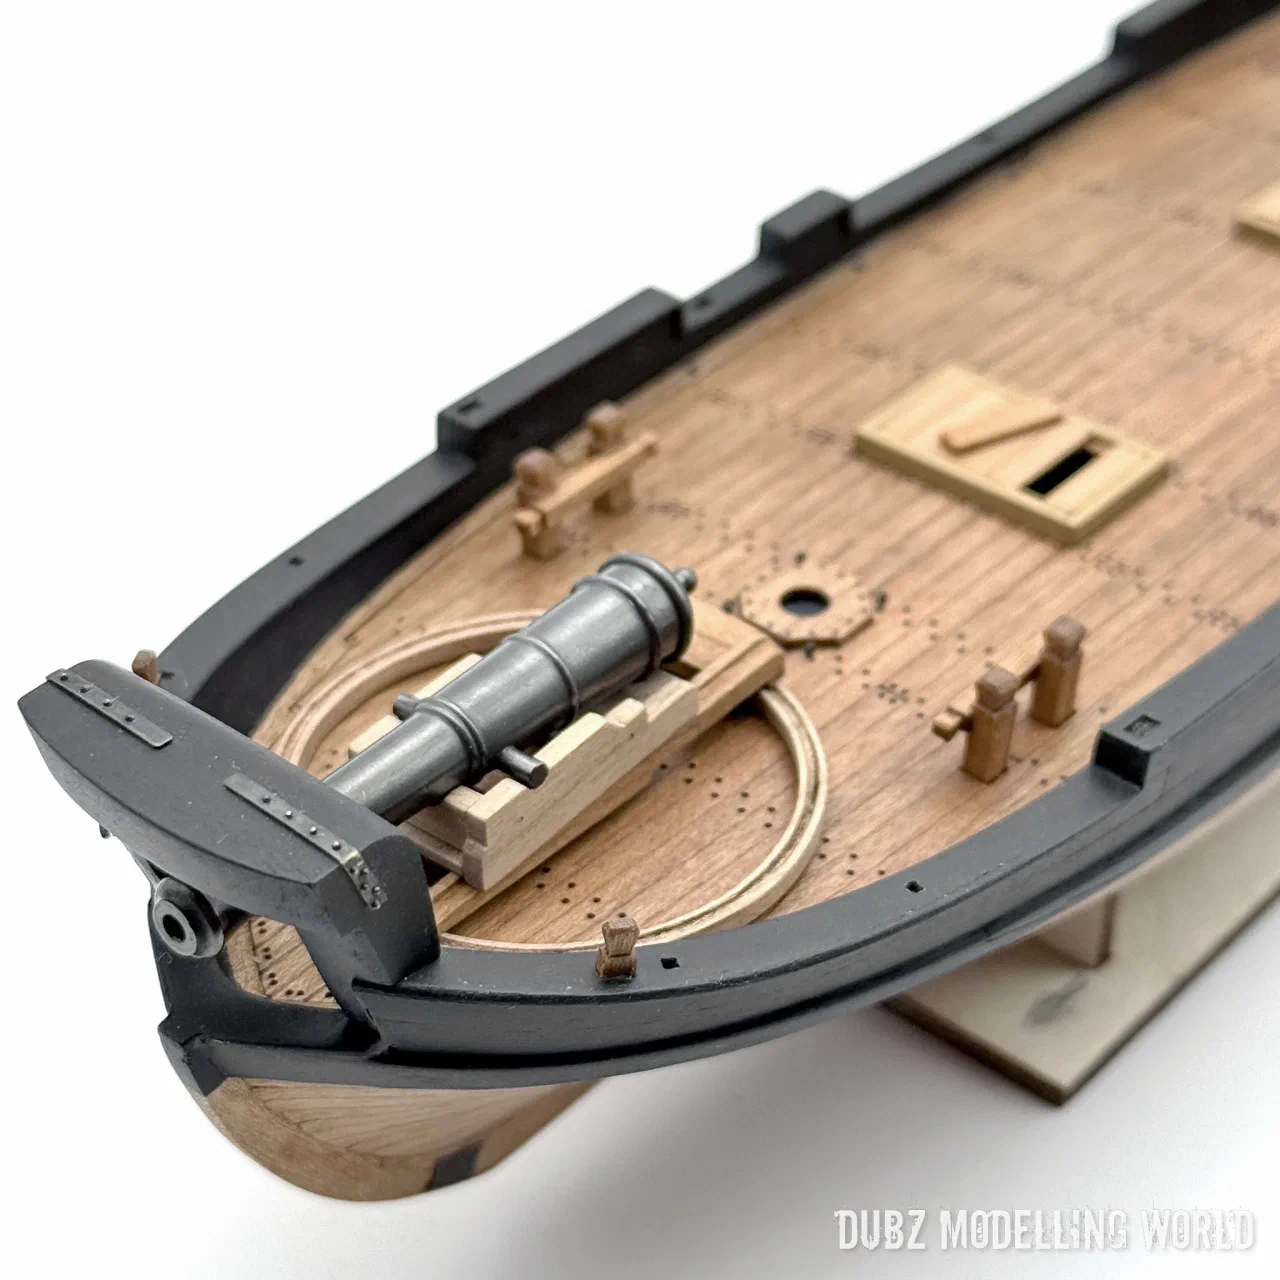
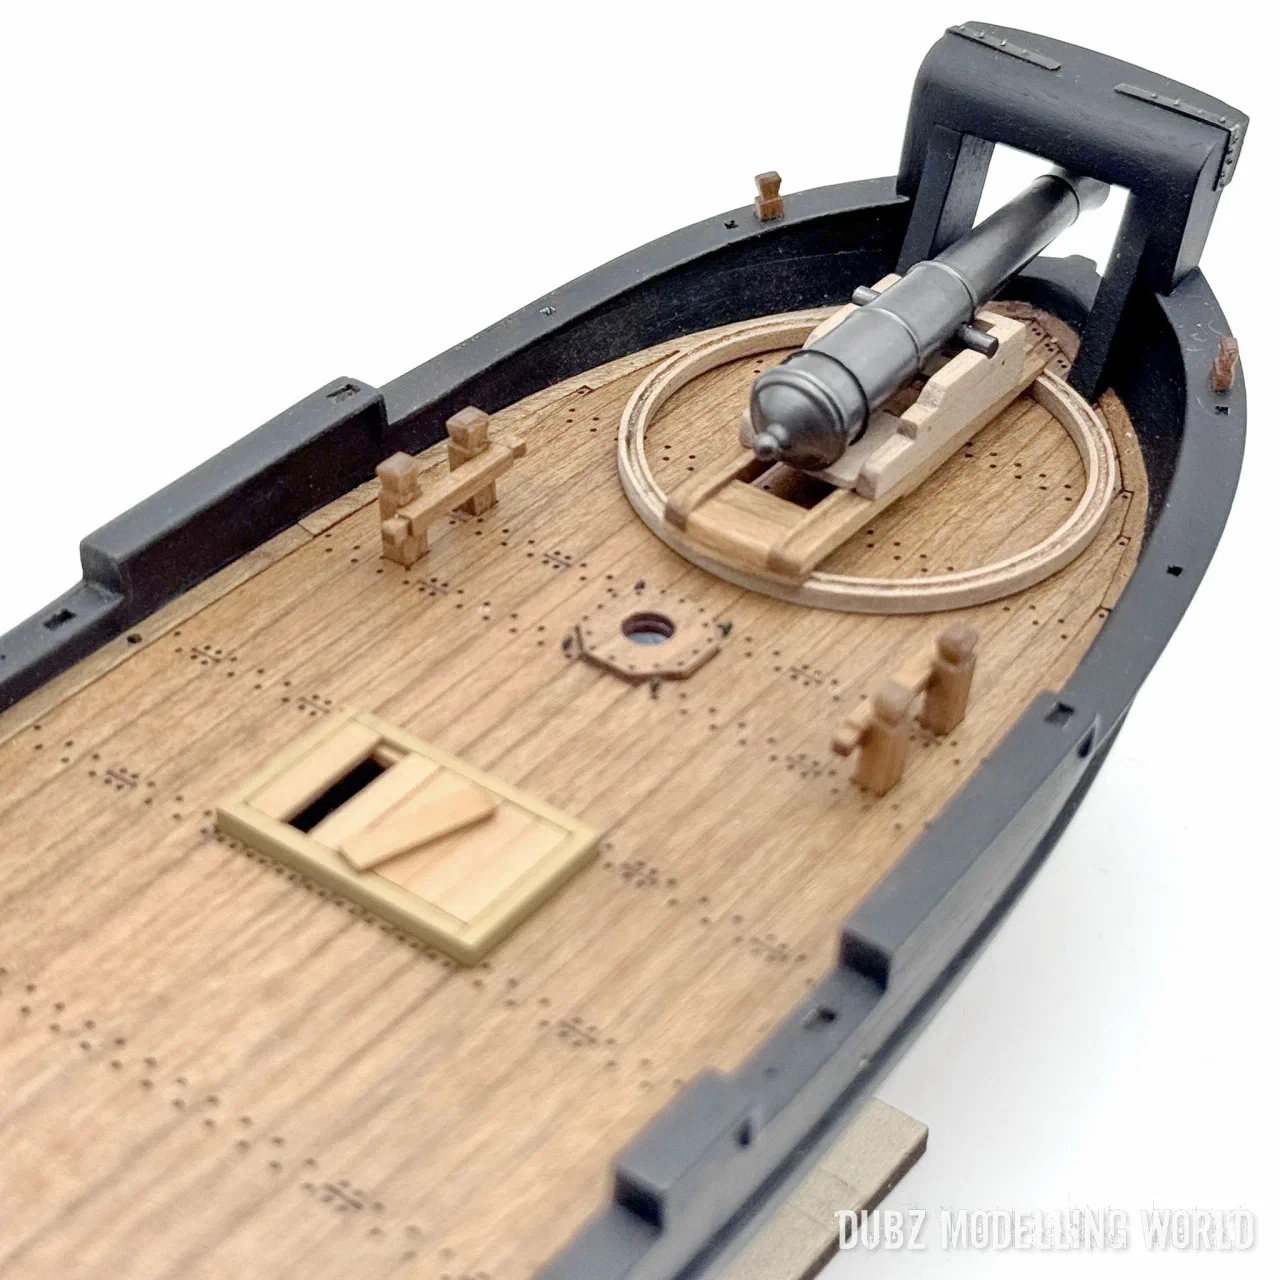
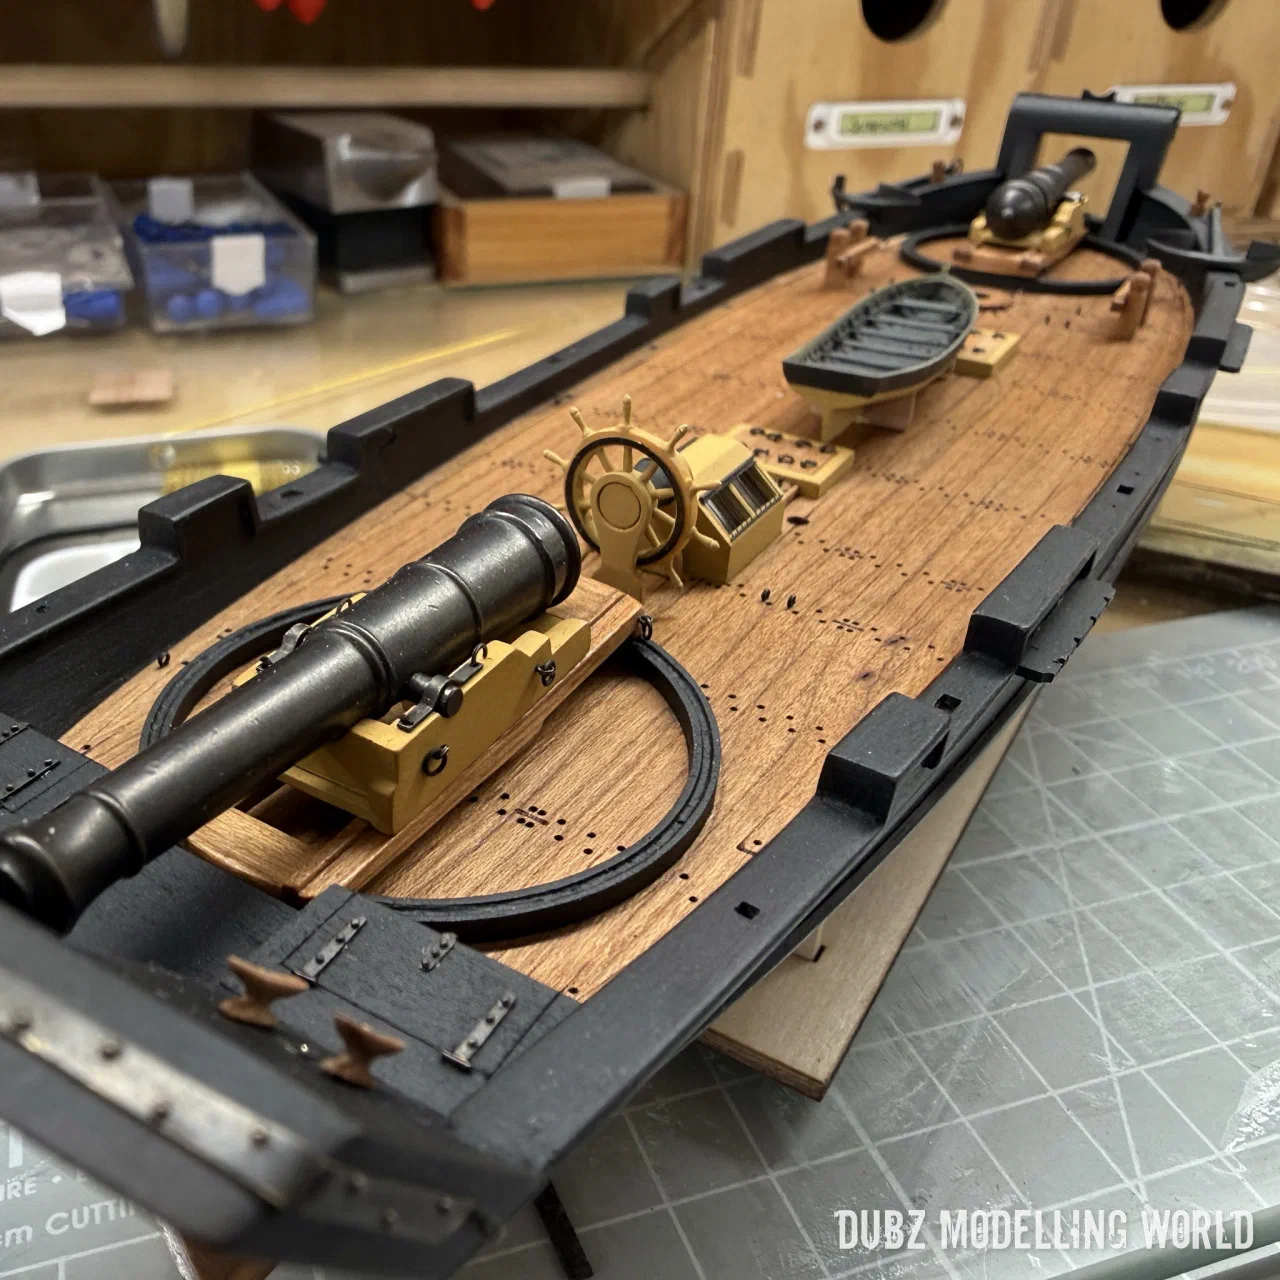
The gun carriages and some other parts were sprayed in yellow ochre – Danish gunboats often carried this colour, so why not a Dano-Norwegian schooner. The deckhouse got its glazing and etched parts.
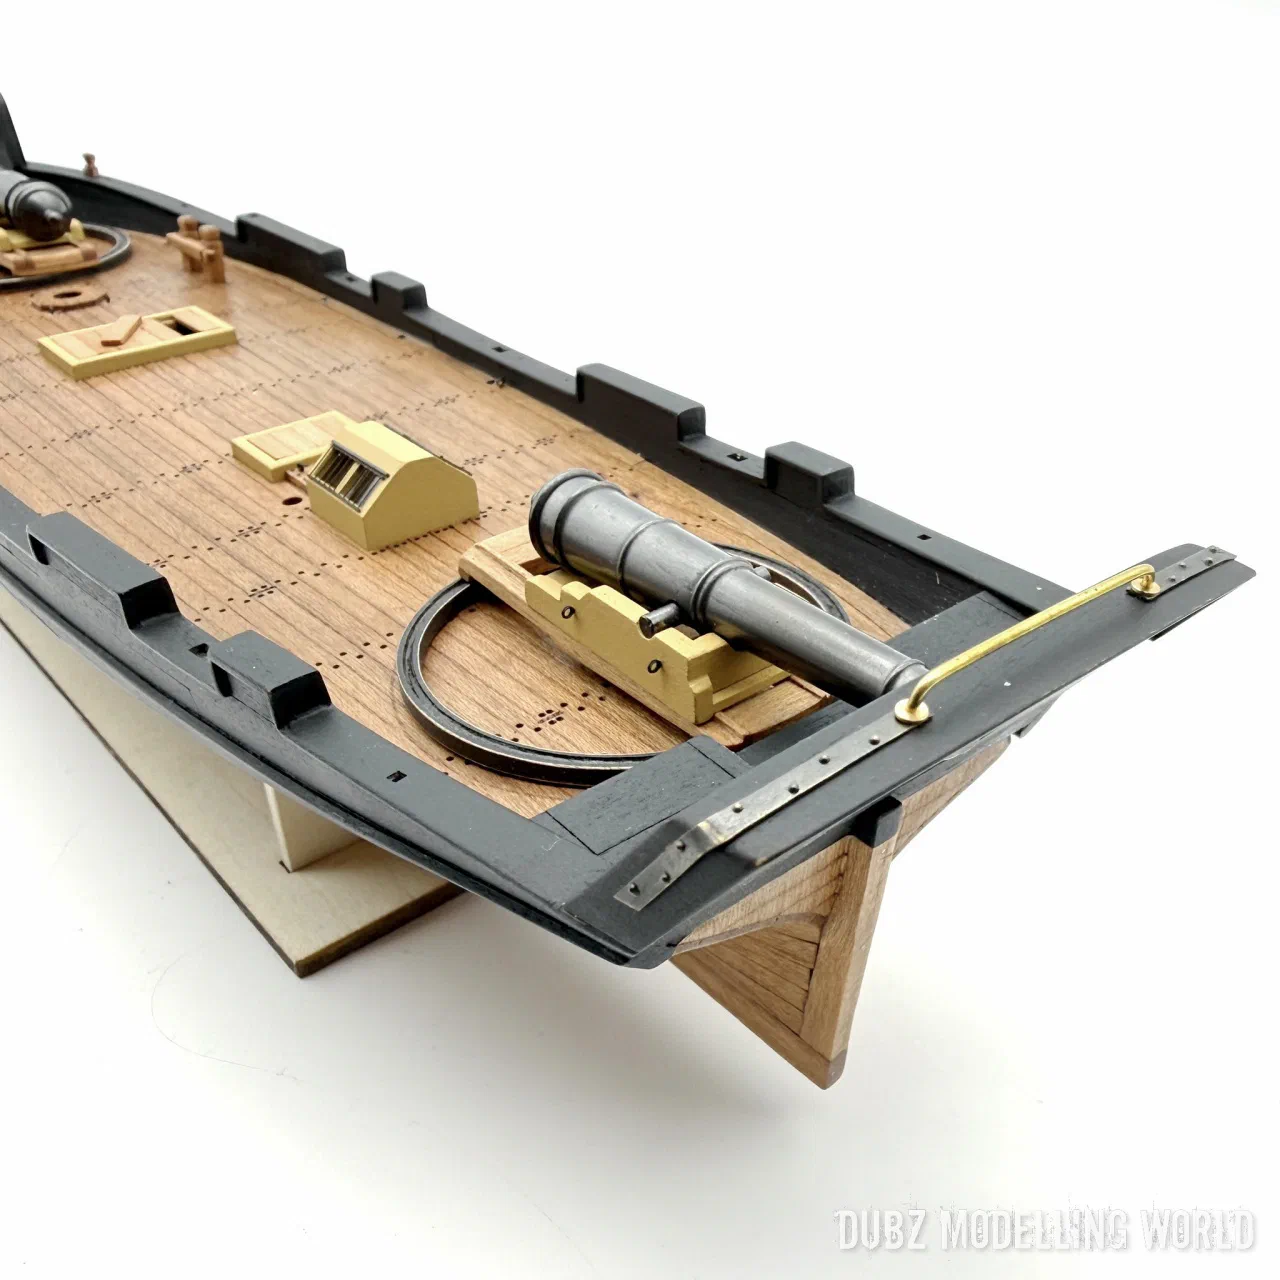
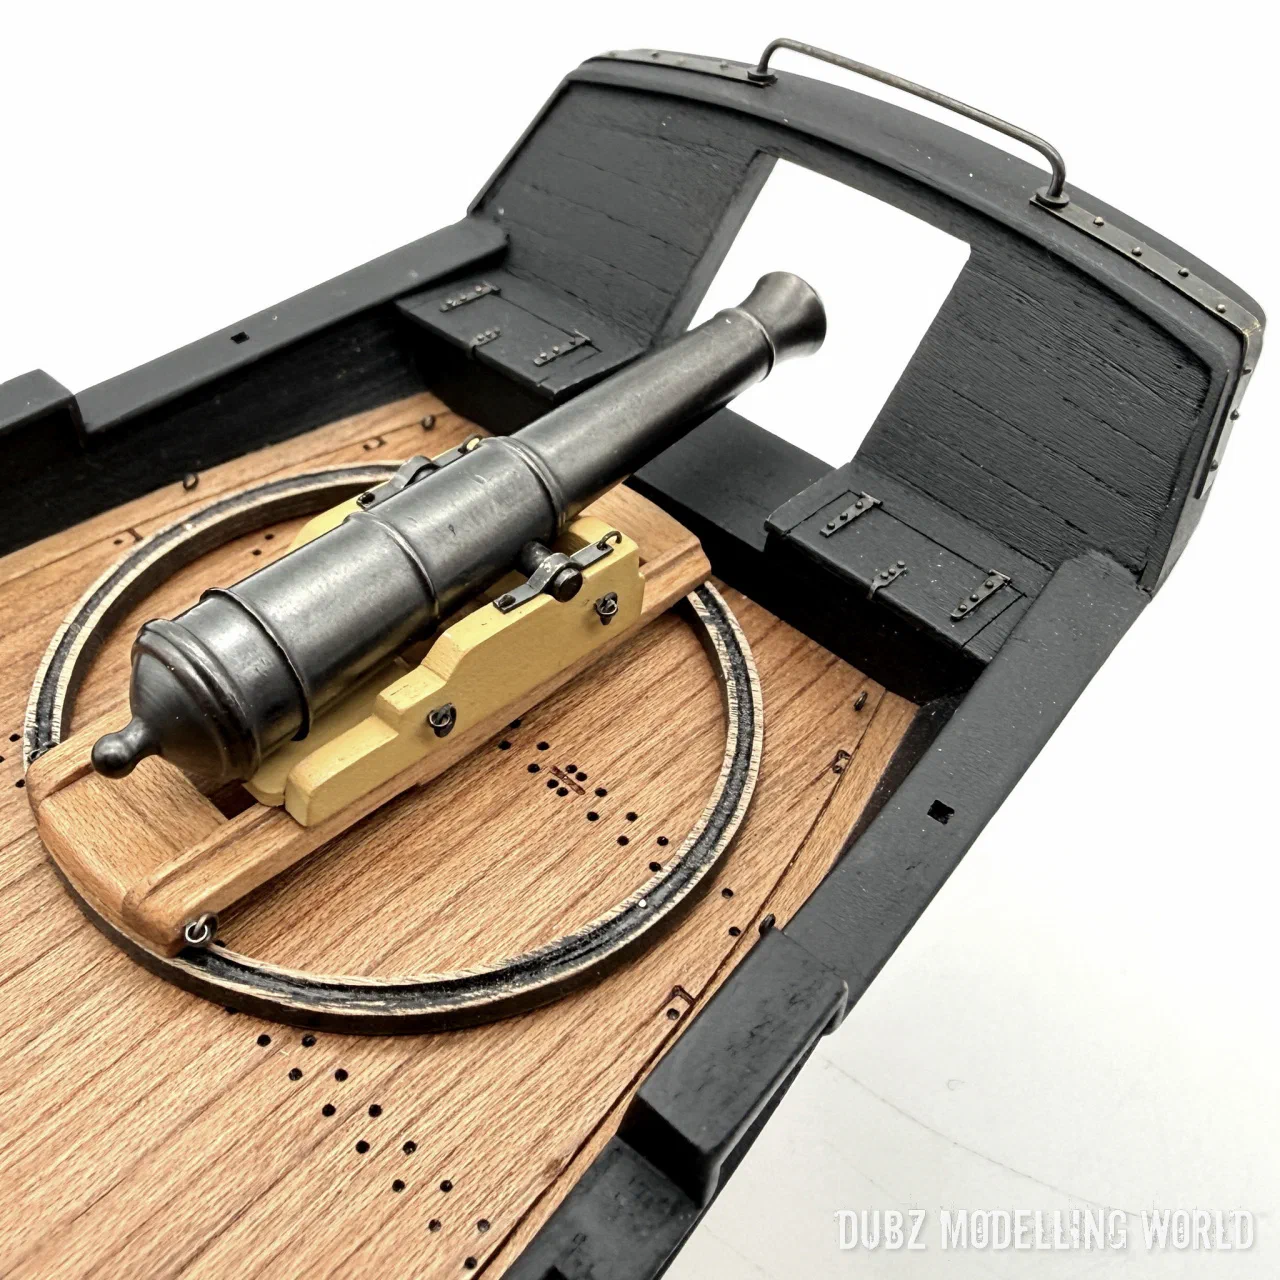
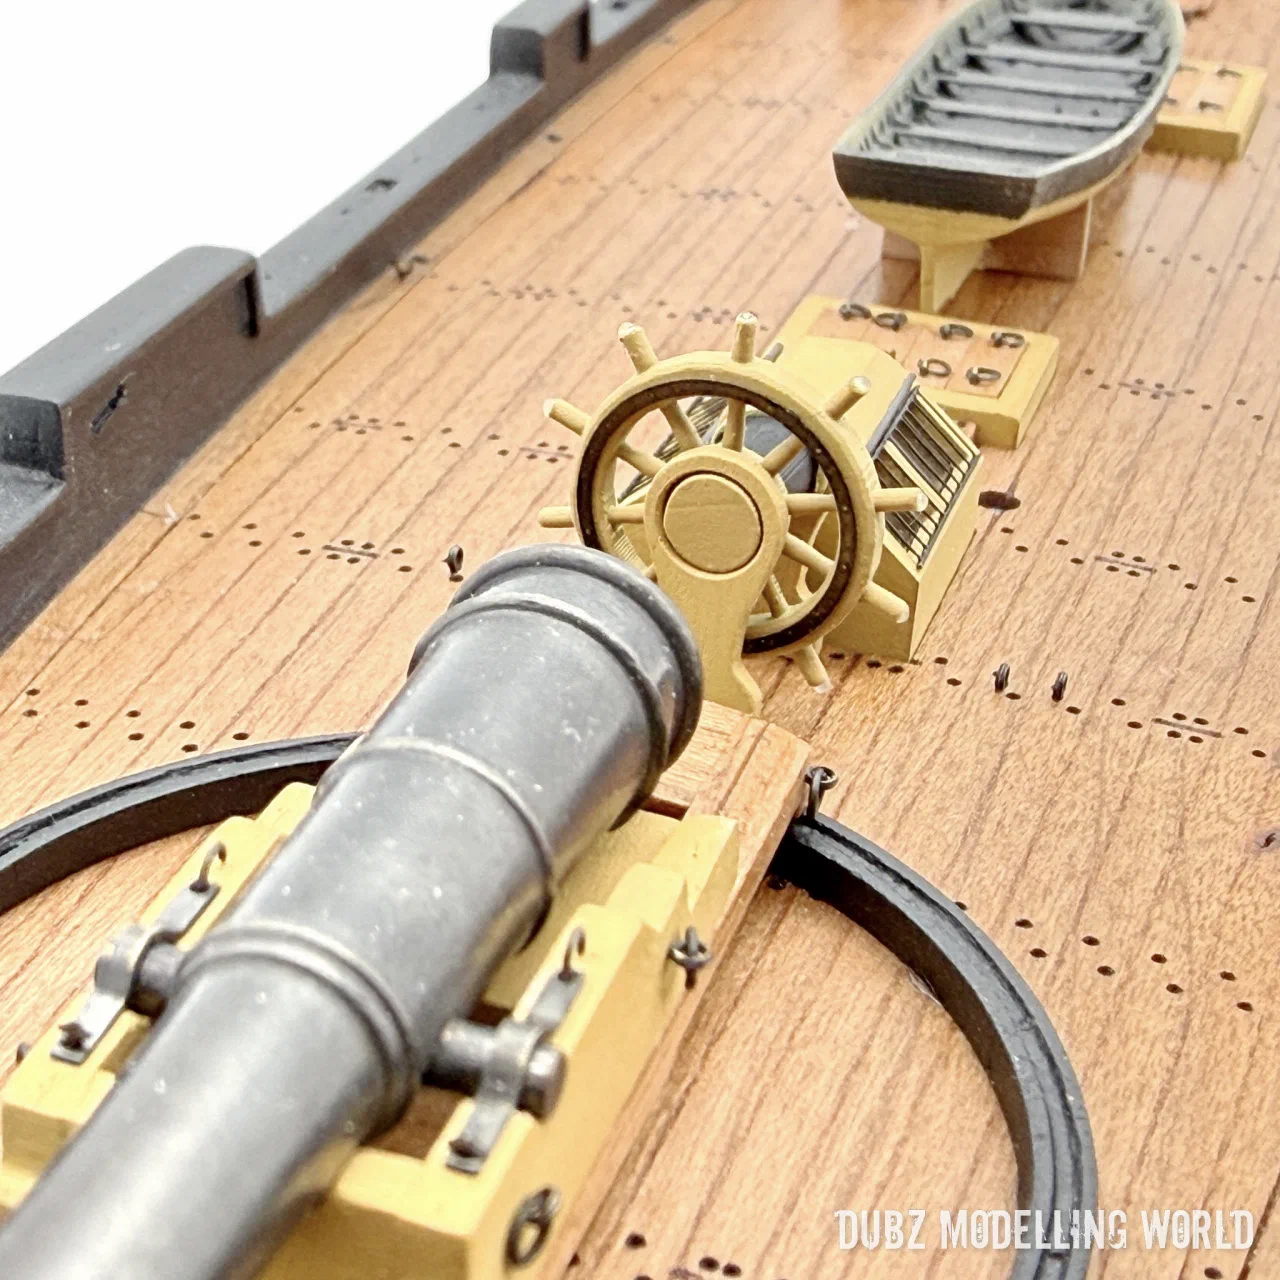
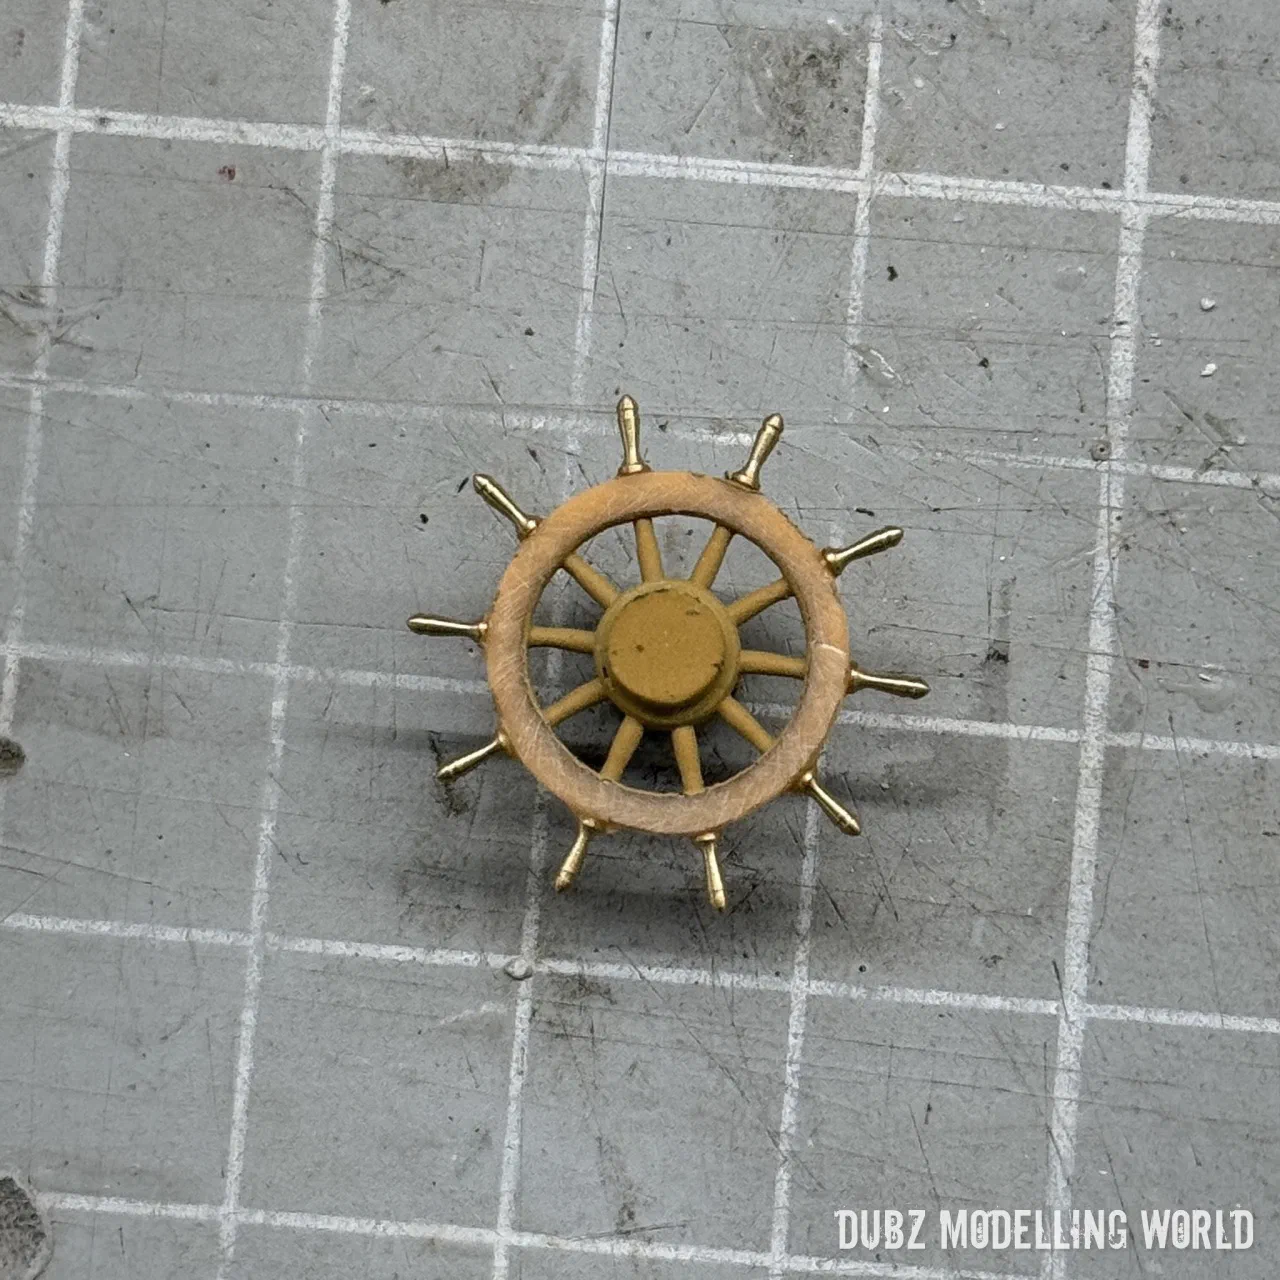
Anchors, boat, wheel and pumps are 3D-printed parts in varying quality. The anchors are nice; I sprayed them black and rubbed in graphite powder for a metallic finish. The kit’s photo-etched parts are good. For the wheel I found Dry-Dock brass belaying pins that fit perfectly.
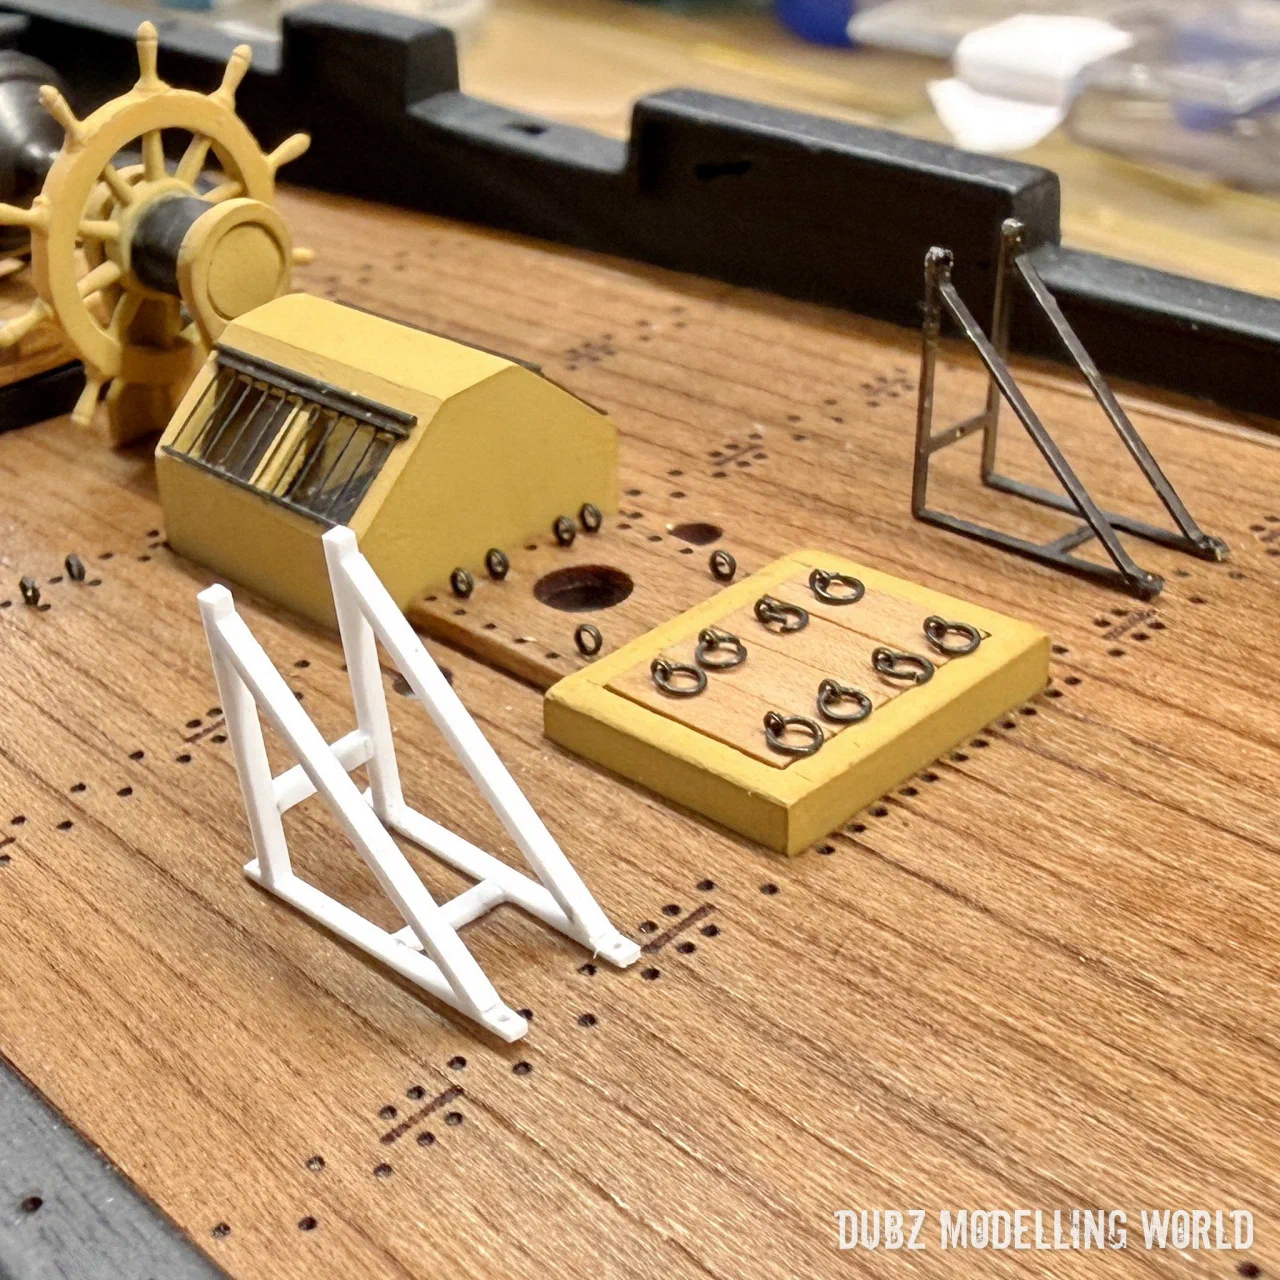
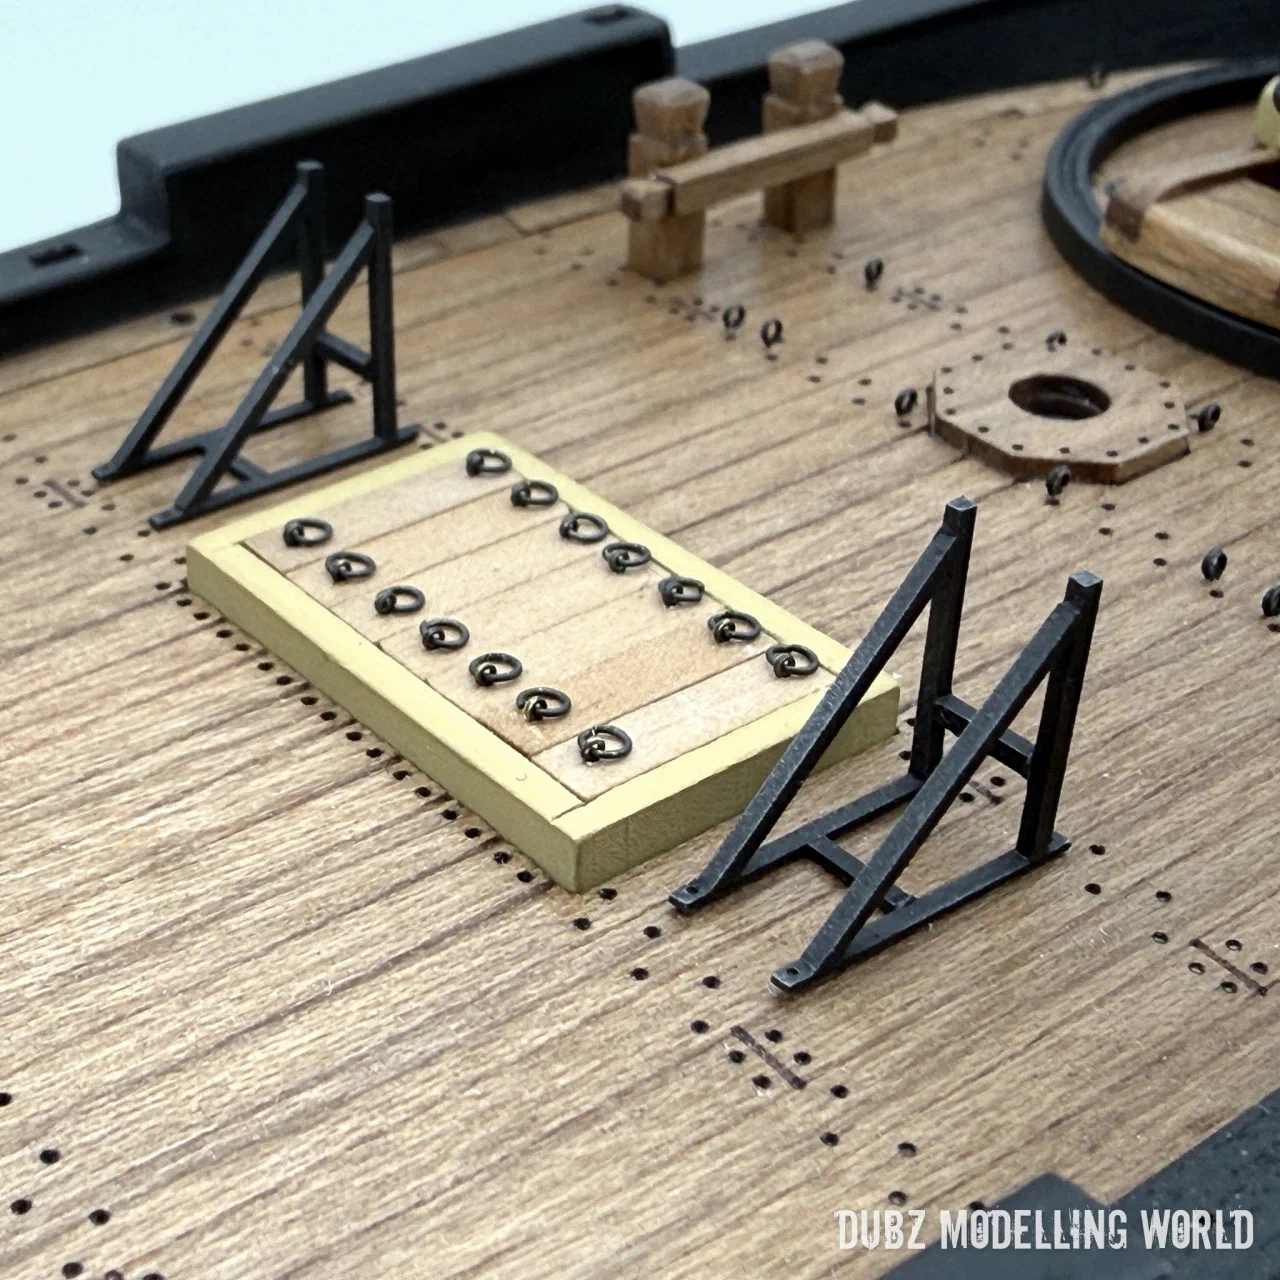
The oar racks I first rebuilt from Evergreen profiles because I was not sure about the etched ones. In the end I used the sturdier version, because it matches the stanchions.
The handrail
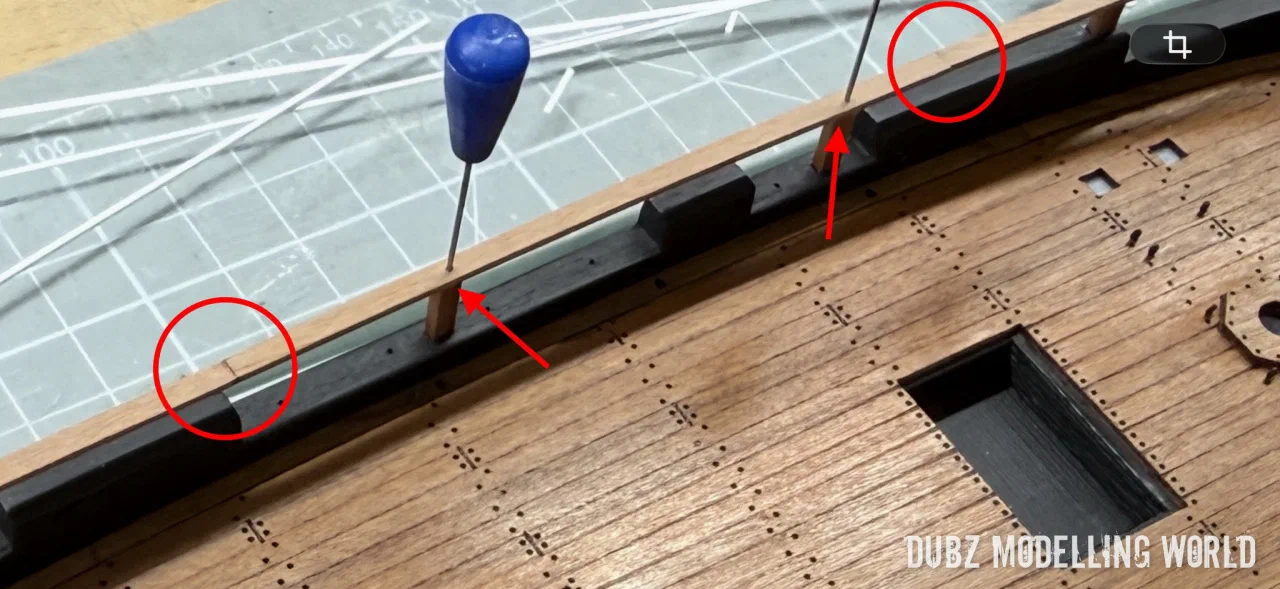
The handrail consists of three parts, joined in places without stanchions, and the bow section needed a lot of patience. I made adjustments in very small steps, constantly test-fitting, until it sat correctly. It is fragile and already broke once, but with the added metal stanchions it rounds off the picture nicely.
Oar brackets, case and rudder
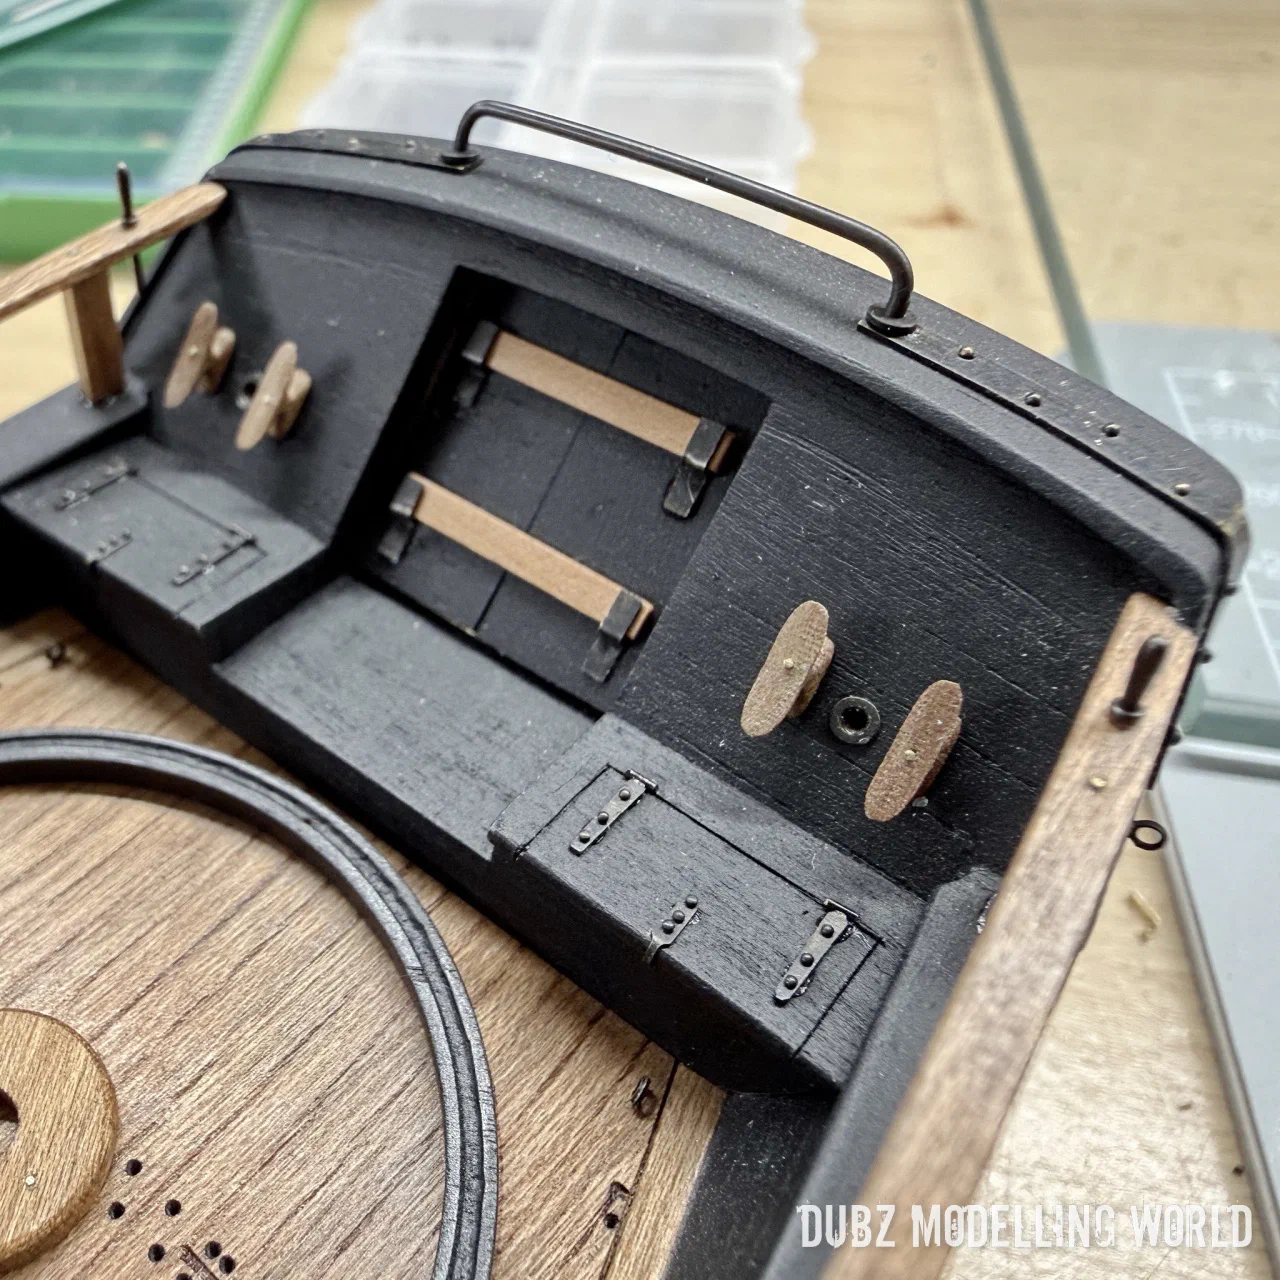
The oar brackets got Dry-Dock nails instead of the oversized kit nails, raised a little with washers. A gun port lock was added, and the case was built.
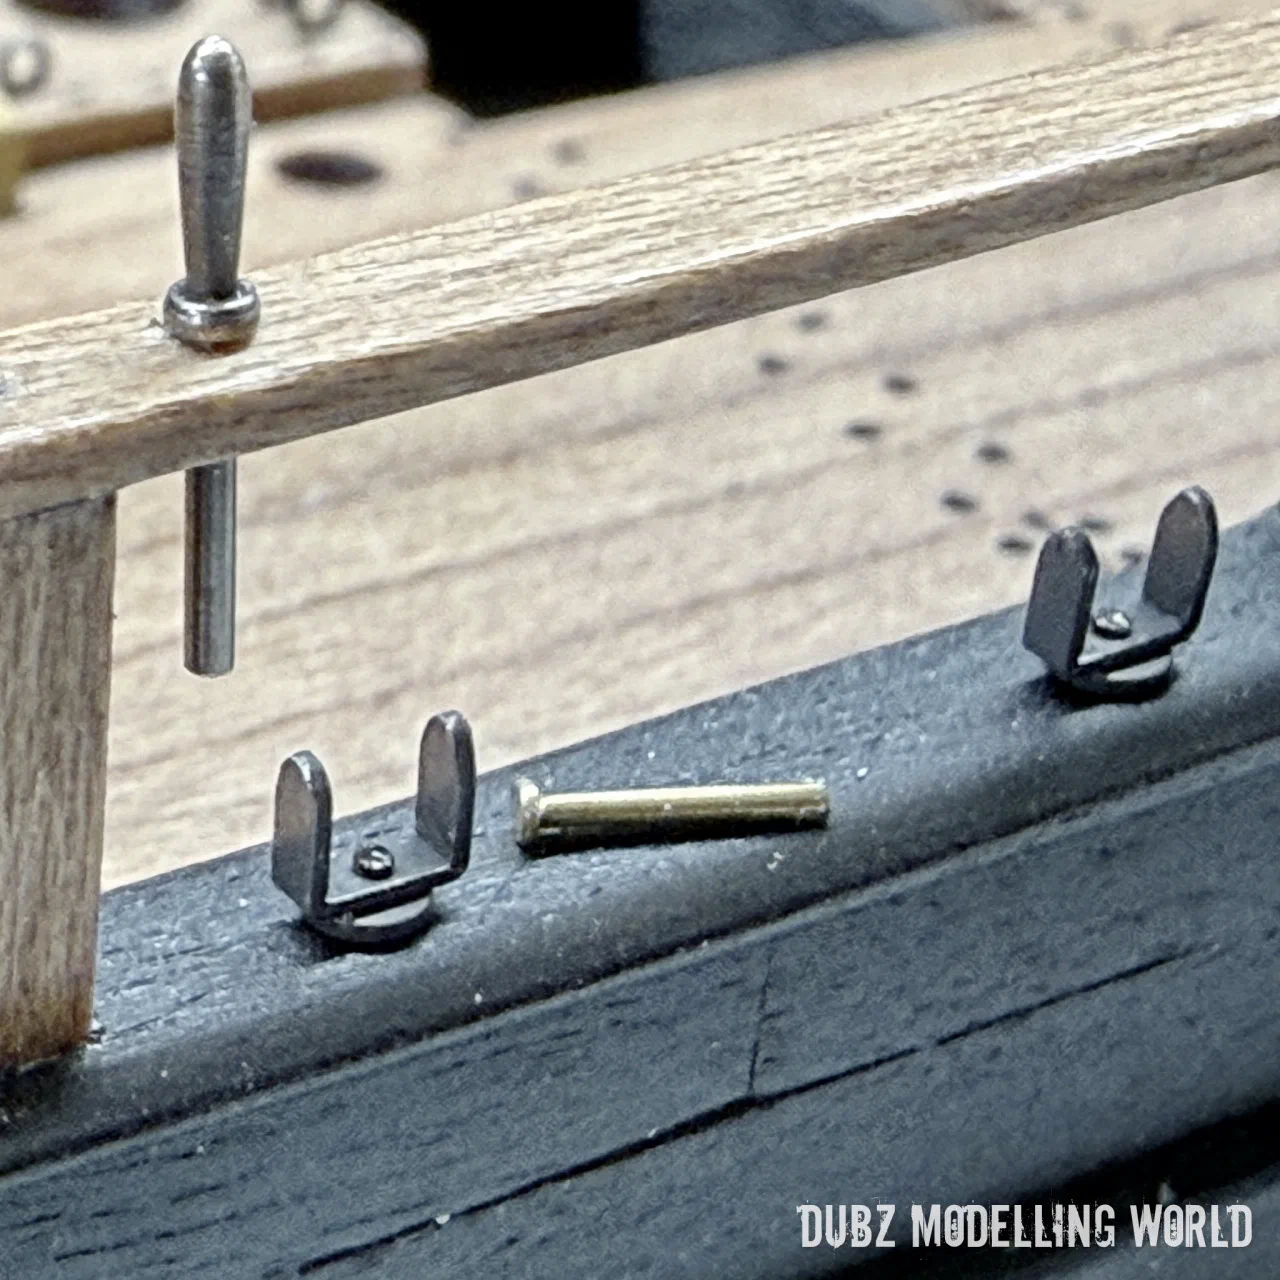
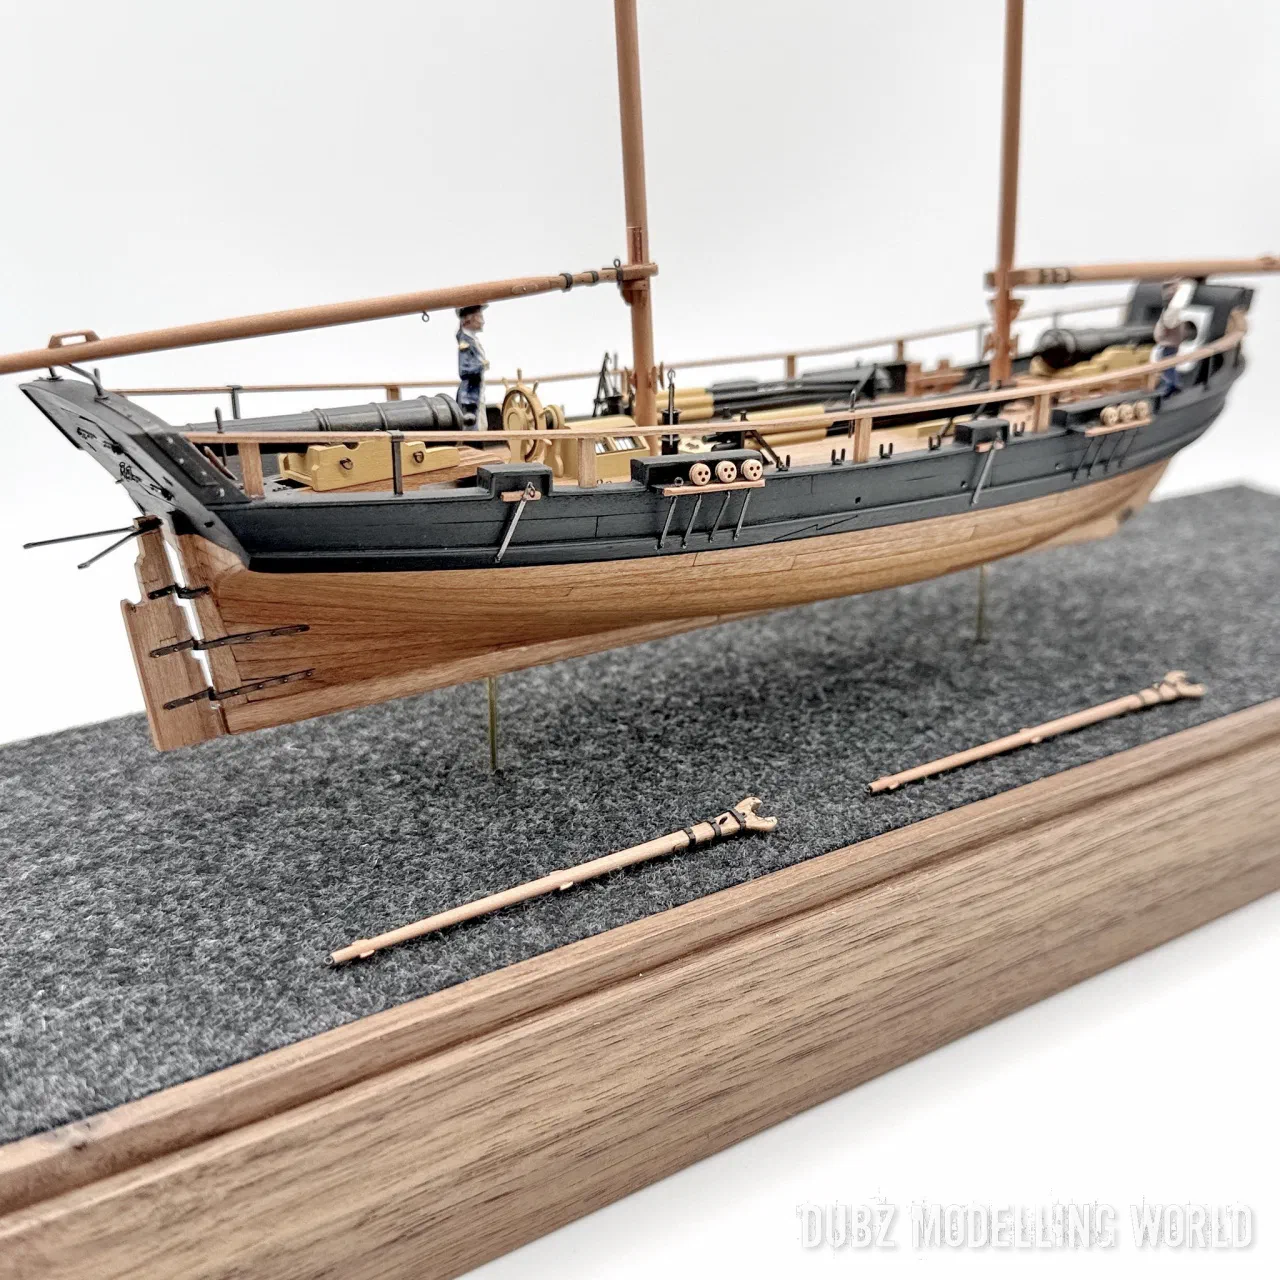
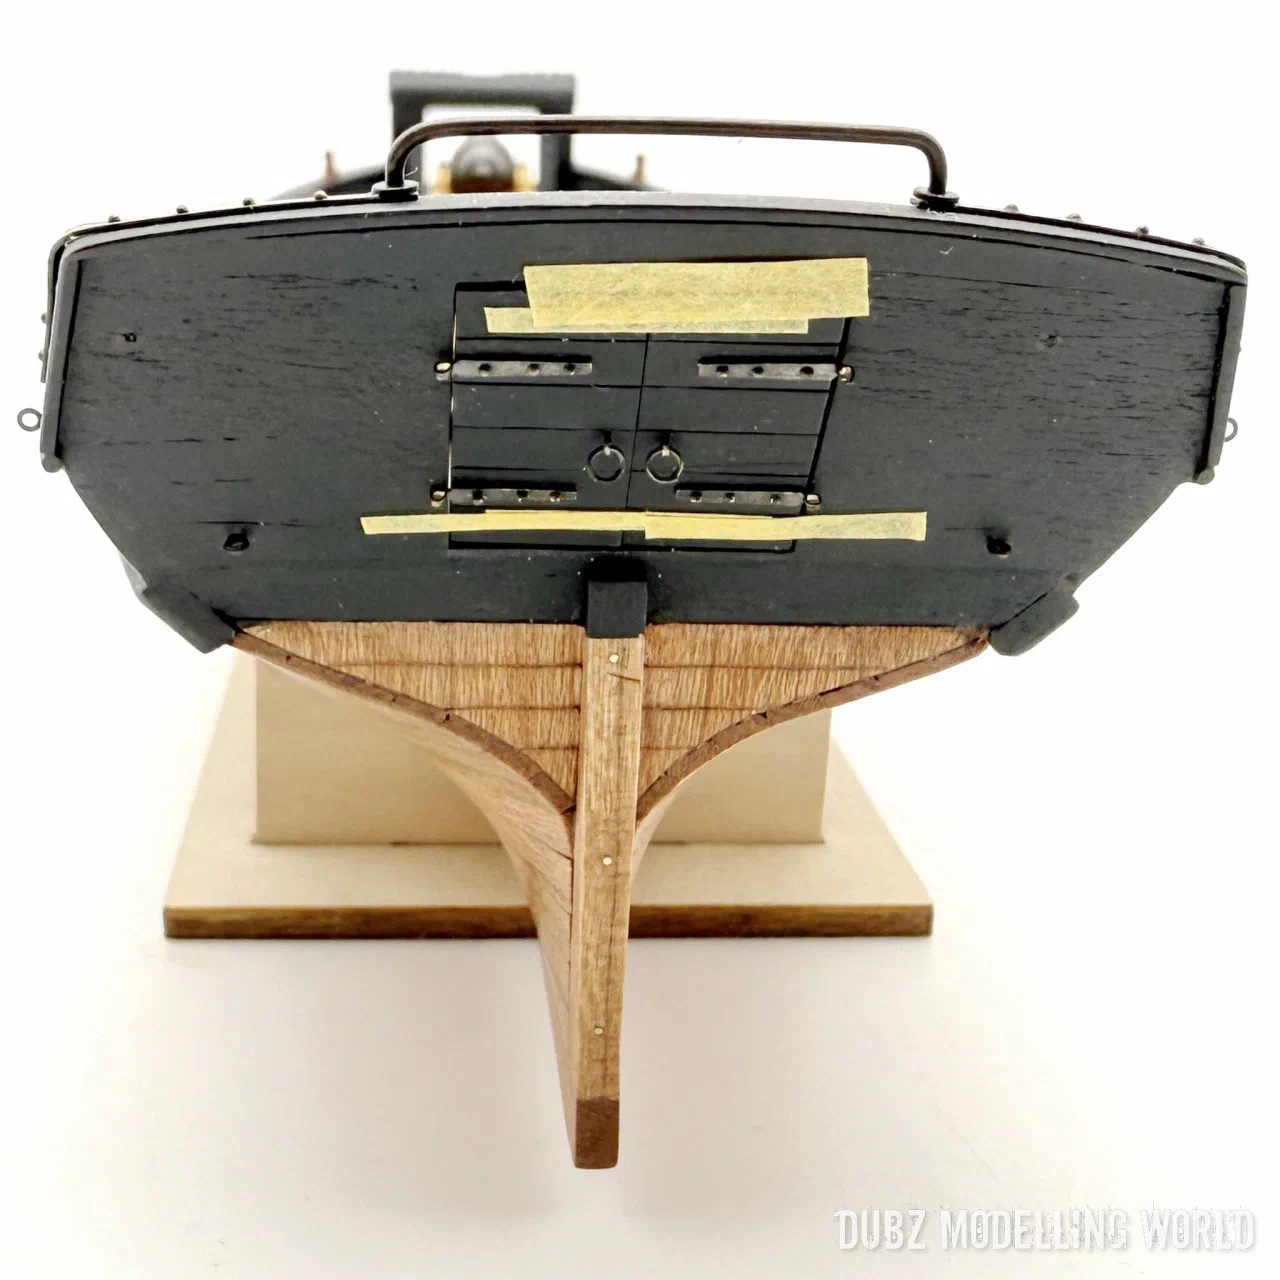
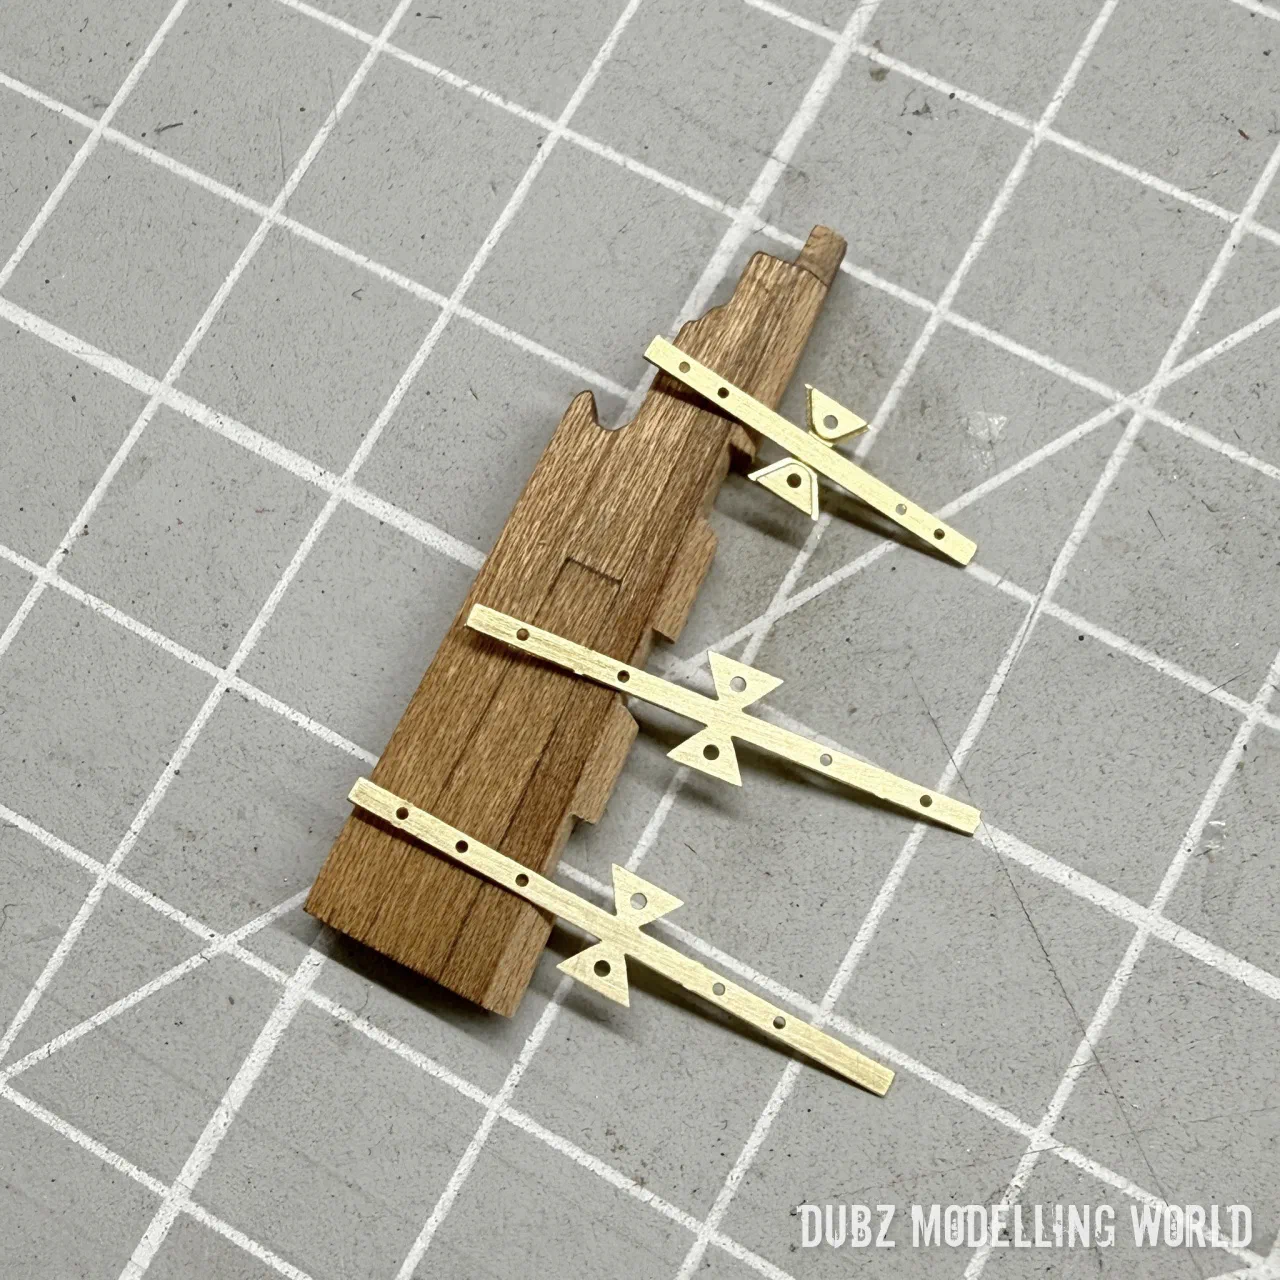
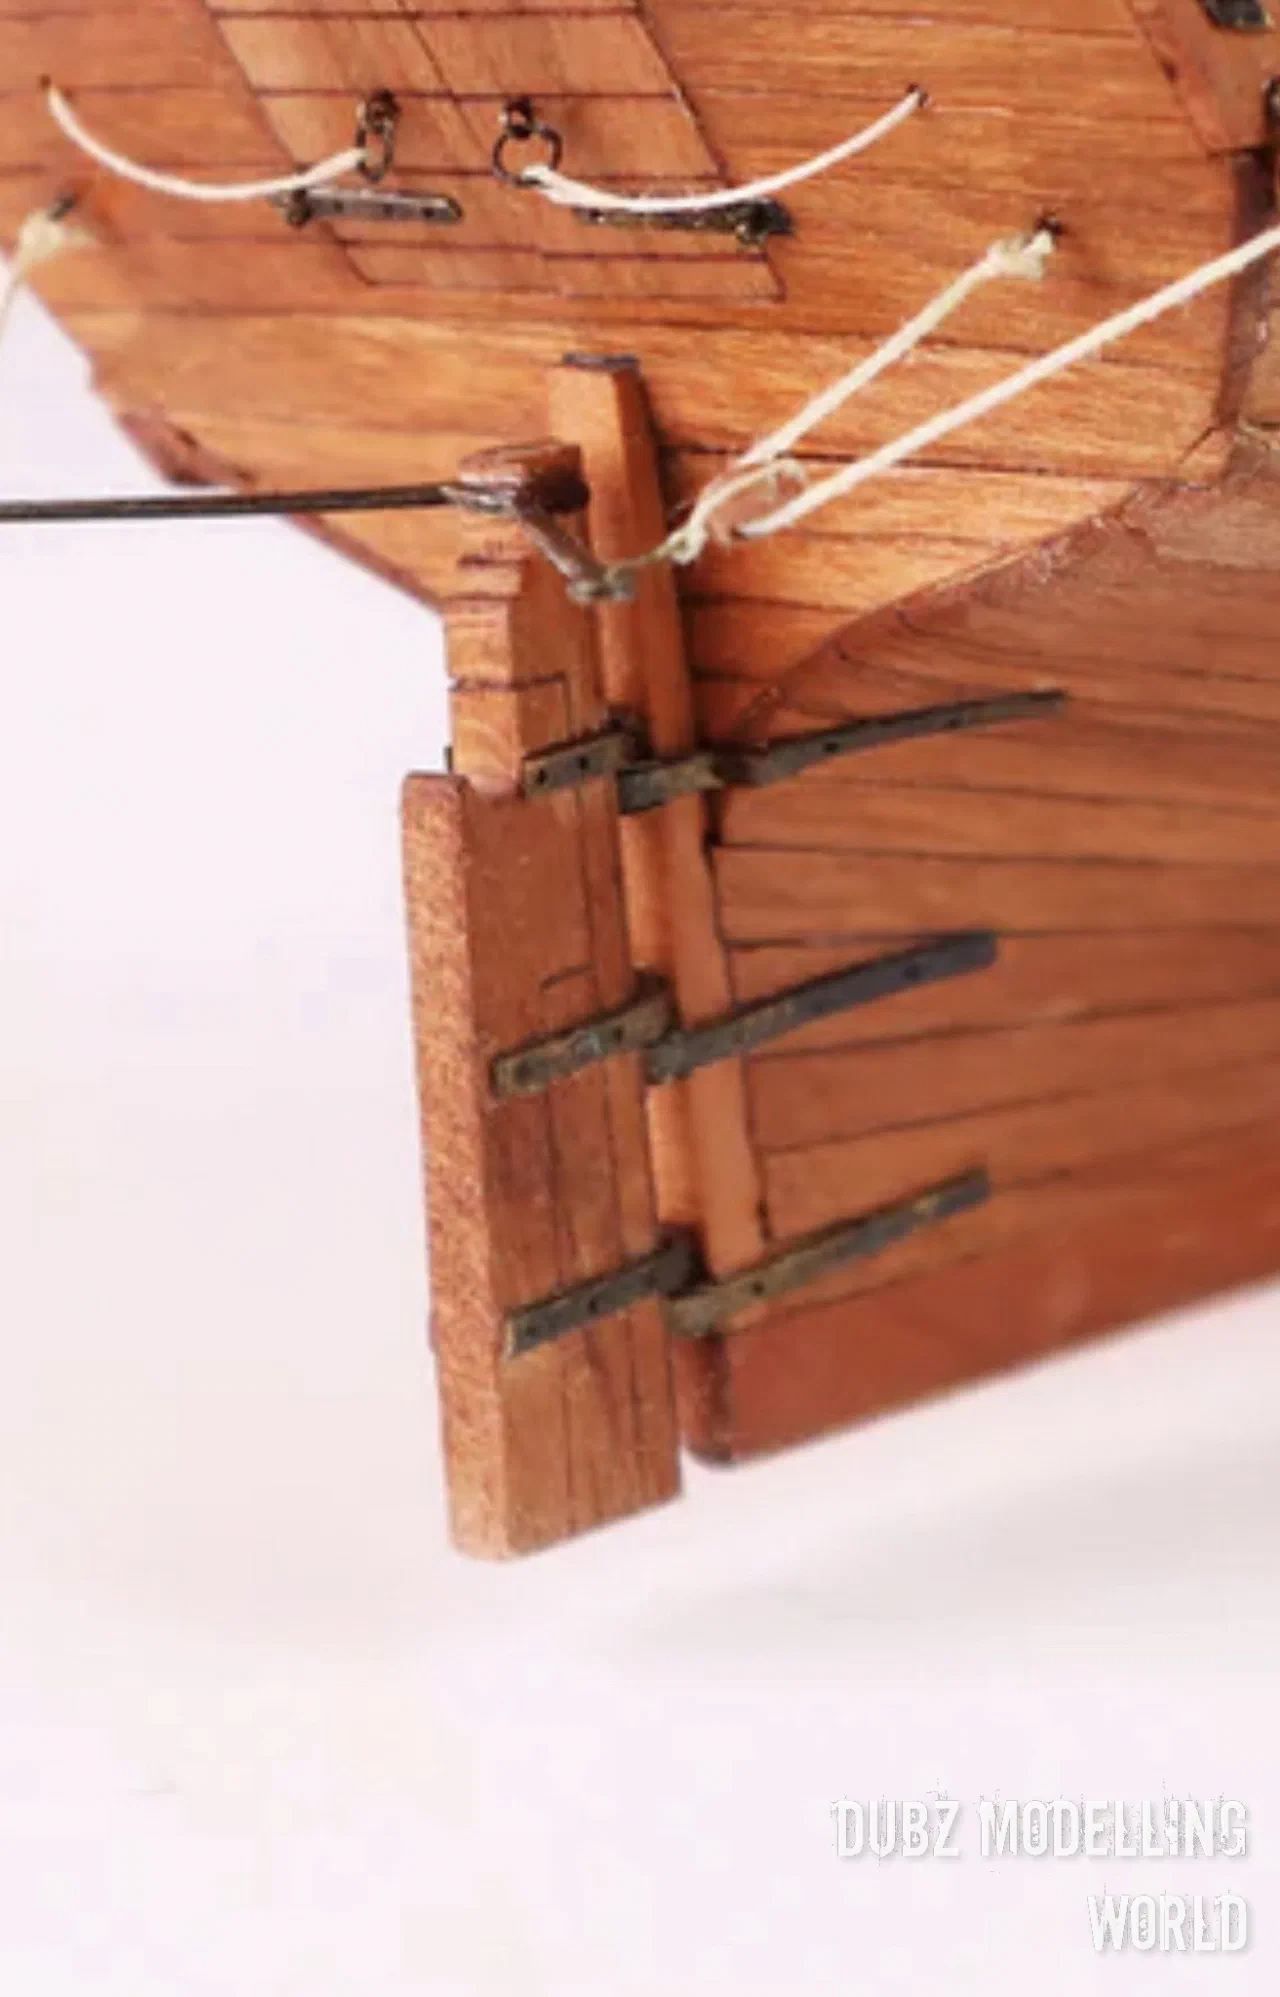
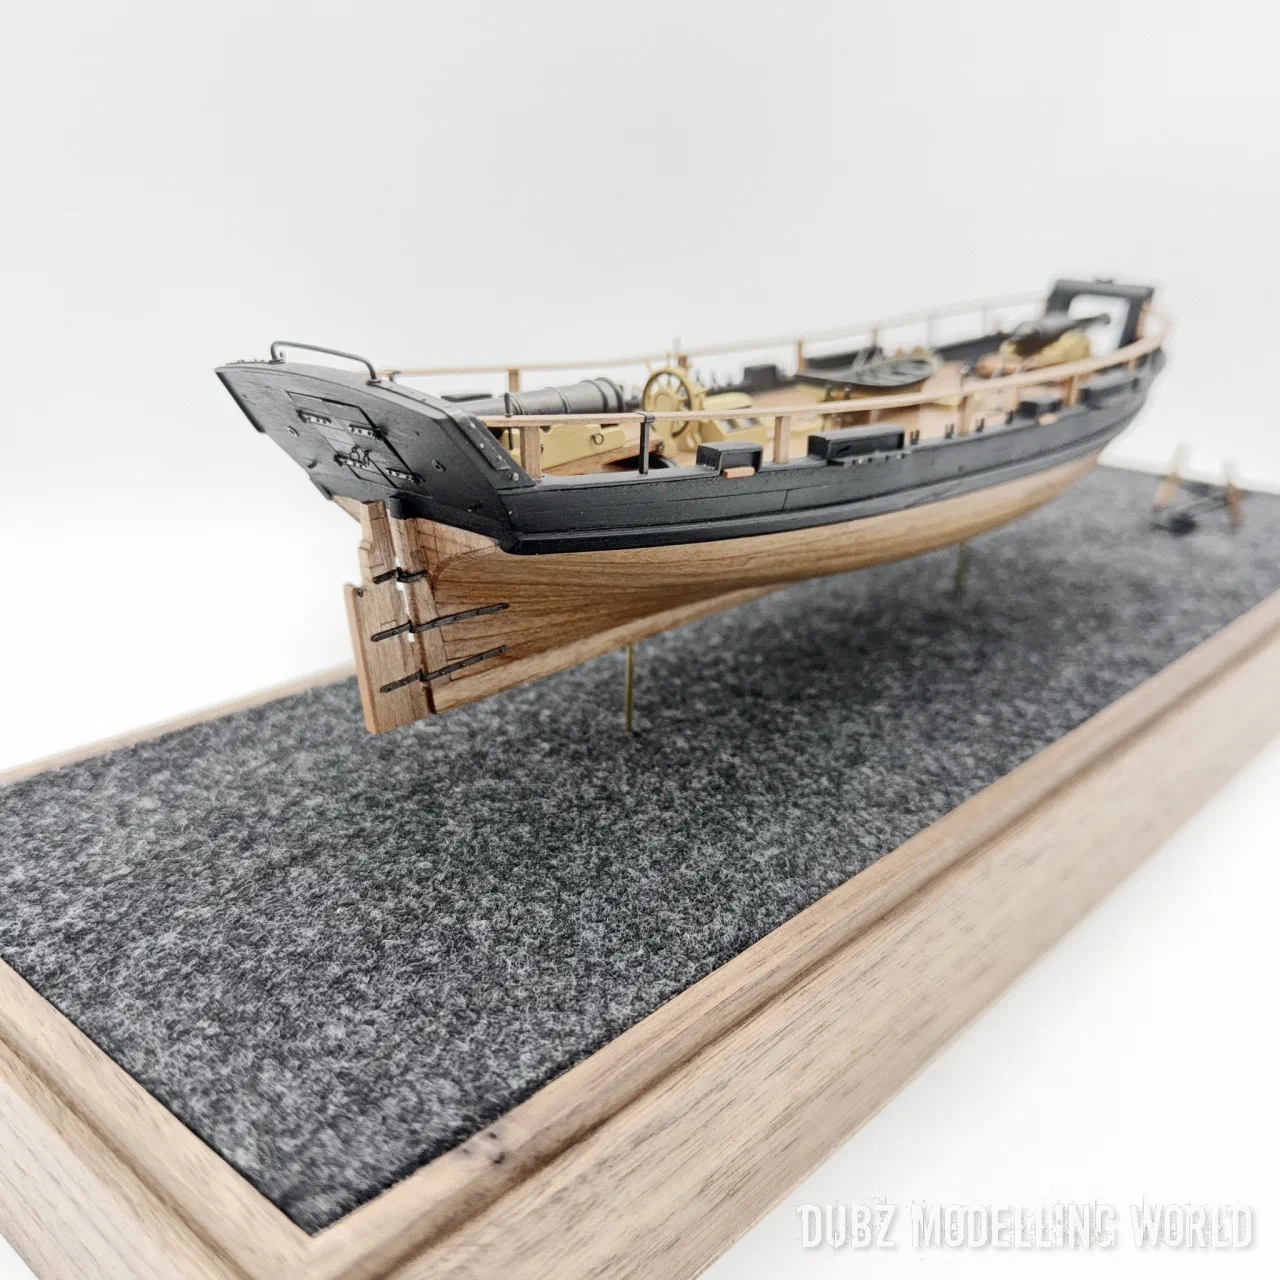
The rudder hinges were the hardest part to get right: they do not match the shape of the stern, holes were missing, and I had to make compromises – the rudder slightly shortened, the hinges attached rather than embedded. Not perfect, but the best I could do.
Tiller and pumps
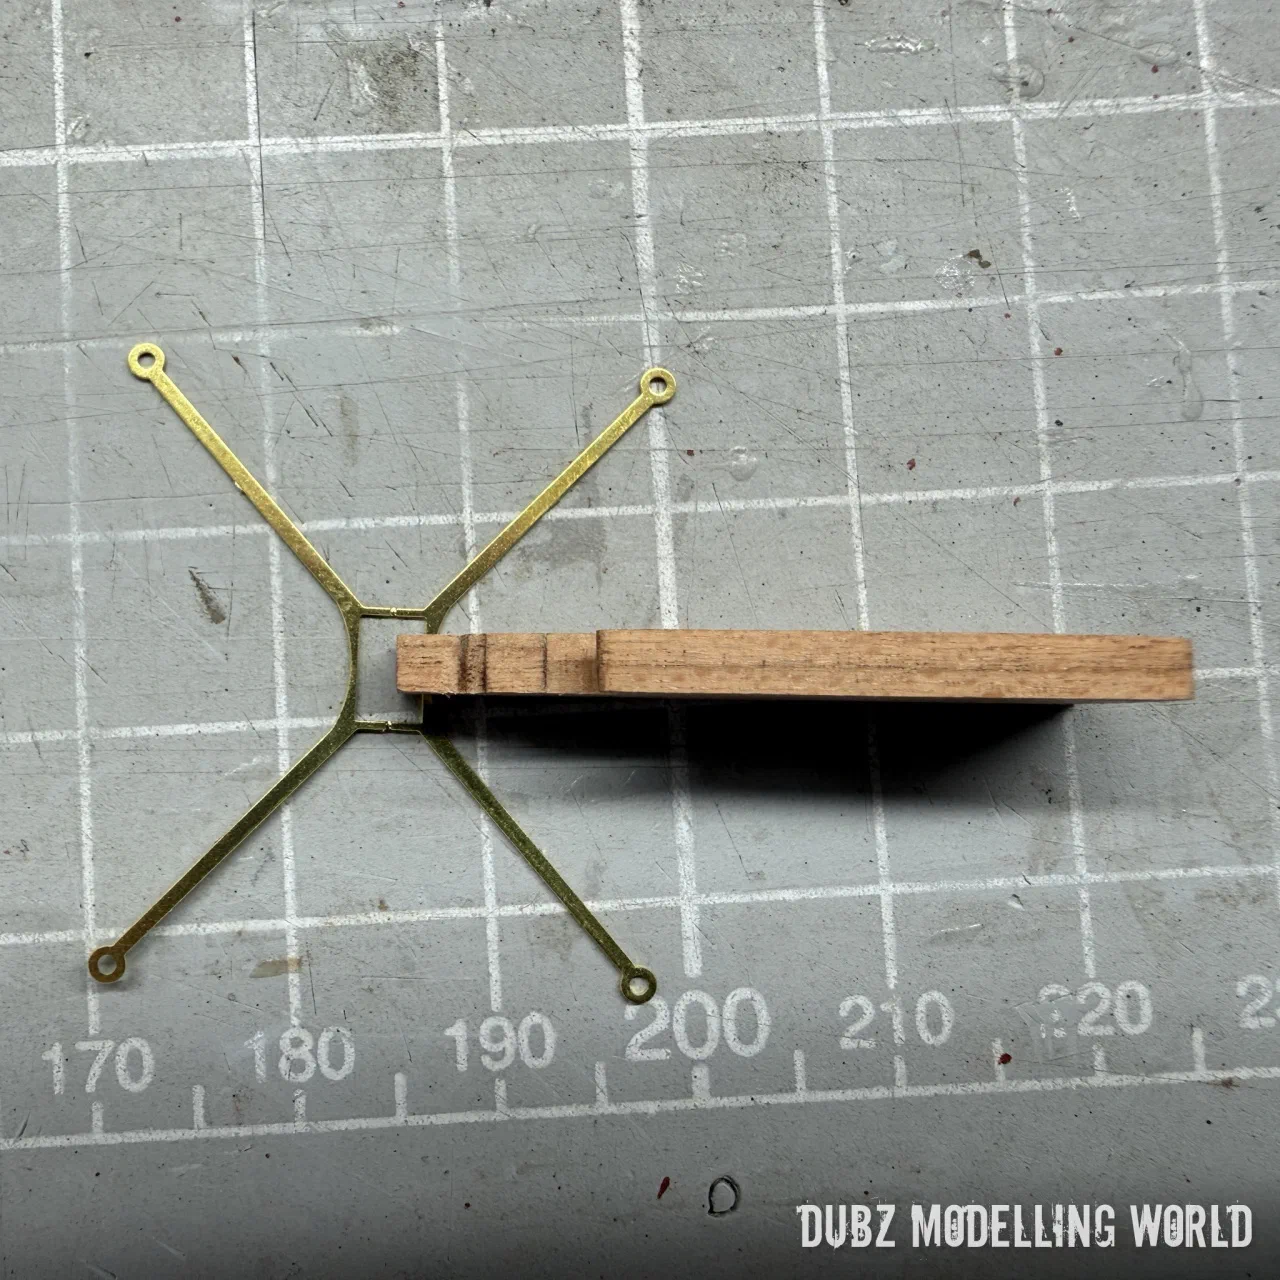
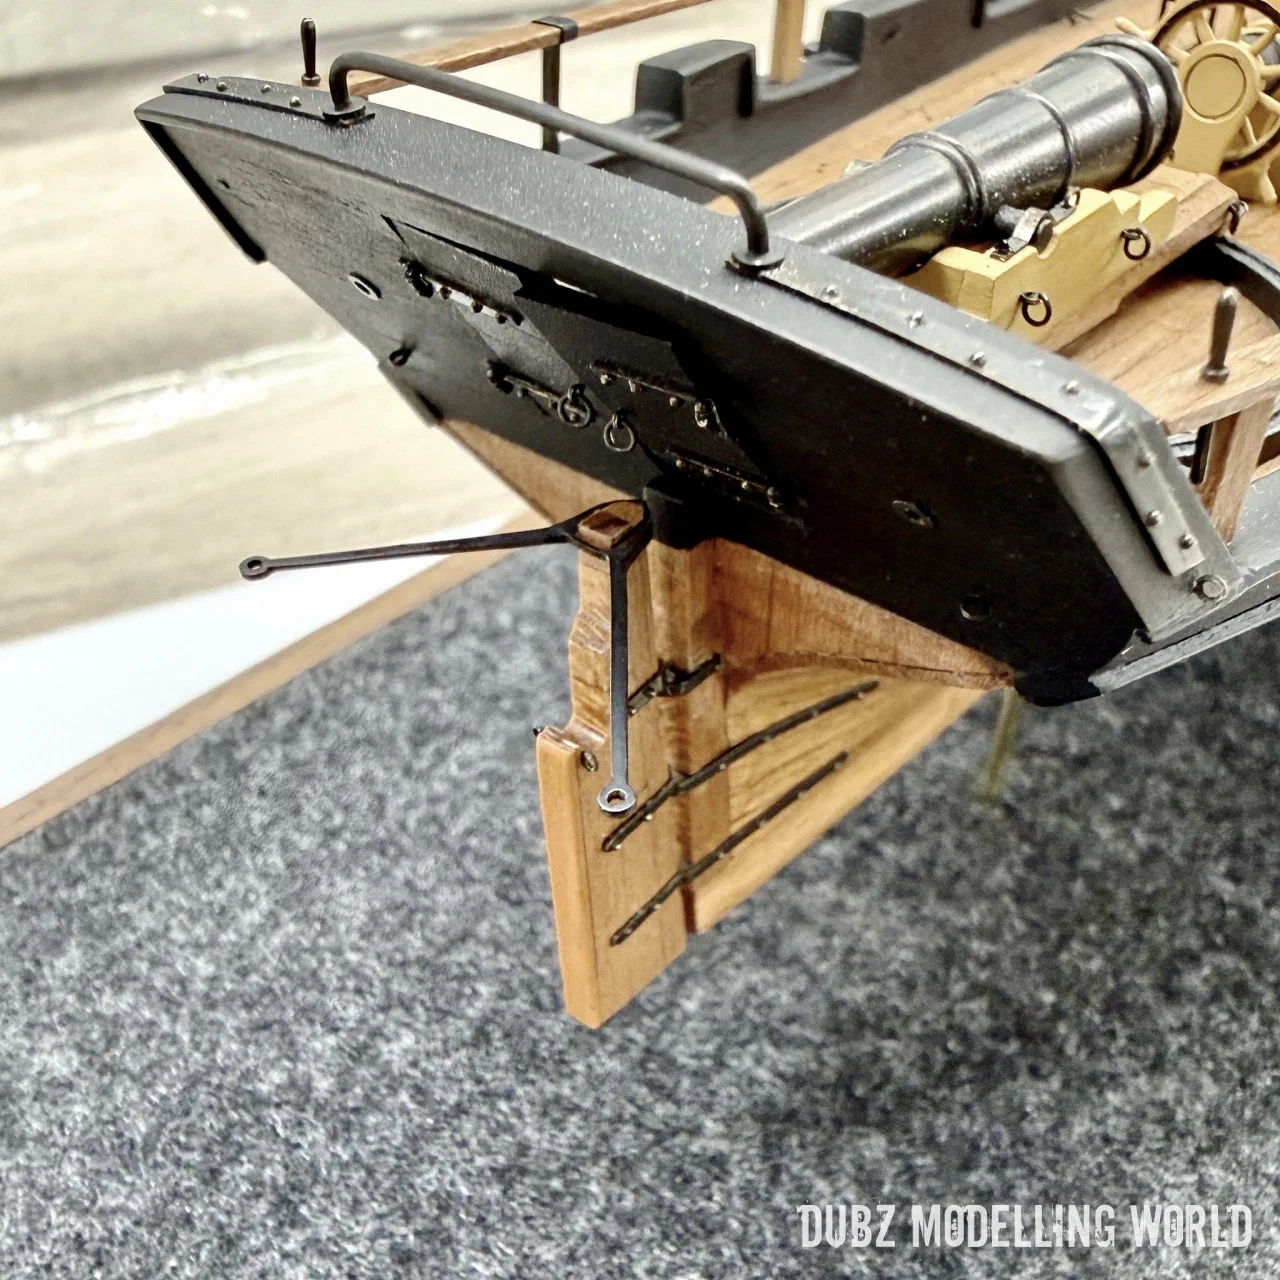
For the metal tiller I folded the etched part the other way round, soldered the folded parts and then soldered on a brass strip following the contour of the rudder head, so that everything fits.
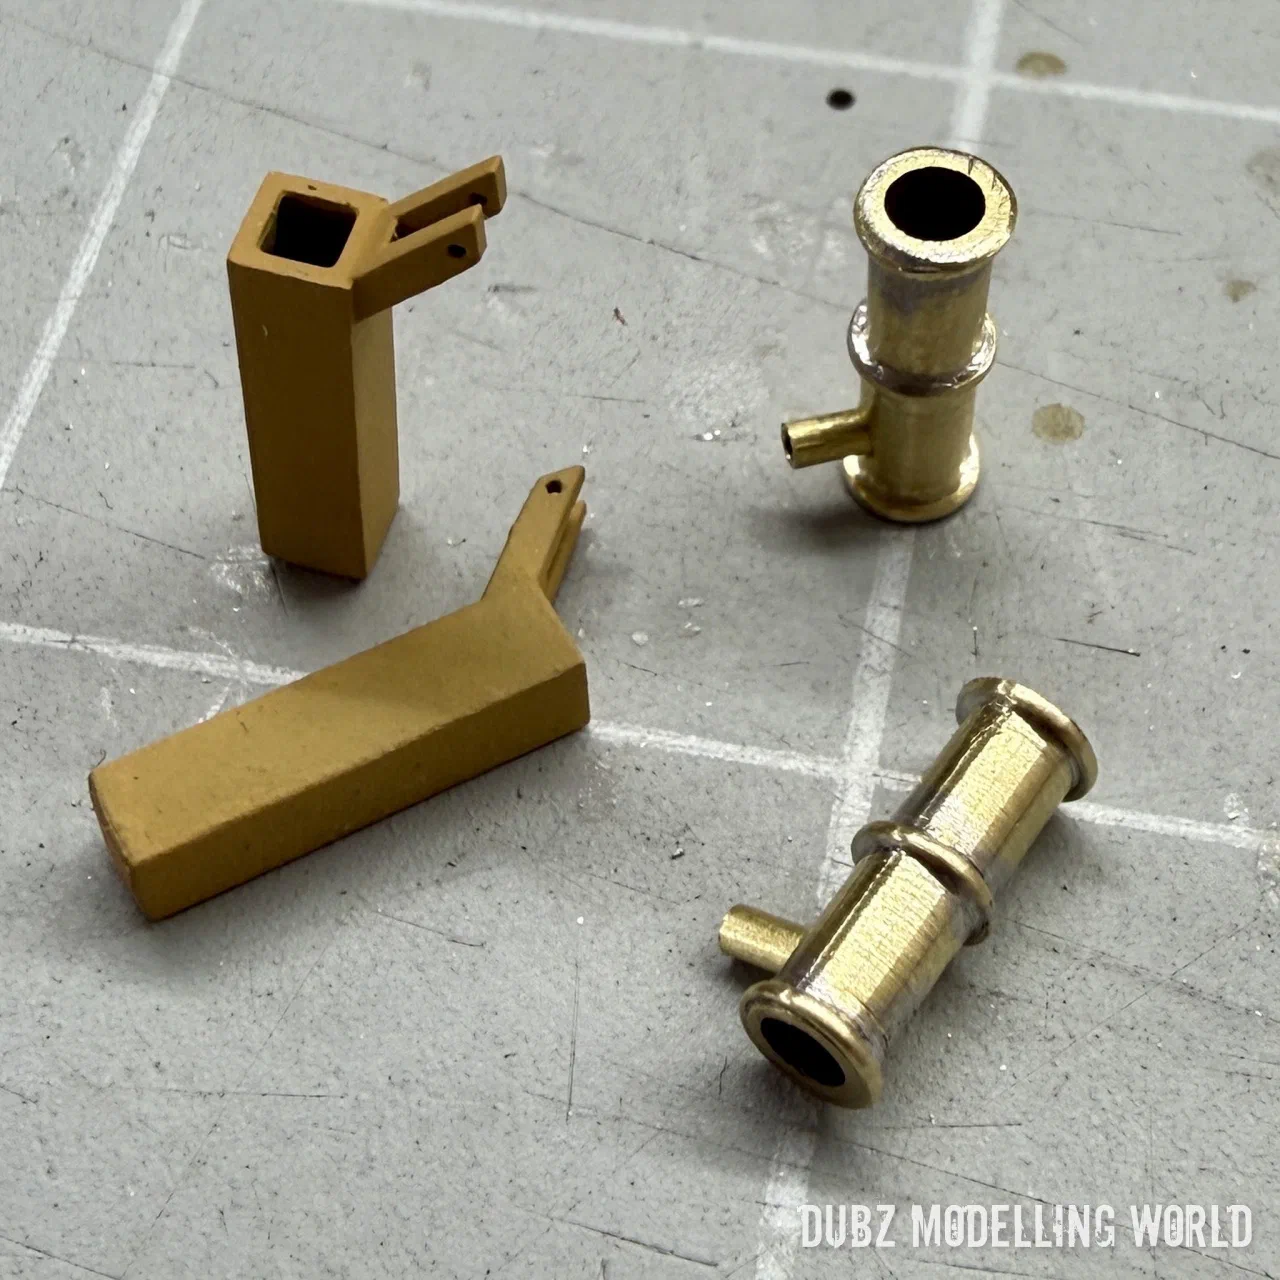
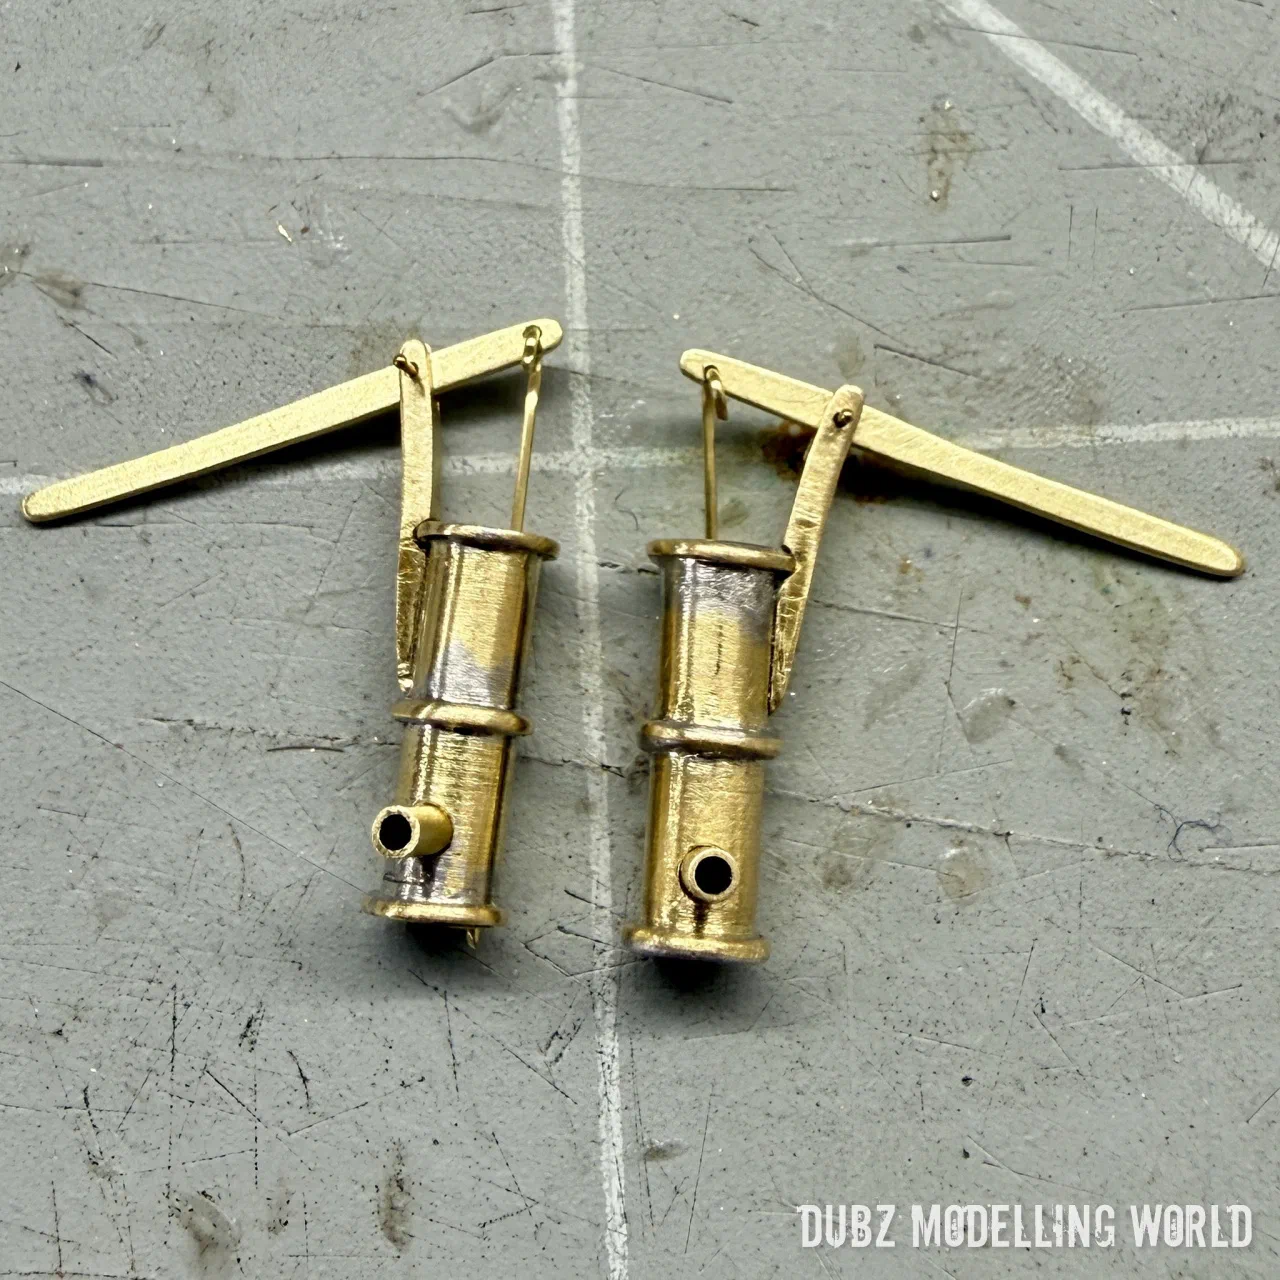
The pumps I built myself in brass. I needed more practice, and had to cut grooves around the tubes to hold the rings in position – but the result is quite OK.
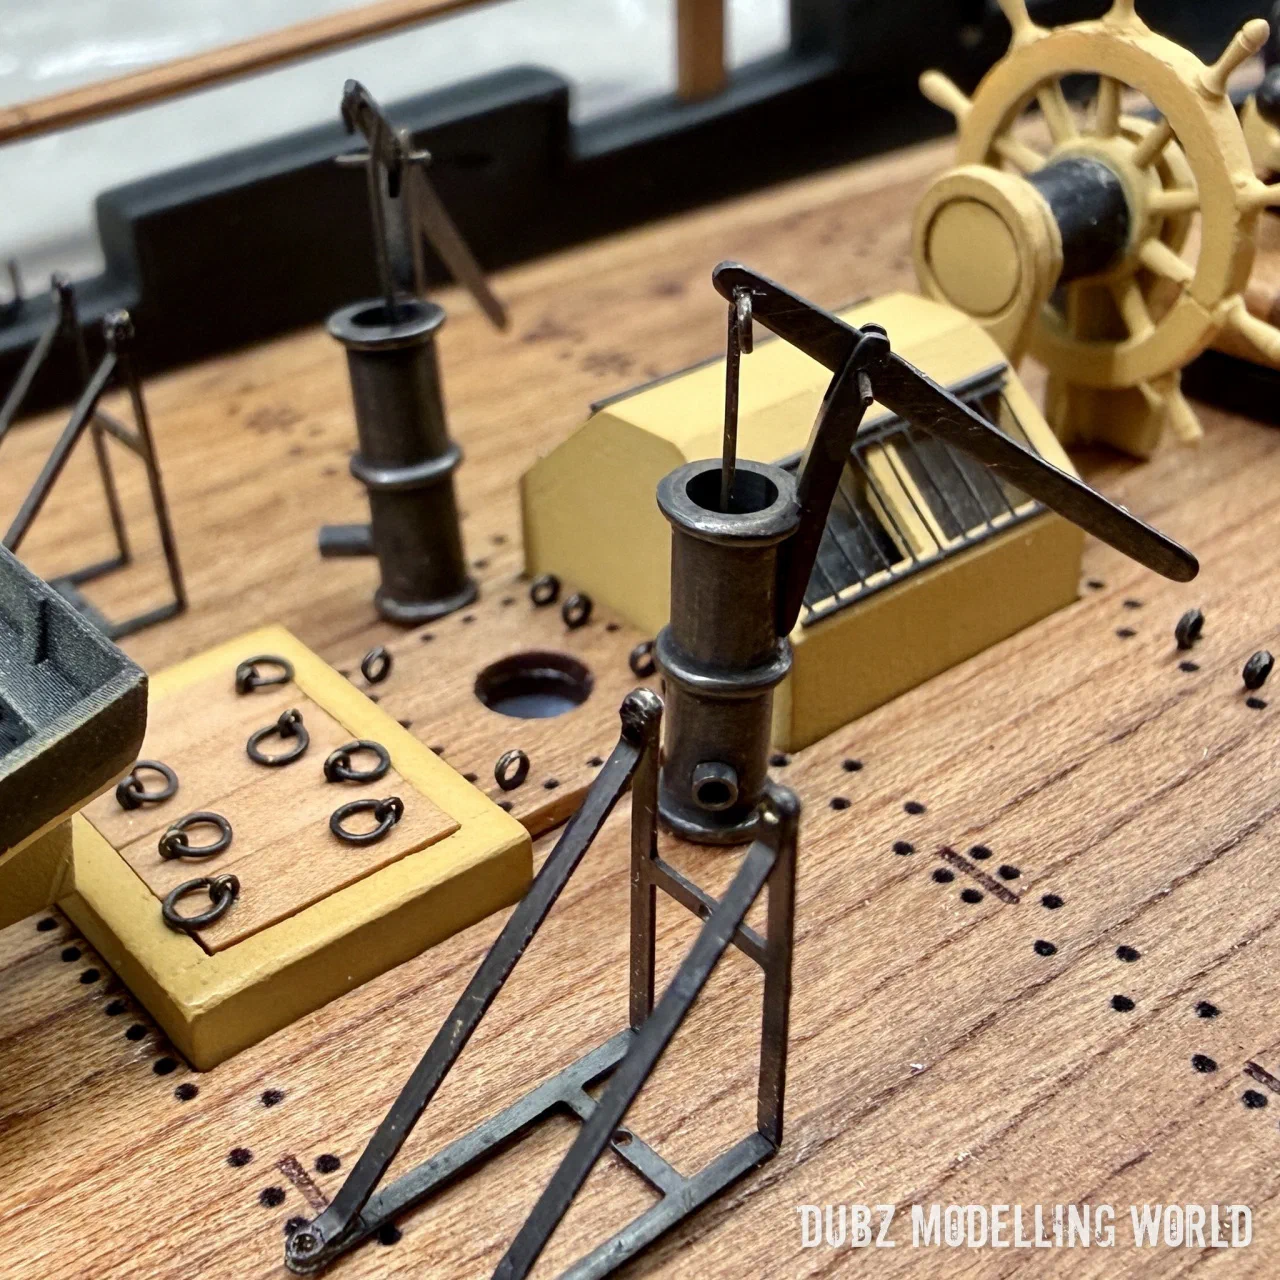
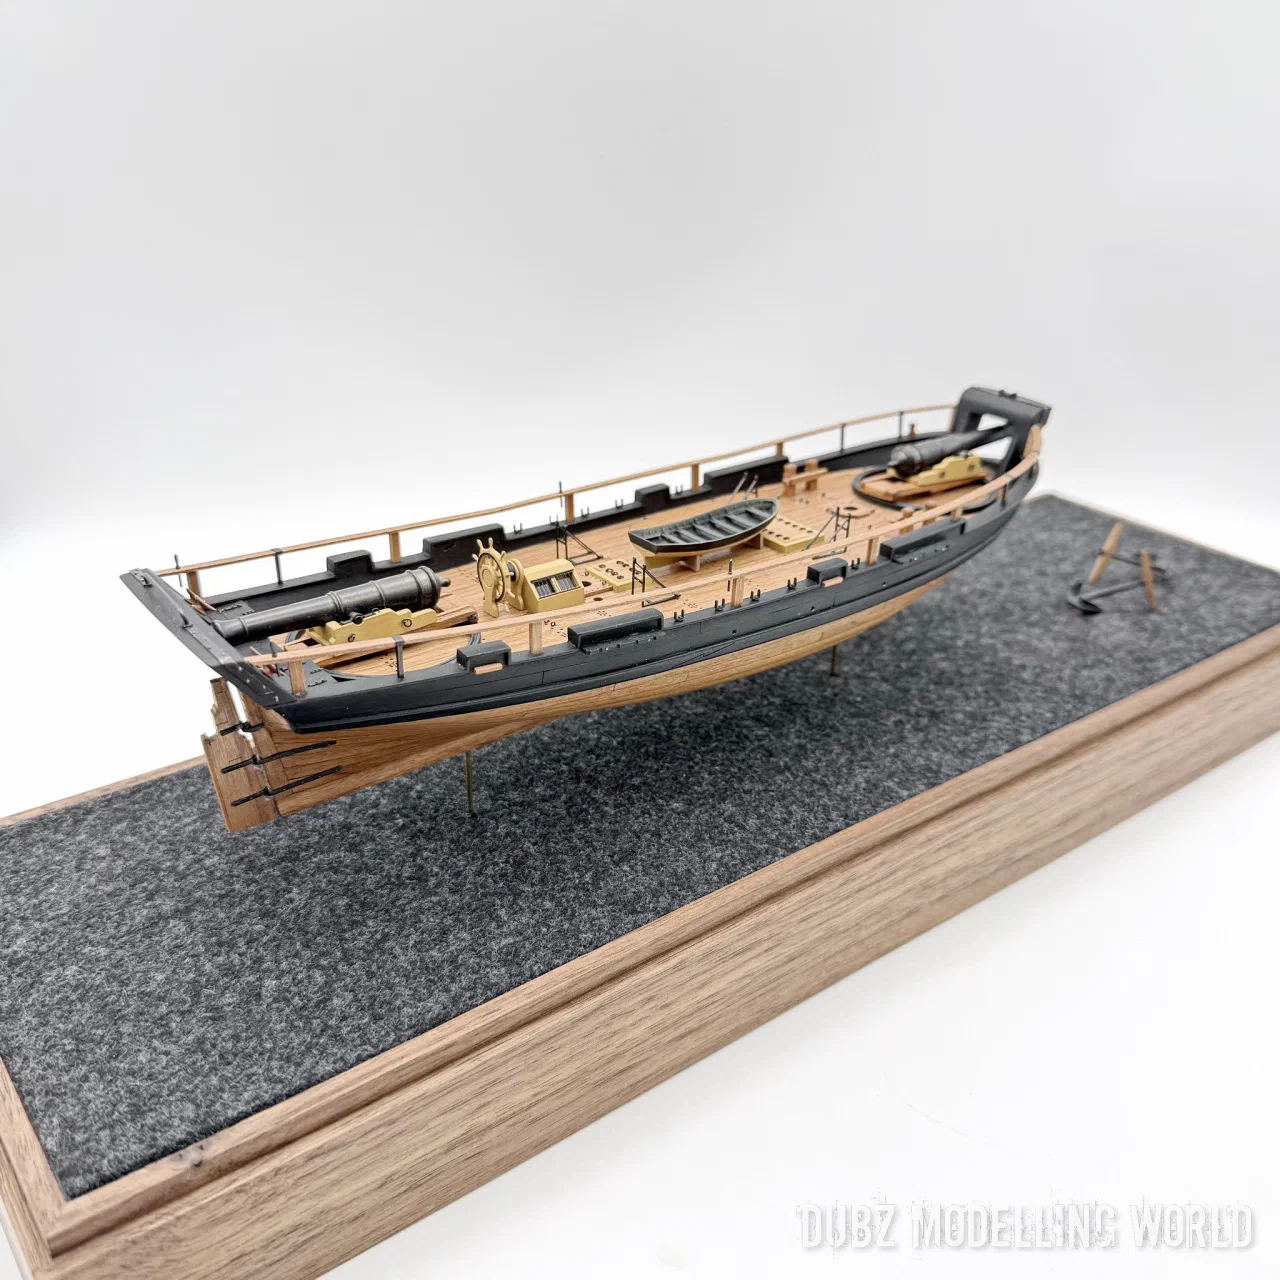
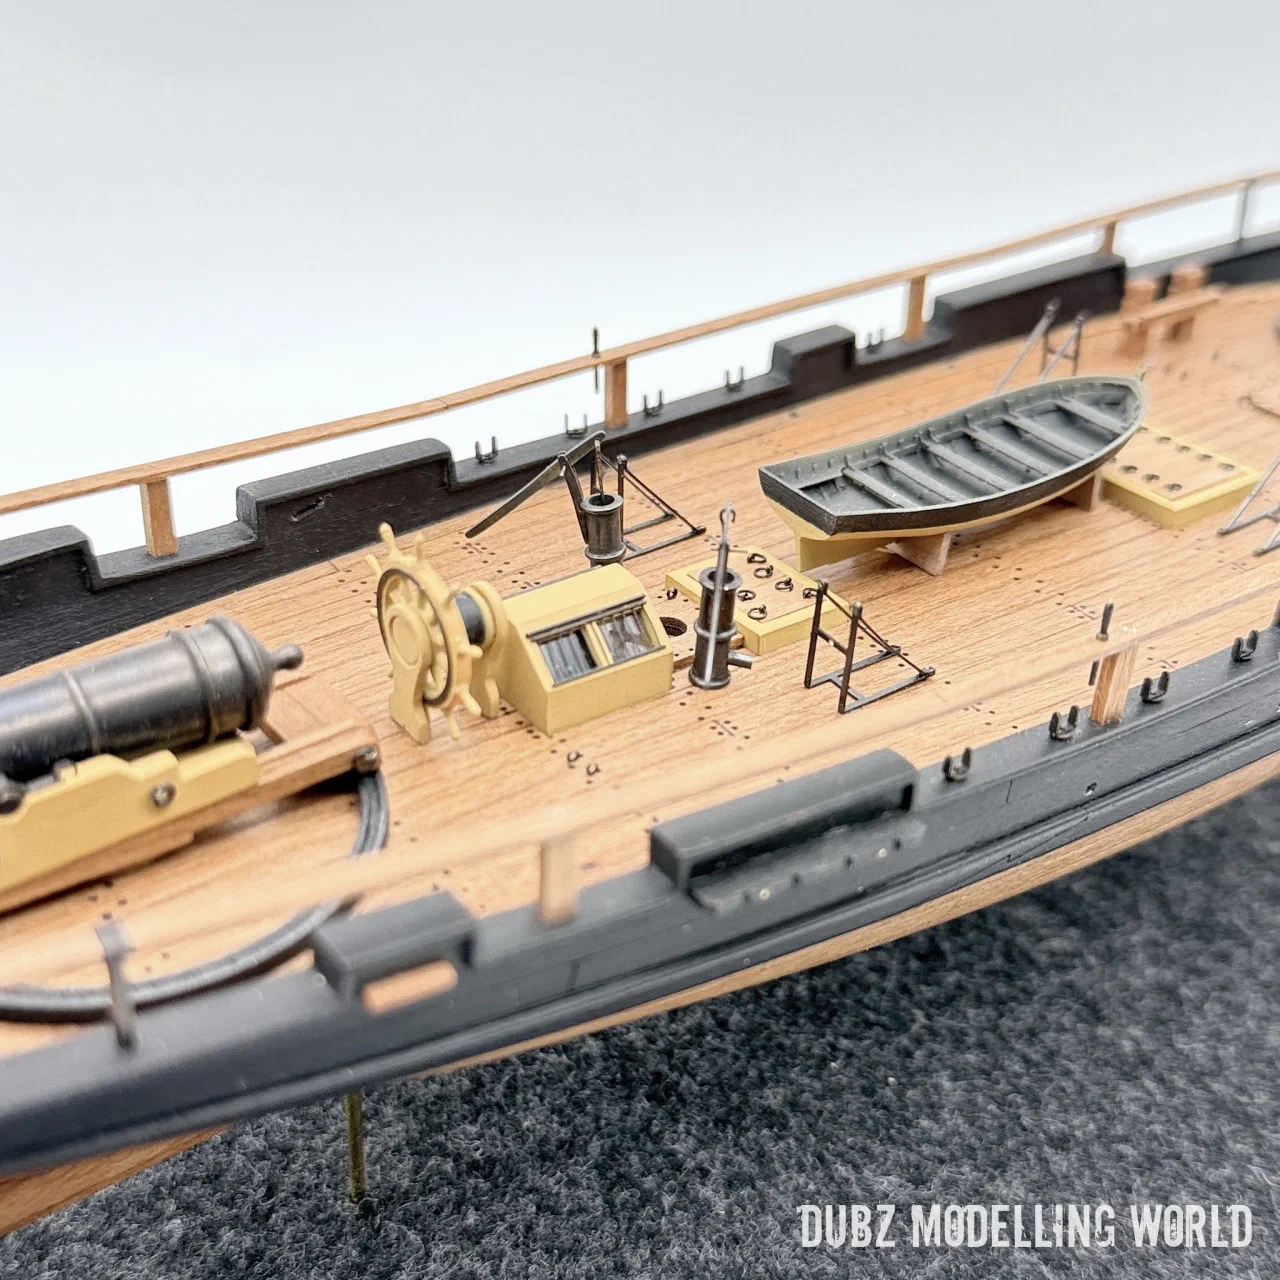
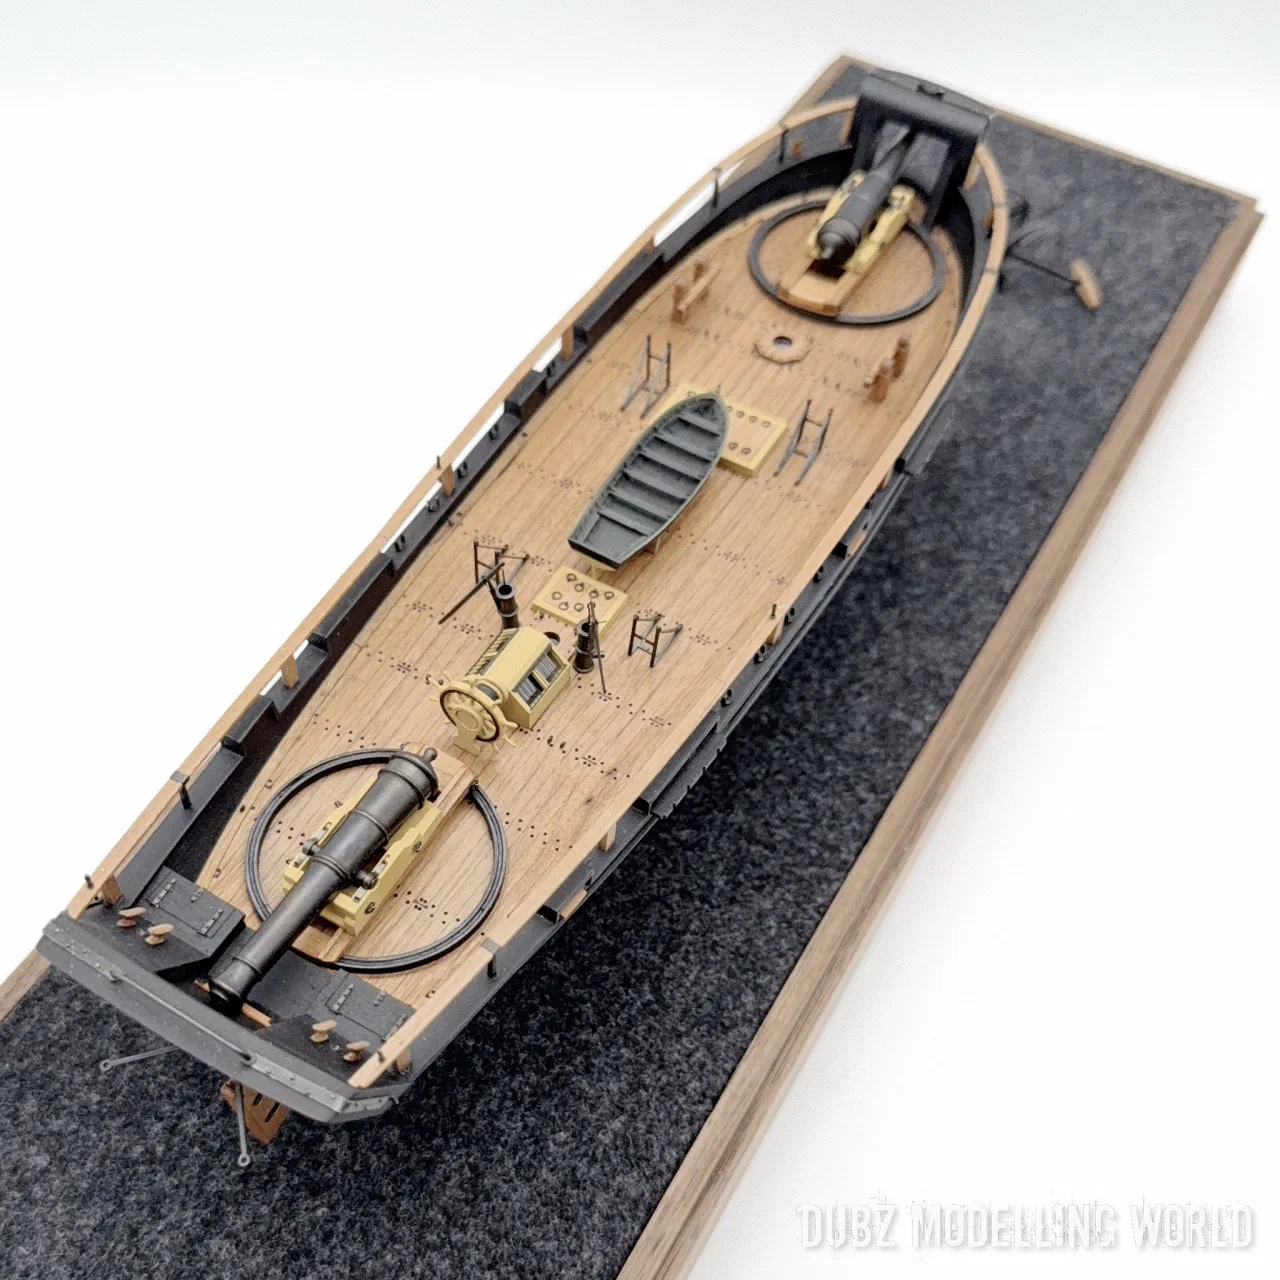
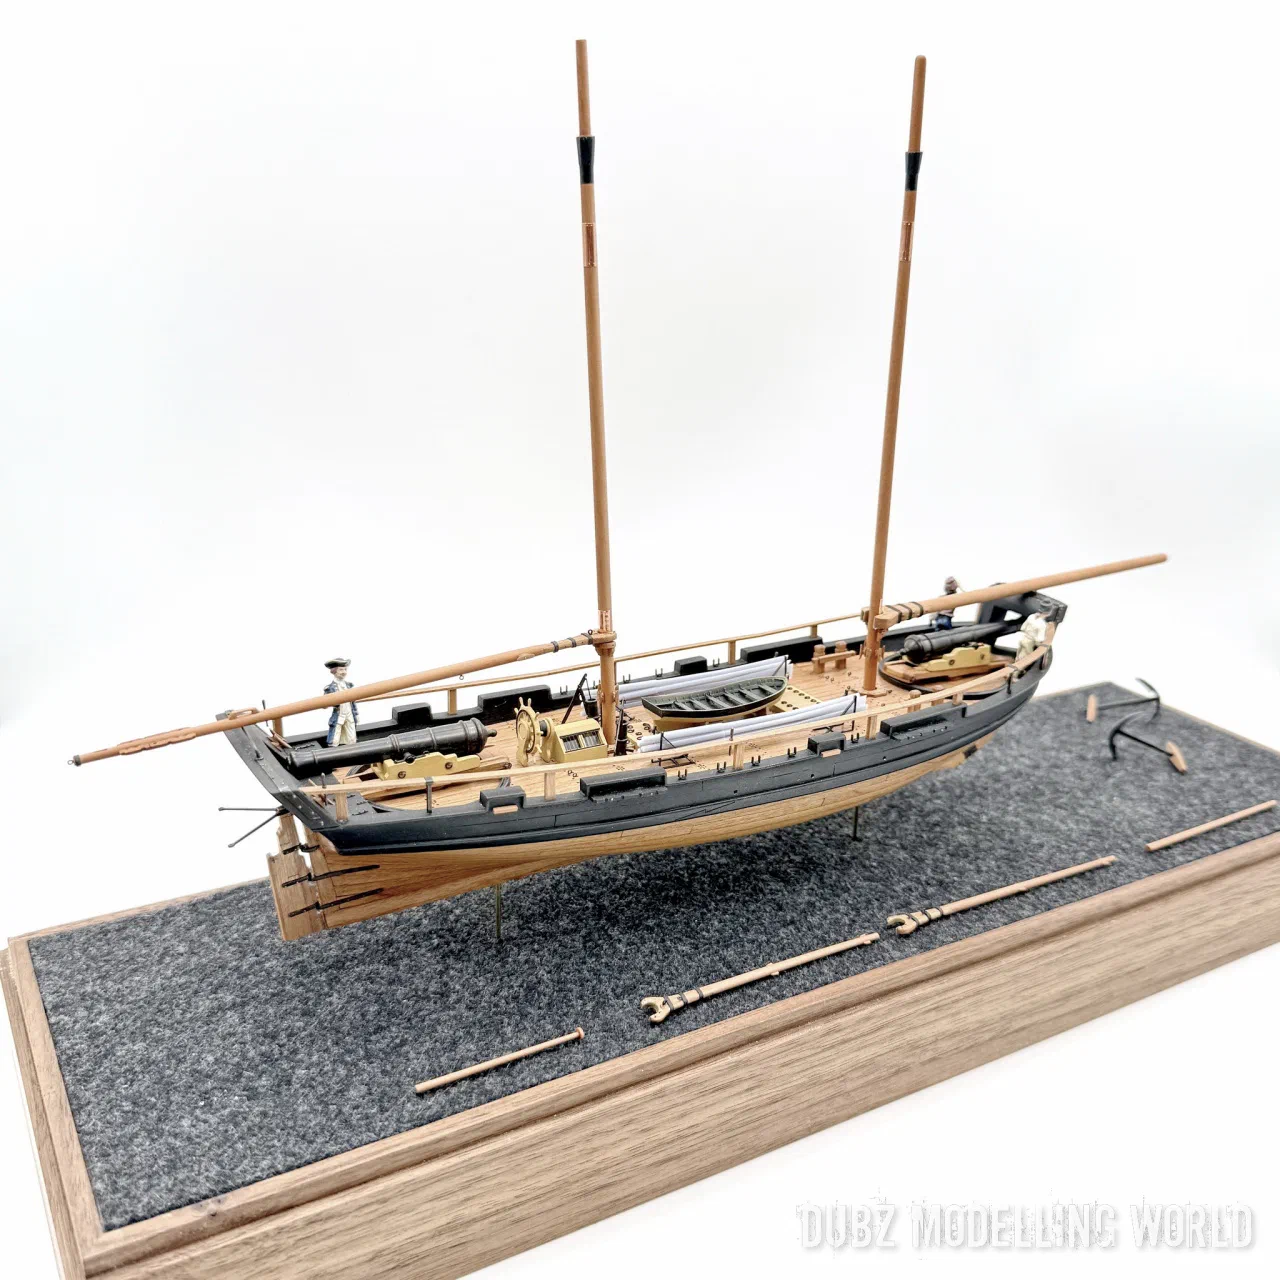
With that the hull was complete. I really like the line of this ship.
Which scale?
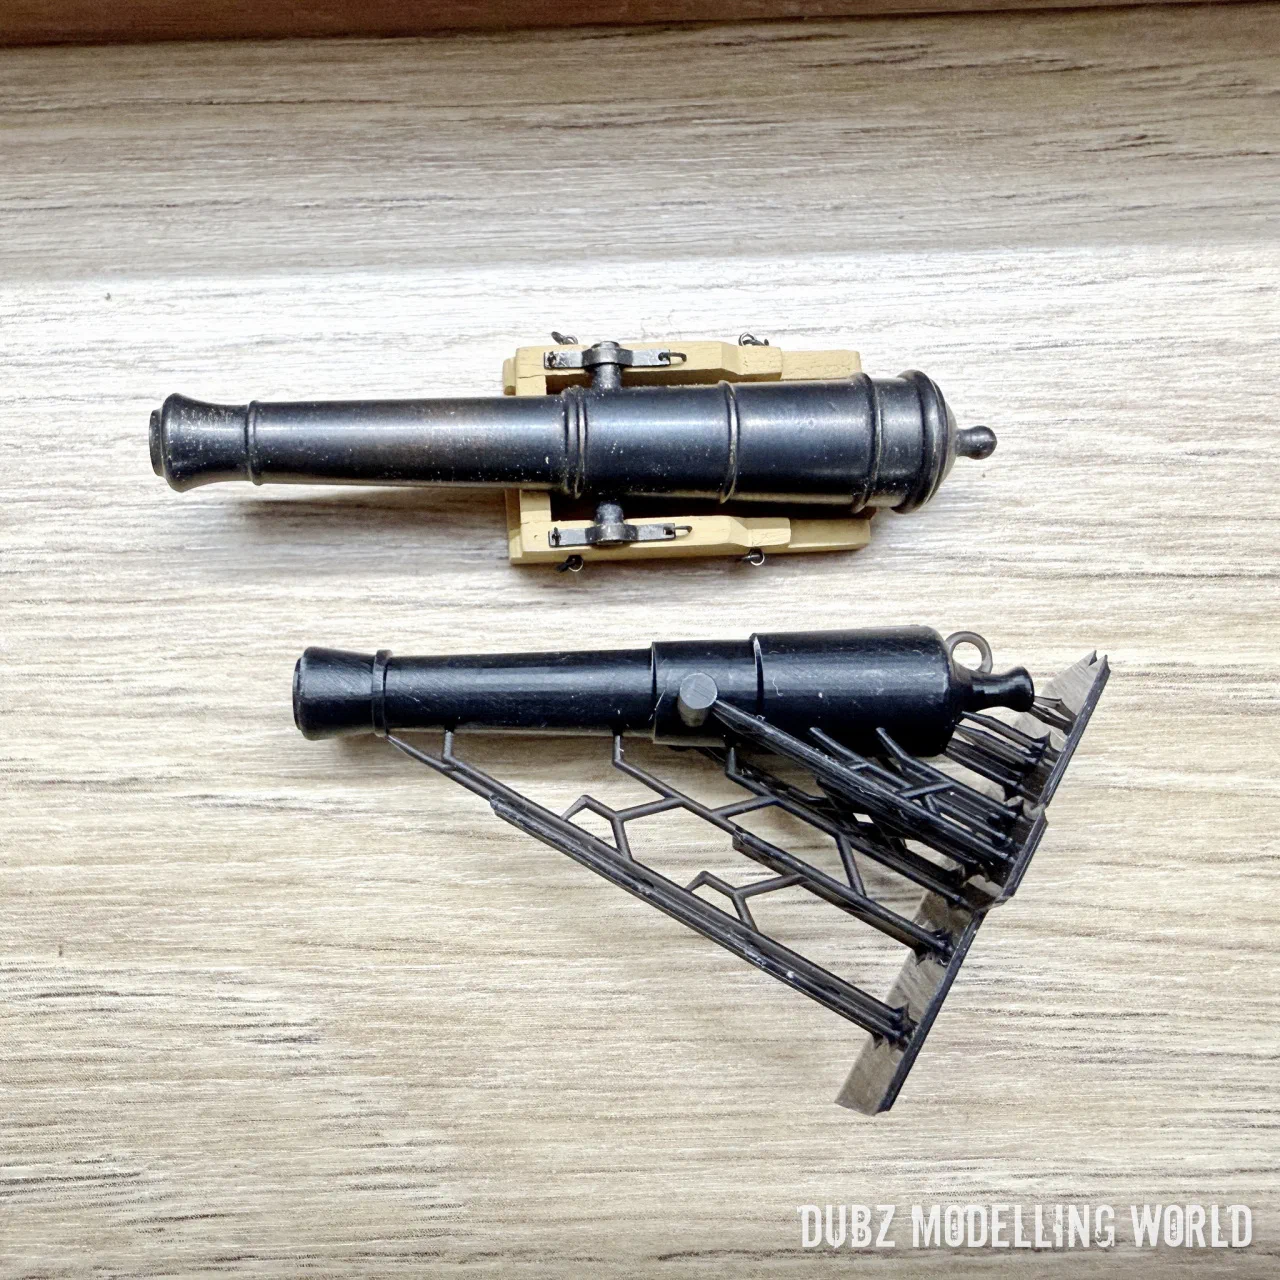
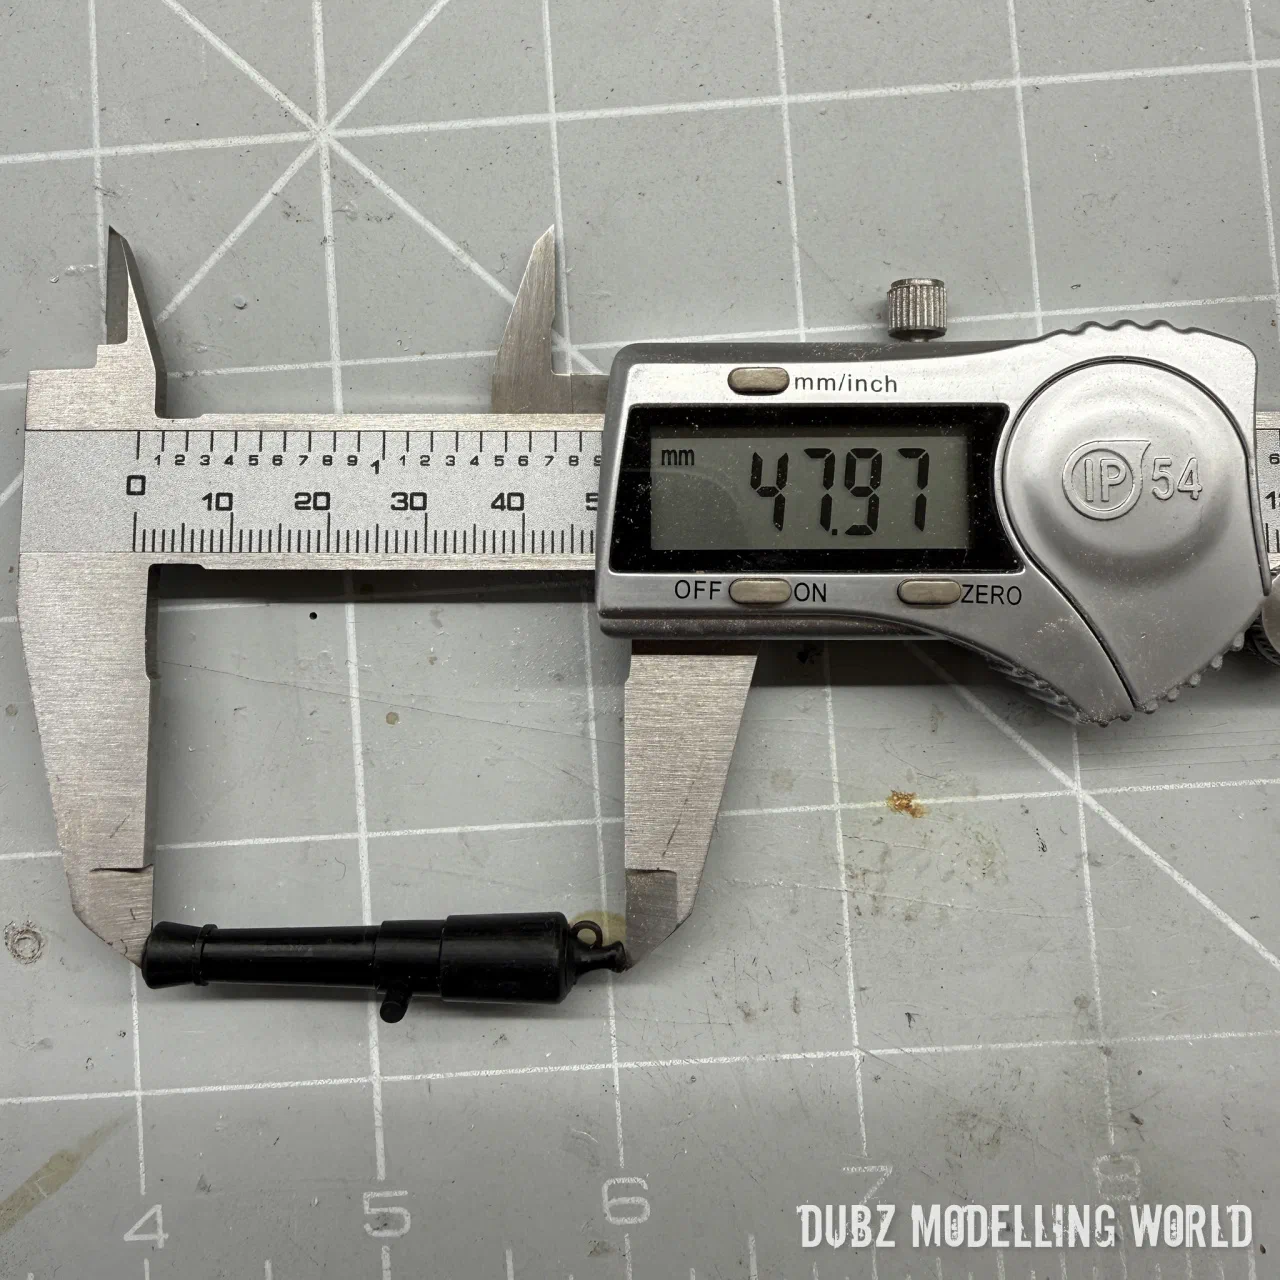
A card model of the Axel Thorsen in 1:72 exists, and I ordered its printed cannons and oars to compare. They were much smaller than my parts. After checking the original plans and doing the maths, it became clear that my kit is not 1:72 but closer to 1:64. The guns prove it: a Norwegian foot is 0.31374 m, which gives the length the real gun should have, and the hull confirms the same result.
Masts and spars
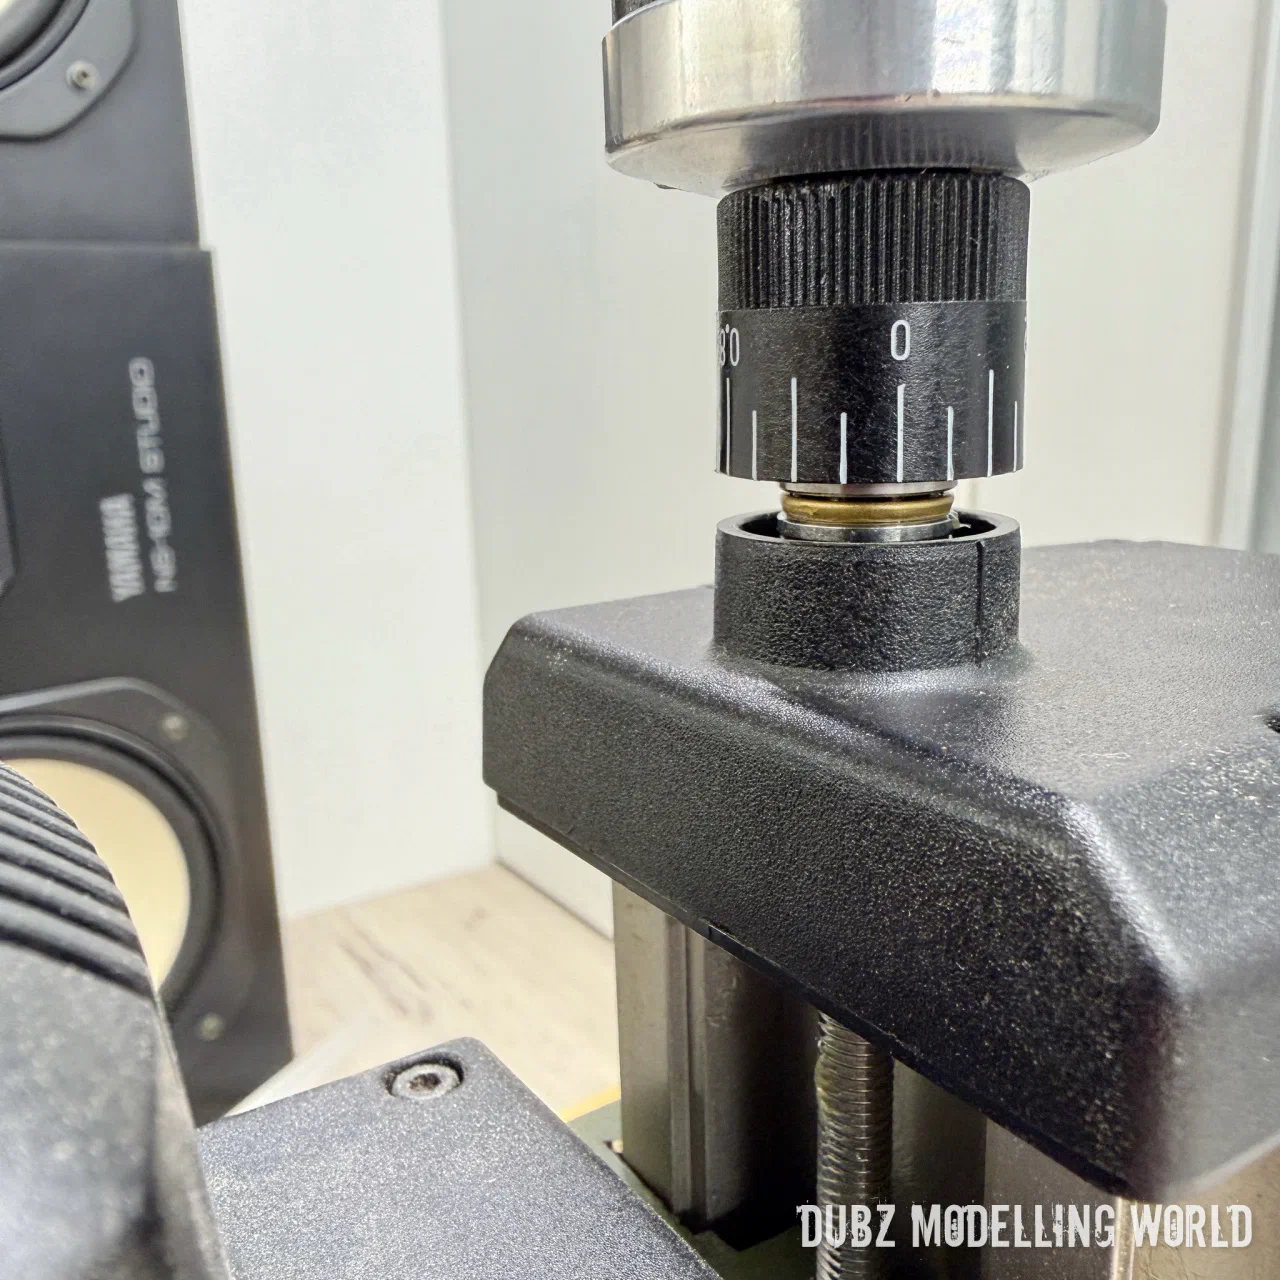
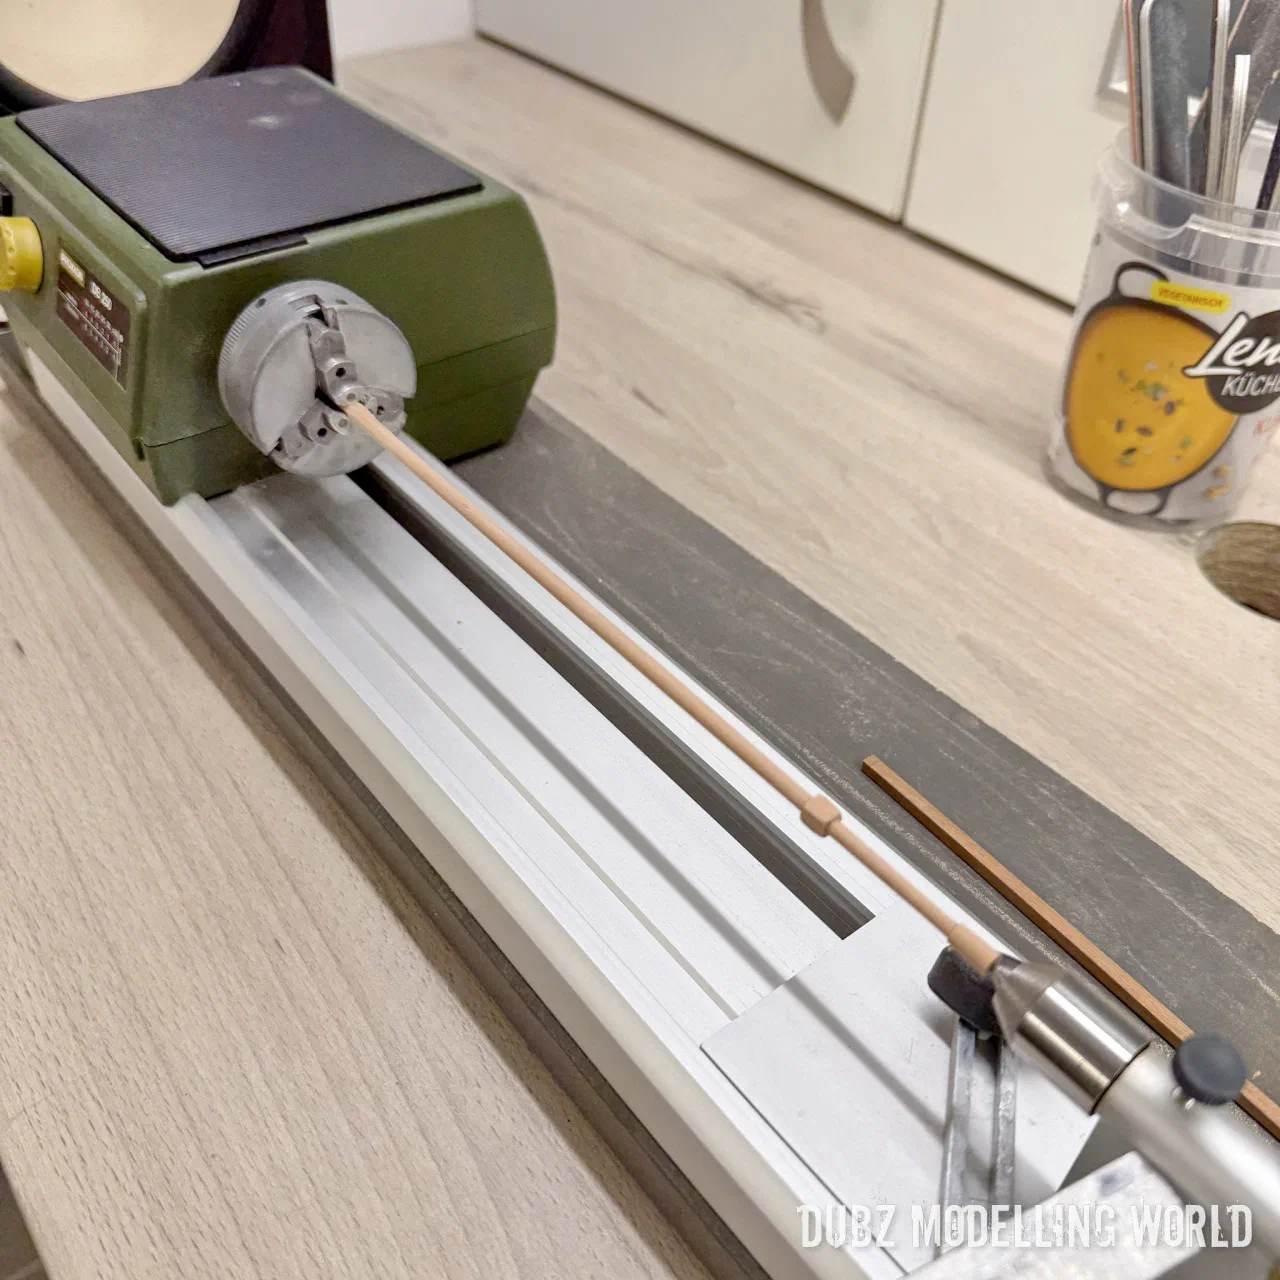
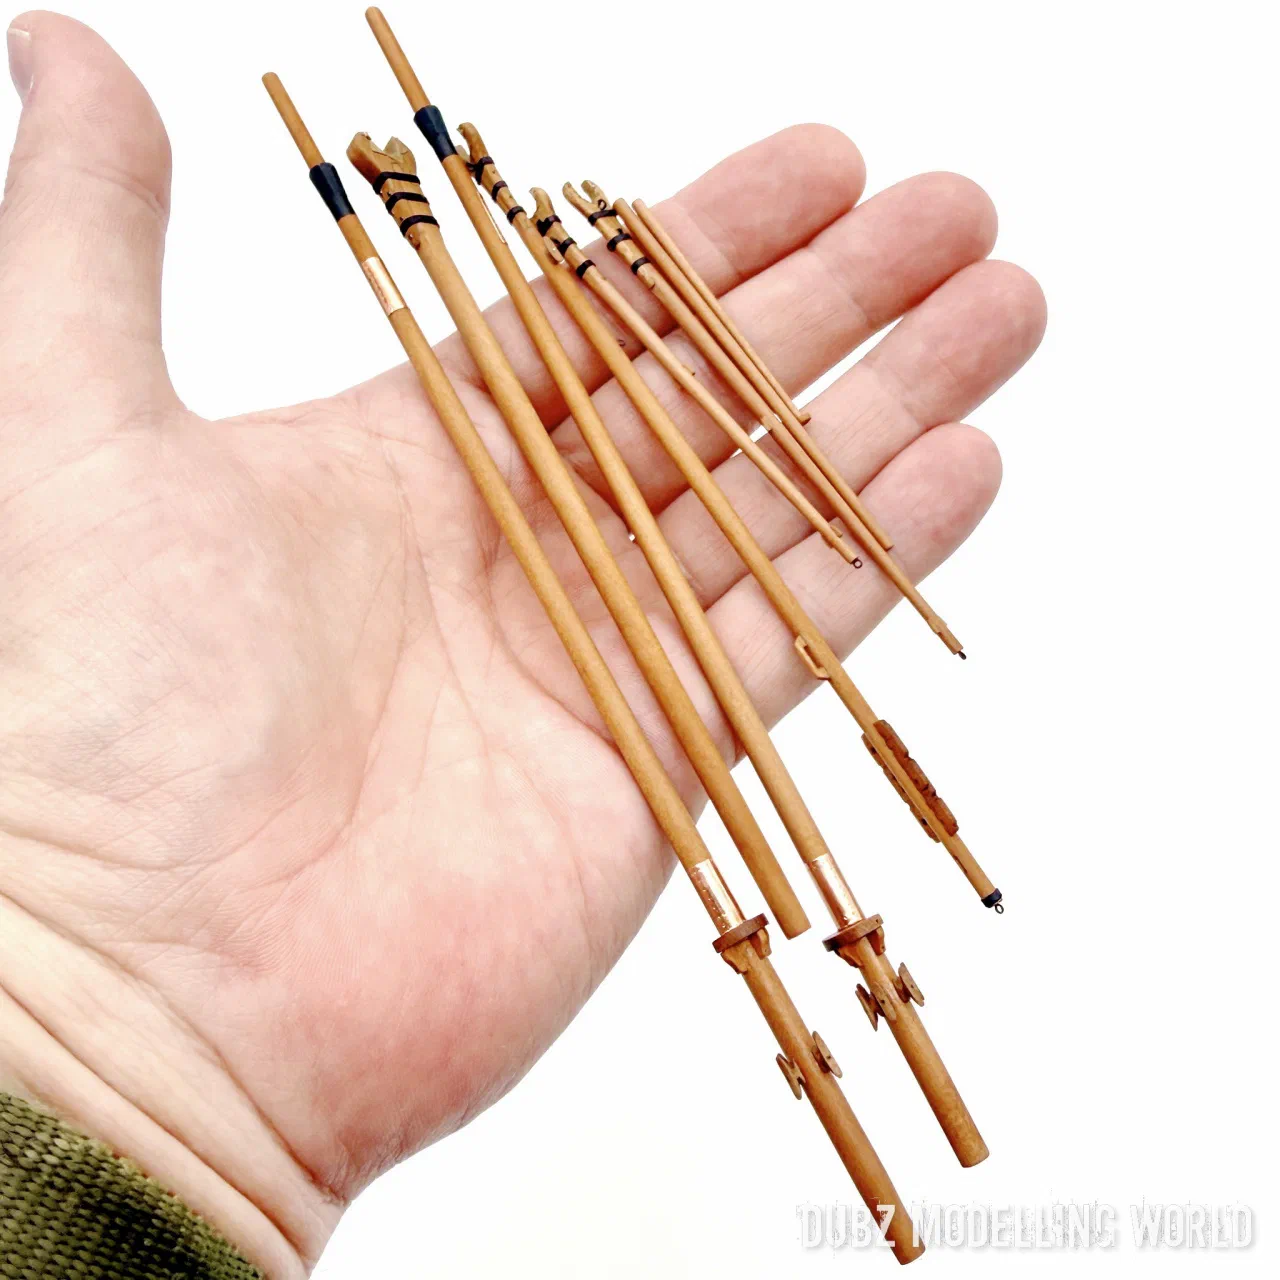
All the parts for masts and spars are in the kit, but I did not want to work with the cherry – some parts were already warped – and I do not like trying to turn round parts from strips that are too short to clamp. So I went the traditional way: square strips, marked out for the octagon, milled to an octagon on my modified Proxxon, and rounded on the lathe.

Chainplates, anchors and rope
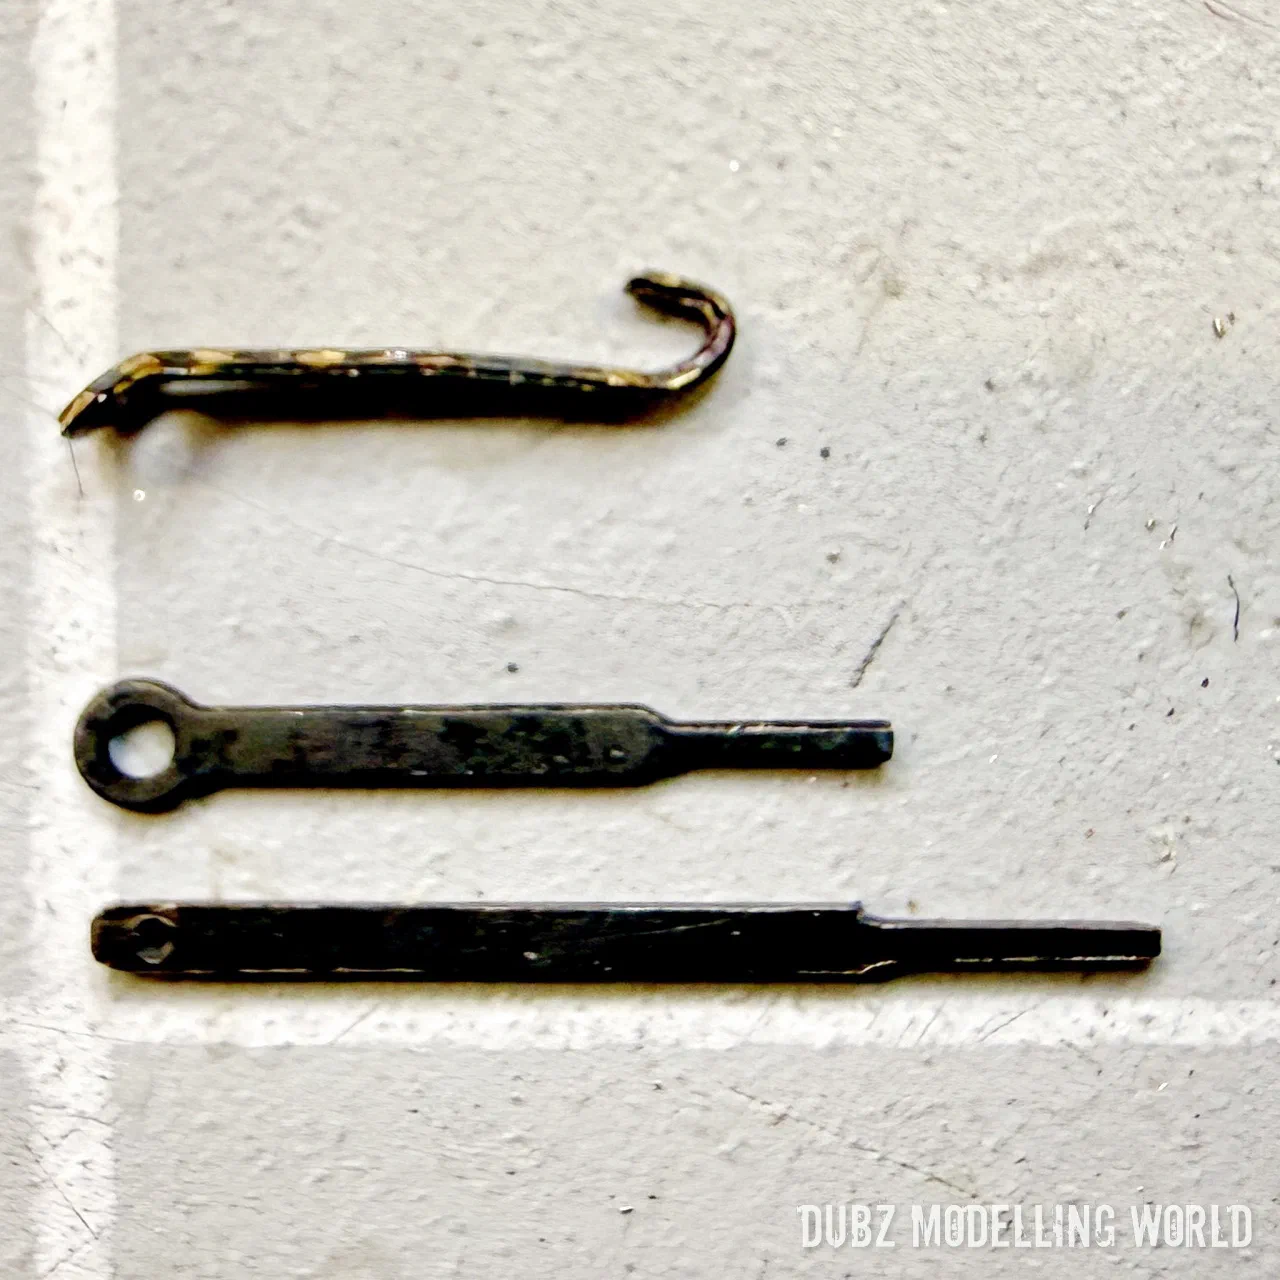
The chainplates for the deadeyes were too short to be fixed at the wale, so I made new ones, as well as the chainplates for the backstays. The kit’s boat does not match the scale, so I left it out; it should be a small dinghy anyway. The printed oars from the card model were painted, and the anchors finished.
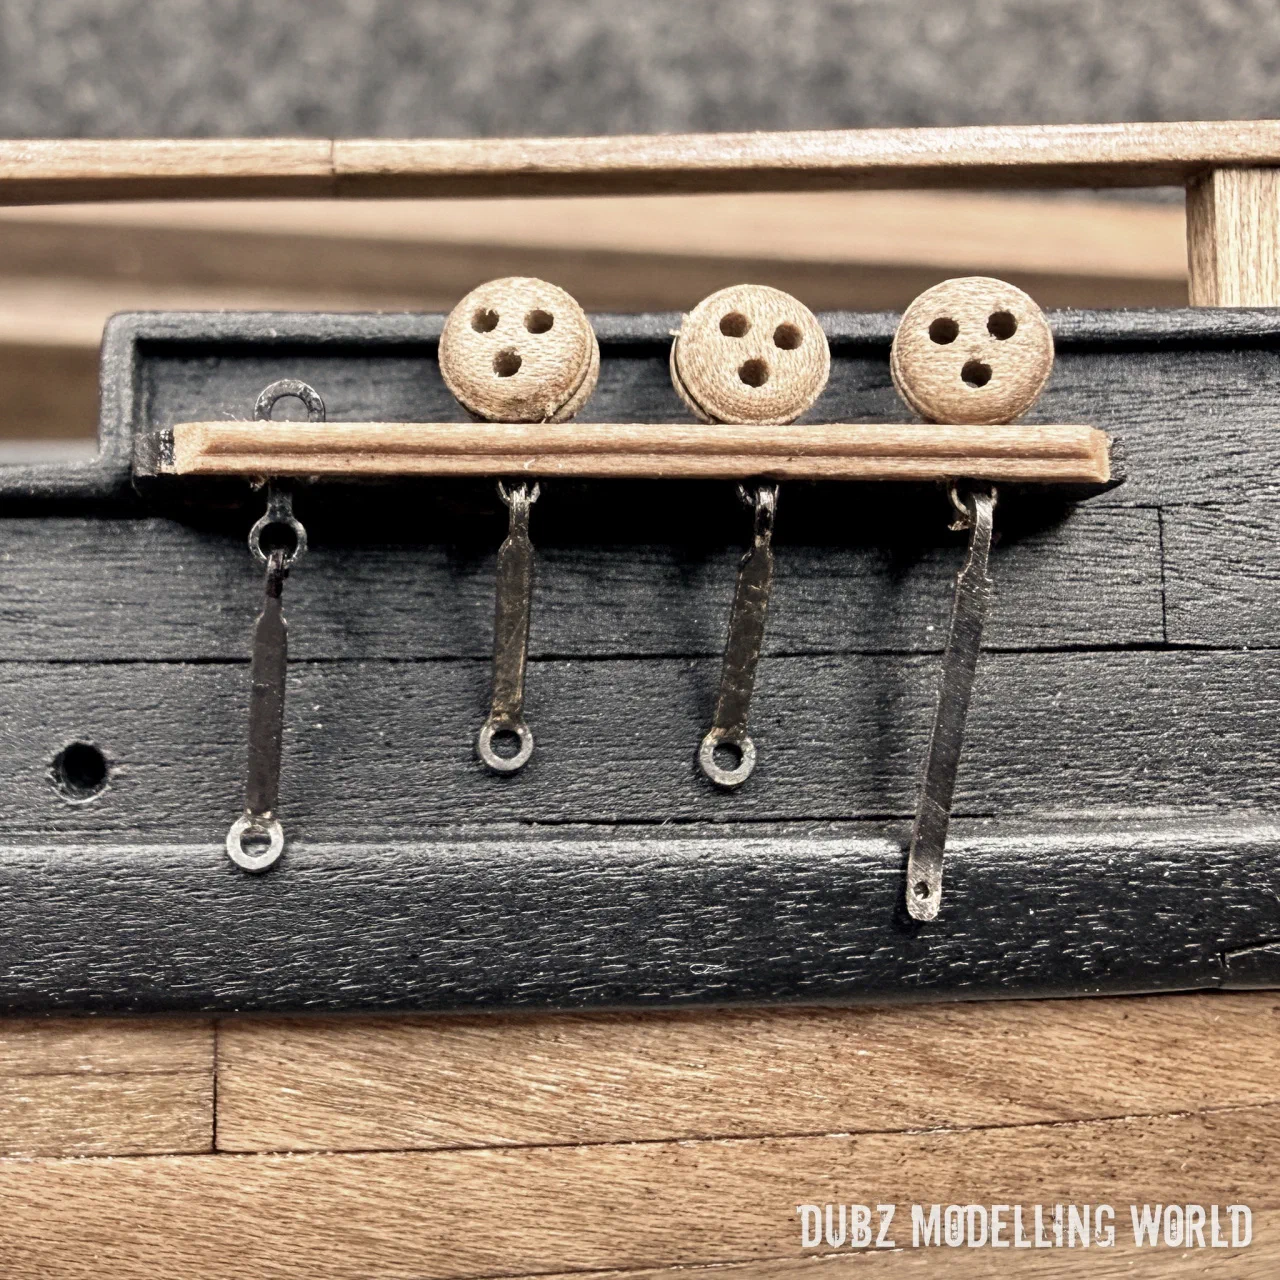
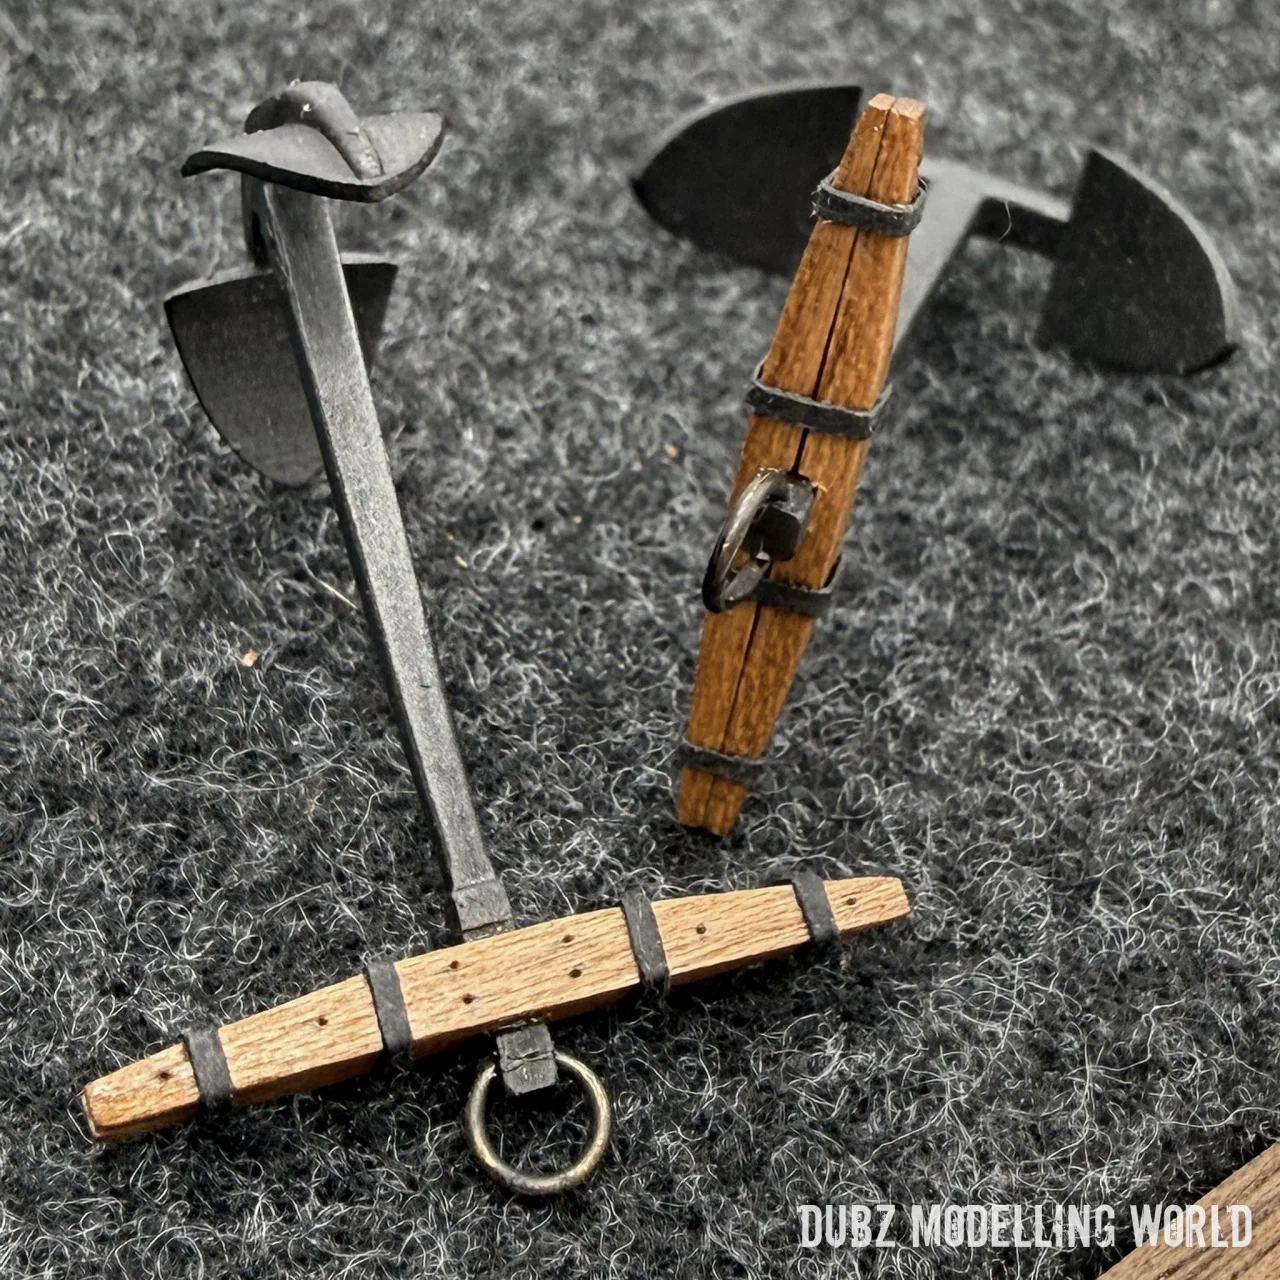
Rigging the Axel Thorsen is not the next thing on my list, but preparing for it was a good reason to dust off my ropewalk – and I made a lot of rope. How the ropewalk works is described in The Dubz Ropewalk.
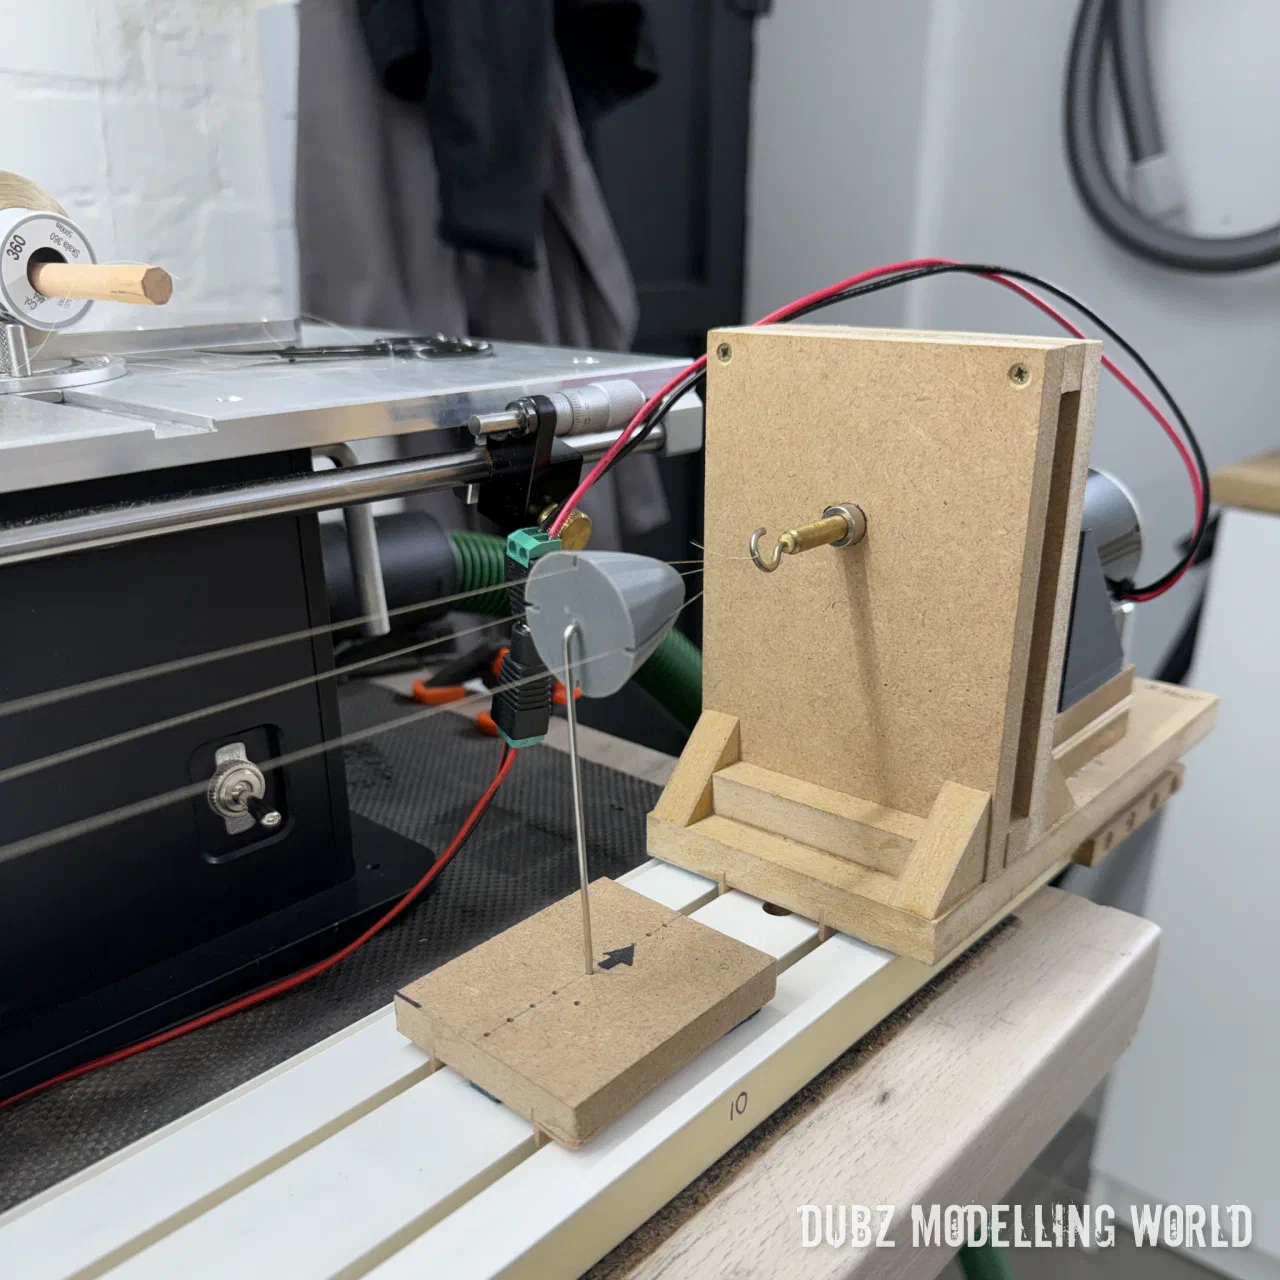
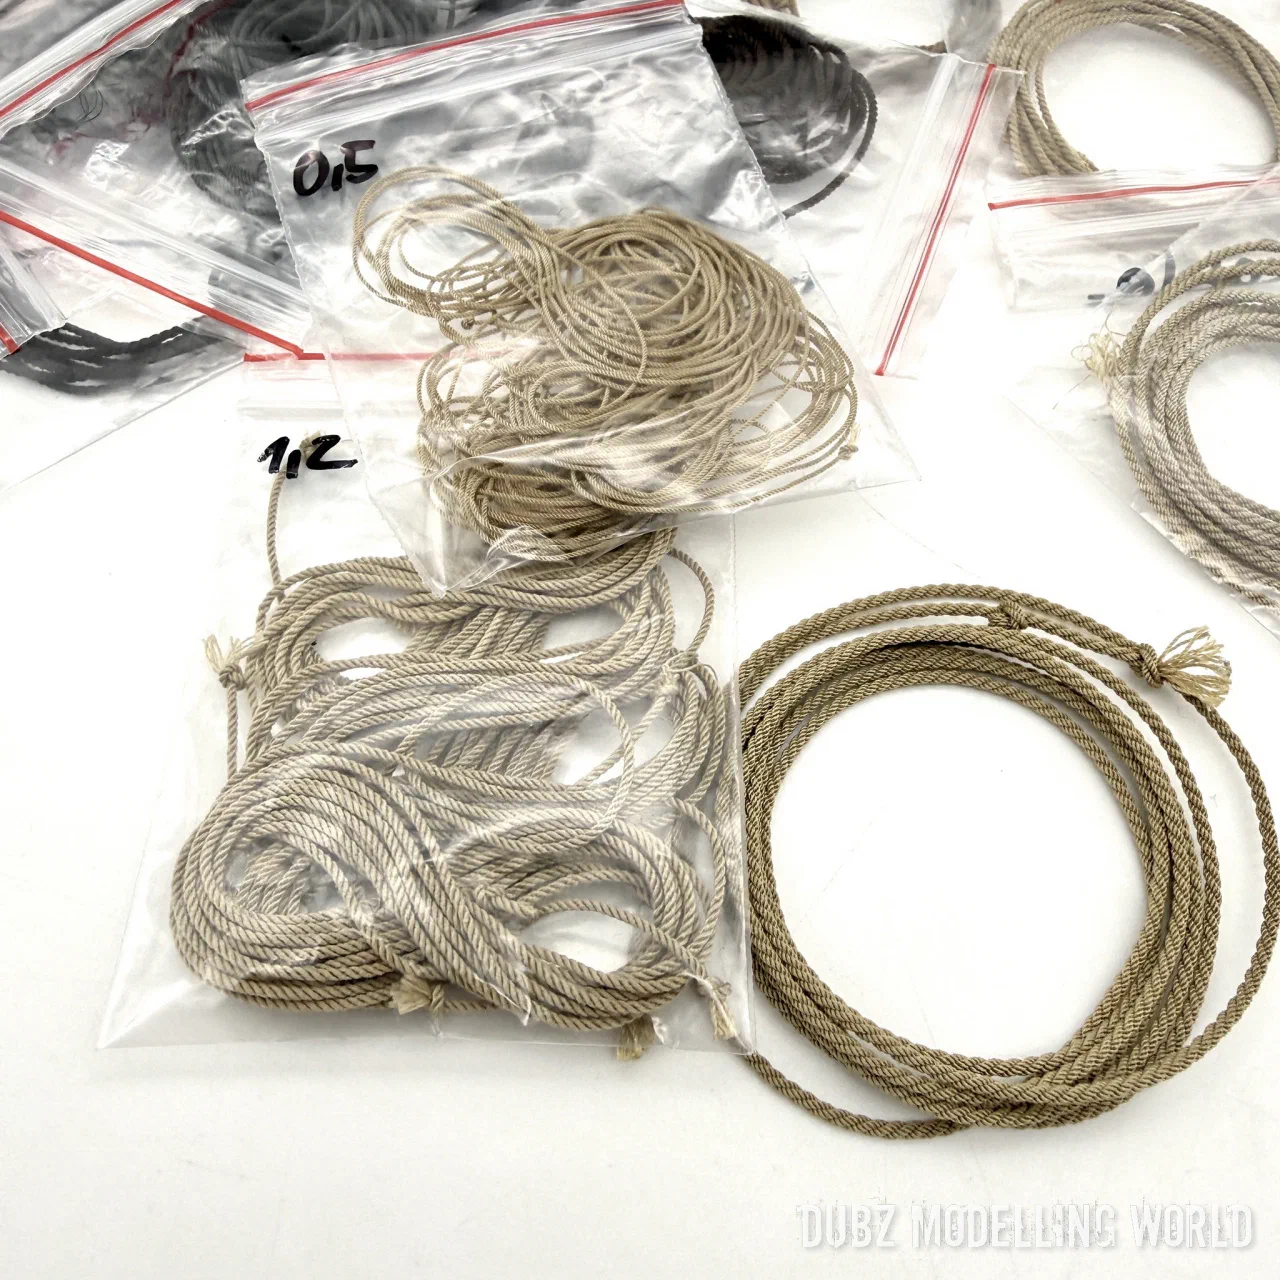
First rope on board
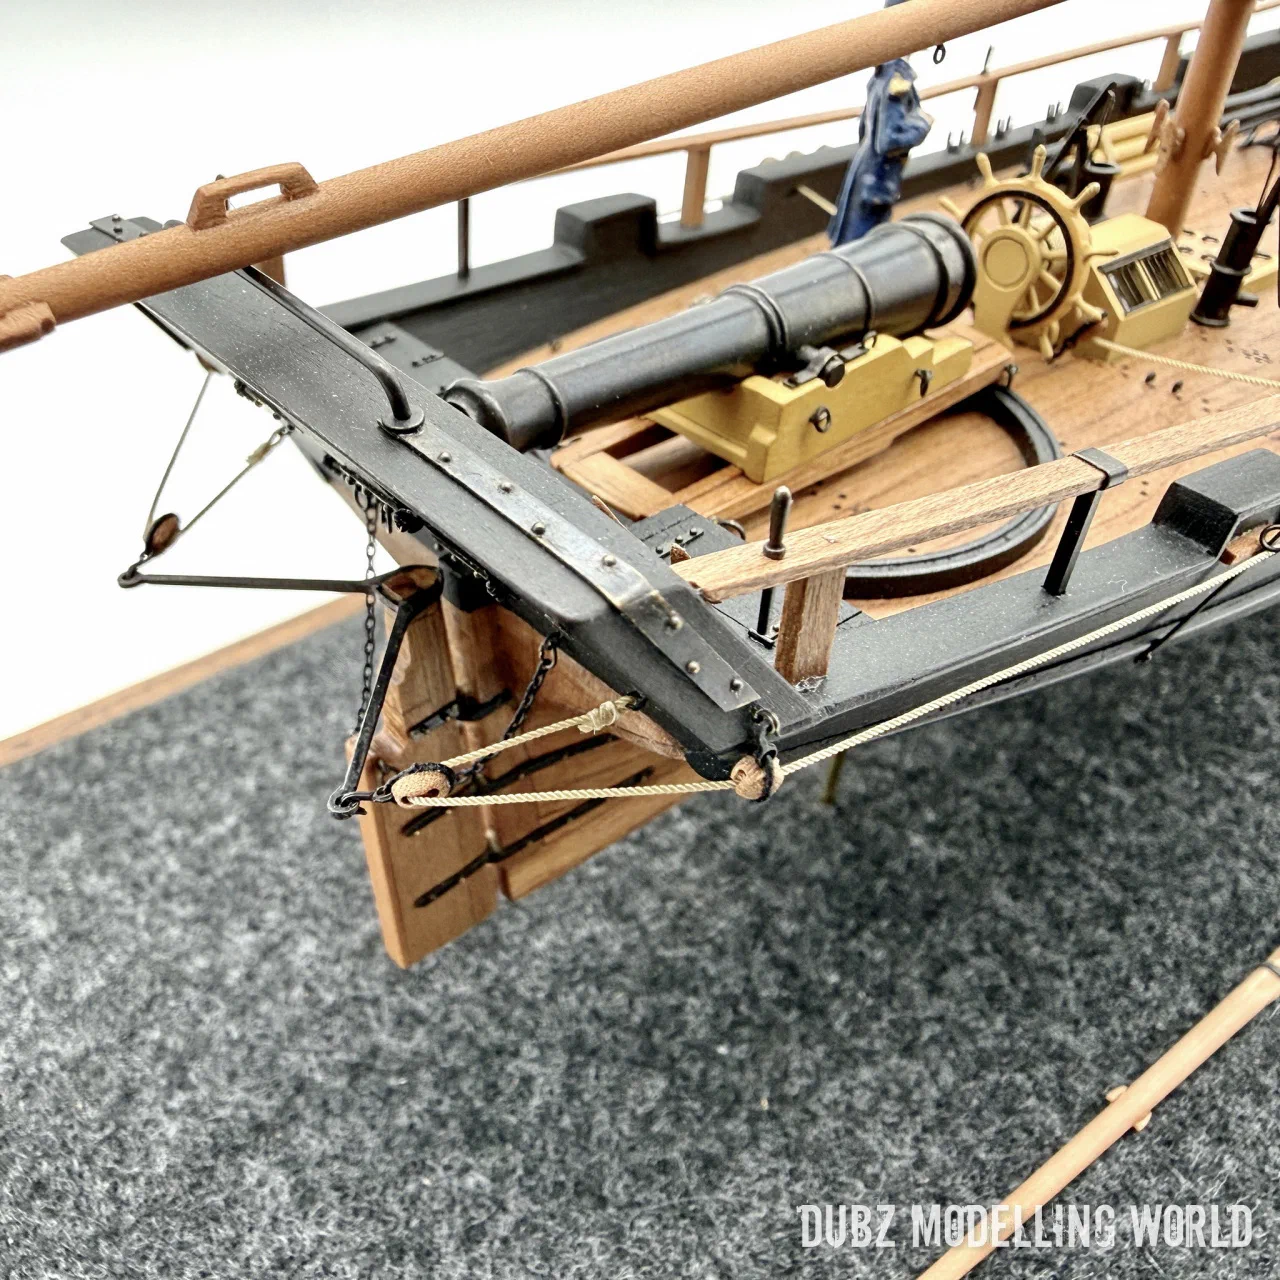
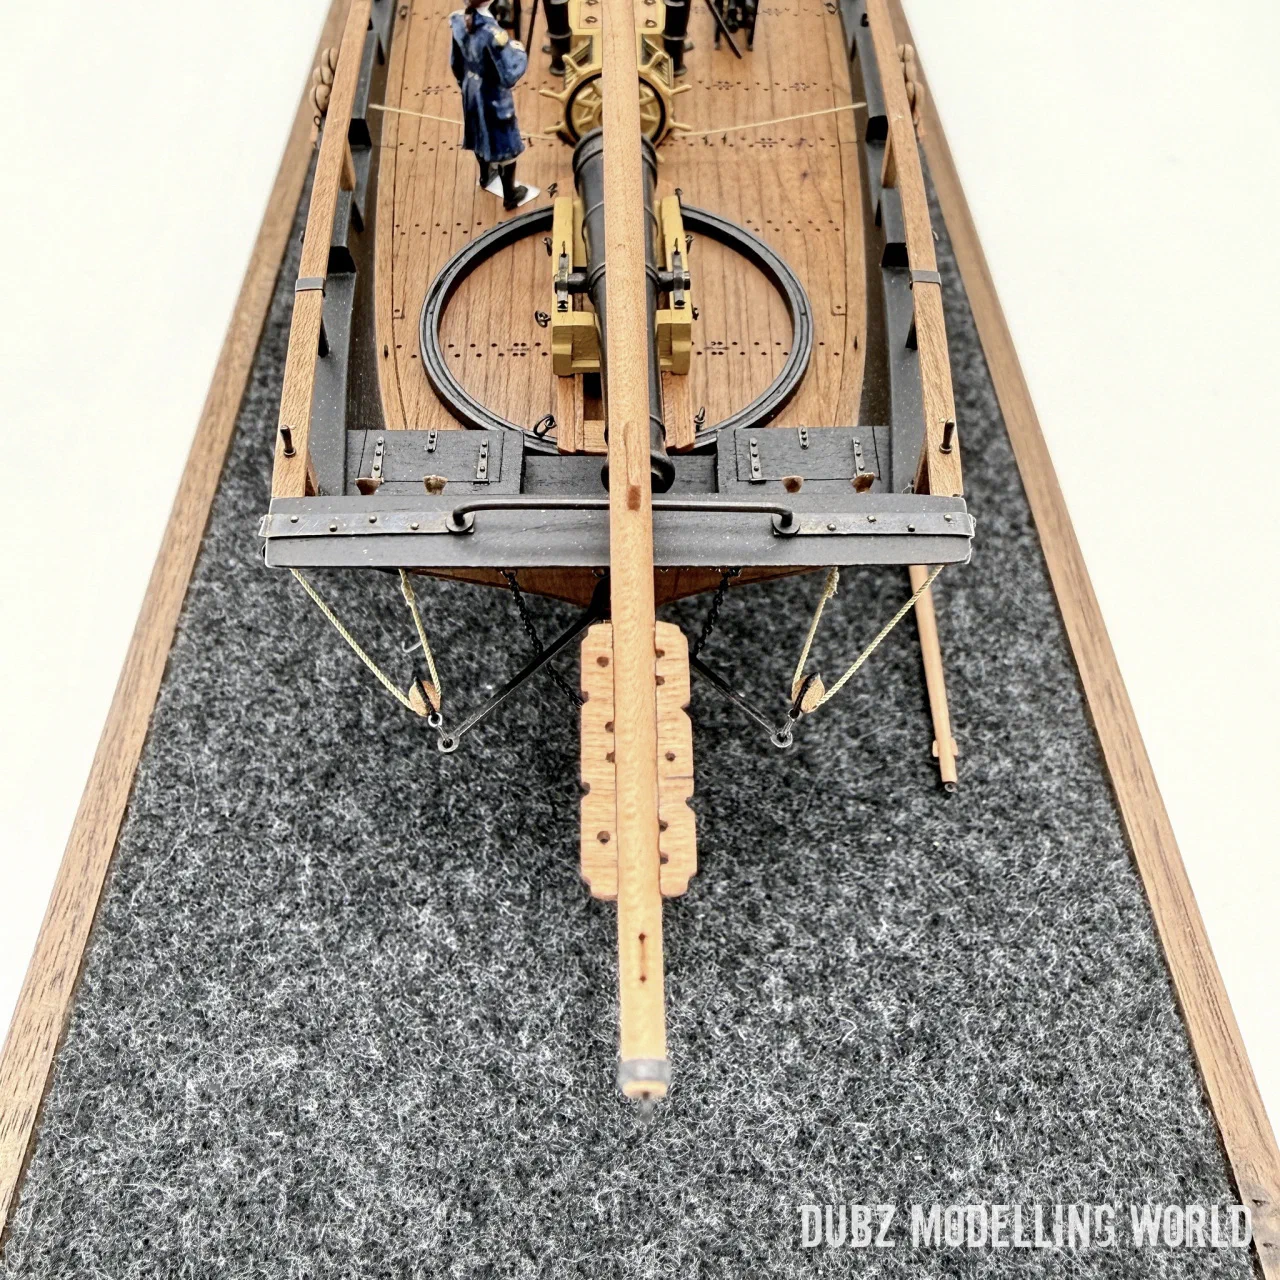
The first rope went on: the rudder rigging and the lashing of the oars, and the chains for the rudder. The blocks included in the kit are excellent – the same ones Dry-Dock sells. I used served strops for them.
Where she stands
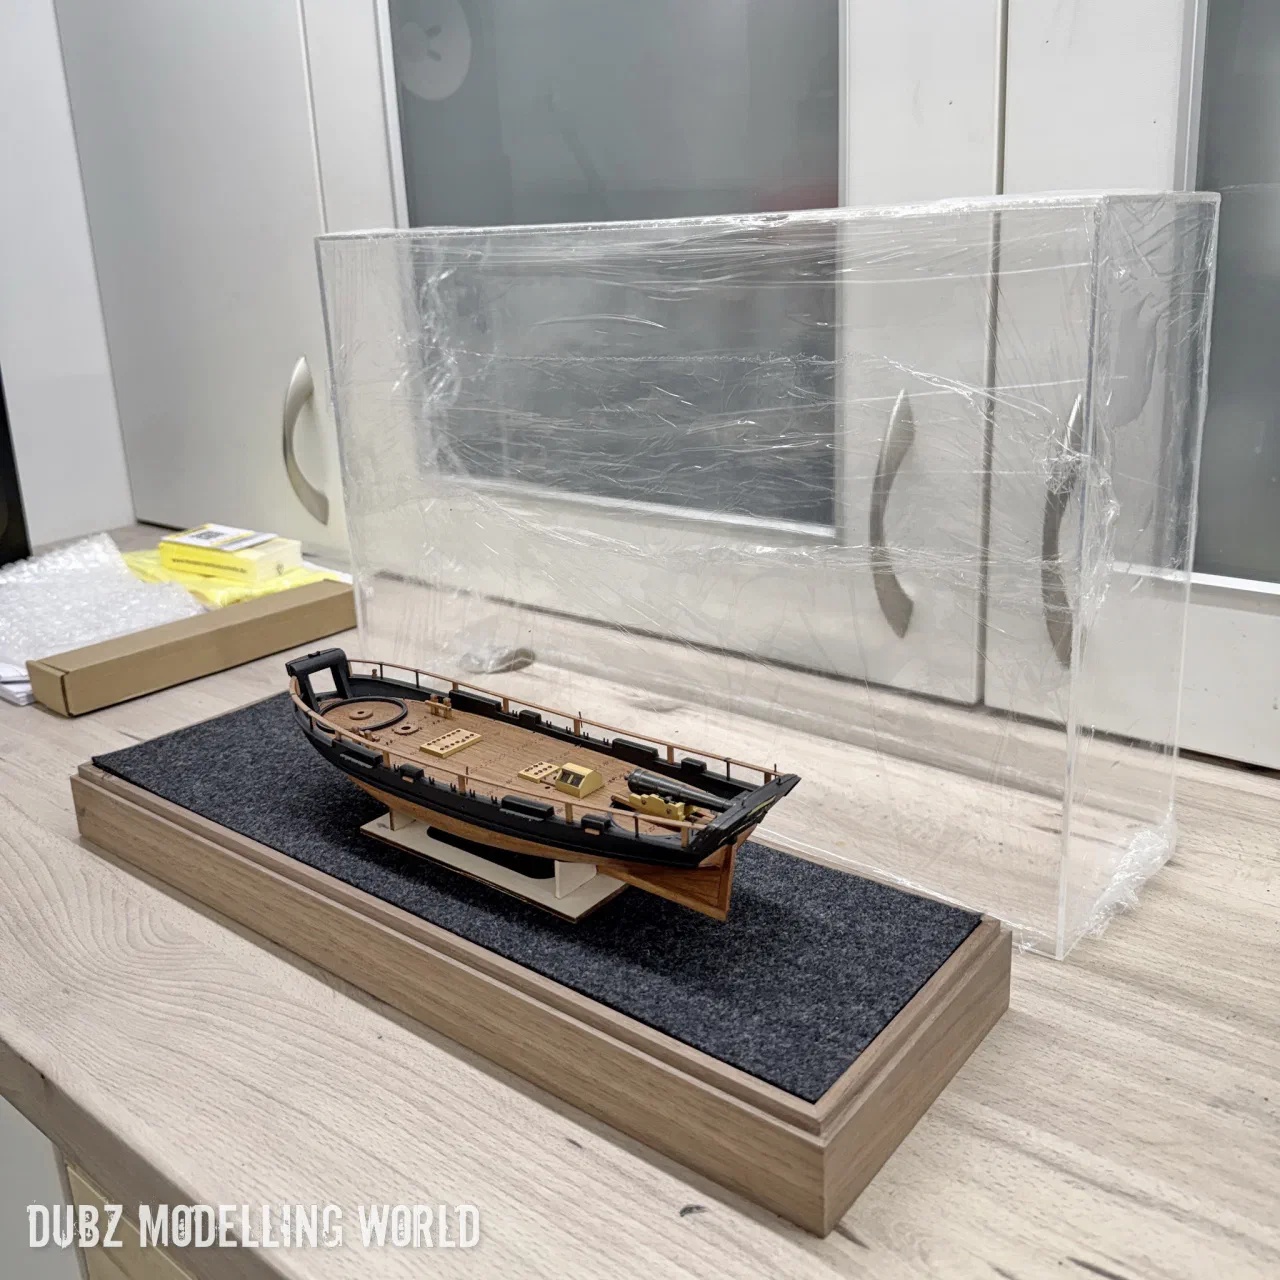
Hull, masts and spars are done, the first rigging is on board, and the gun tackles are in progress – twelve of them, of which the first six are done. The Axel Thorsen is a work in progress, and the rest will follow.